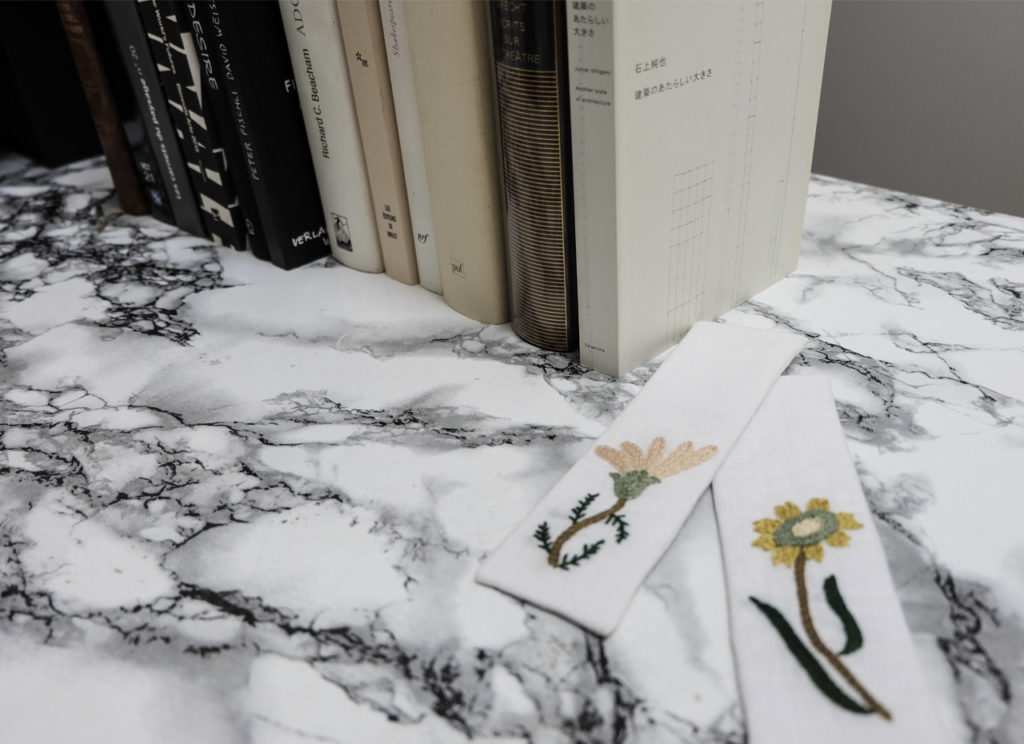
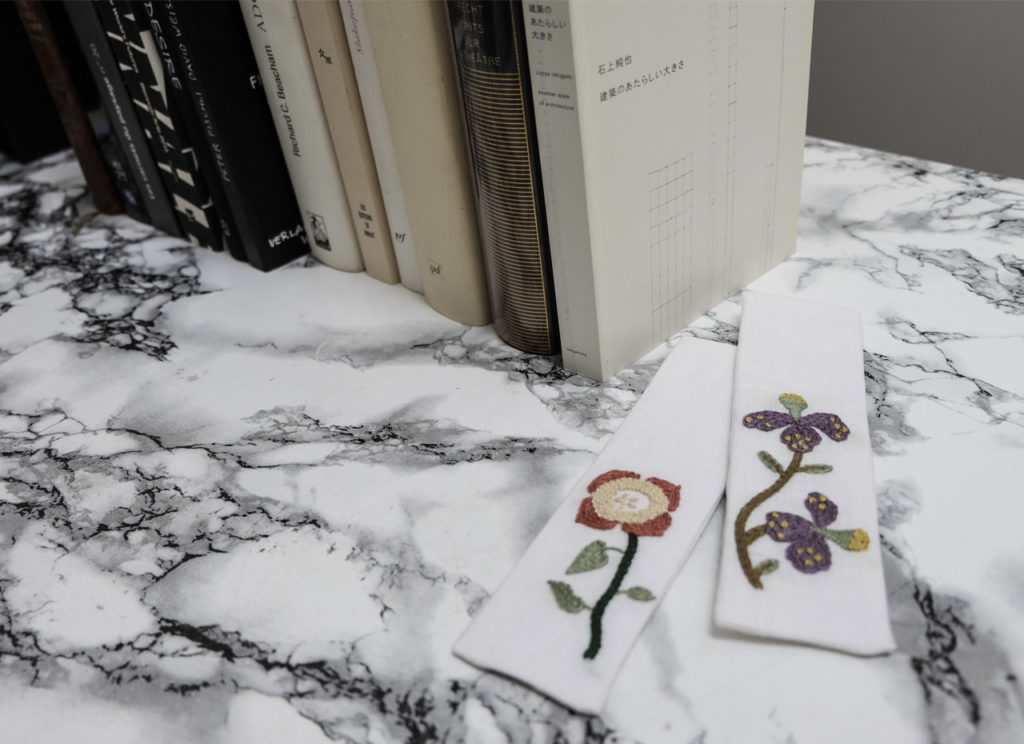
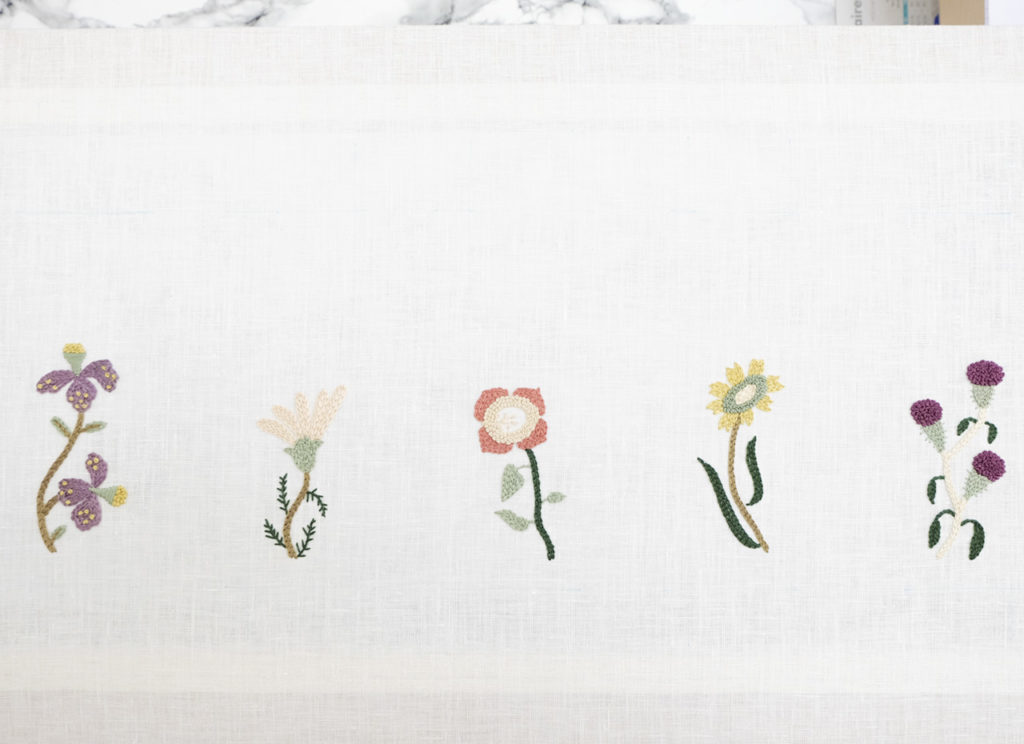
Is it back-to-school time ? New publishing season ? Ah !! (NØ) knows that you will absolutely devour ALL the new books selected by our adventurous publishers and invite you to make your own cute linen bookmarks… And you would probably need them just in case you are like (NØ), starting various novels all at the same time ! In a previous blog post, (NØ) made you guess what those embroidered flowers could become… Here is a flowering way to extend summer season !!
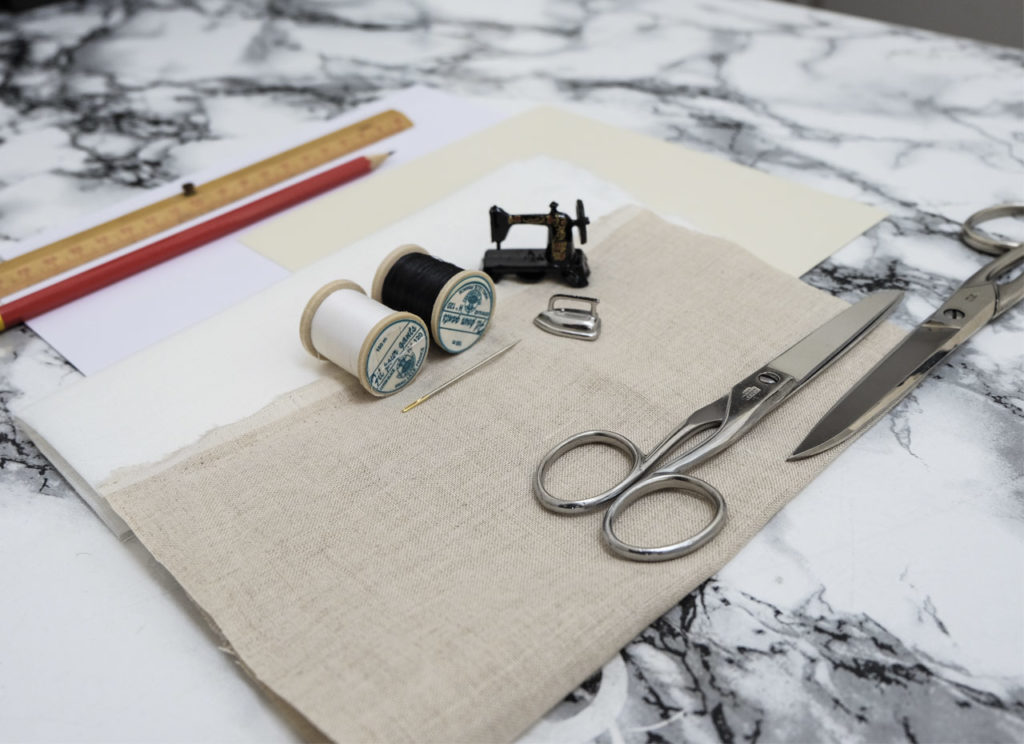
Material needed to make embroidered bookmarks :
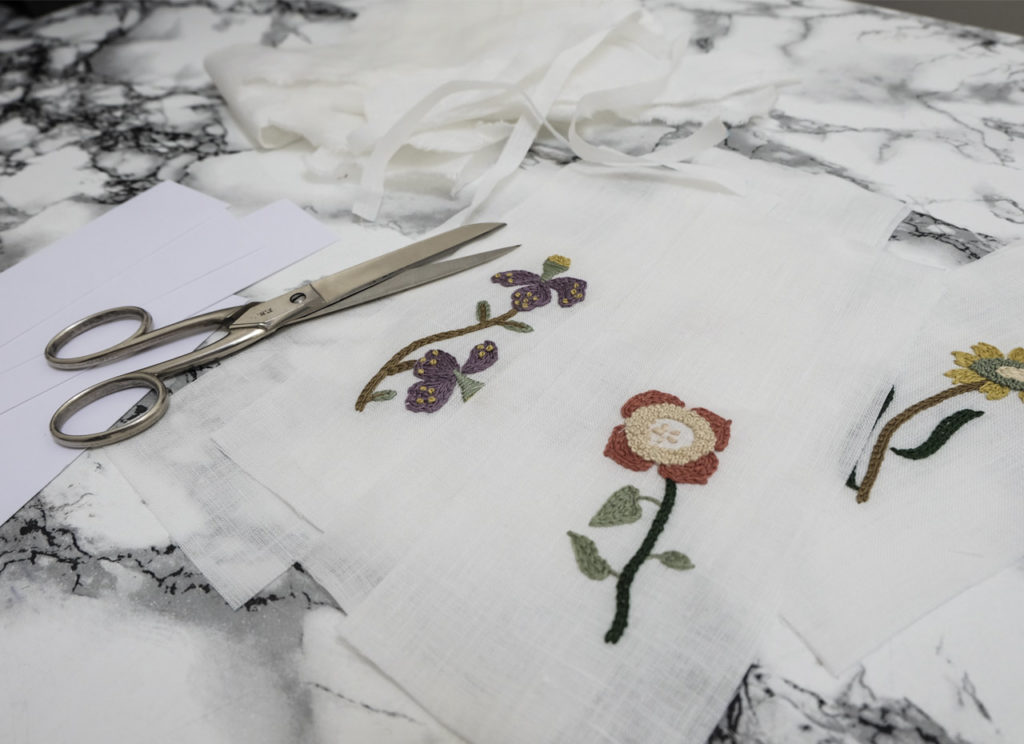
Here is what you need to make your bookmarks : – Nice little fabrics or homemade fabrics that you have already decorated with cute embroidered patterns… If you need some inspiration or a little refresh, (NØ) shares some classical needle embroidery stitches here et there! And Here, (NØ) gives you some professional advises that she tooks from her experiences in the most prestigious Haute-Couture ateliers in Paris. – Fabric scissors – Paper scissors – A pencil and a ruler – A sheet of Bristol paper or thin cardboard – Thread matching the colour of your fabric – A needle or sewing machine – Iron
Preparing fabric and cardboard :
1. On the selected fabric, mark two rectangles of size 16,5 cm x 4,5 cm (6.5 inches x 1.75 inches), add a sewing allowance of 1,5cm (0.6 inch) all around the bookmark. Cut. 2. Mark a rectangle of 16,5 cm x 4,5 cm (6.5 inches x 1.75 inches) on the Bristol paper or cardboard. Cut.
Sewing bookmarks :
3. Place the two fabrics right side against right side, sew on three sides leaving one side open. You can use a sewing machine or a needle if you do not have a sewing maching available. 4. Iron all seams open. 5. Turn over the fabric bookmark. Iron again.
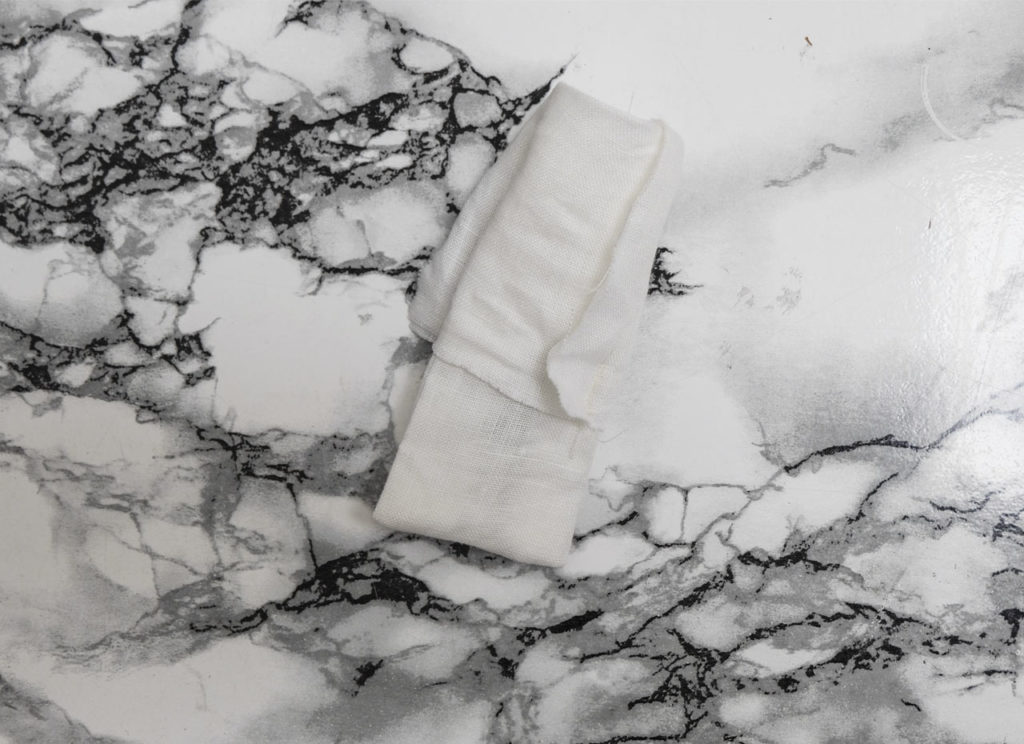
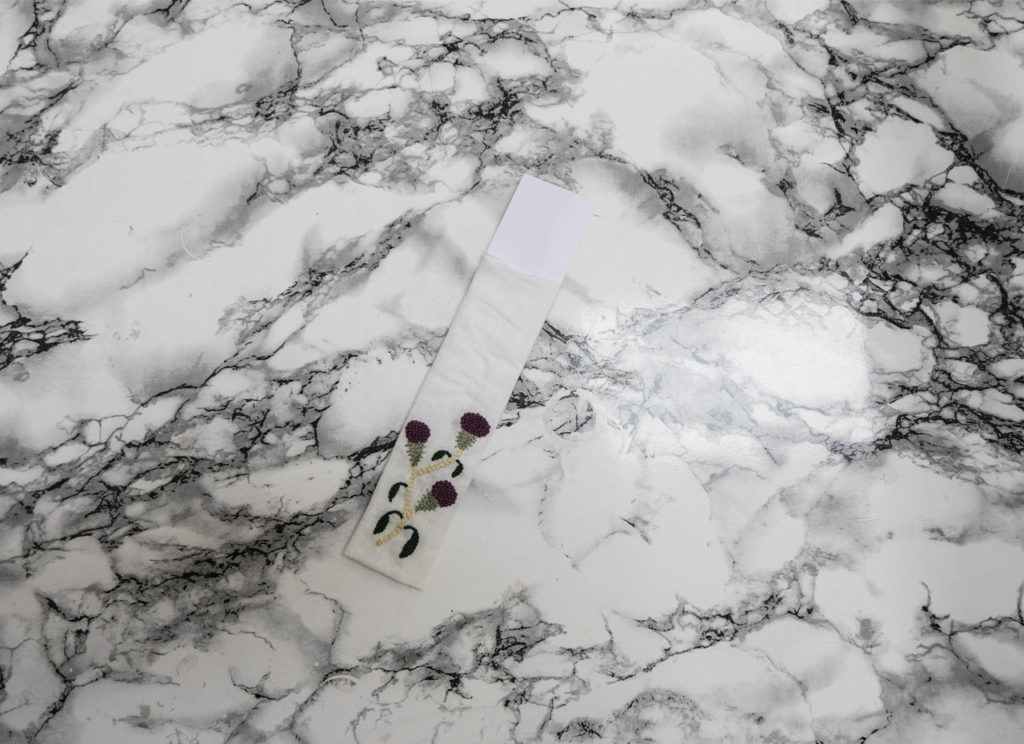
Here is one bookmark :
6. Insert the Bristol paper or the soft cardboard inside the fabric “pocket”.
Finishing the bookmark :
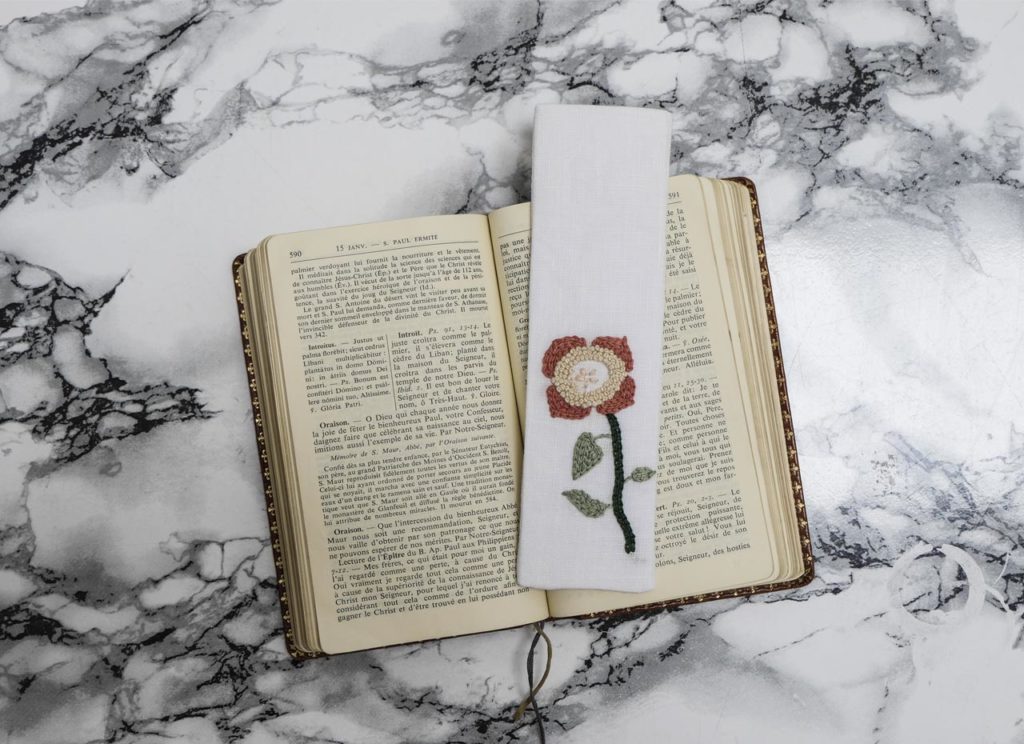
7. Fold the sewing allowance inside. 8. Hand sew the remaining open side to close the bookmark. Tadaaaaaaa ! Ready for your reading session !!
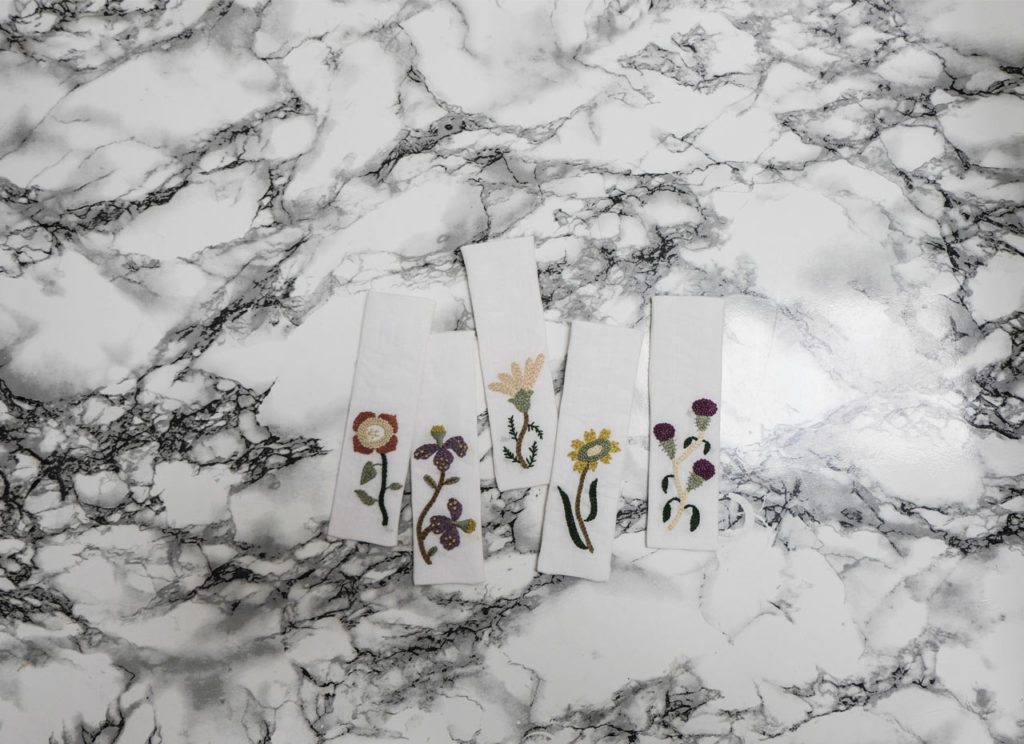
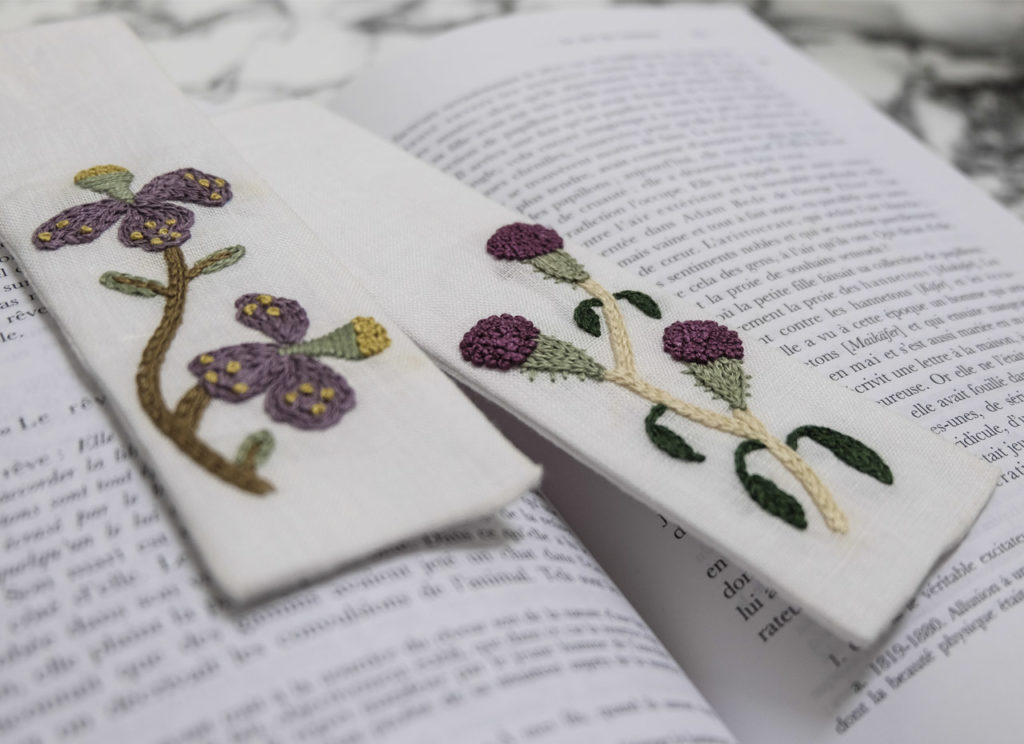
You can create as many bookmarks as books to read… Diversifying patterns and fabrics !
(NØ) can’t wait to see your own creation ! And don’t forget to review traditional needle embroidery stitches here and there ! (NØ) is also happy to share with you some profesional embroidery tips learned in Haute-Couture Ateliers in Paris for creating beautiful embroideries.
This is summer holydays…
For the lucky ones, it is now time to relax, take some days off, enjoy sunlight, dream a bit, in short, optimize your chance to be creative again! (NØ) covers today the basics of Macramé. A very simple and light DoItYourself since you would not need to carry a lot of material and your bag will not be overloaded ! (NØ) thinks of you !
Get your supplies together :
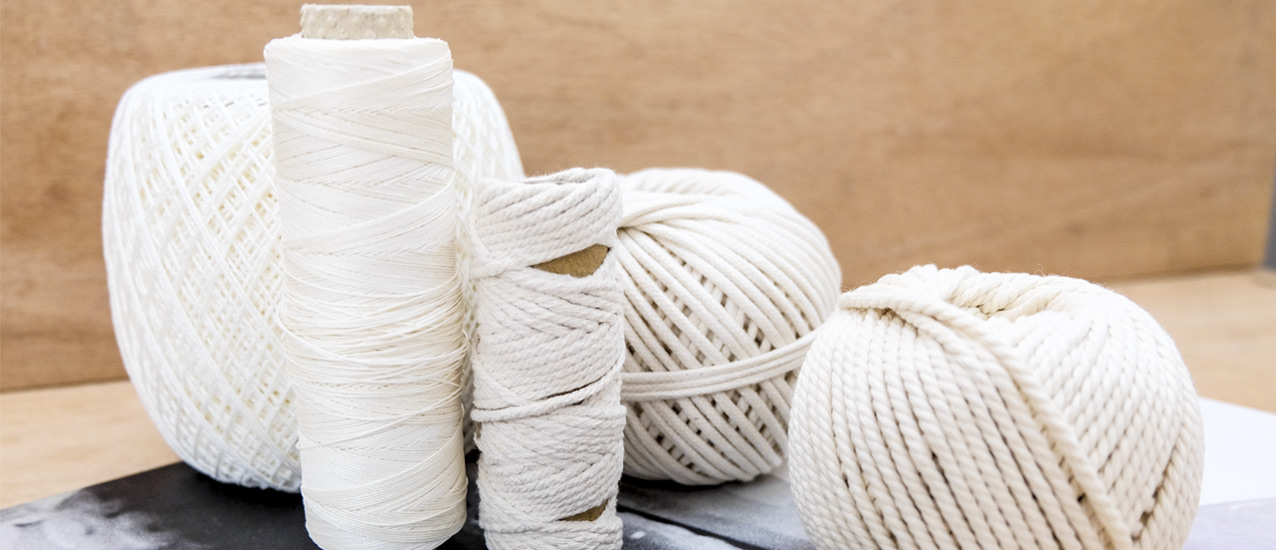
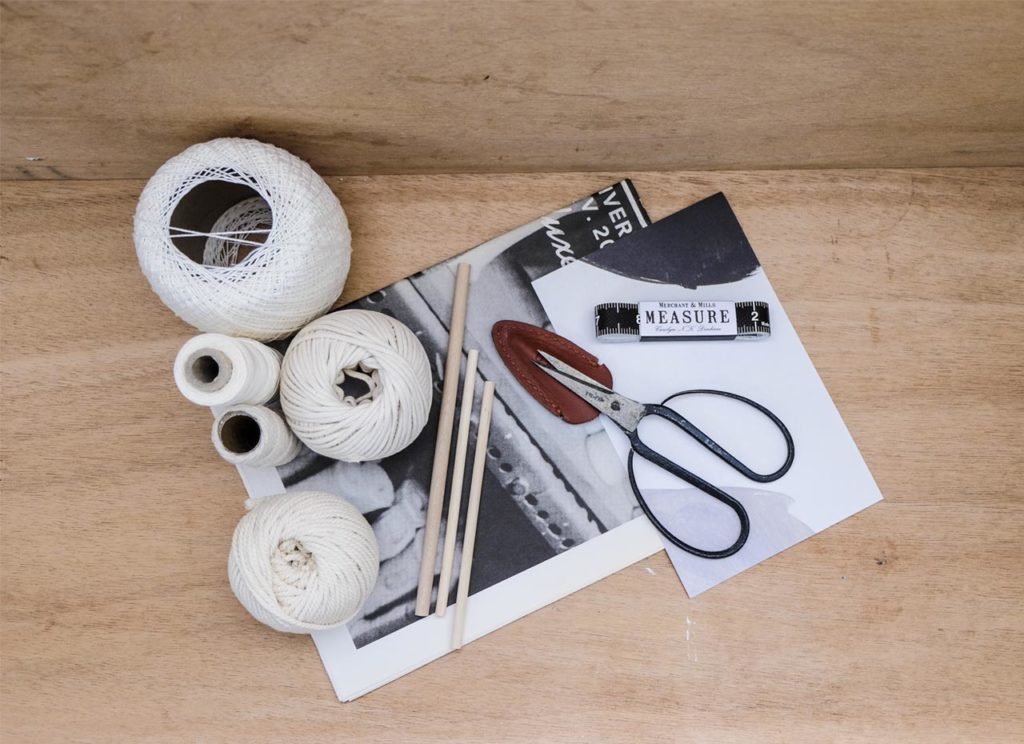
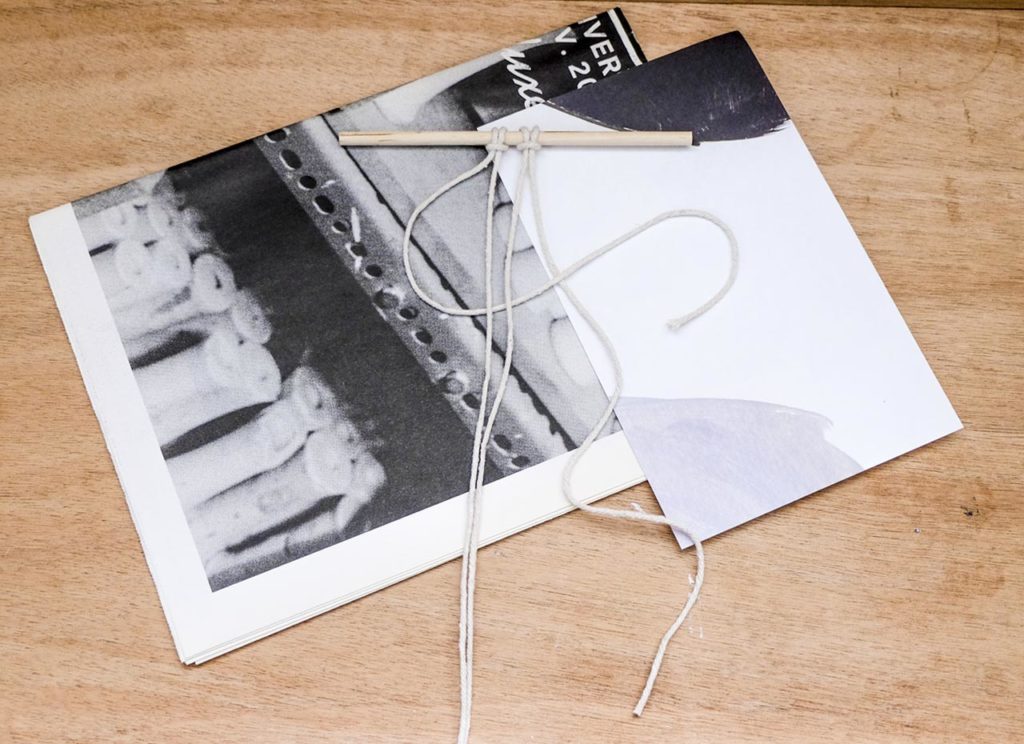
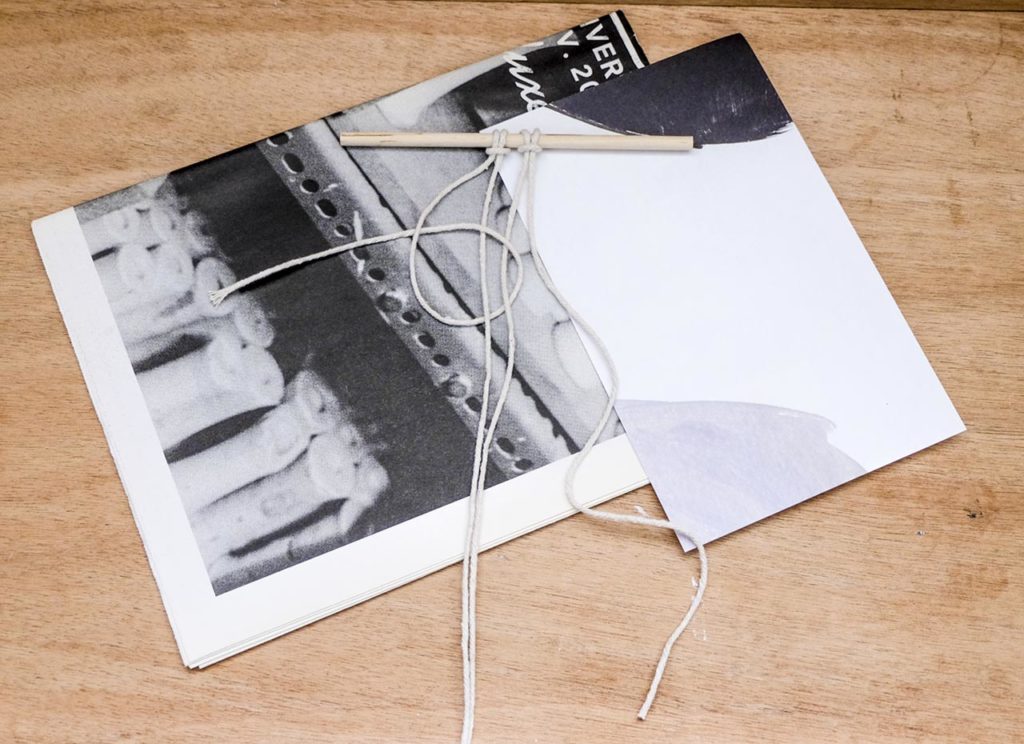
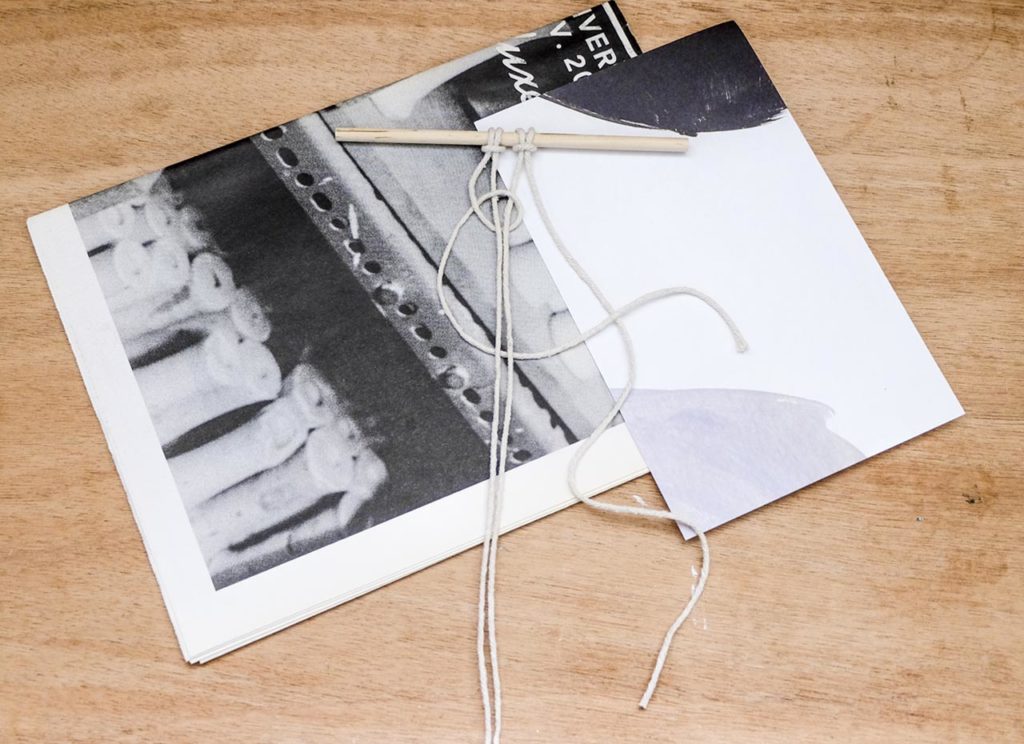
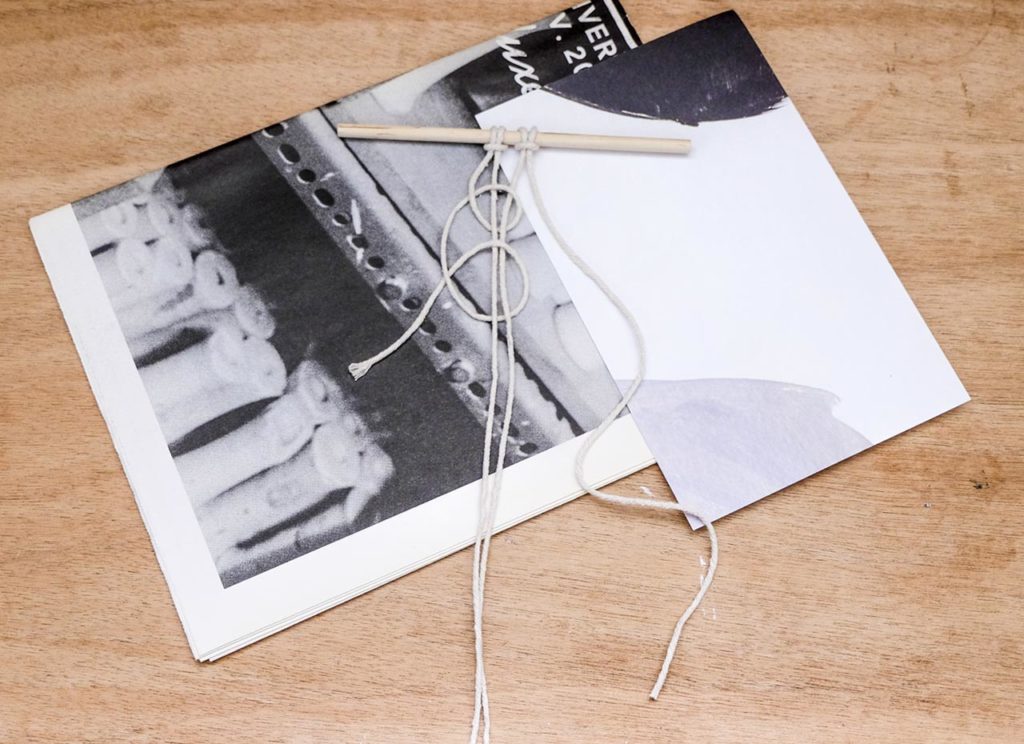
– Scissors – Some cord, thin rope (cotton, hemp, linen…) or a ball of twine or knitting thread… The choice is yours, depending on your project and the width of the cord. – A thin stick, a nice little wooden branch would actually do the job!
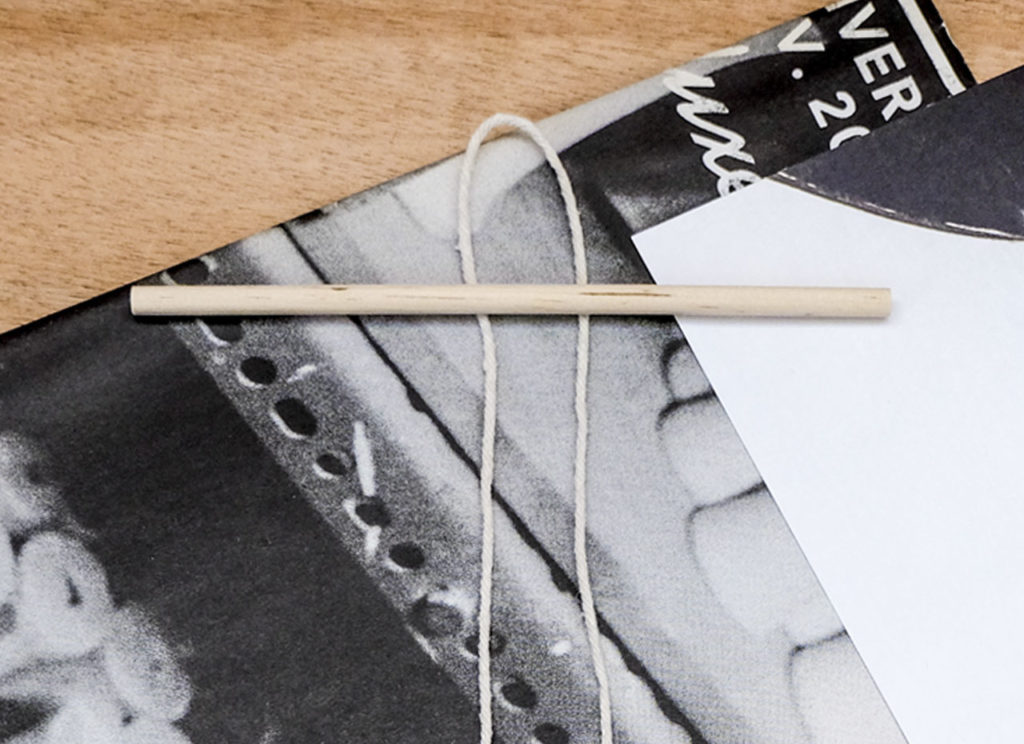
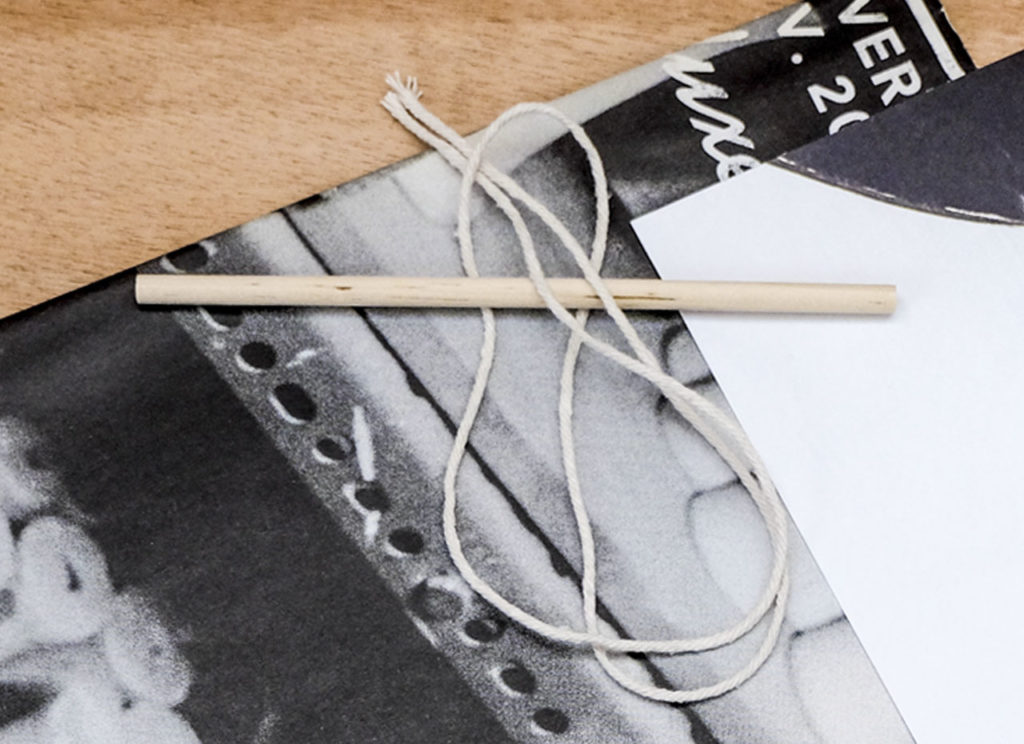
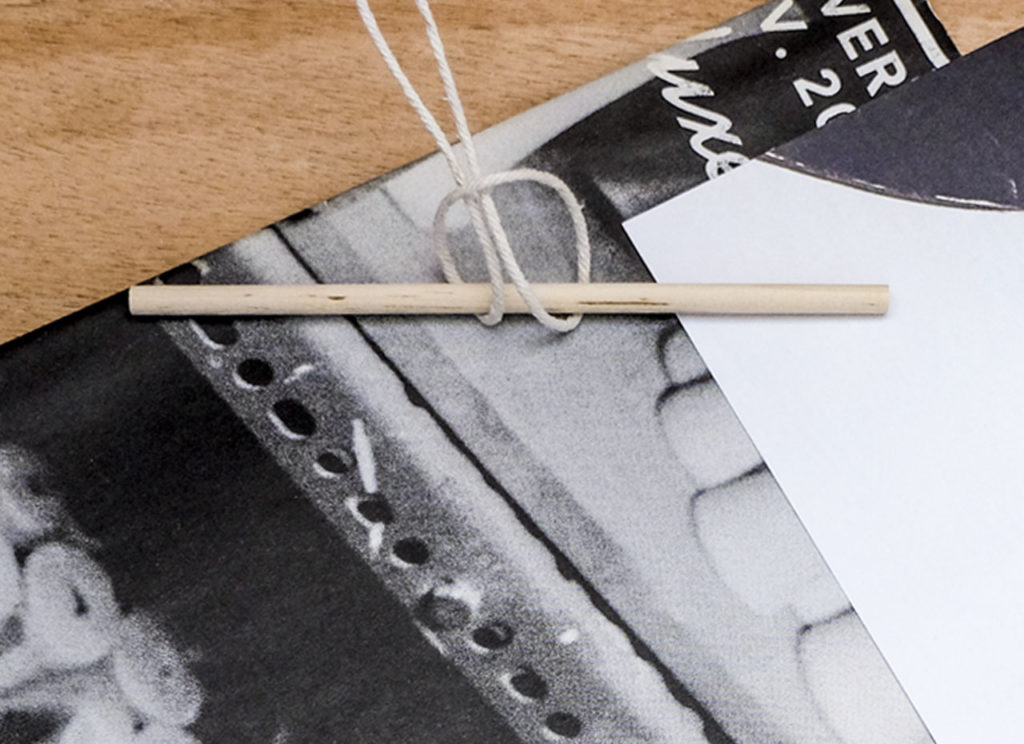
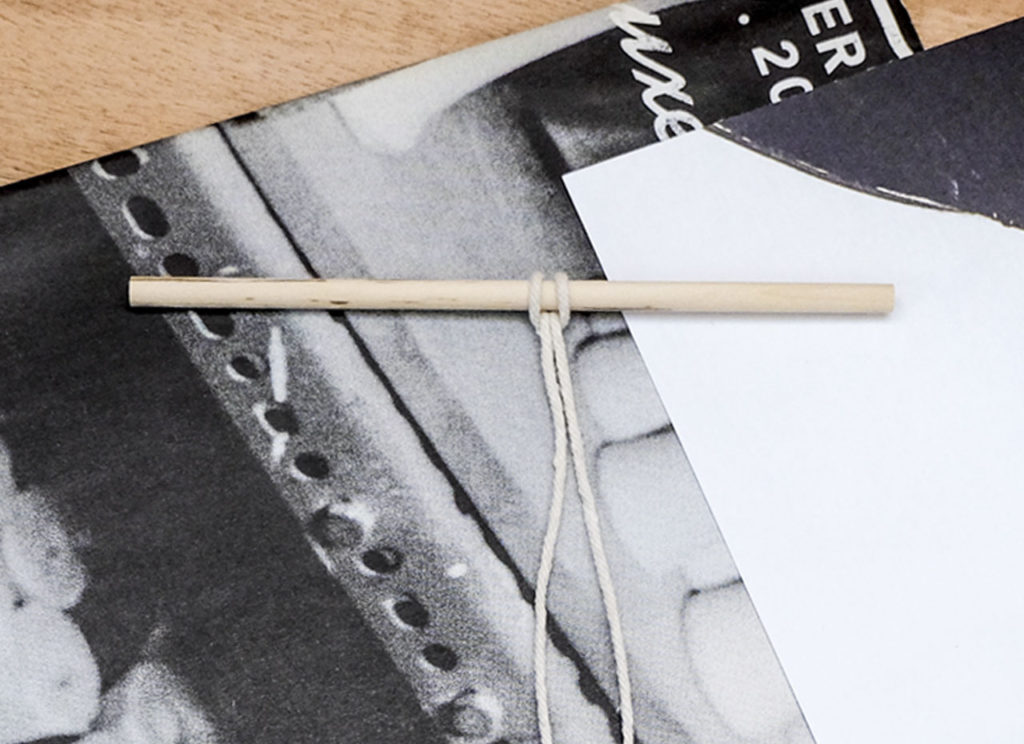
Macramé, Lark’s Head Knot :
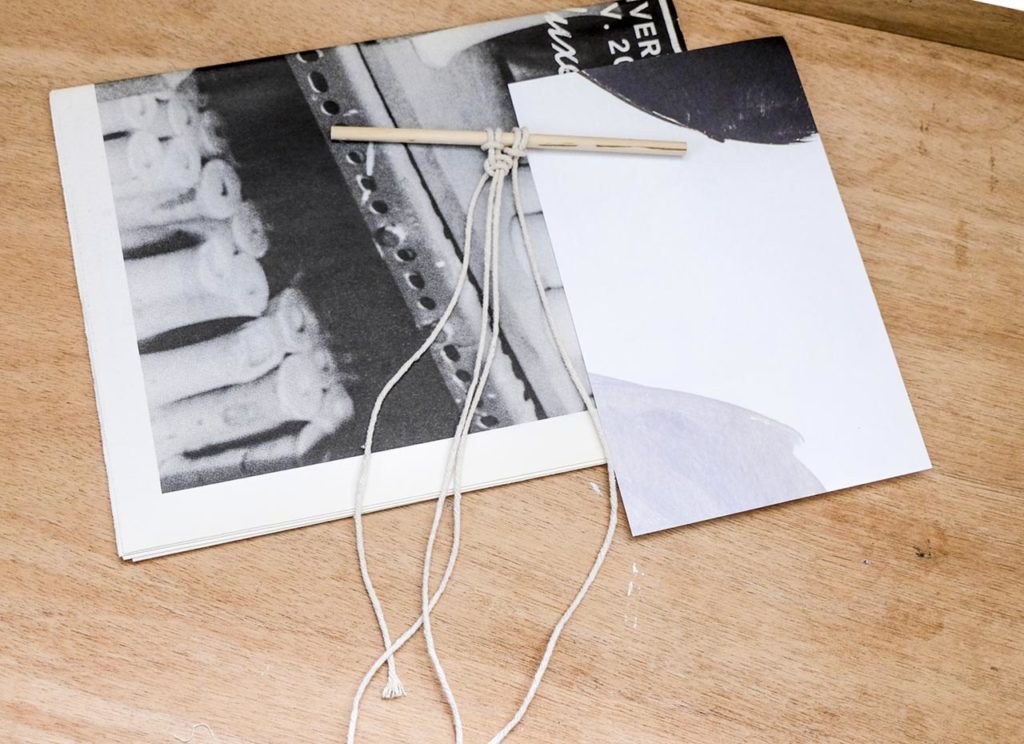
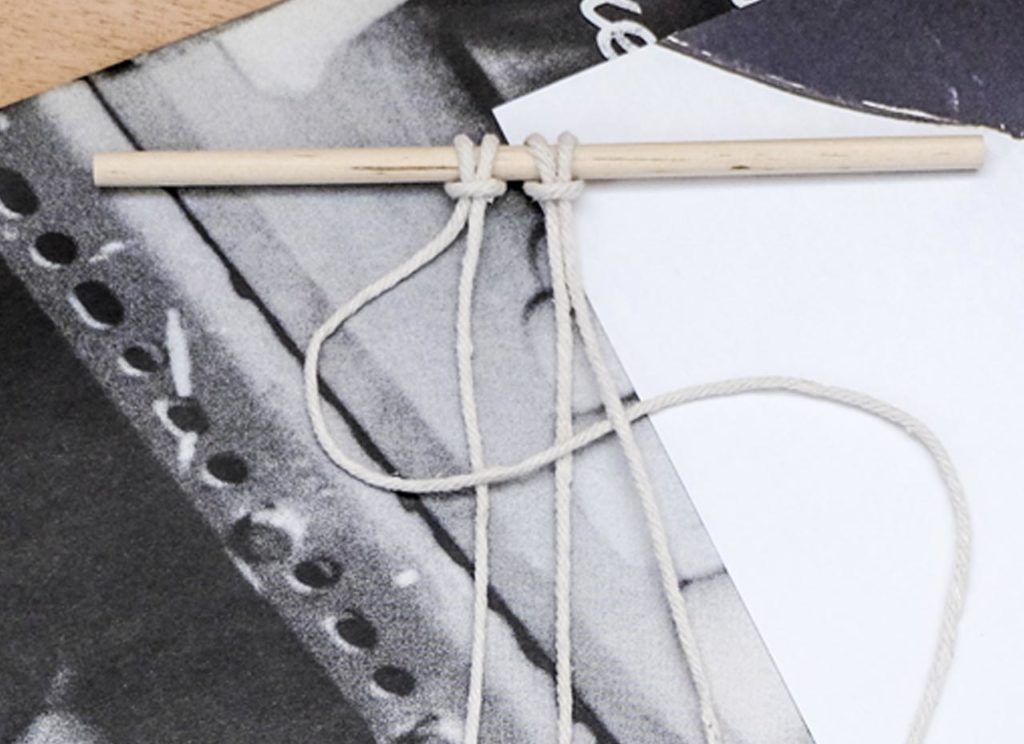
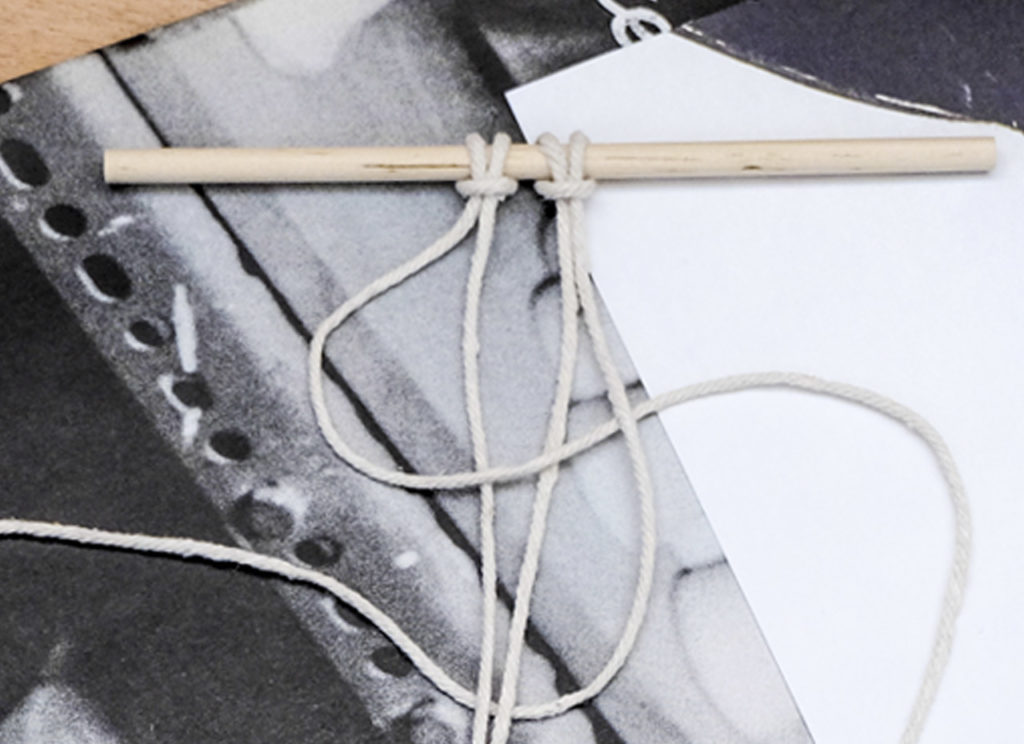
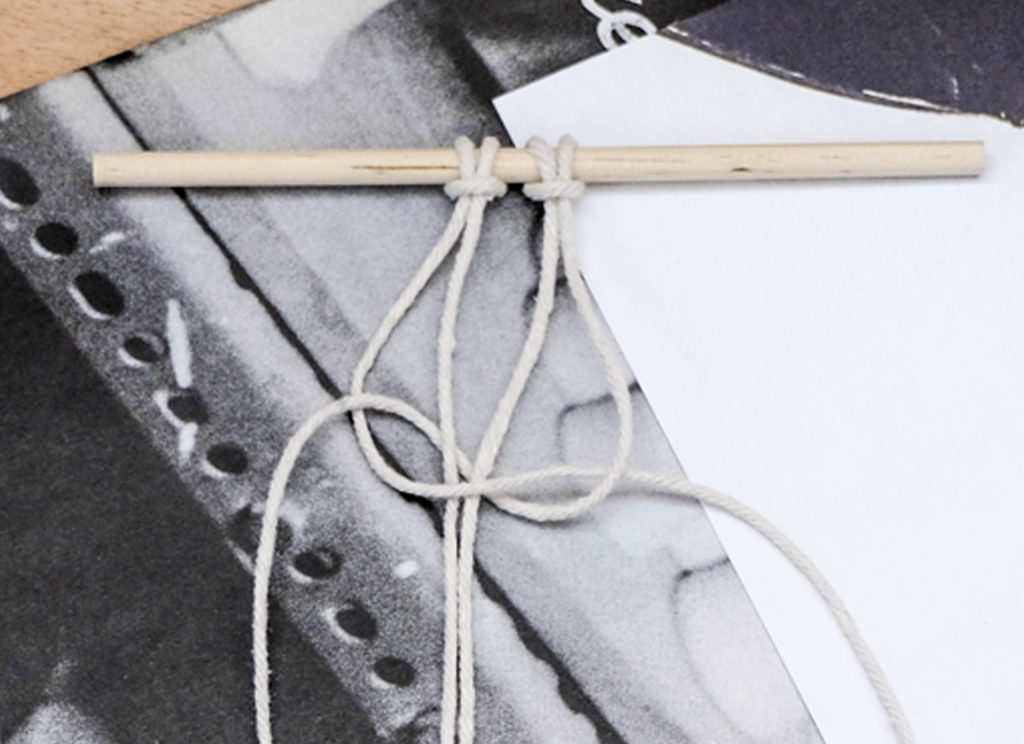
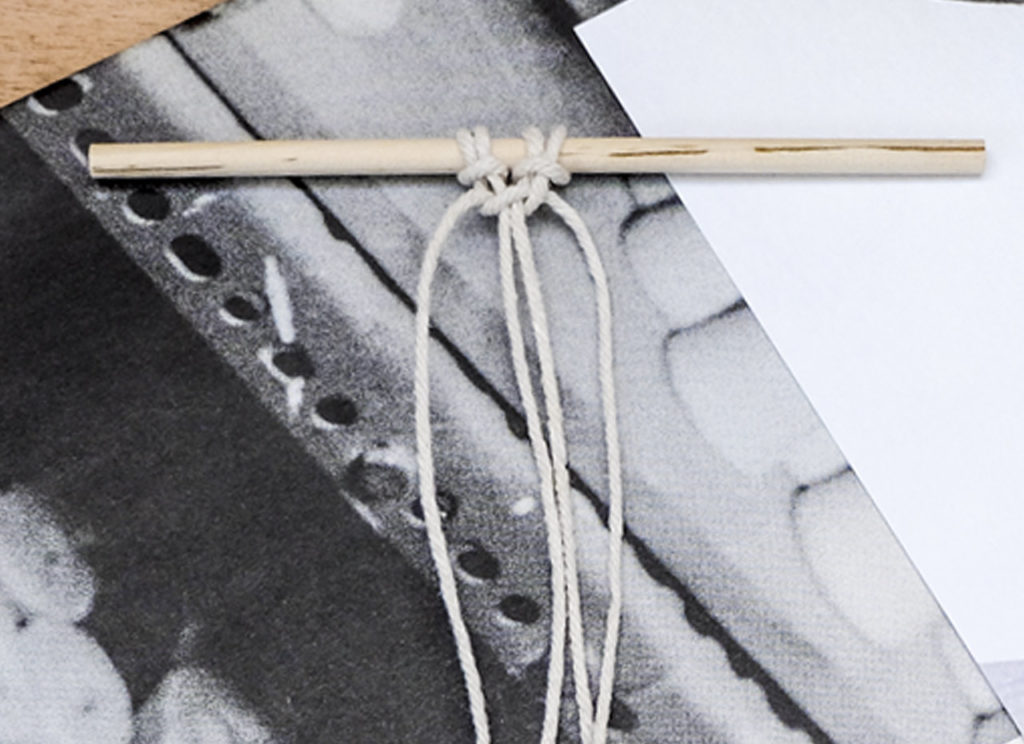
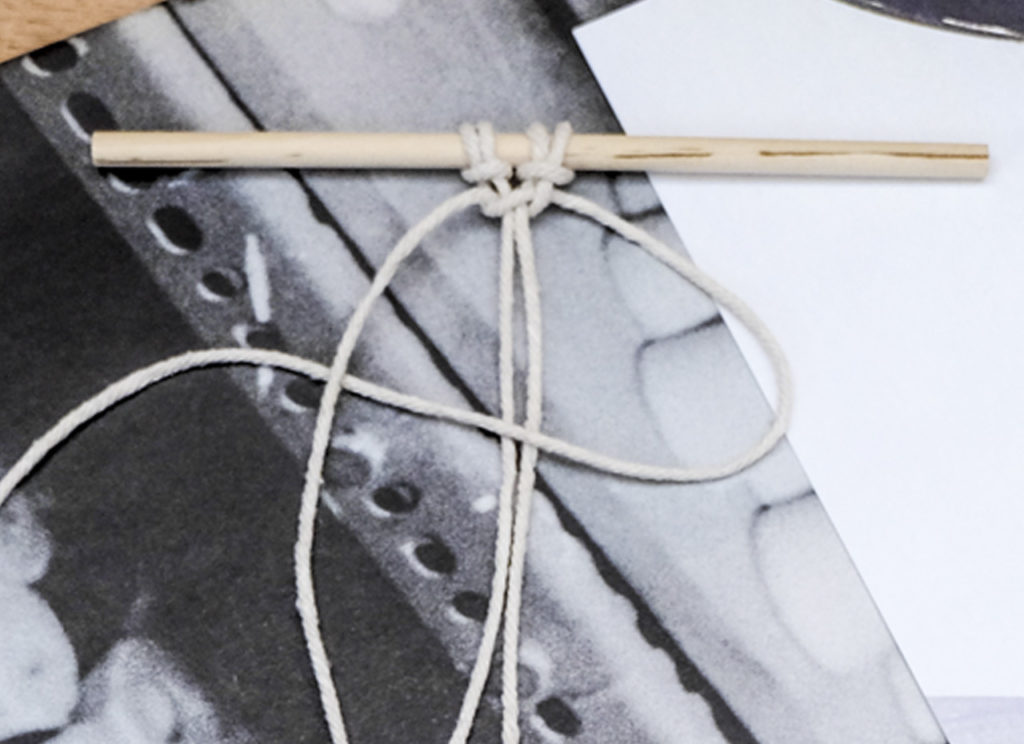
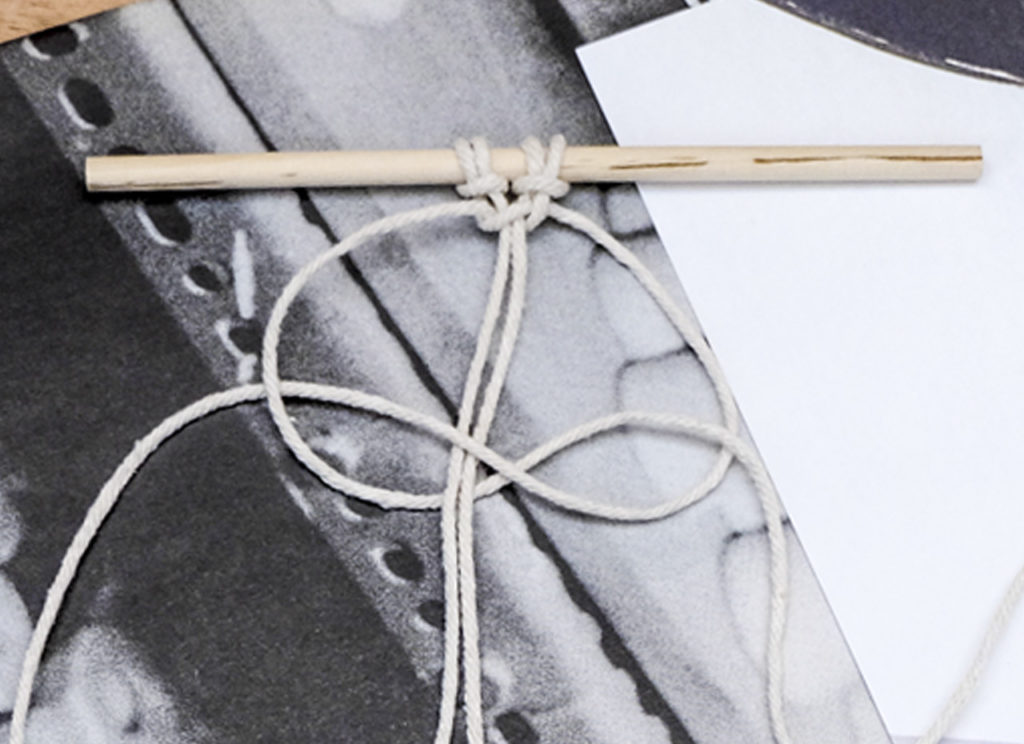
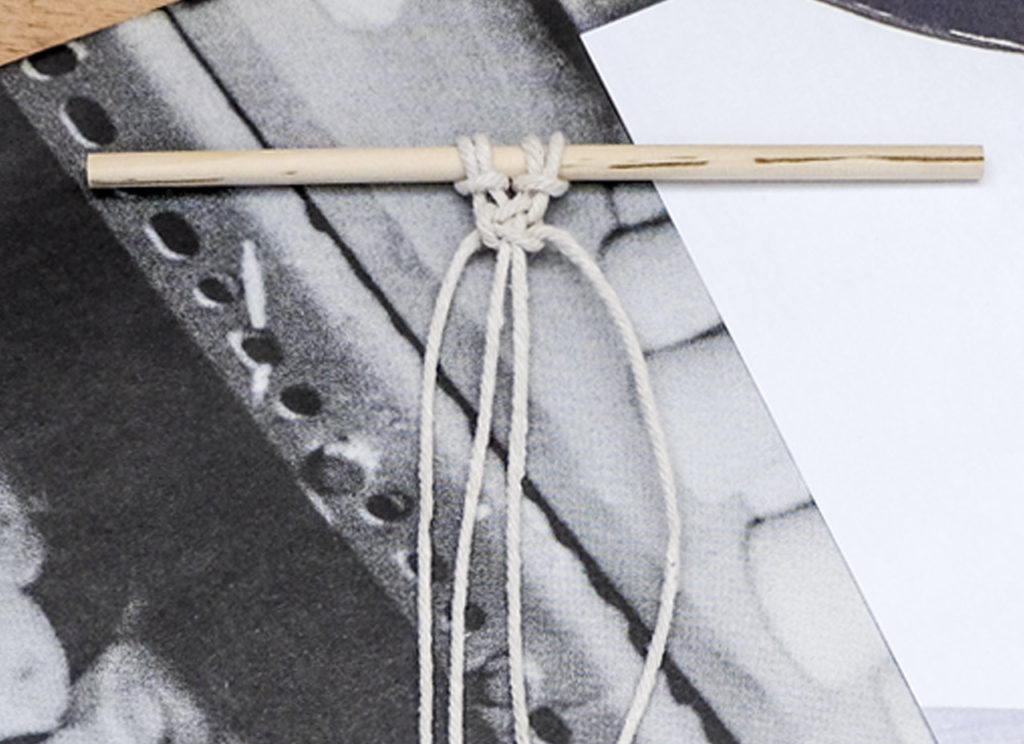
Here is how to position the cord against the stick. Follow the step-by-step :
Macramé, Half Hitch Knot :
Here is one of the most popular Macramé knot… Follow the tour !
Macramé, Square Knot:
Now the third knot you will need to start your Summer Macramé !
BoHo Macramé :
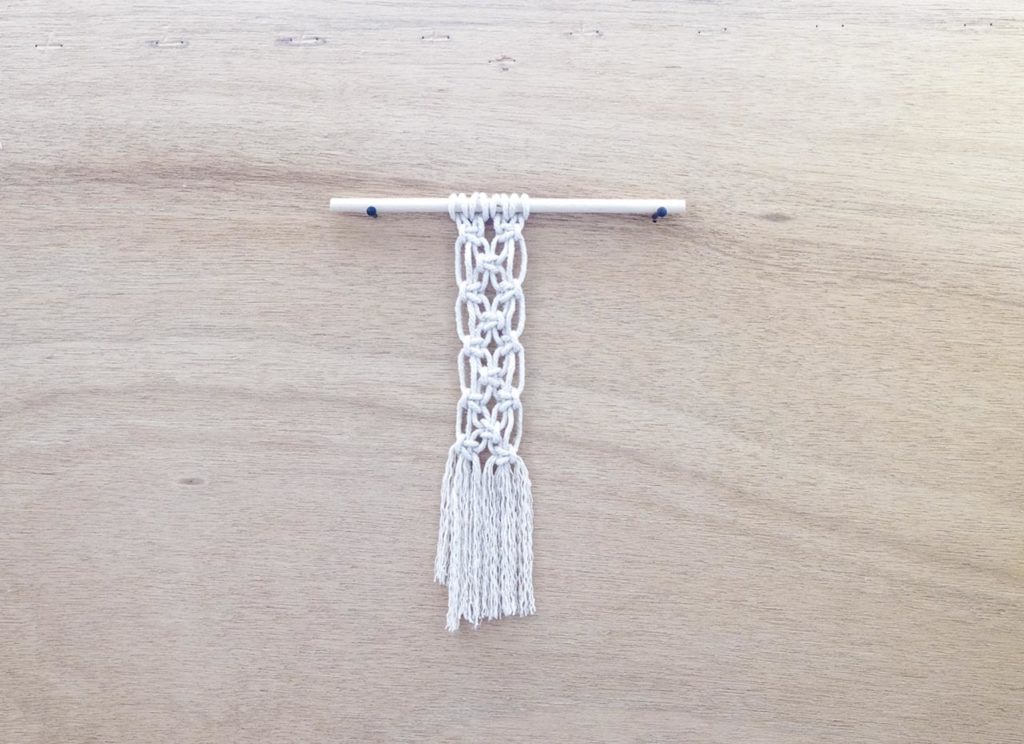
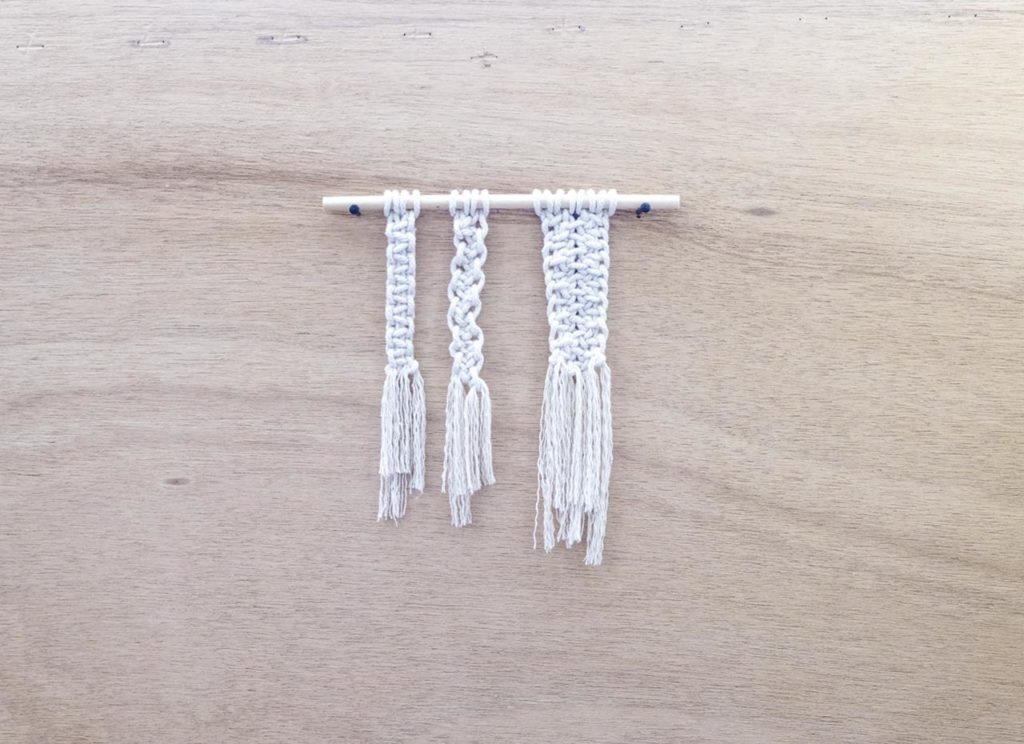
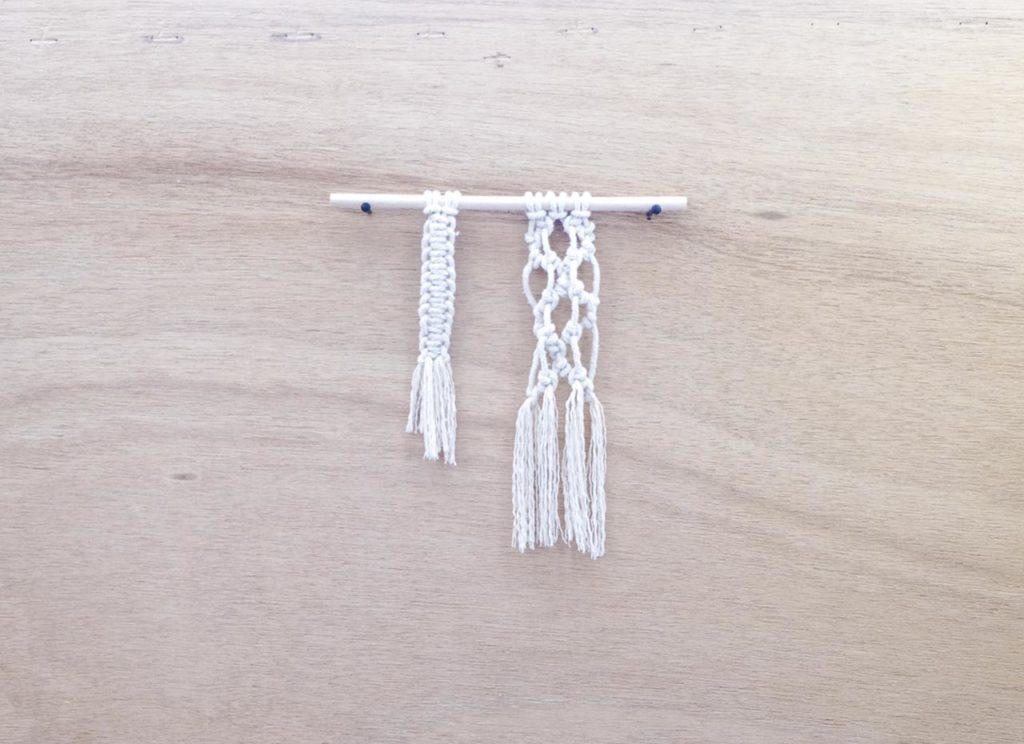
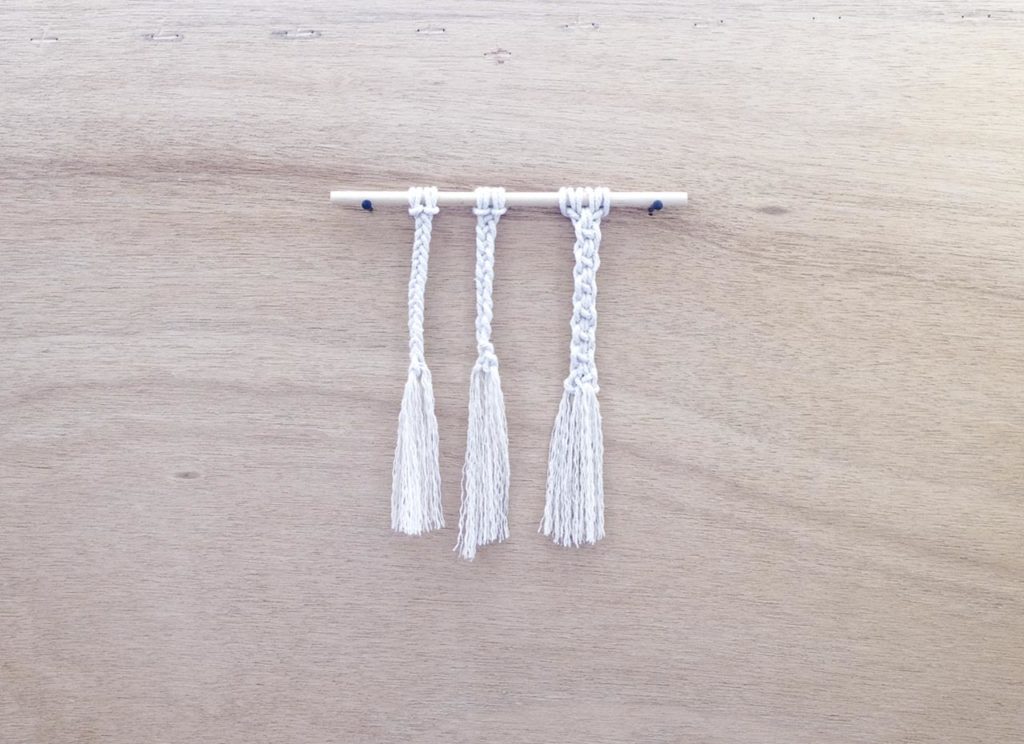
Here are some examples of macramé you will be able to make using the three basic knots we have just discovered !
ssome Square Knots loosely bindedTighten Square KnotsIdeas using Half Hitch KnotsHere are some ideas to braid 4 or 6 threads together
Et voilà !! You know the three basic knots to start a cute little Macramé project for the summer… Key chain, hanging basket or planter, there is no limit !! Share with us your summer creation !
Today (NØ) shares with you some of her embroidery secrets… Some simple yet effective ways to get a neat and steady work when you decide to hand-embroidered “something” !
The embroidery basic supplies :
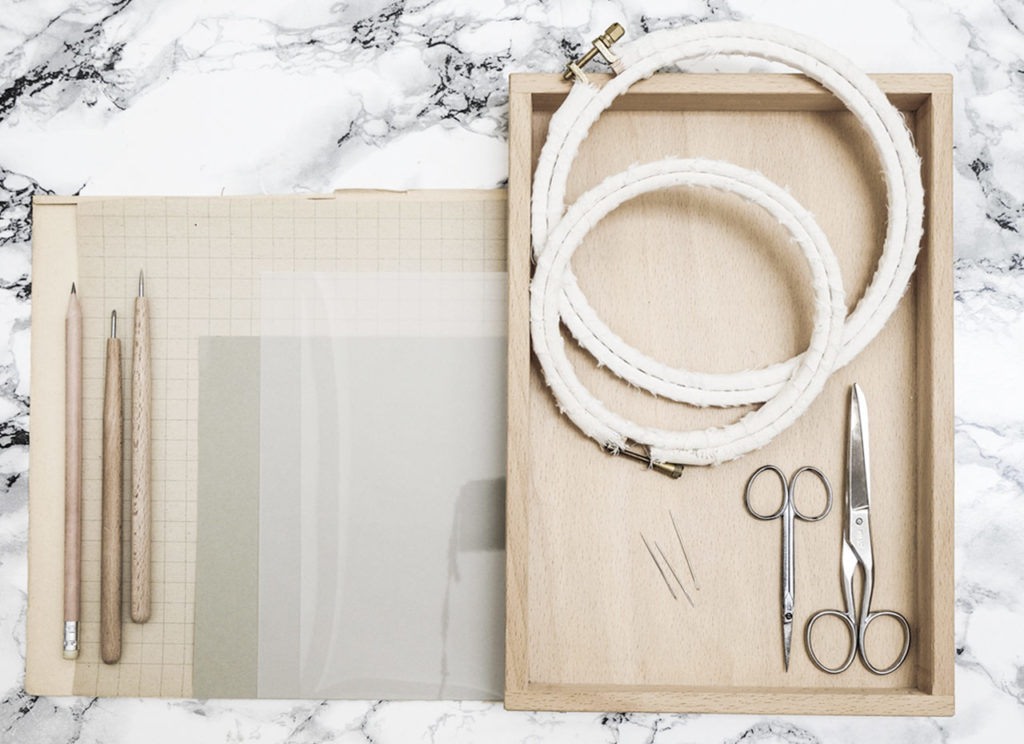
– Dressmaker Carbon Paper : it is used to transfer the pattern onto the fabric. Prefer a white paper if your fabric is dark and a yellow one if your fabric is light (less visible). You can also use a water-erasable pen. – Tracing paper : (NØ) uses it to sketch the patterns and make the required modifications to adapt the drawing to the project. – Plastic film : it serves as a protective layer to avoid accidentally piercing the tracing paper while transfering the drawing onto the fabric. – Metallic Graver : (NØ) uses it to reproduce the patterns with the carbon paper. – Scissors : You should only use them to cut the threads and fabric material to not blunt them. – Embroidery-Frame or Embroidery-Hoop : They are essential elements to keep the fabric average taut and allow a more detailed and faster embroidery. – Embroidery needles : they have an average lenght and a rather long and thin needle eye. The size 22 is adapted for 6 threads of DMC Cottonfloss or Soie d’Alger or similar, the size 24 or 26 would be better if you use only 2 or 3 threads of those floss and the thinner one size 28 will be the best choice for embroidering only 1 thread.
Hoop and Needles, (NØ)’s Embroidery Tips & Tricks :
– Bind your embroidery hoop using a 2cm-wide ecru cotton strip. Start winding the fabric strip slightly angled around the hoop and continue until you completed the diameter. This little tip helps maintain the fabric taut while preventing it from slipping between the two circles. – The size of the needles plays a critical role. First you will not spend hours in threading them and second, when you pass the needle through the fabric, the little hole formed by the needle will help the thread to pass through too without damaging the fabric or the thread.
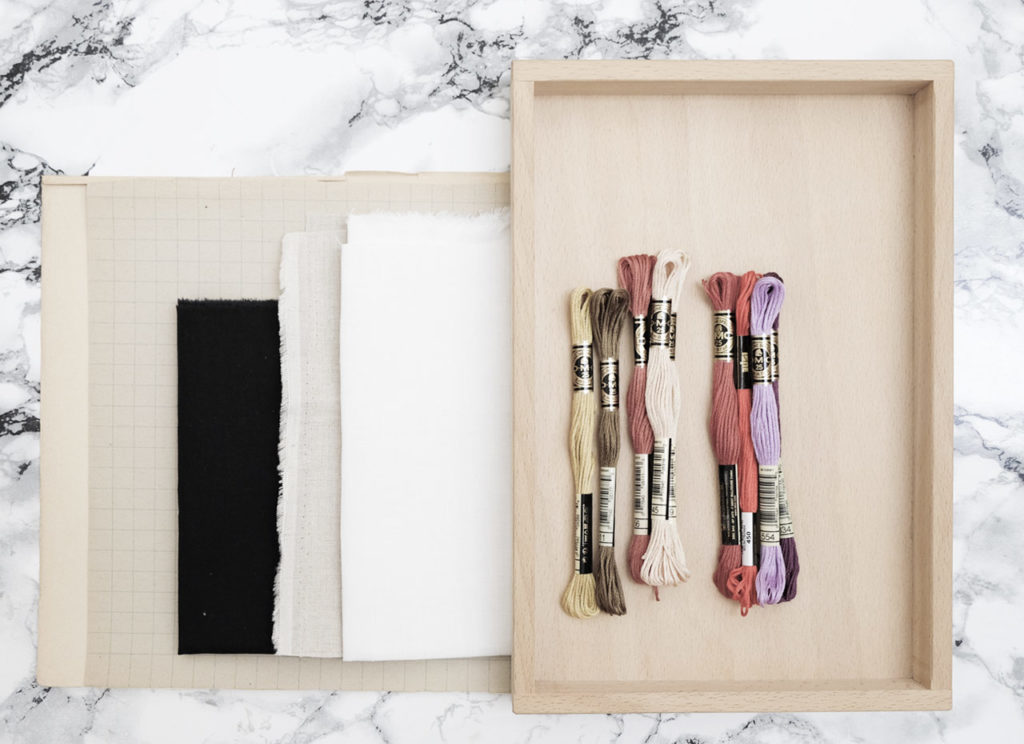
– DMC Cotton-Floss : 6 ply that you can use separately, the colour range is really beautyful. These threads are easy to find and embroider. Every pack contains 7 meters of thread. – The fabrics: you can embroider on any type of fabrics (leather, plastic, non-woven…) but as a start linen or cotton canvas are the best way to practice your skills, easy to punch, washable, soft, those canvas are also very affordable.
Threads and Fabrics, (NØ)’s Embroidery Tips & Tricks :
– Cotton thread is very easy to use but you can also shift to the Soie d’Alger, a wonderful silk floss from “Au Ver à Soie” (6 ply silk….), harder to find, but the beautiful glow and vibrance of the colours and the matter are one-of-a-kind! Or look after the Appletons’ wool thread (originally used for Crewel embroidery) or threads for tapestry such as wool thread from Aubusson. – To avoid the work to deform, don’t forget to wash the fabric before using it.
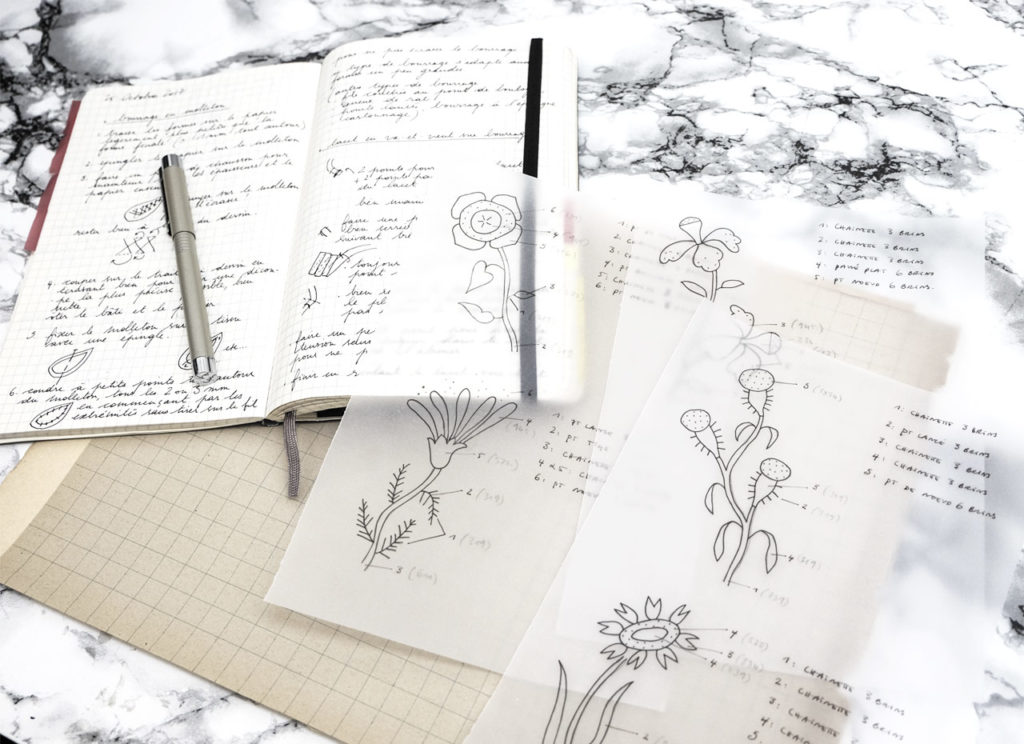
Sketching for Embroidery Pattern :
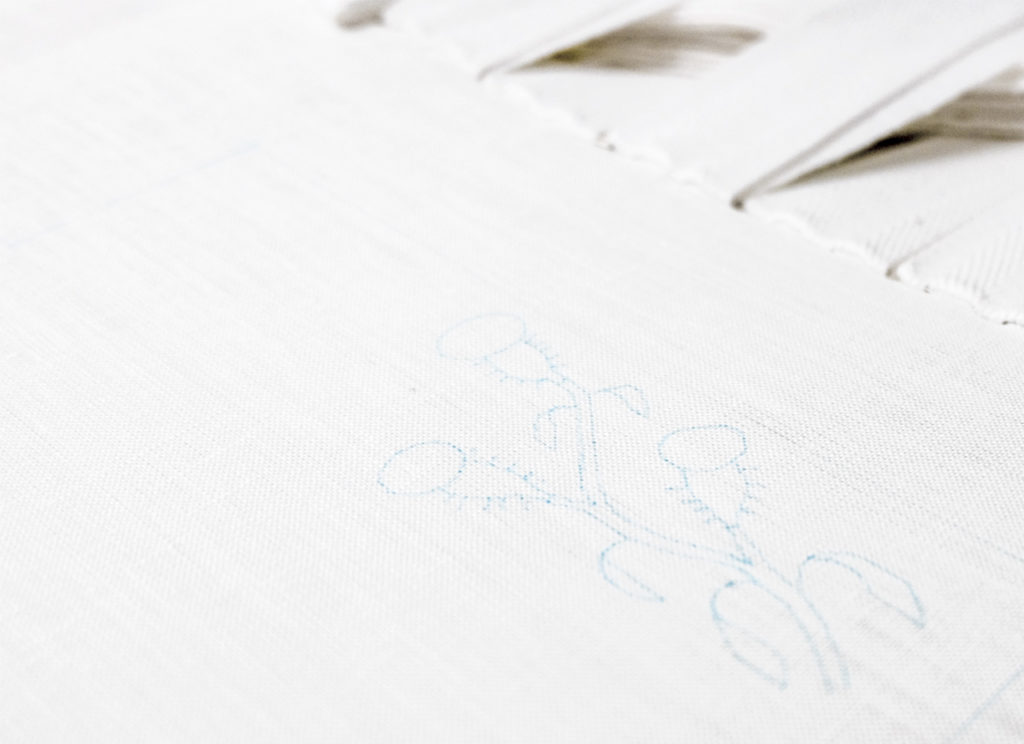
Draw the pattern on the tracing paper (size it according to your final project), place the inked-in side of your carbon paper against the fabric, the tracing paper with the pattern on top and then the plastic paper on it. Pin carefully so that everything stays together during the drawing phase. Mark the pattern edge using your mettalic graver.
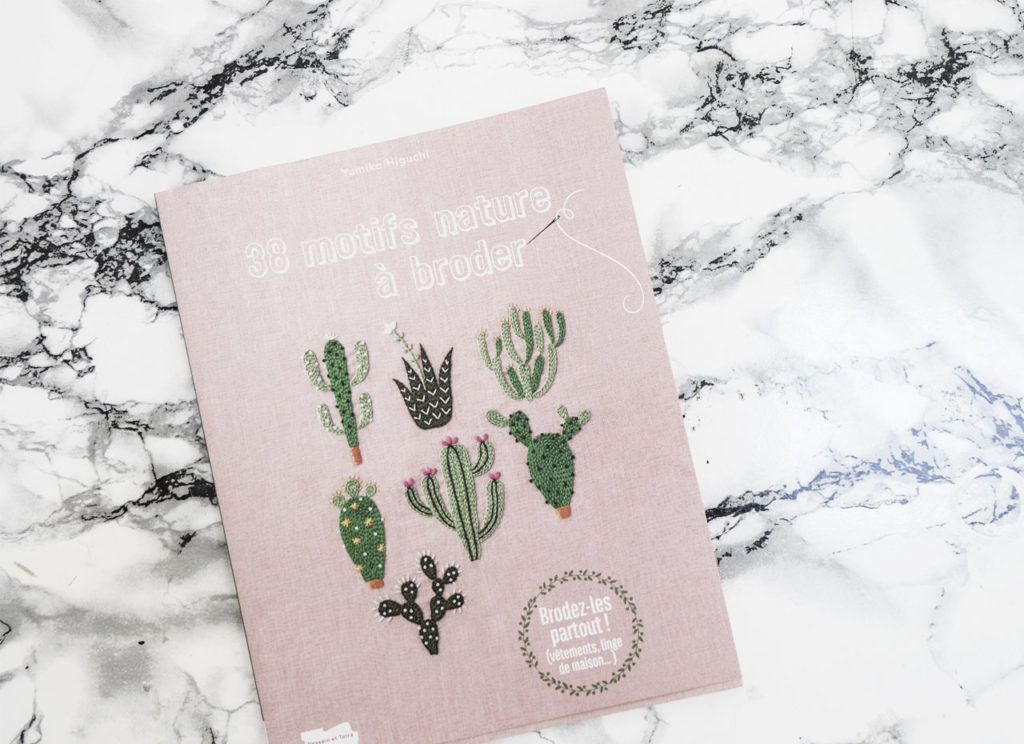
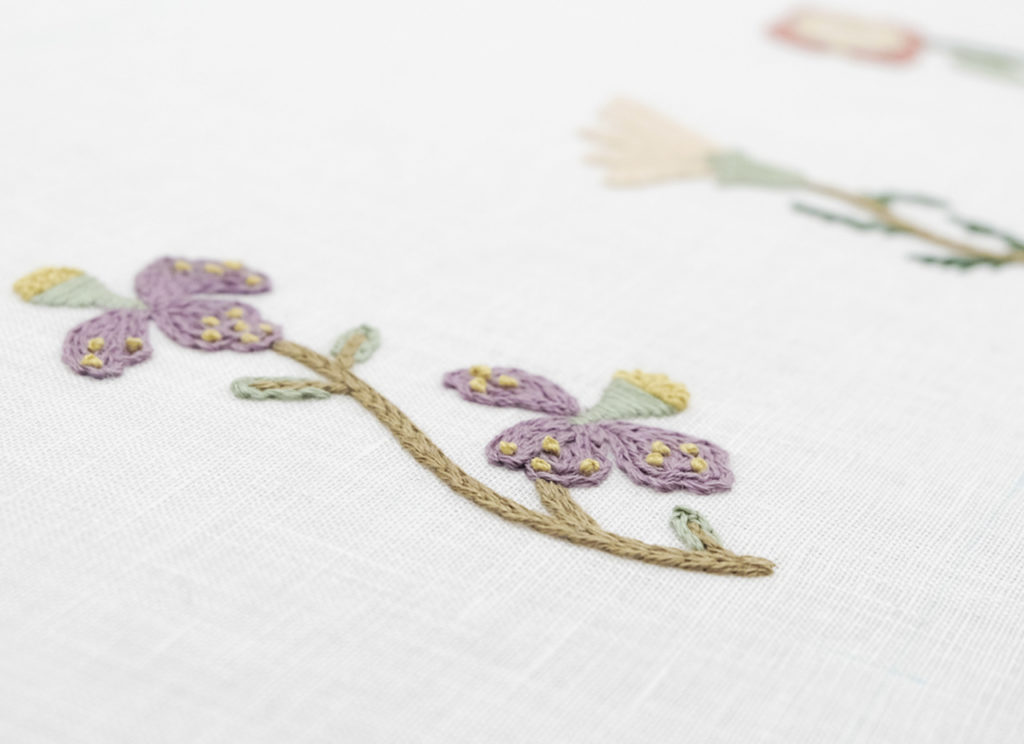
For this particular project, I (largely) took inspiration from patterns created by the embroidery artist Yumiko Higuchi who produce a delicate, amusing and poetic work. You can visit her website or follow her Instagram account to get new ideas. Of simply buy one of her many books for getting access to colourfull embroidery patterns .
– Adapt the shape and the size of your pattern to the final project. You can remove a leaf or change the angle of the flowers stem… The tracing paper is perfect when you want to make modifications.
Needle-Embroidery time !!
Keep the fabric taut on the embroidery frame or on the hoop, using the embroidery hoop screw …
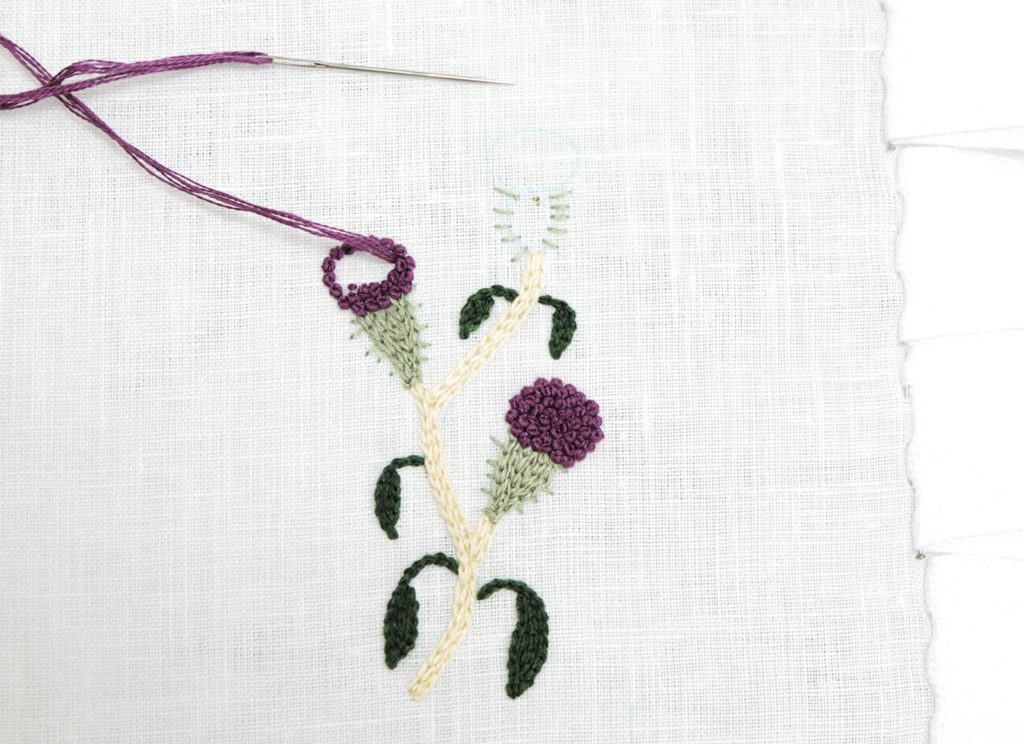
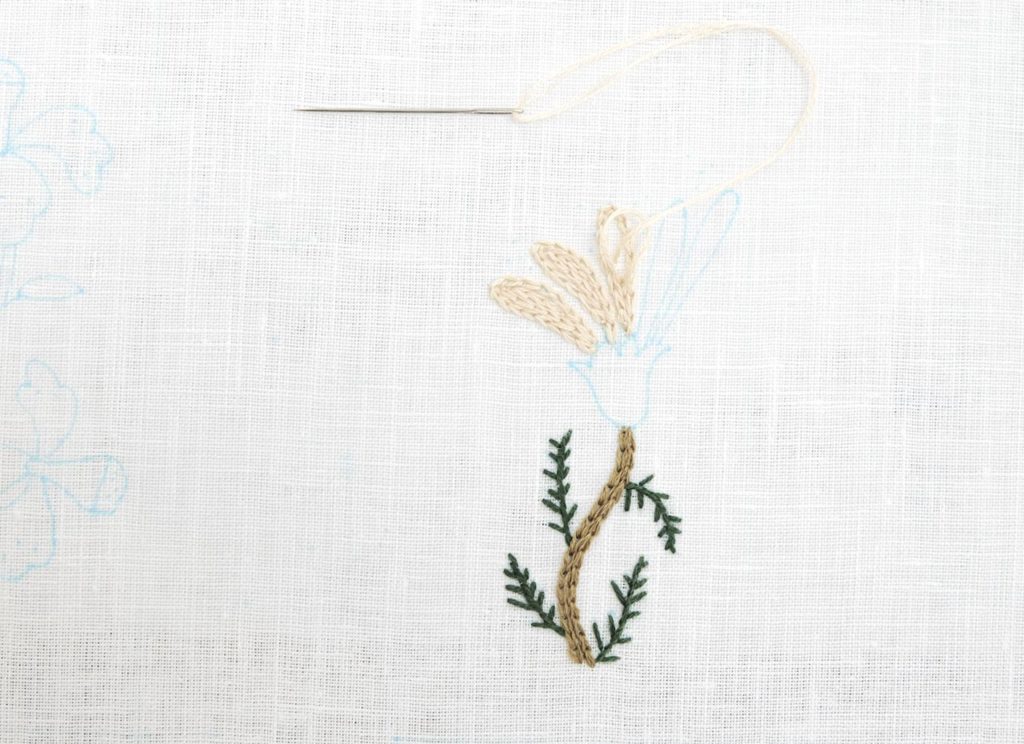
Before getting started, think of the order in which you will embroider your pattern. For instance, start with the leaves, then the stems, the flower petals and the calyx, or the opposite depending on the pattern …
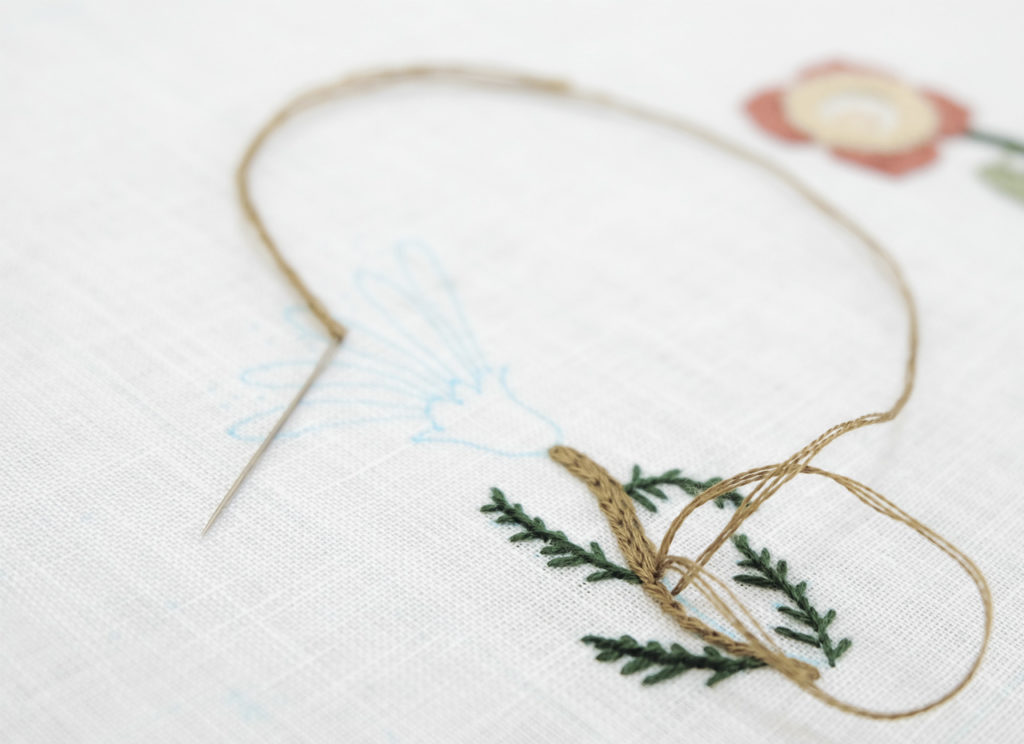
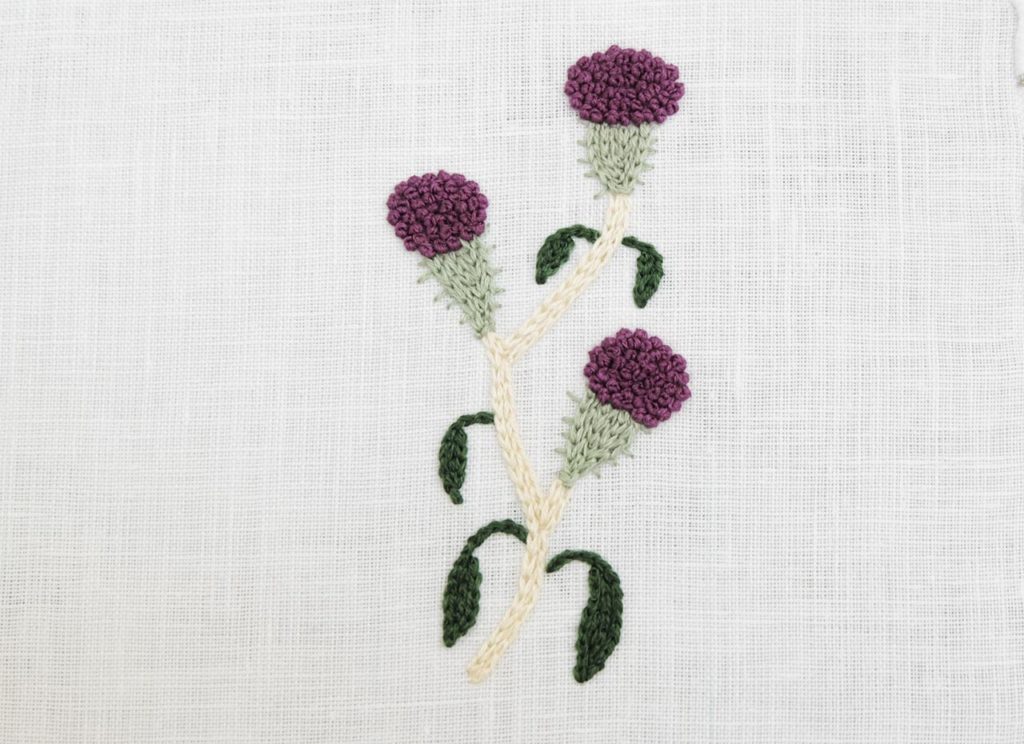
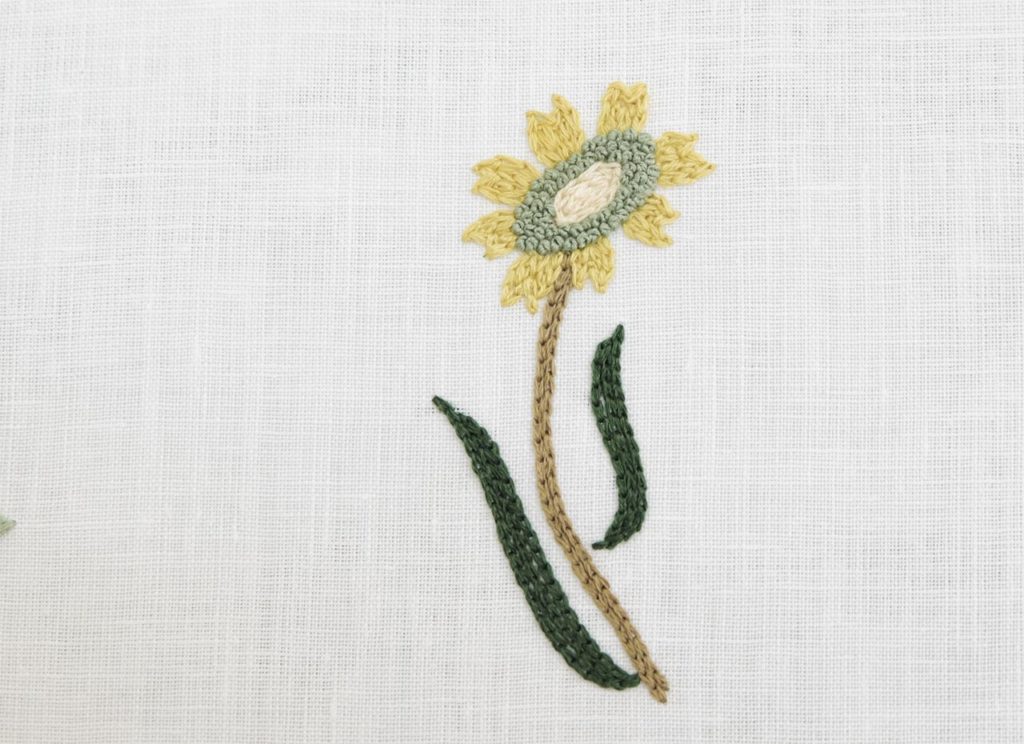
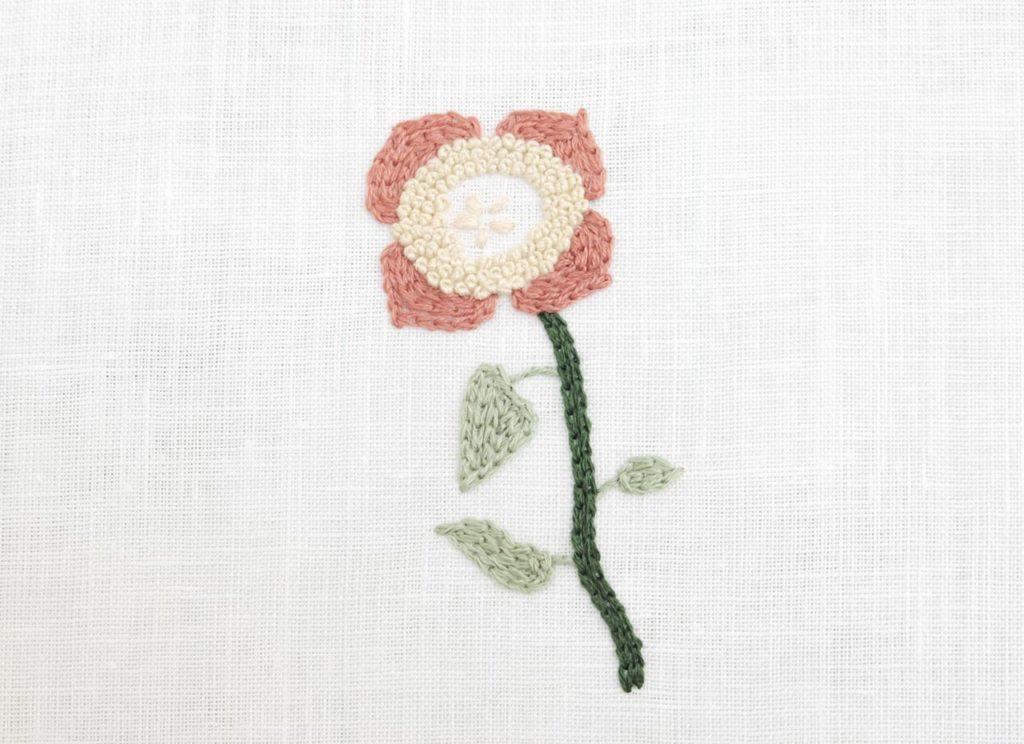
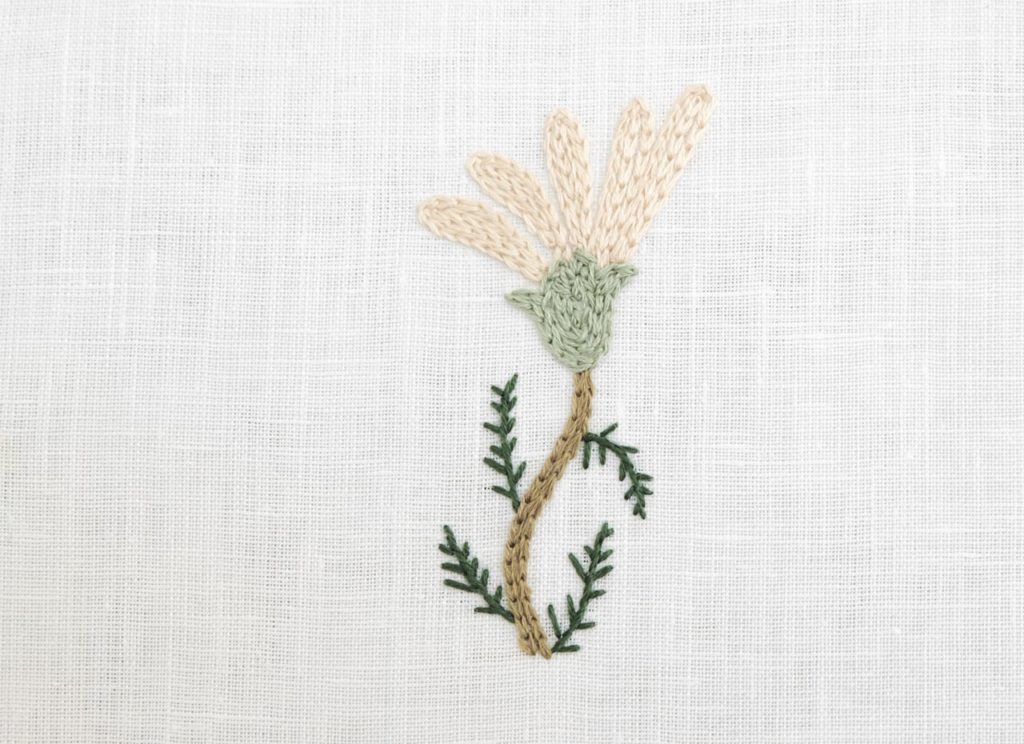
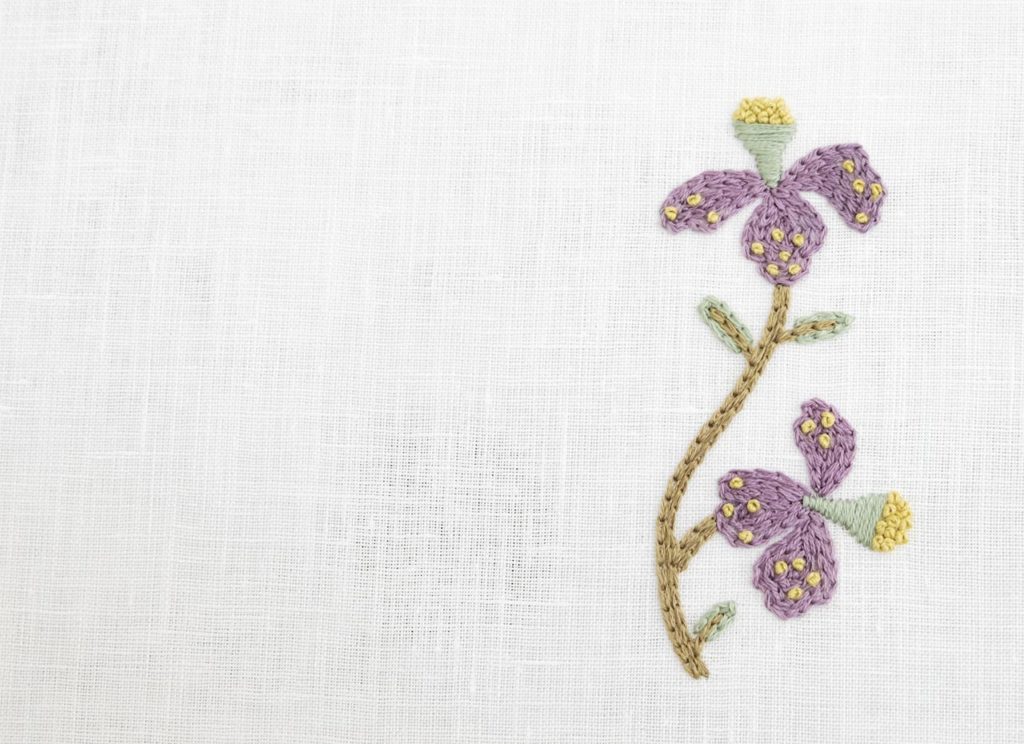
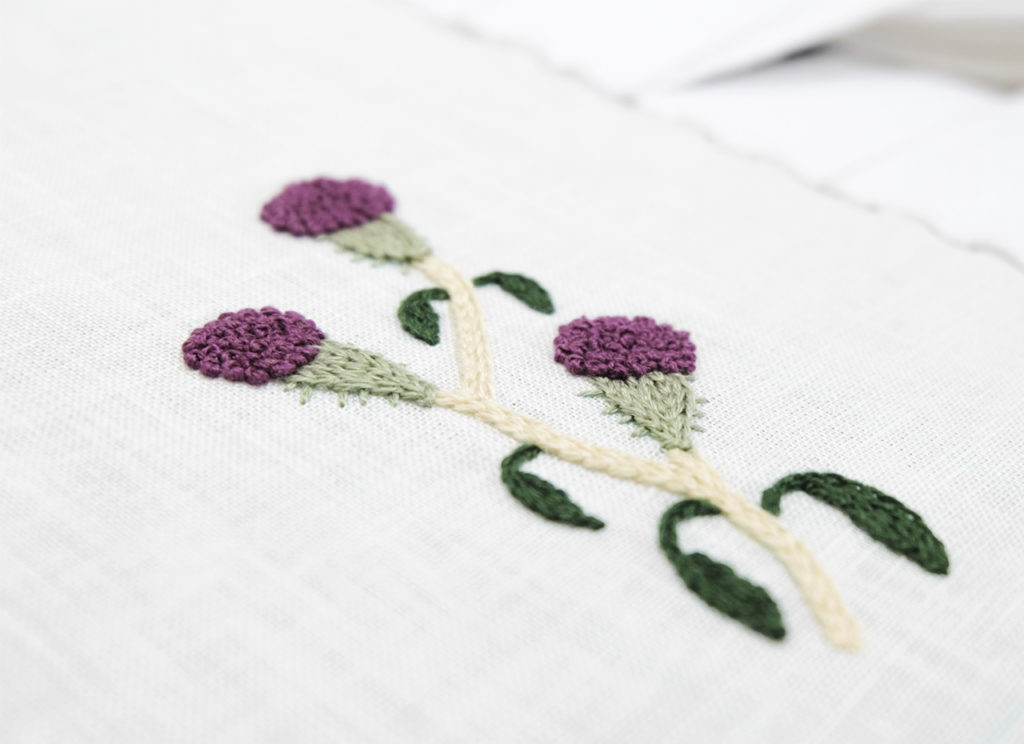
The stitches that I have used in these examples are : – Chain-Stitch – Stem-Stitch – Single-Stitch – French-Knot To learn how to do those embroidery stitches, have a look at this previous article, ( Stich by Stitch #01 ). you will find detailed explanations and illustrated tutorials to perform your embroidery !
– Prepare the thread splitting the ply one by one. Take the necessary plies, even if you need 6 plies, splitting then beforehand will help keep your work smooth and steady . – Cut between 50 to 60 cm of thread, no more ! If the threadis too long, you will lose much more time passing the thread through the fabric and most critically, you will fray your thread.
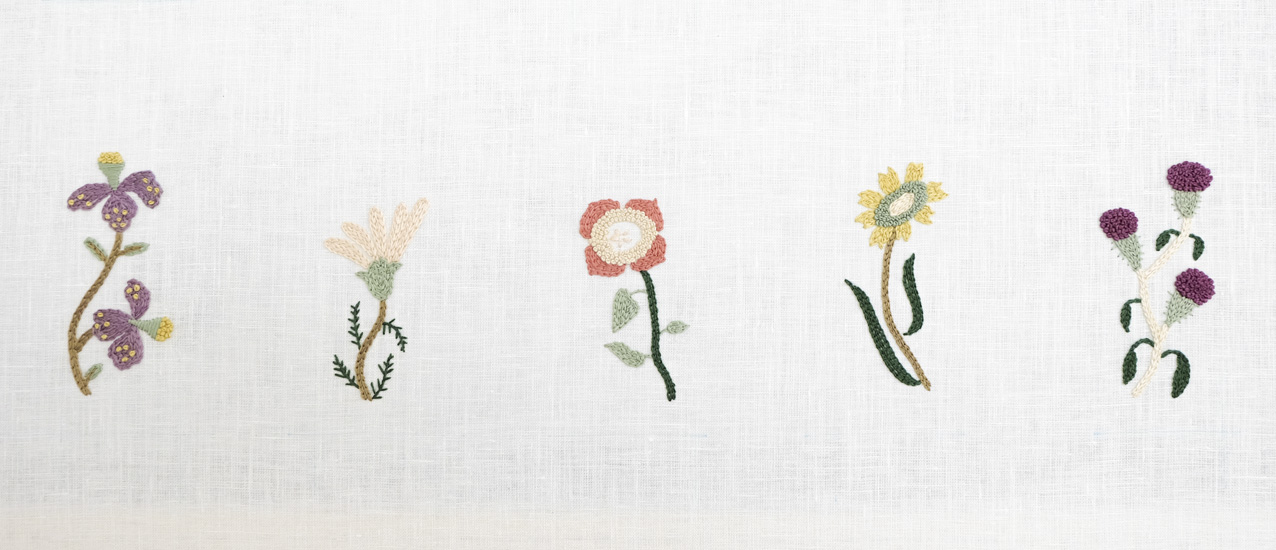
Summer Flowers Embroidery
Embroidery final preparation, (NØ)’s Tips & Tricks :
– Turn your work up-side-down and cut your threads 5 mm above the knot or slip them underneath the embroidered threads. – In Haute-Couture workshops, we gently steam the wrong side of the work without touching the embroidery about 20cm distant from the fabric. Then we let it dry before applying a “glaze” . – To finish an embroidery which is not designed to be water-washed, we apply a thin layer of special mix or diluted white glue on the threads and the knots, using your fingertips, which requires some experience to avoid stains, or alternatively, using a toothpick . In the Haute-Couture Workshops, it is said, that the quality of a good embroiderer can be recognize, between others, at the clean wrong-sides of her work… A word to the Wise…
Following (NØ)’s embroidery Tips & Tricks the result is beautiful, isn’t it ? What about you, any tips to share with us ? Don’t hesitate to leave a comment……
Find out now what (NØ) will do with those beautiful flowers…
Since end of August, right after summer holidays, (NØ) has been returning to school… Every morning, she goes to the prestigious school of art embroidery “Lesage” located downtown Paris.
Joined by her classmates coming from all around the world (Ireland, Venezuela, Germany, Japan, Argentina, Belgium, China, Russia, South Korea…), (NØ) learns, step by step, from passionate embroiderers how to master the techniques that made the Haute-Couture embroidery an Art.
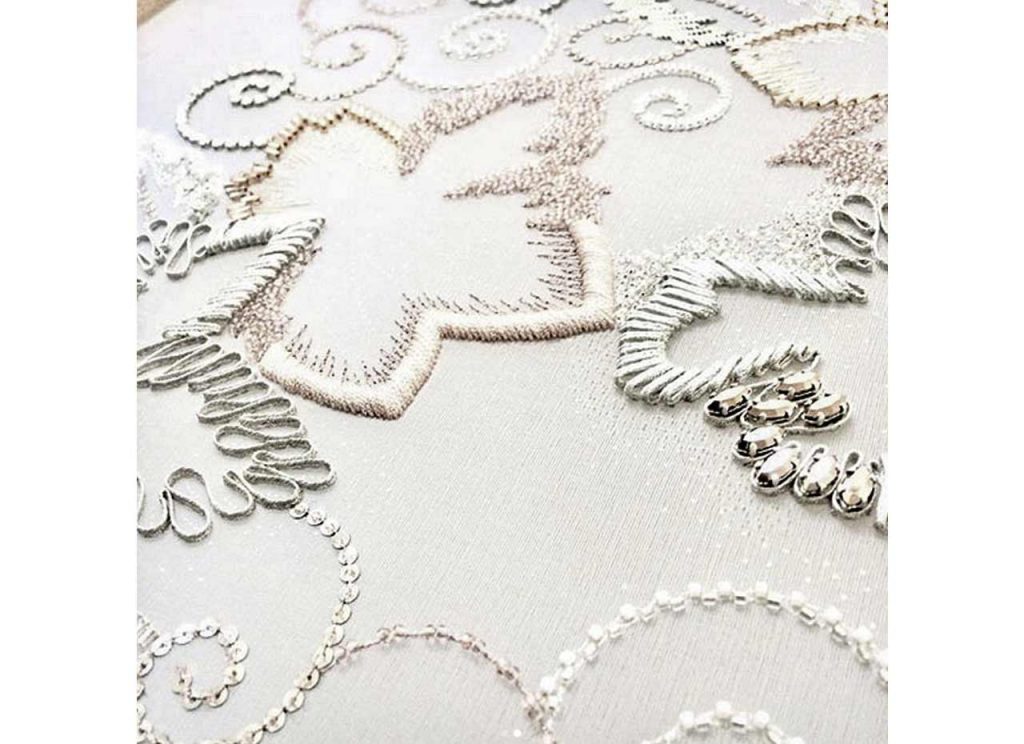
In a cosy and studious atmosphere, she discovers and learns the Lunéville hook chain-stitch, the trimmed satin stitch, the daisy stitch, applying taught leather, beads and sequins, the Boulogne stitch, applying english-style strasses, writing stitch…
The vintage names of those unique stitches remind us of the long-lasting heritage of some of those embroidery techniques, existing for more than one and a half century. One hundred and fifty years of passion, tradition and innovation (NØ) comes to share with you!
Detail of the Level 1 “Michonnet” :
Trimmed satin stitch, tubes filling, river of cup-sequins, chain-stitch filling on the right side, daisy-stitch, beads on line…
Exactness and discipline are required to learn how to maintain the stitch direction !
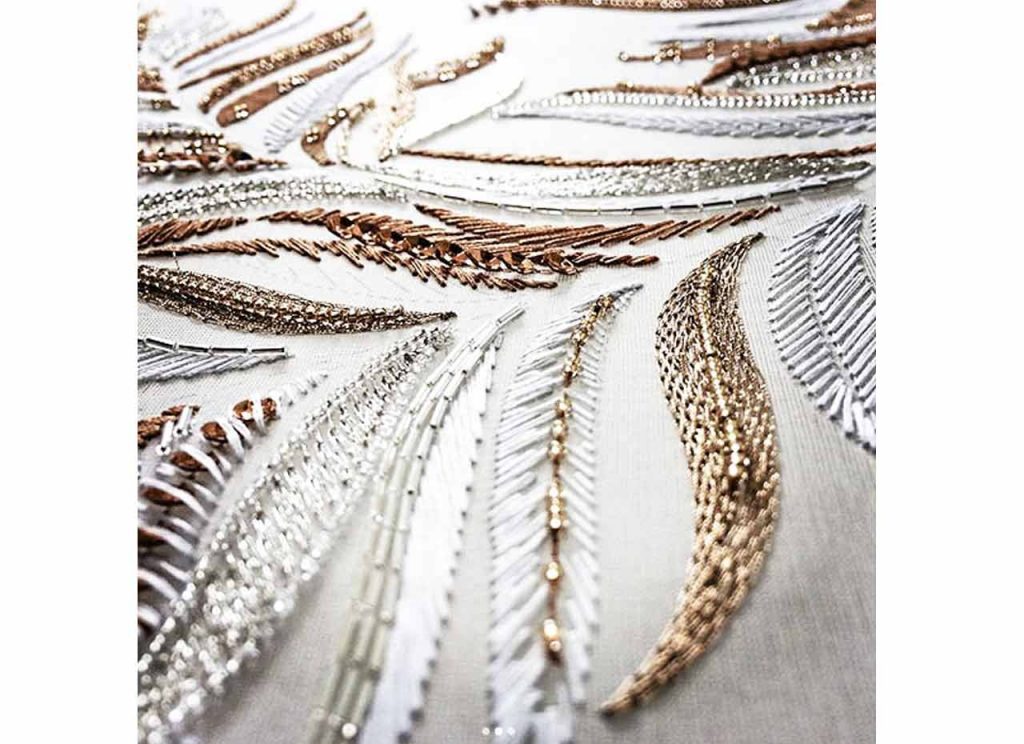
Detail of Level 2 “The Twenties” :
Regular and irregular beads lines, tramé on the right side, river of sequins, beads “cassé”, metallic tubes and threads, english-style cup-sequins, fillings…
High expectation to learn regularity !
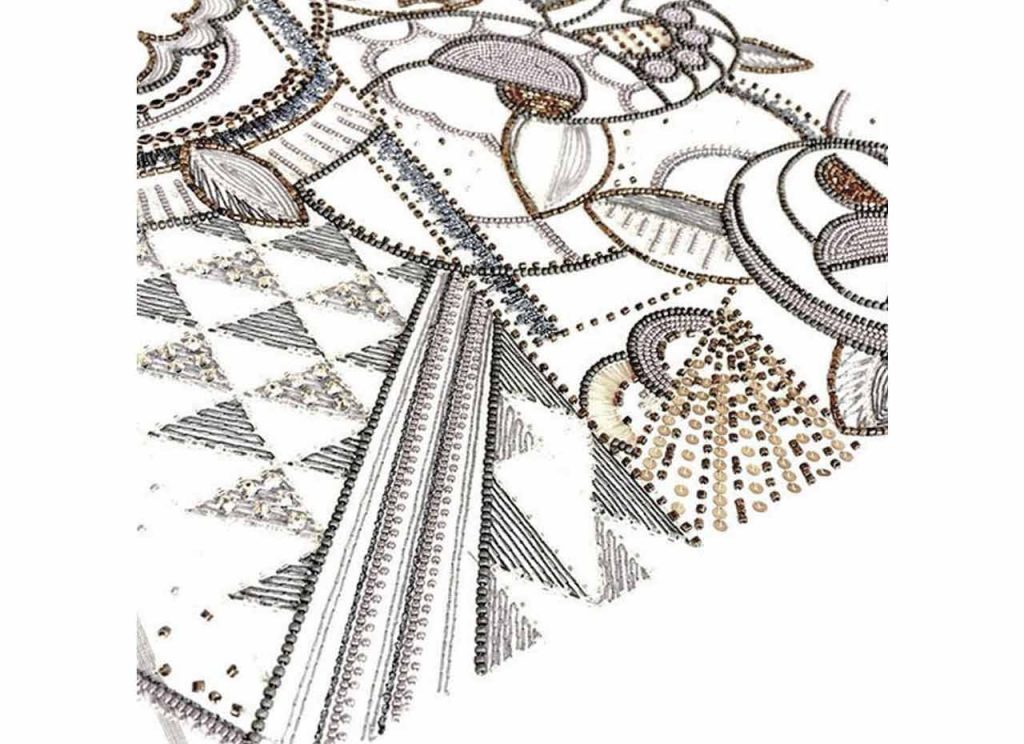
Detail of Level 3 “The thirties” :
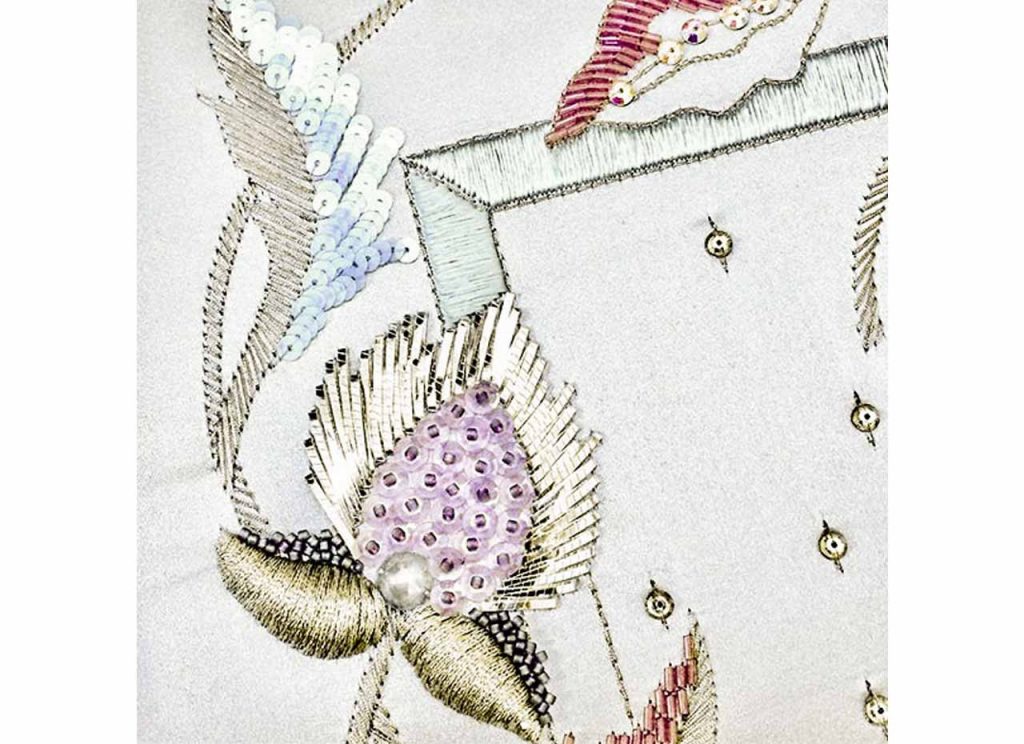
Sequins in “va-et-vient”, tubes in pulling-stitch, satin-stitch with tricotine on point de Boulogne padding, strasses, standing soutache, rolled or “va-et-vient”, creative sequins and beads, monted roses and vermicelle…
Some of the new techniques discovered during the third level.
Detail of the level 4, “The forties” :
Filling with tubes, writting-stitch, lame en va-et-vient, river of sequins, ribbons on padding, stretched and frilled leather, stain-stitch in complex forms, straight silk satin-stitch, creative sequins and beads filling, english-style or flea-style strasses.
Absolute precision is required to achieve this beautiful level full of surprises !
For those of you who would like to follow (NØ) on a regular basis, join us on Instagram… (NØ) can’t wait to show you what she learned in Level 5 !
If like (NØ) you love embroidery, come and test out some needle stitches here.
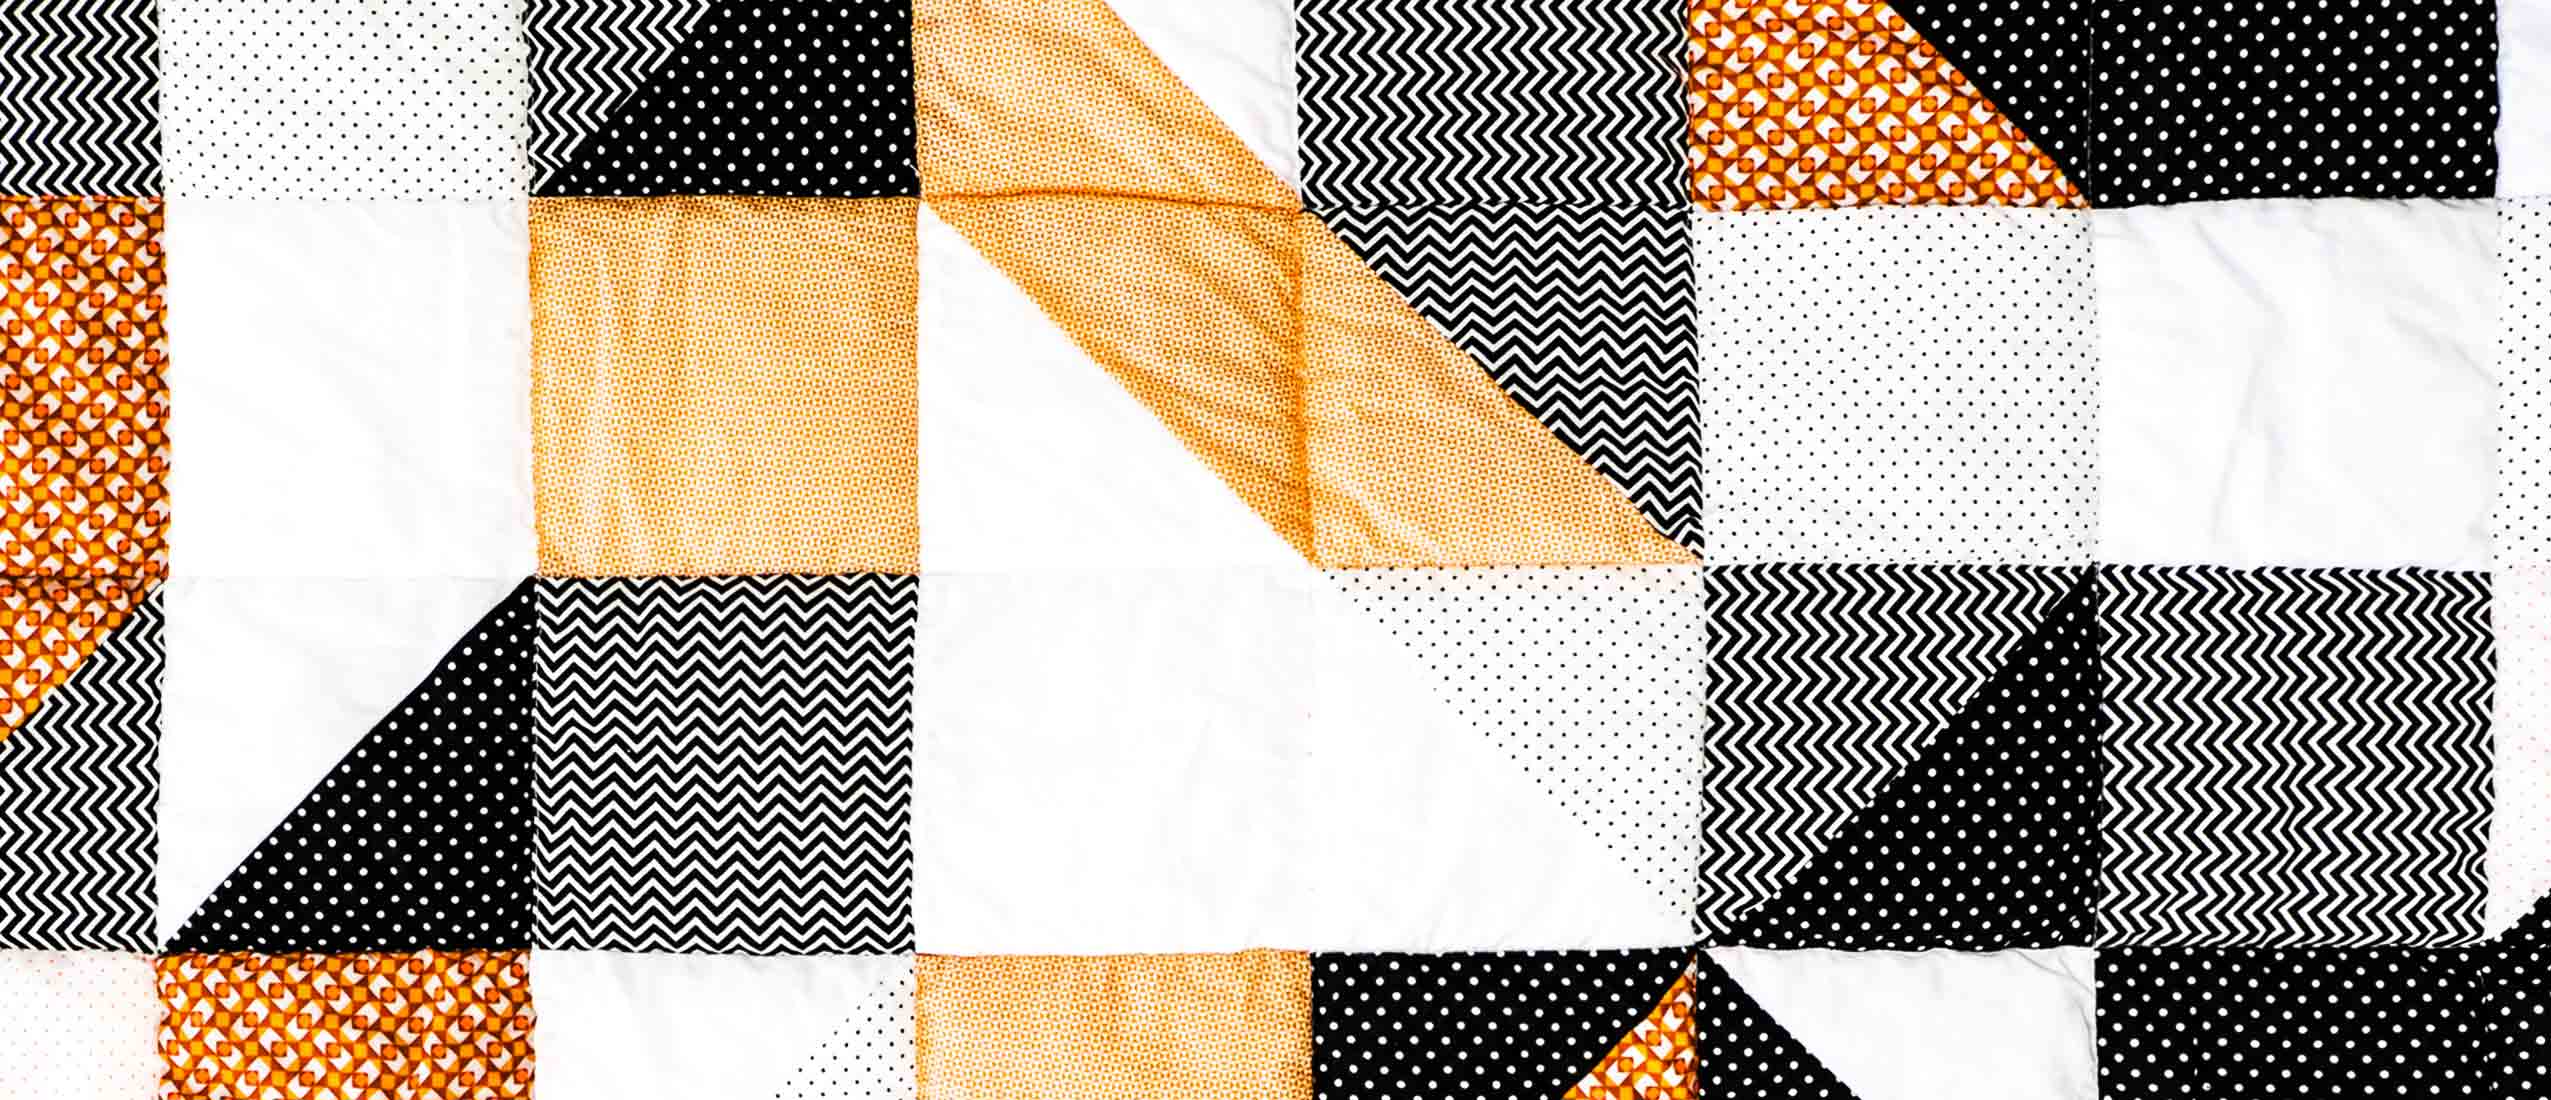
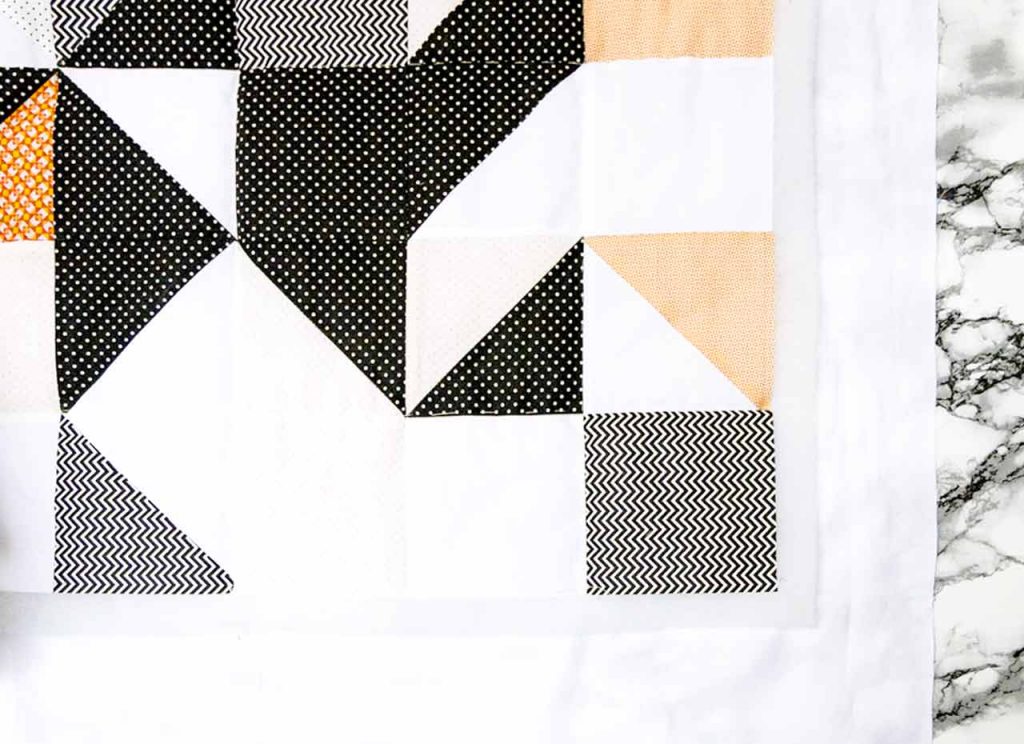
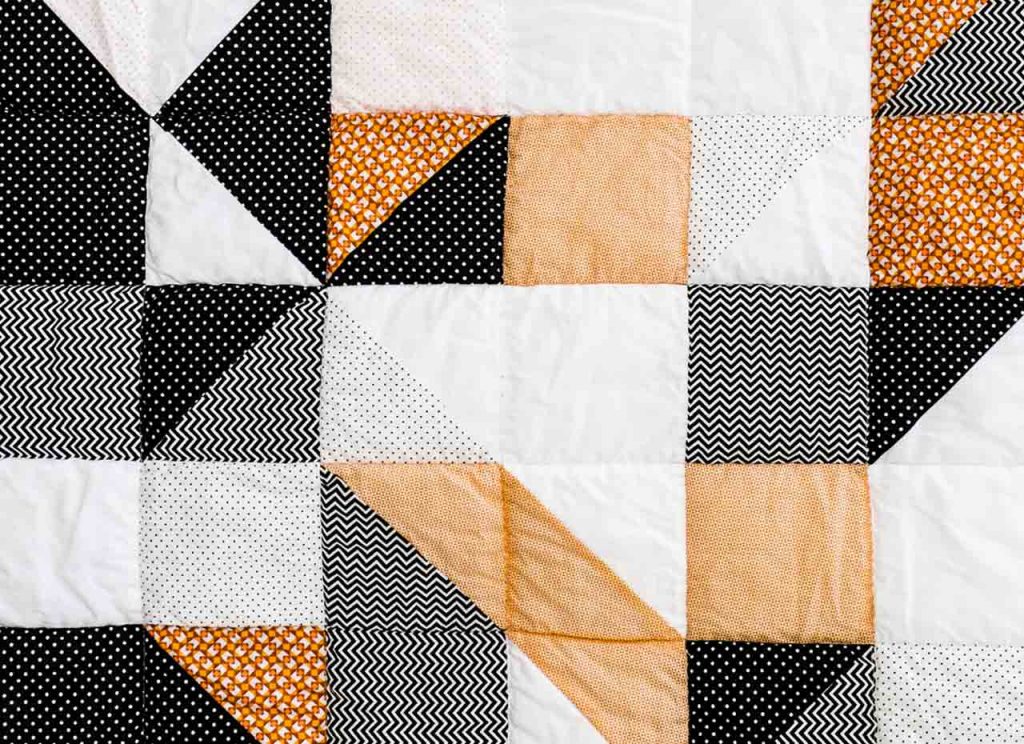
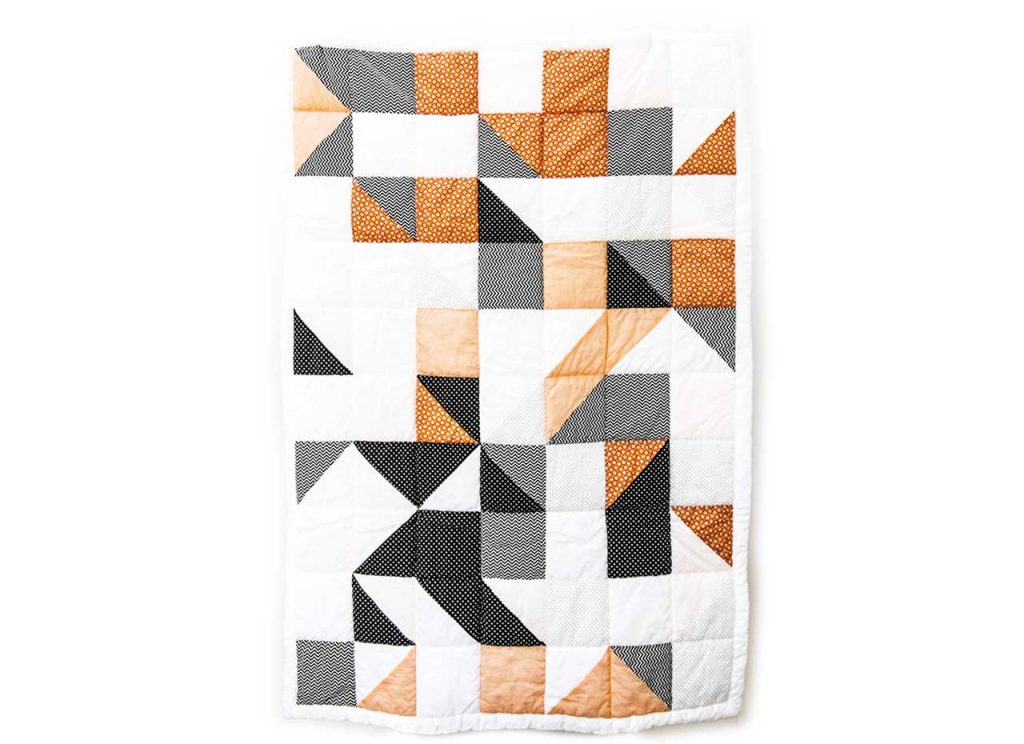
Come over, today (NØ) reveals the “behind the scene” to make a pretty-cosy newborn-gift… Soft and colorful, this sweet blanket will keep your baby warm during the spring nights !
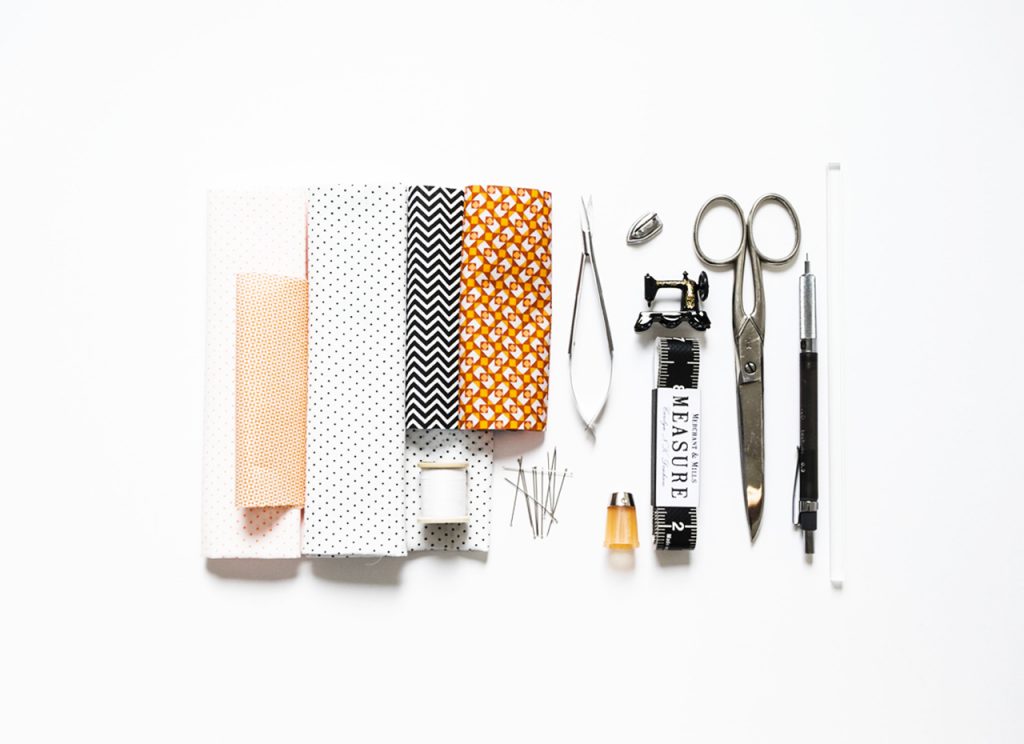
To make your baby blanket, you need :
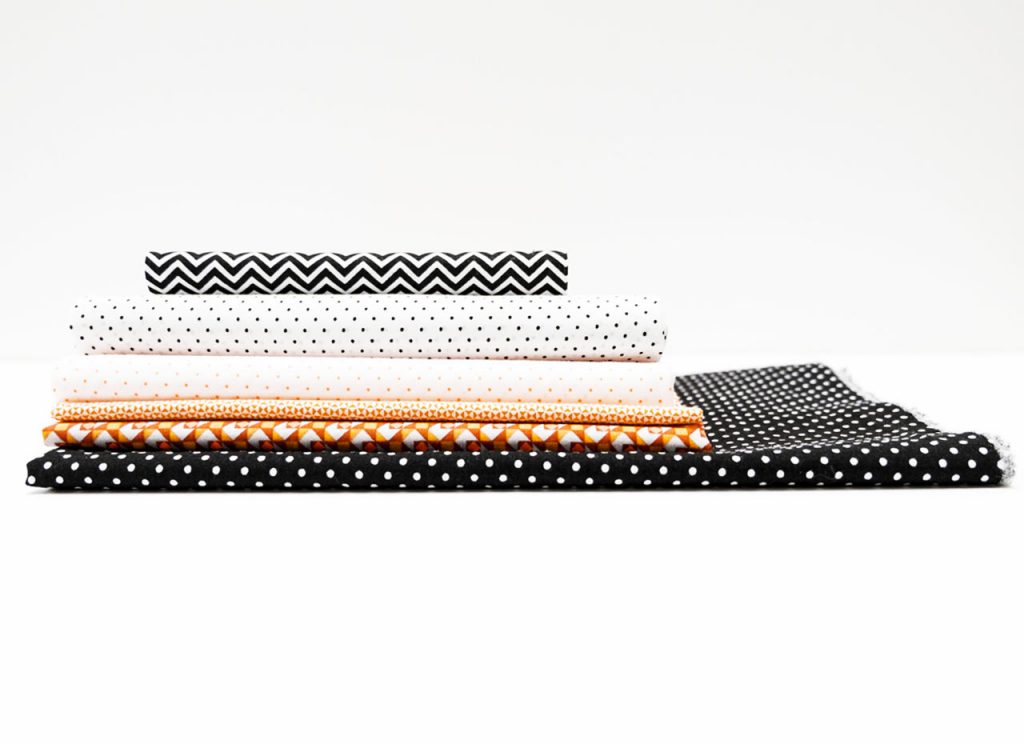
– A cute collection of soft fabric, printed, plain and matched.
– Sewing thread.
– Some pins.
– Fabric Scissors.
– Iron.
– Sewing machine or just a needle with a looot of patience.
– Thimble.
– Measuring ribbon.
– Ruler and pencil.
To sew the blanket :
1. Choose a bunch of assorted fabrics and bring them together according to your taste !
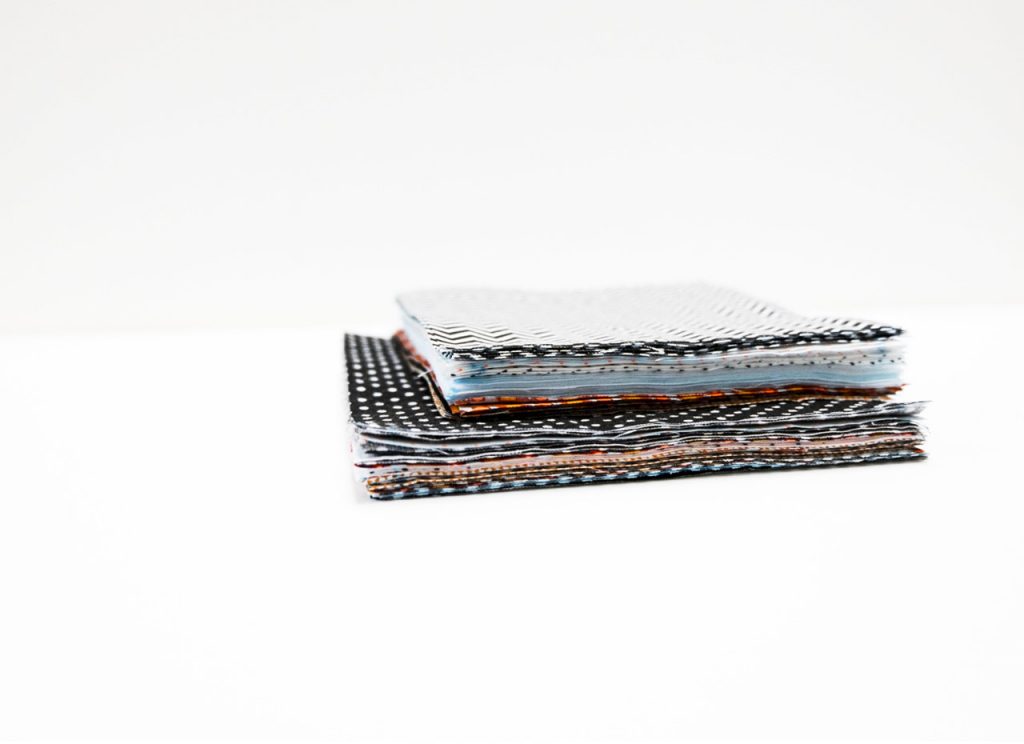
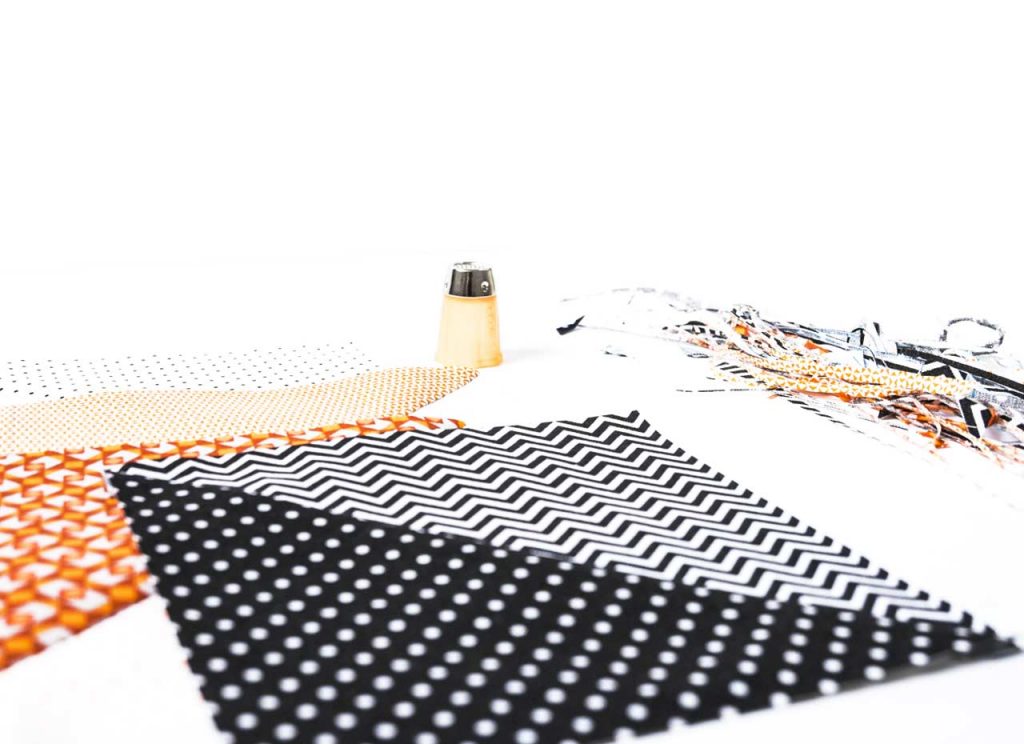
2. Following the patchwork rules, prepare your fabrics squares to be sewed together…
3. Start by assembling the half-square-triangles and trim to the right dimension.
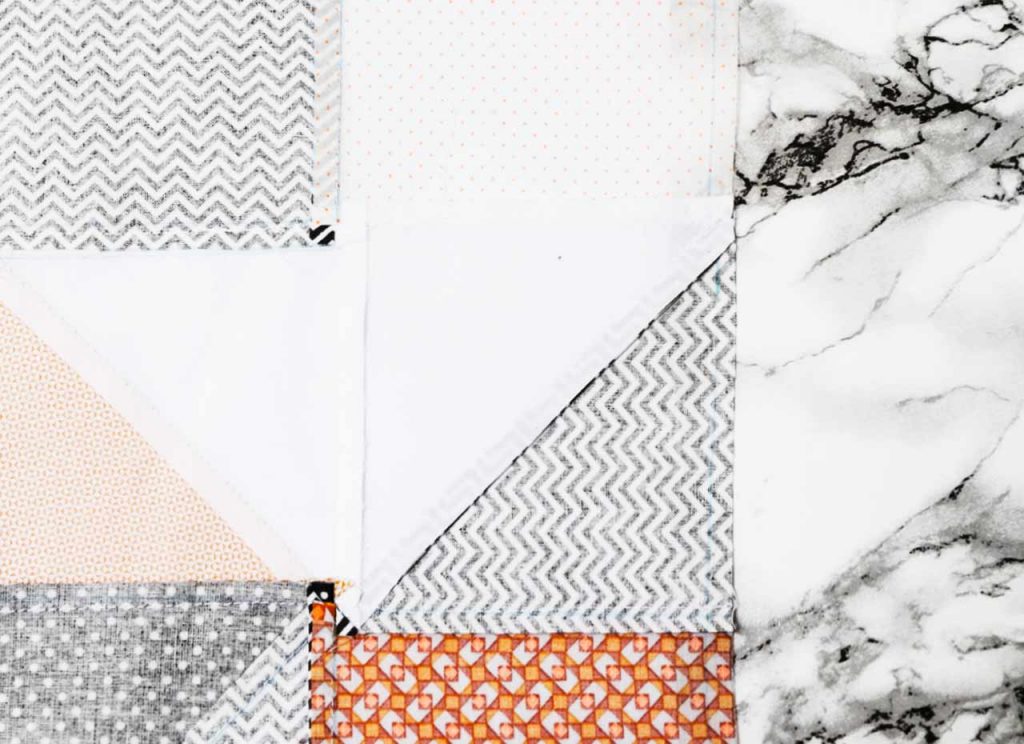
4. Build the patchwork squares… Iron the seams open !
5. Once you are done with the top, bring the three layers together (top, batting and lining) to make the quilt sandwich.
6. Ready ? Quilt !
Et voilà !!
This punchy quilt took off from Paris to land on the other side of the Rhine to welcome the little Jonathan… What about you ? How do you like quilts ?
Need inspiration for a baby gift? Have a look here !!
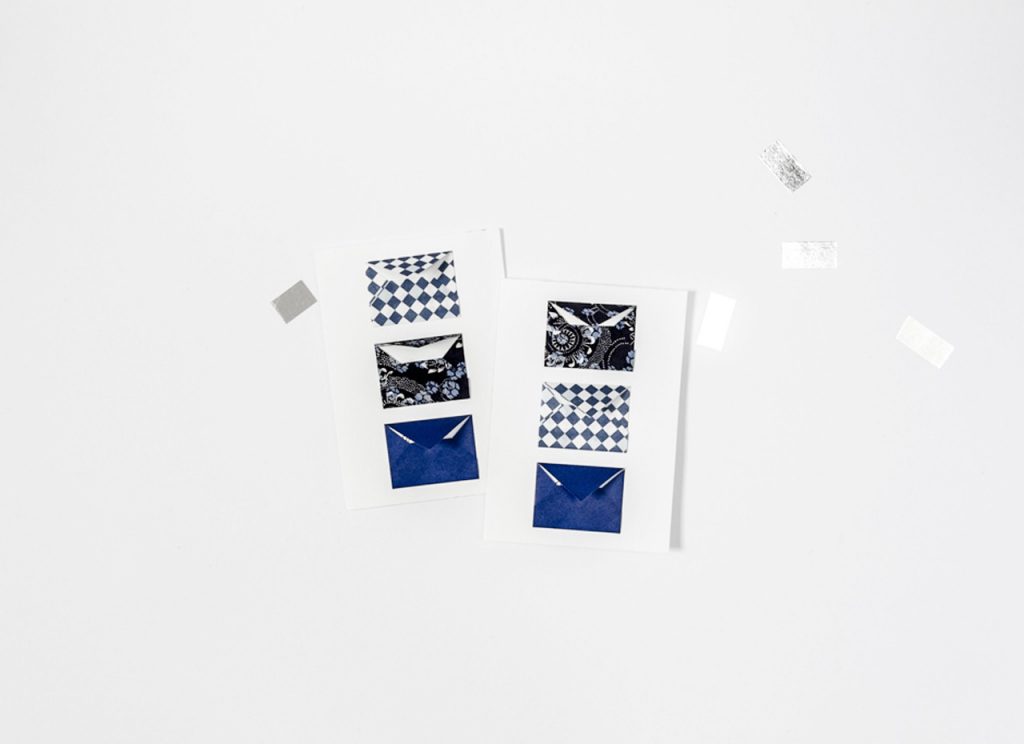
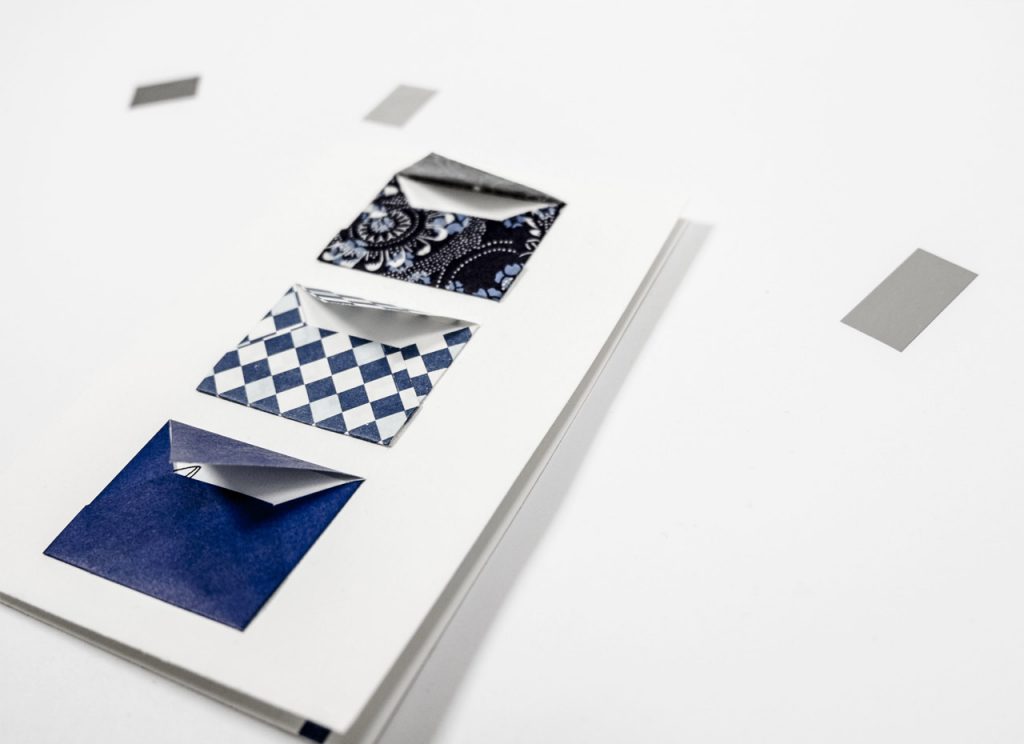
A “quick and easy” DIY to wish those you love a happy new year ! Today, (NØ) shows you a little papercraft-DIY fast to do and easy to make …
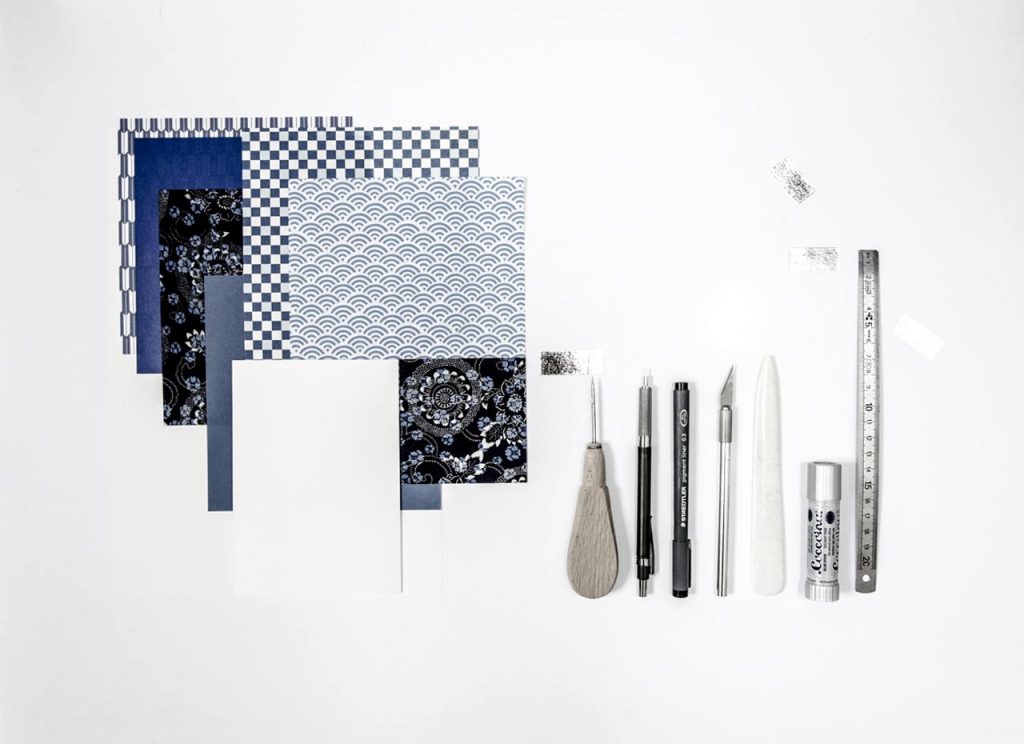
To make your greeting cards, you need :
– A collection of nice printed paper from your favorite colors…
– Ecru drawing paper.
– Awl to mark the folds.
– A bone folding tool.
– A cutter.
– Some paper glue.
– A pencil.
– A pretty pen.
– A ruler.
To Make The Card :
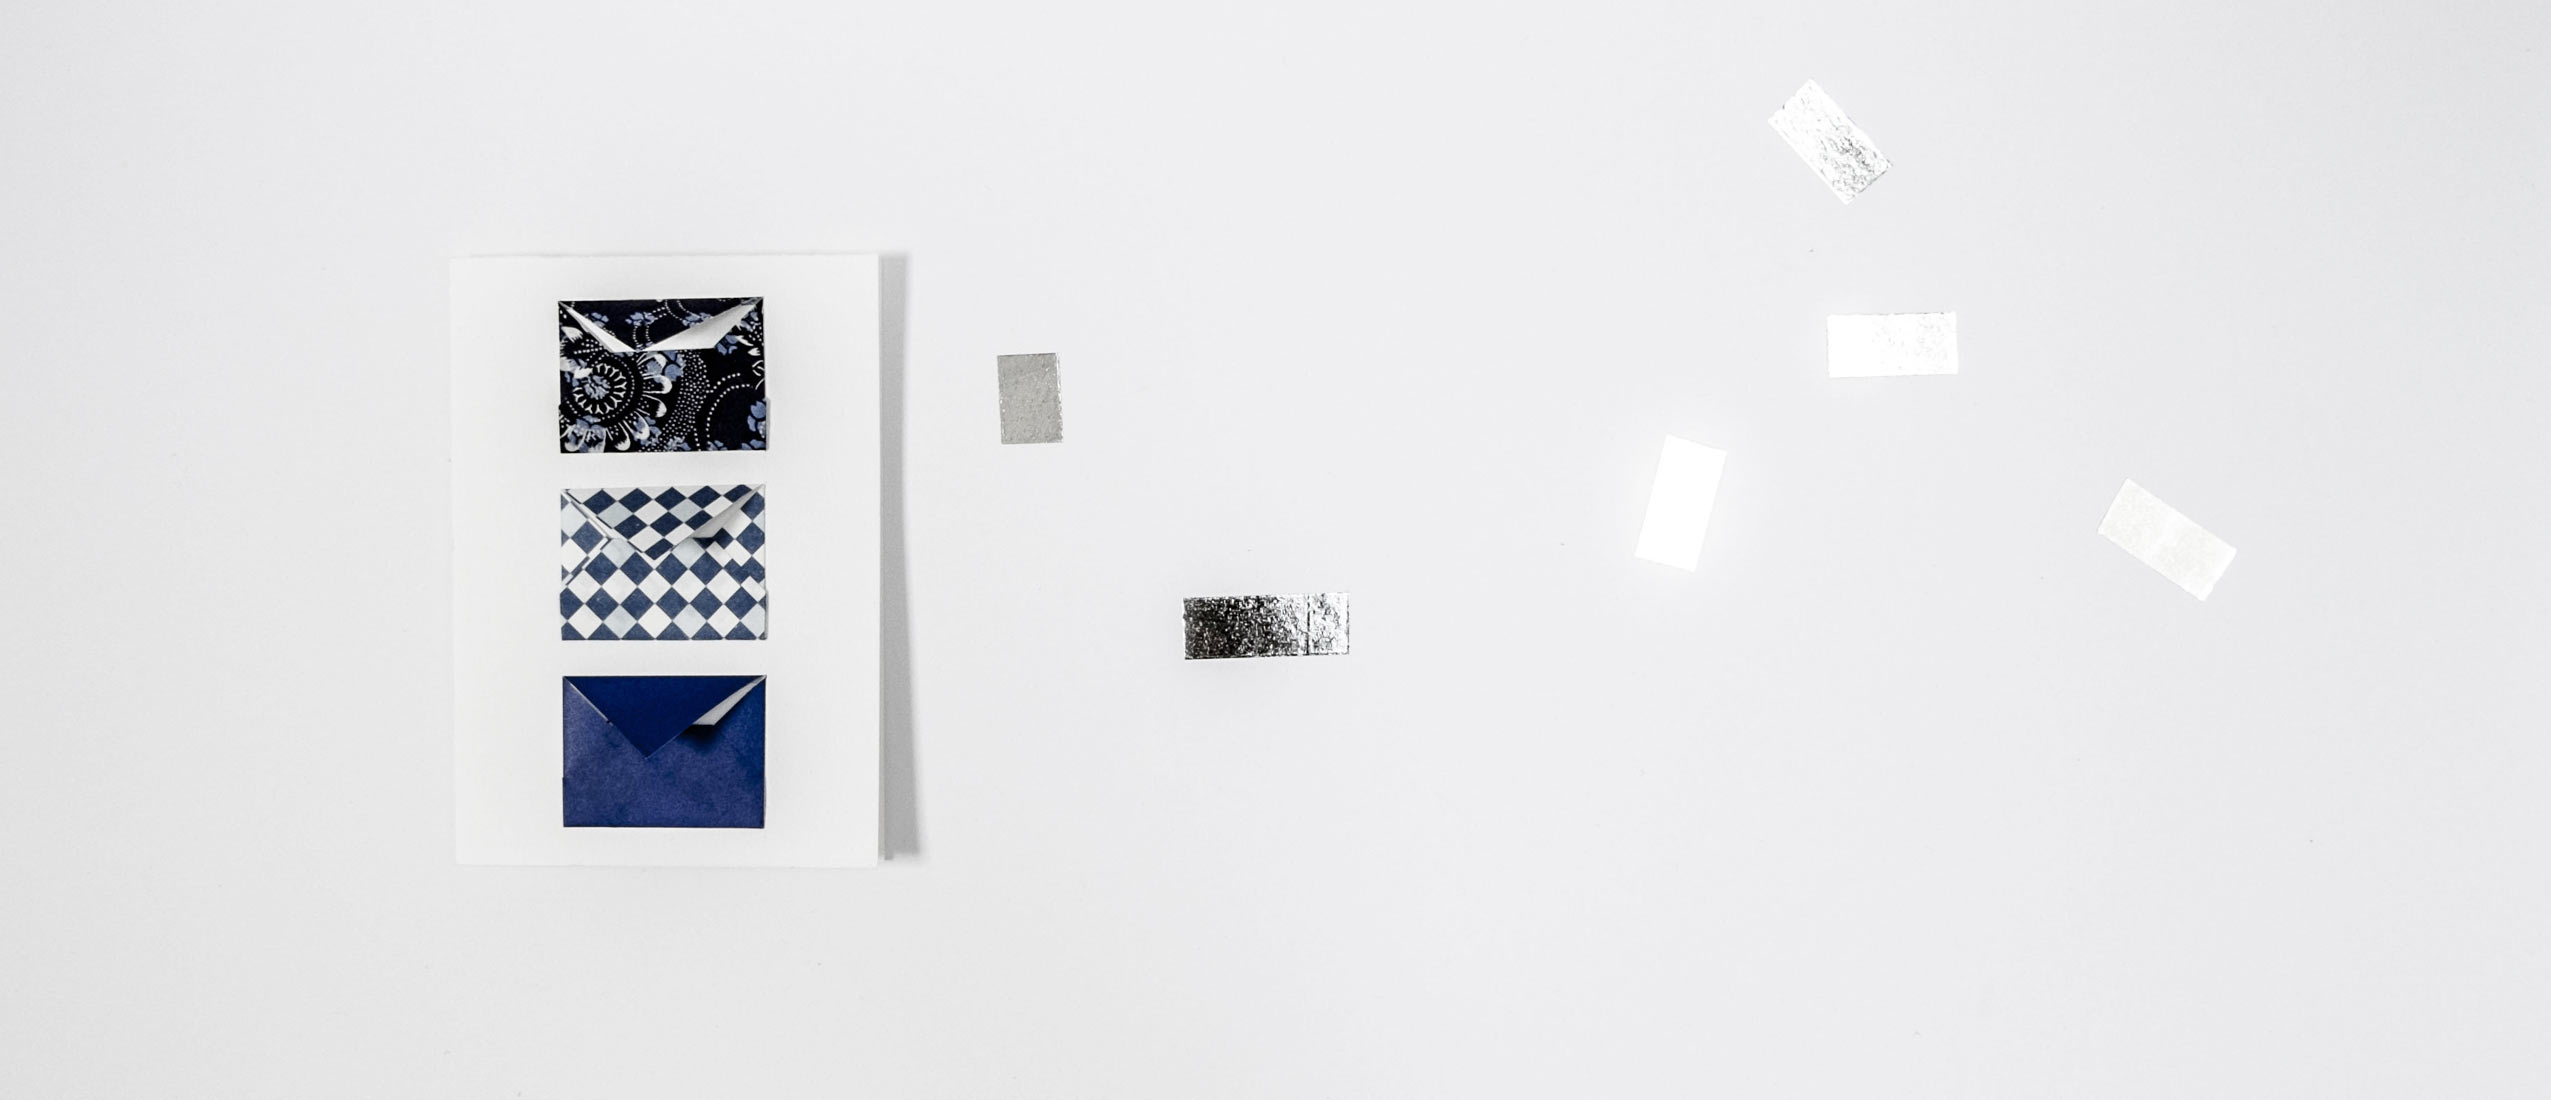
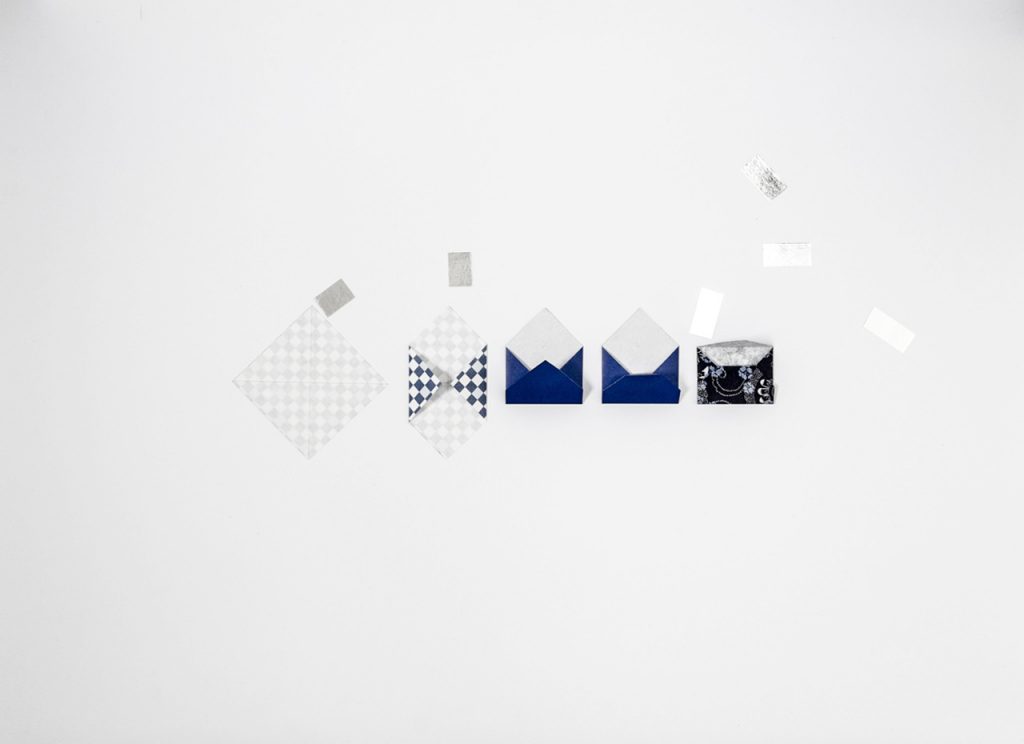
1. Make the envelops. Cut a 7x7cm (2.75×2.75-in) square, mark the center. Fold two tips to the center as shown on the picture above. Refold the third tip up. Fold the left triangle back inside. Glue. Fold the last tip. Start all over again as many time as you wish !
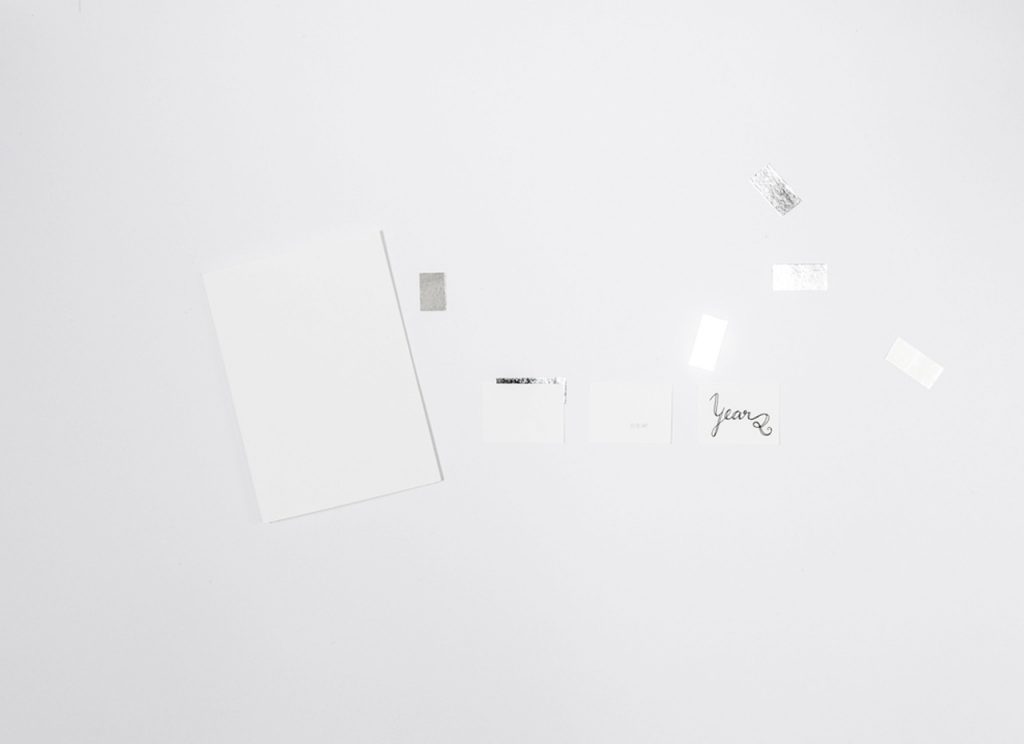
2. Fold a piece of drawing paper (A6 format, which represent a folded A5, which is a half A4…). Cut the small cards to be placed inside the envelops that you just created. Write your little words …
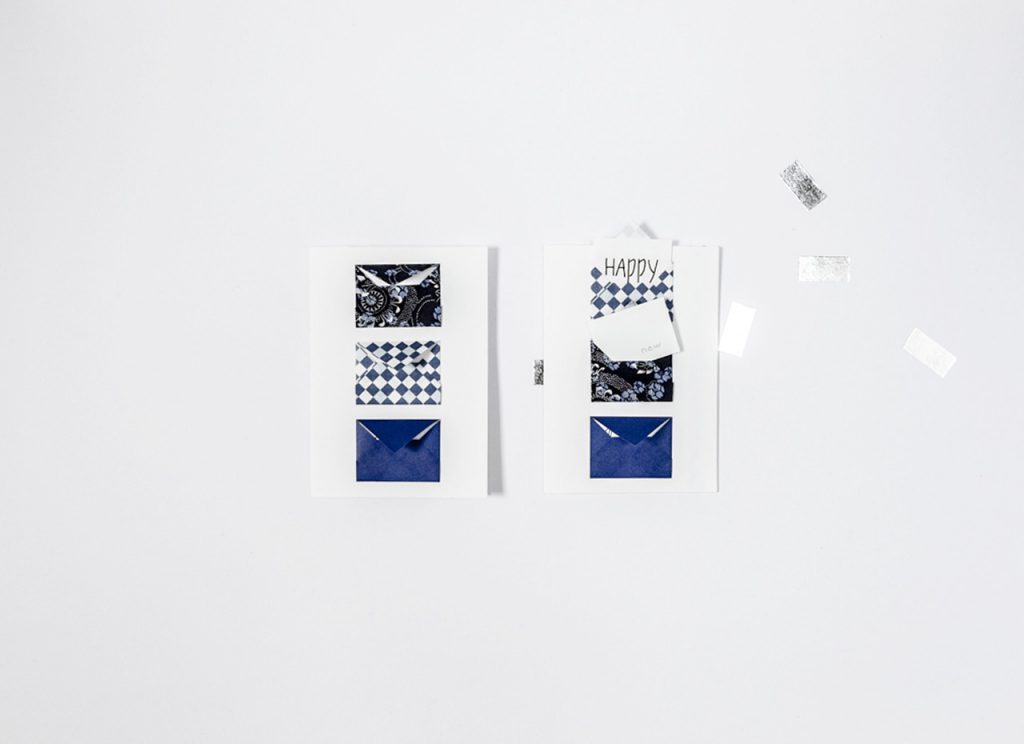
3. Stick the little envelops at the front of the card. Slip your greetings inside your envelops !
You’re done!!
What about you ? How are you going to share your new year greetings?
Looking for additional inspiration? Check out here.
Opening big boxes which contain slightly smaller boxes, which also hold other little boxes, including tiny ones, and many surprises…
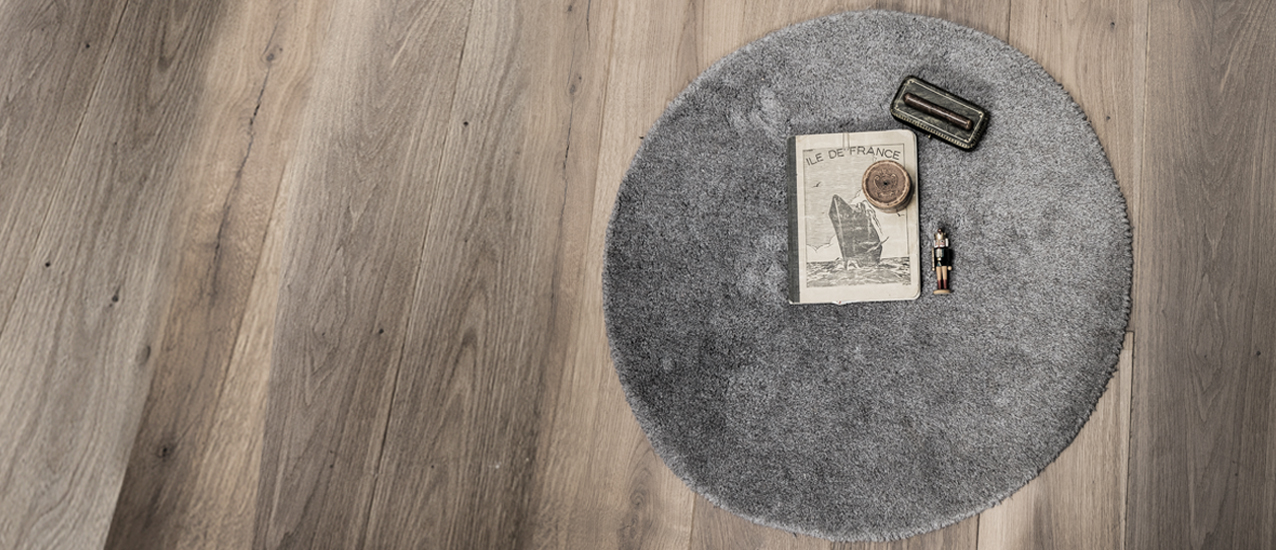
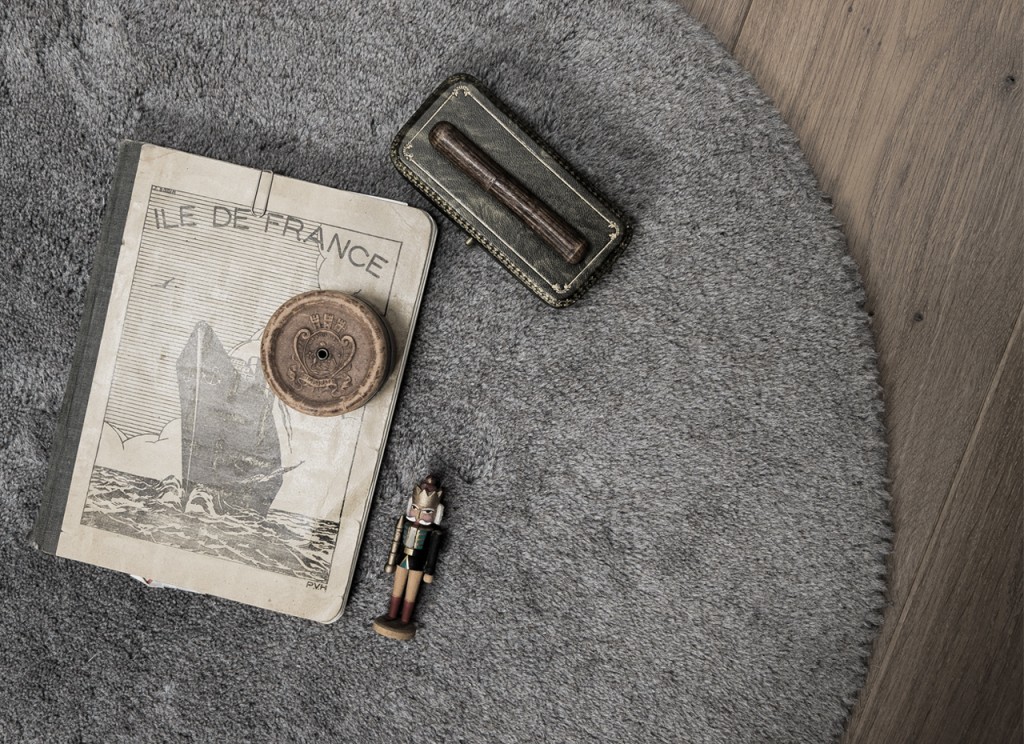
This is how (NØ) while doing some cleaning in vain found out those three treasures coming from another time..
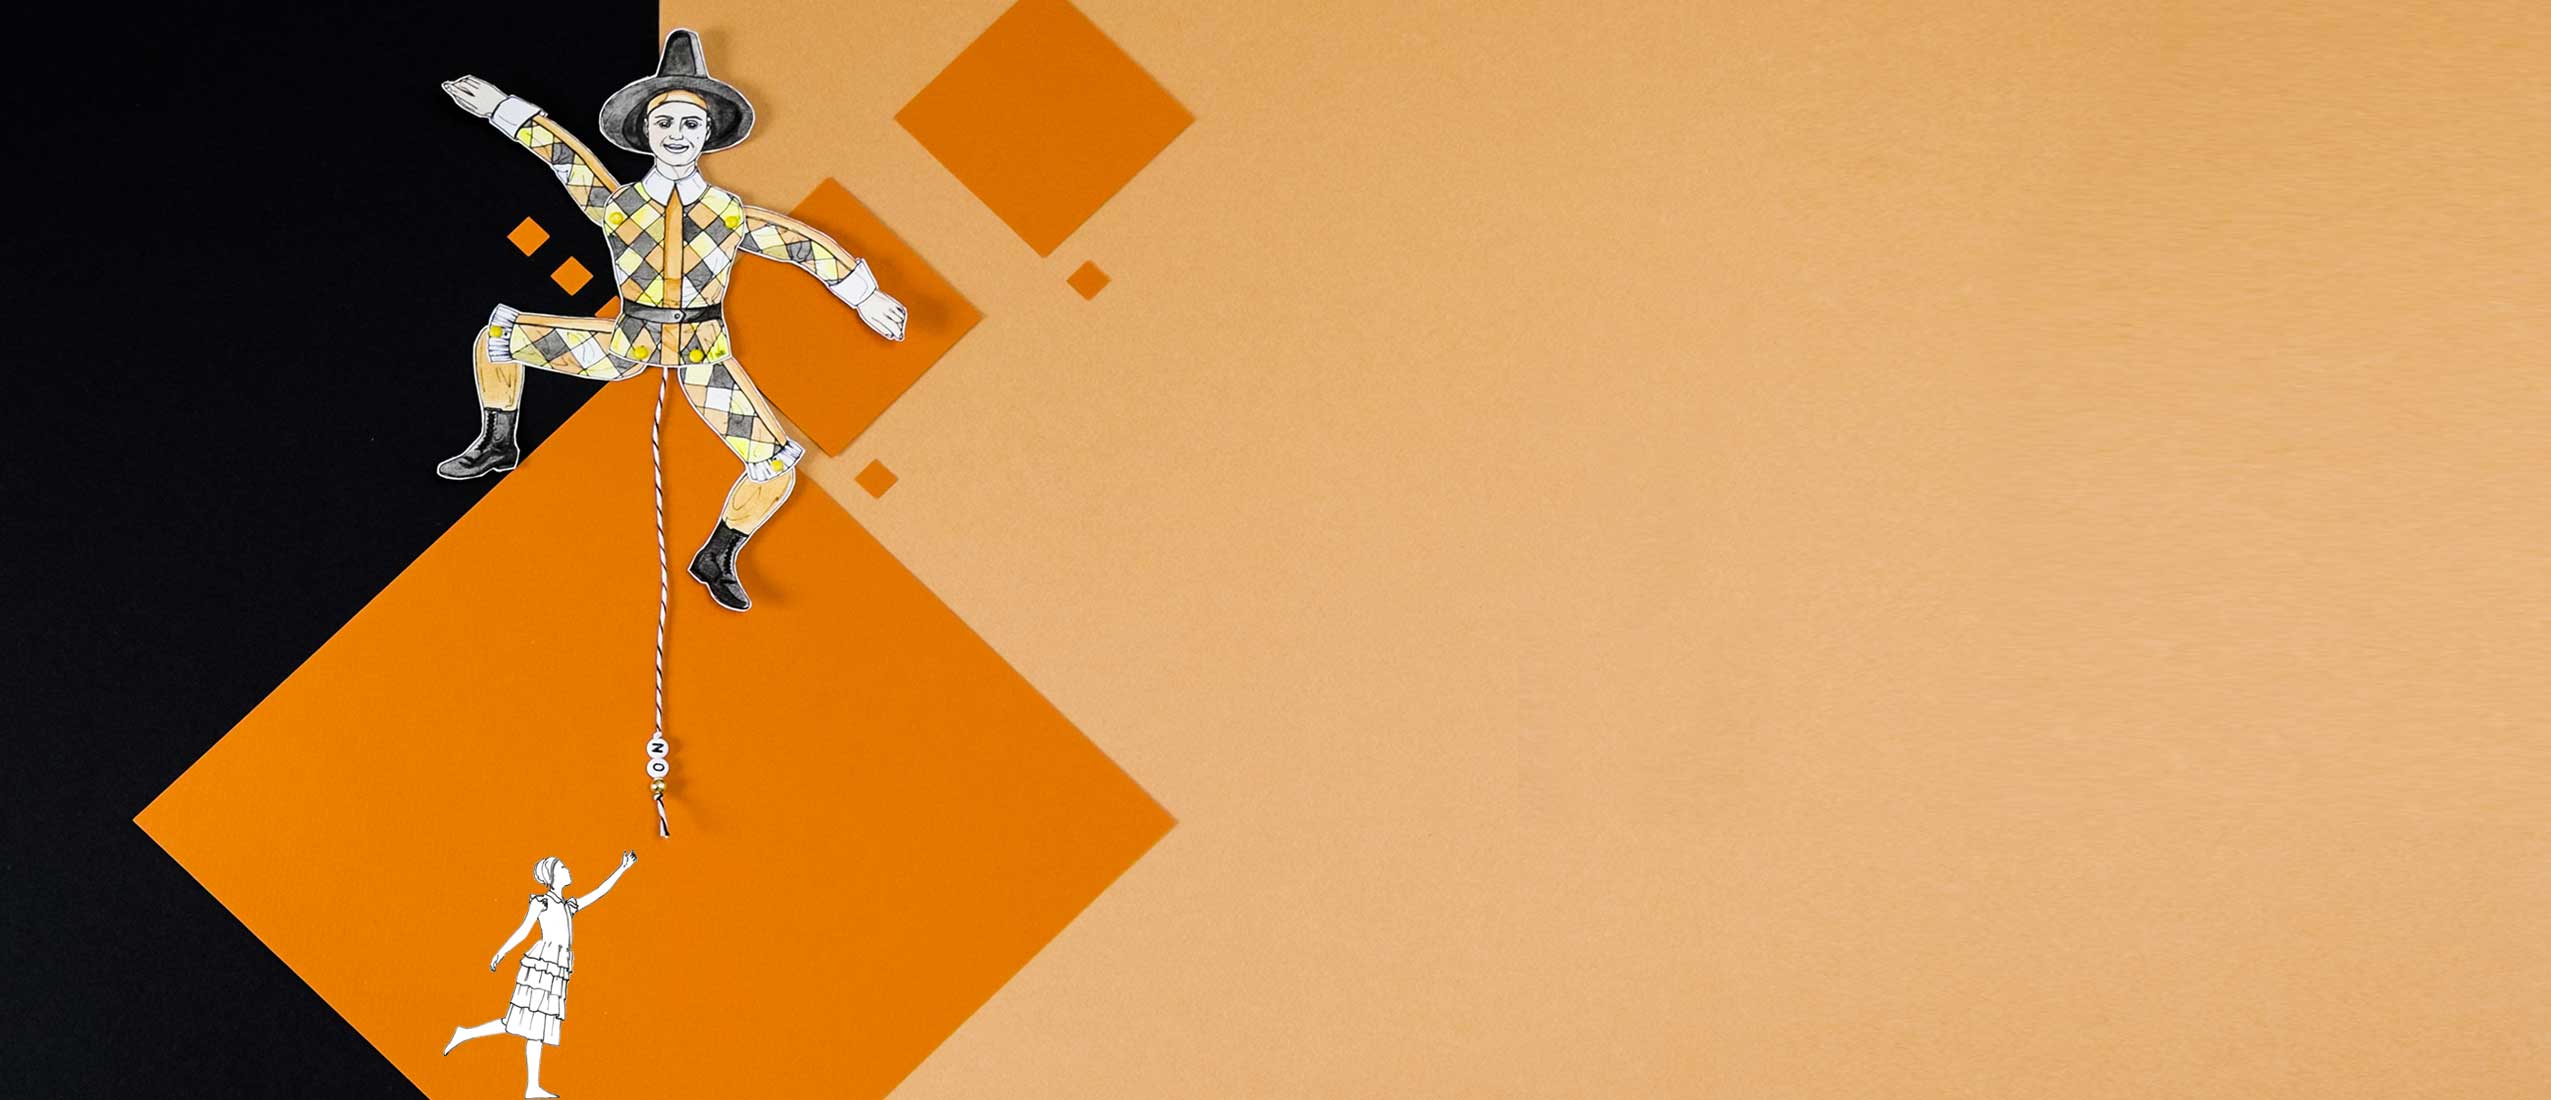
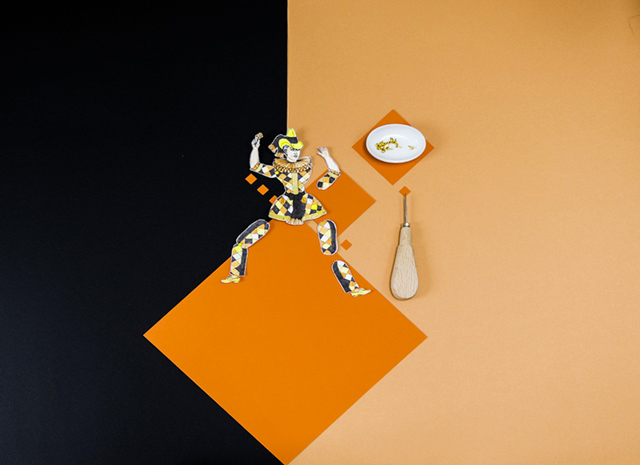
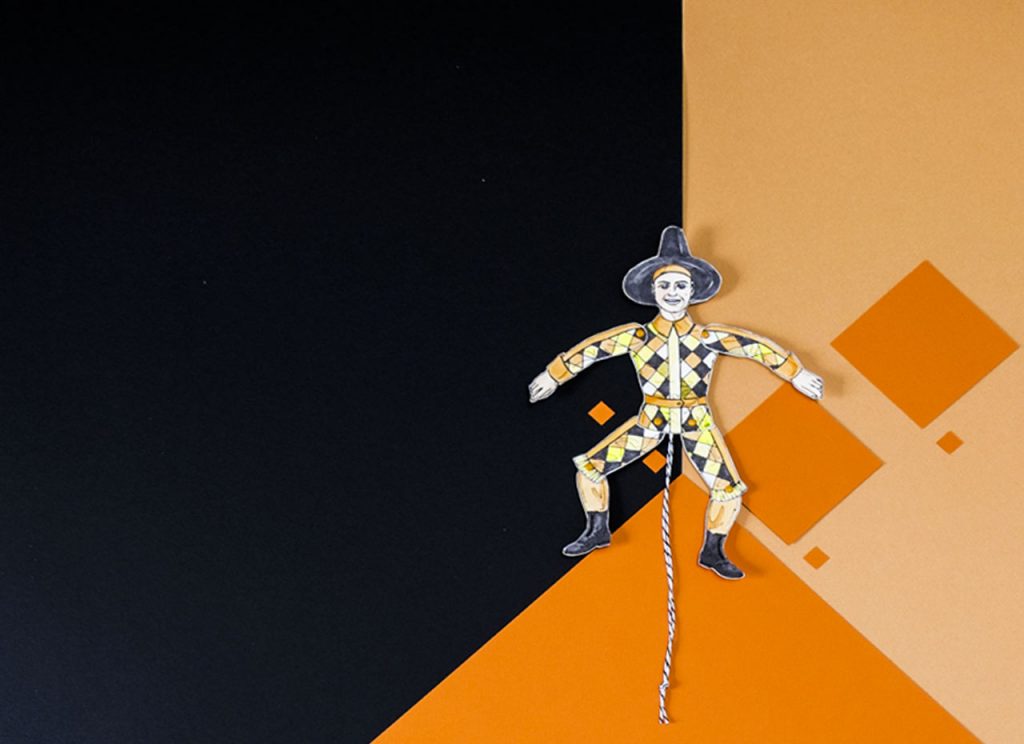
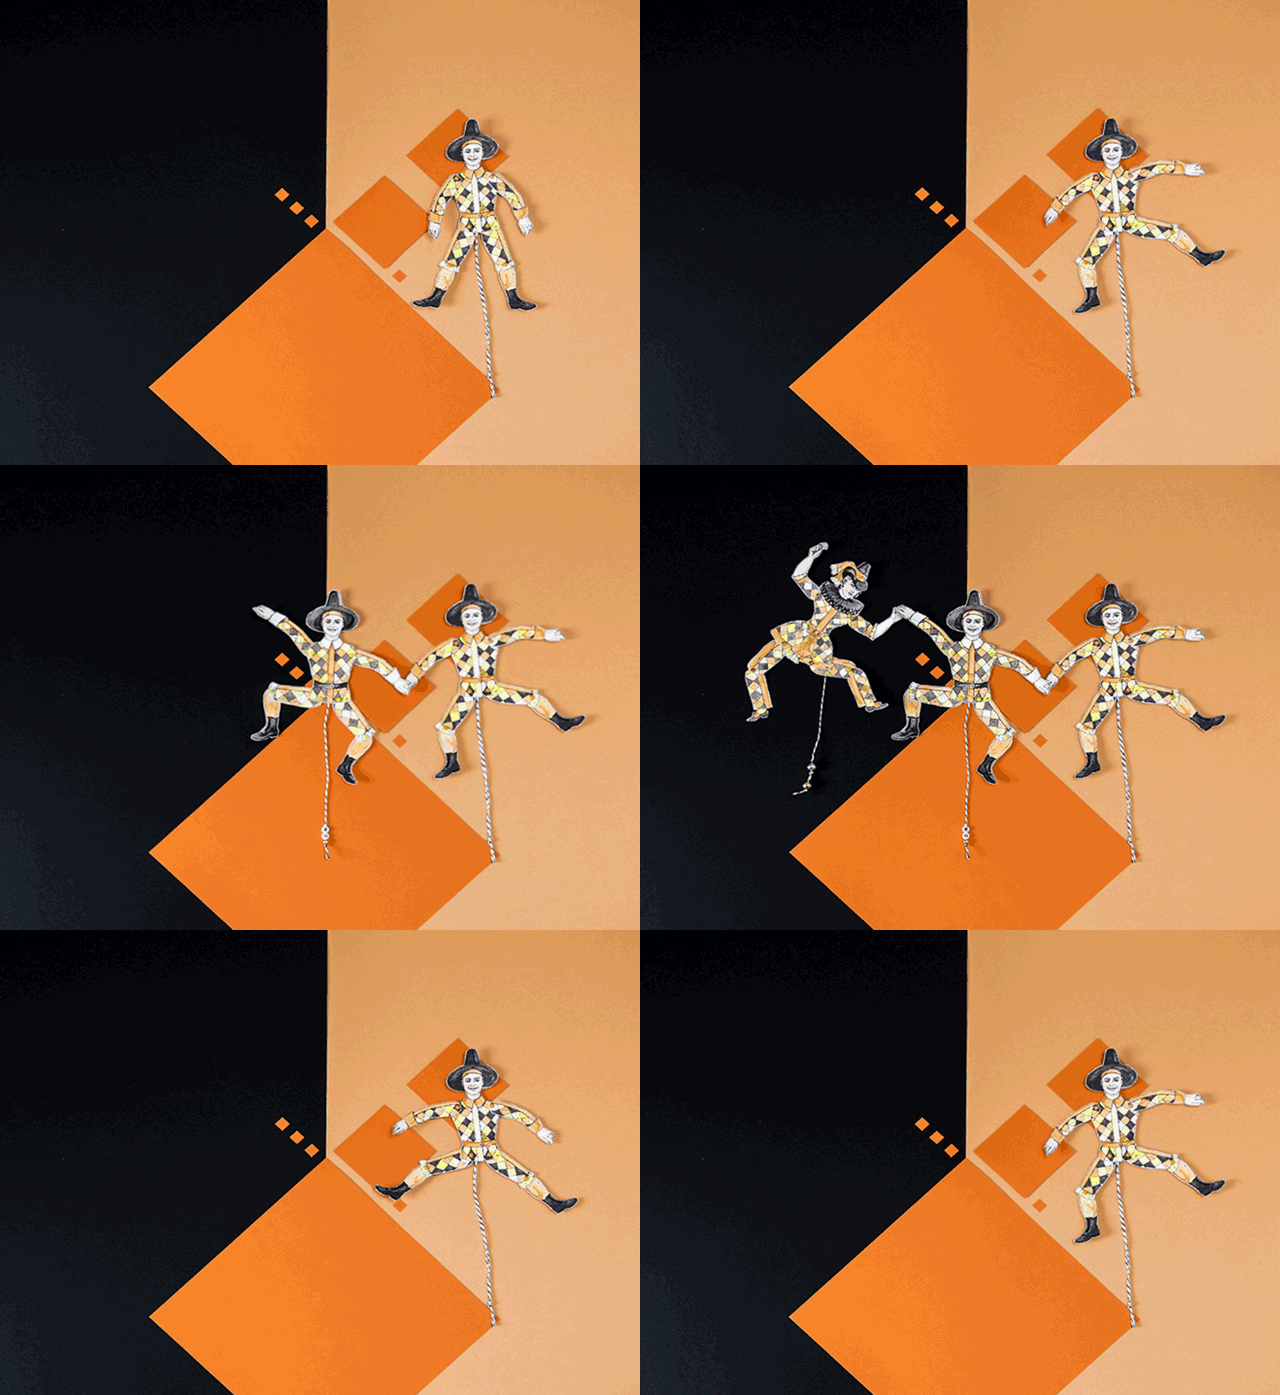
After some very loooong working weeks, (NØ) is finally on holidays… She is ready for some fun… Nothing better than friends for a few laughing moments ! And there you go, she decides to create some fun-companions made of paper ! A string of Harlequins inspired by vintage Jumping Jacks, a DIY for (young) kids too !
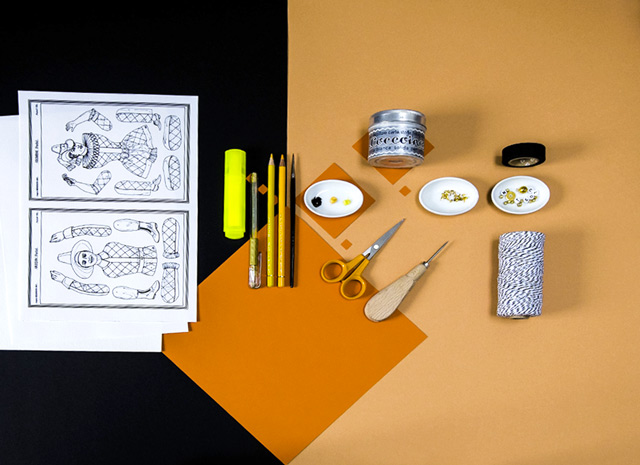
TO make your paper jumping jack, you need :
– Postal card that (NØ) has made for you and that you can download here to be printed.
– Thick paper (360gr or 0,8lb is good) to strengthen the jumping jack.
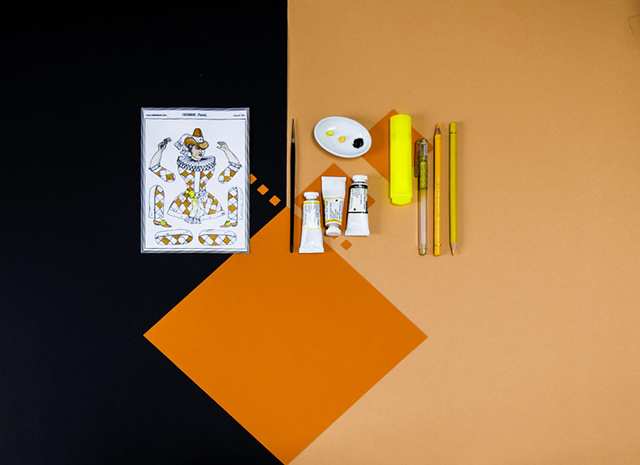
– Color pencils, felt pen, some paint, one or two paintbrushes…
– Fine scissors.
– Paper glue.
– An awl or a tapestry needle.
– Colored brads.
– A piece of yarn.
– Few beads.
– Some tape.
– A touch of fantasy !
Let’s go and start building our paper friends :
Print the postal card in black & white and bring your Harlequin to life by coloring him !
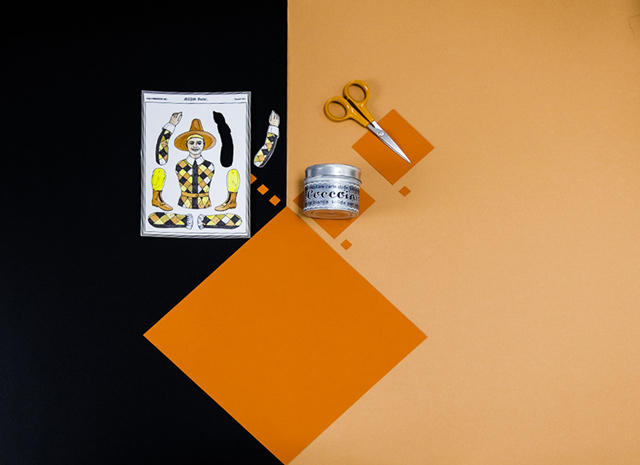
2. Glue the colored drawing on the thicker paper to strengthen your jumping jack and start cutting all pieces of your Harlequin with care.
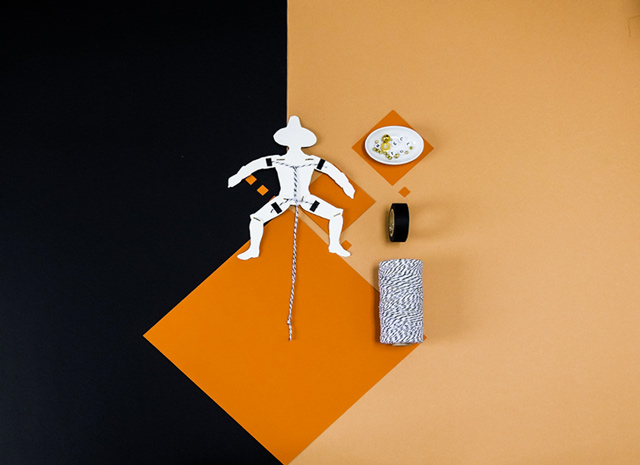
3. Using the awl, drill a hole on each little dots located at the joints, place a brad to attach the limbs to the puppet body.
4. Place the string as shown on the picture above and decor the lower part with some pretty beads.
Your new friend is ready to play with you !
And he is even happier when you make him other companions !
In which colors are you going to make yours ?
You can find a downloadable version of our paper jumping jack flat puppet as well as other creations on (NØ ‘s toy box.
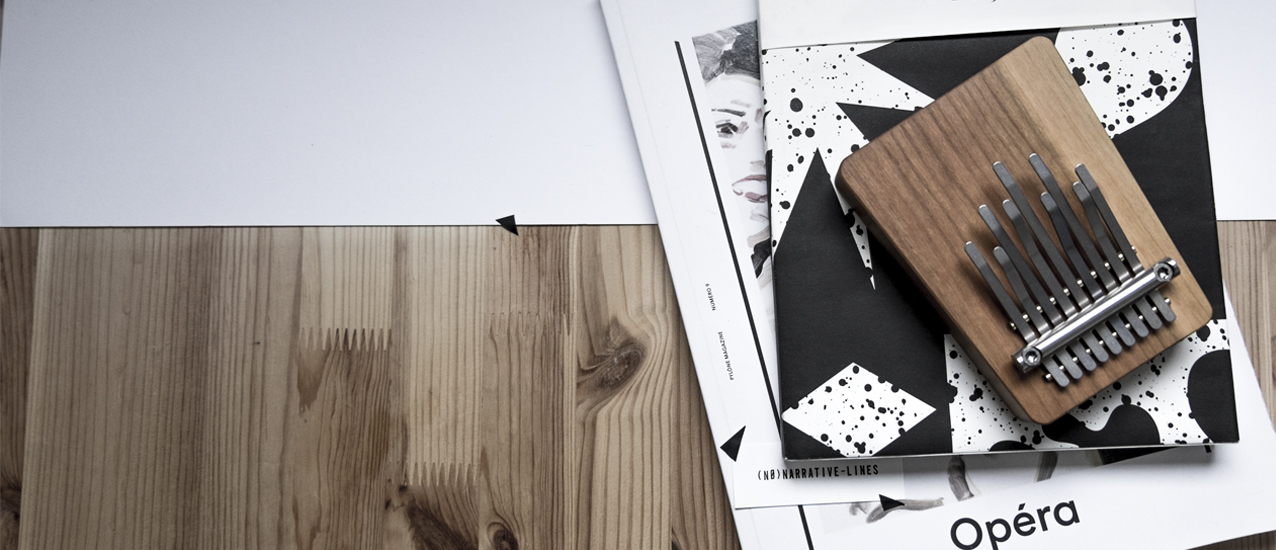
(NØ) loves to tell stories, you know it… With images, words, drawings but also in music… And humming with… Thumbs… Hmm… What a whimsical idea ! But, yes, you can do it using this little music instrument that you can almost carry in the pocket !
This “thumb piano” can be called by different names depending on where you are, known as Mbira or Kalimba in Europe, in Cameroon it is called Sanza, in Uganda they call it Kalimba and in Congo you would play the Likembe. As you figured out, this little wonder comes from Africa.
It is composed of a wooden board used as a soundbox with attached staggered metal tines, the number of tines varying depending on the instrument type and the way it can be tuned.
Plucking the tines with the thumbs will make the music…
This instrument is typically used by the griots, the repository of the oral tradition in western Africa, he is a storyteller, societal and educated leader of knowledge, history, poetry.
You would like to hear the sound of it ? Here is a very melodic and sweet sound… Youn Sun Nah…
(NØ) would have loved to be underwater archeologist… But since her daily job does not require her to wear a wetsuit, she fancy going for some treasure hunting while exploring her closet, looking for some buried treasure, not in the sand but behind pile of lavender linen … And here is what (NØ) has recently resurfaced… Come on board and join us in our fantastic time travel journey.
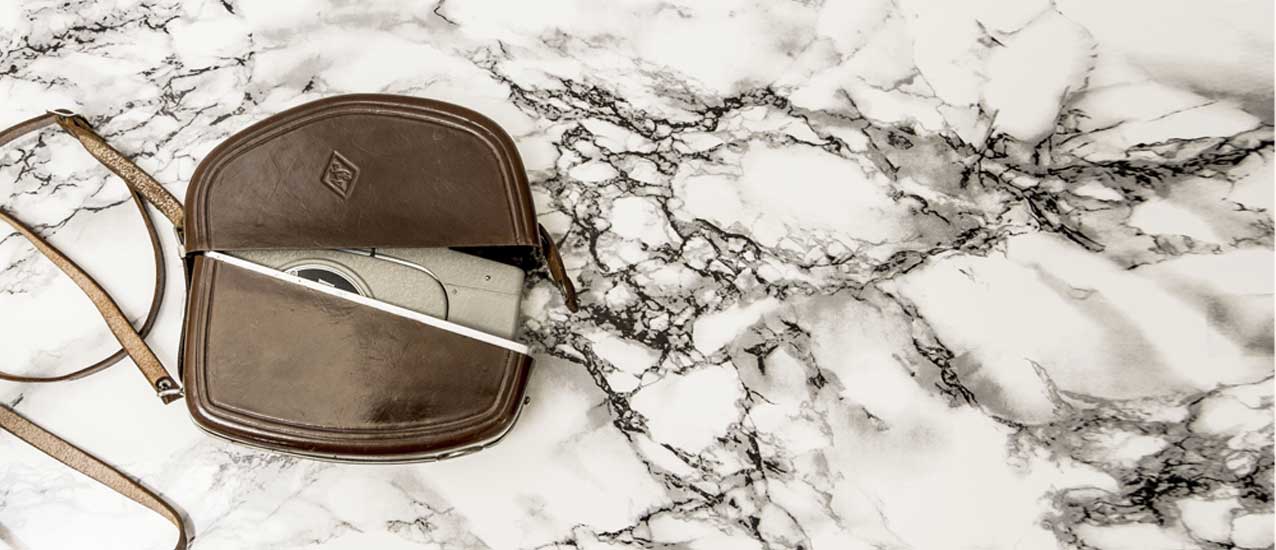
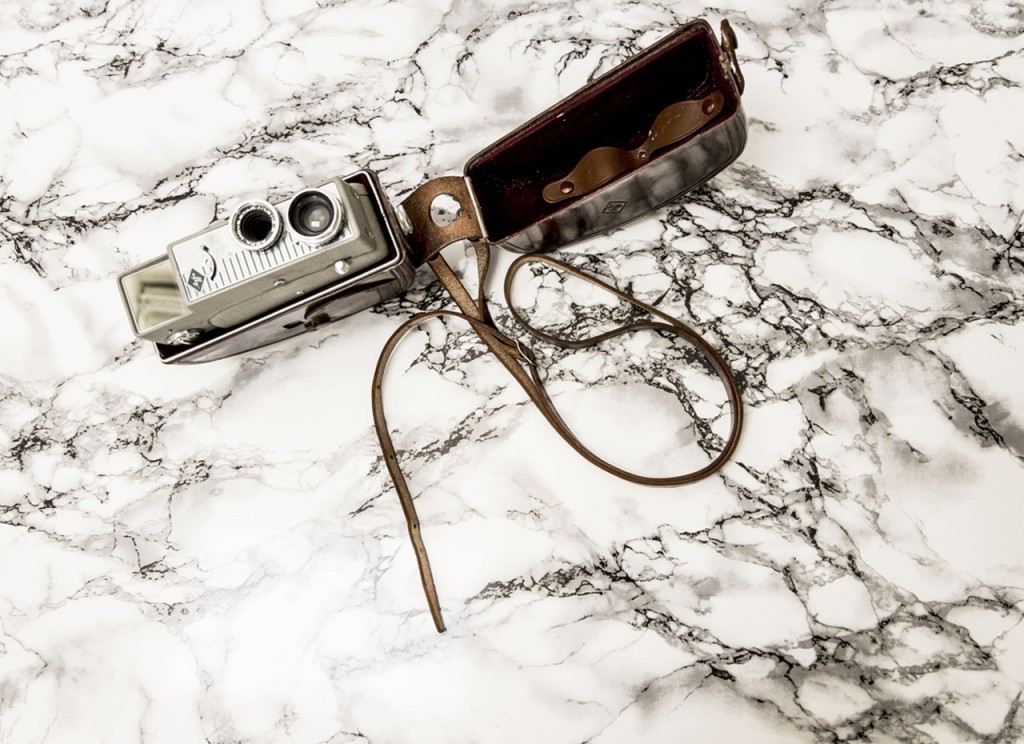
Here is a Movex – Movestar camera, 8mm, produced in 1958 by Agfa, pretty and nicely protected in her original leather case !
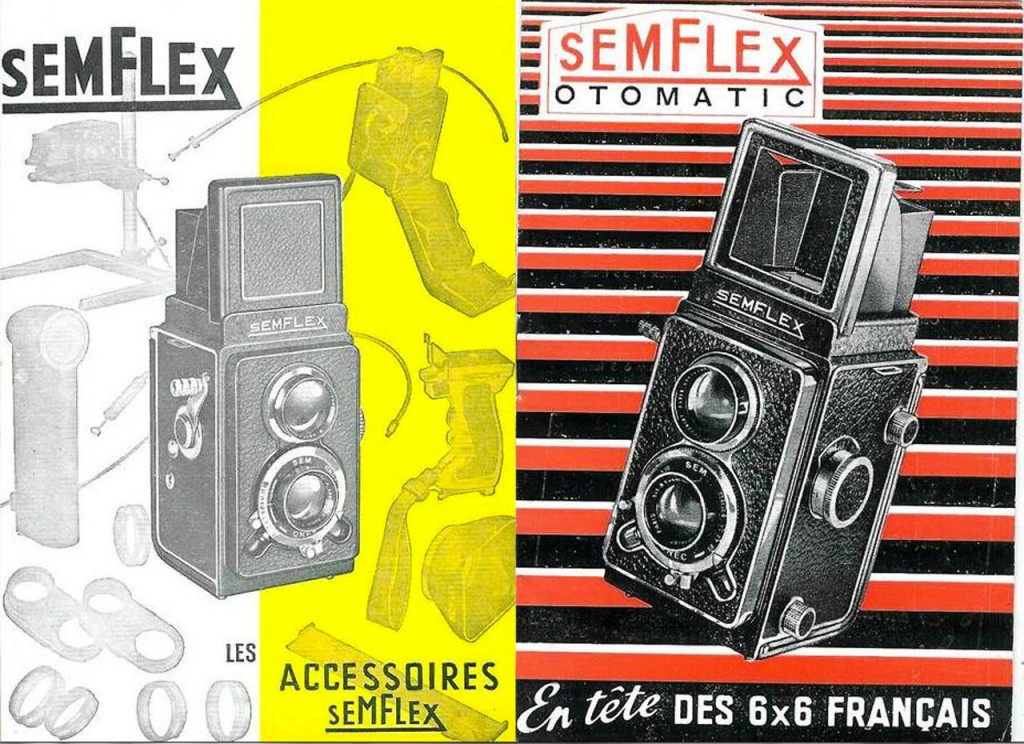
Continuing in our vintage journey, here is a Semflex, a little photographic camera, rather light, produced in France between 1949 and 1959 and made by “la Société des Établissements Modernes de Mécanique (la SEM)”. The model below is a TLR, Twin Lens Reflex, that work together to allow photographers to take photos with one lens and use the other lens as a viewfinder.
The flip-up hood contains the viewfinder. The focusing screen included can be a bit disturbing at first since it flips the image horizontally.
This camera used photographic films of 120 or 220 that includes 12 images in 6×6.
 A wooden case to store
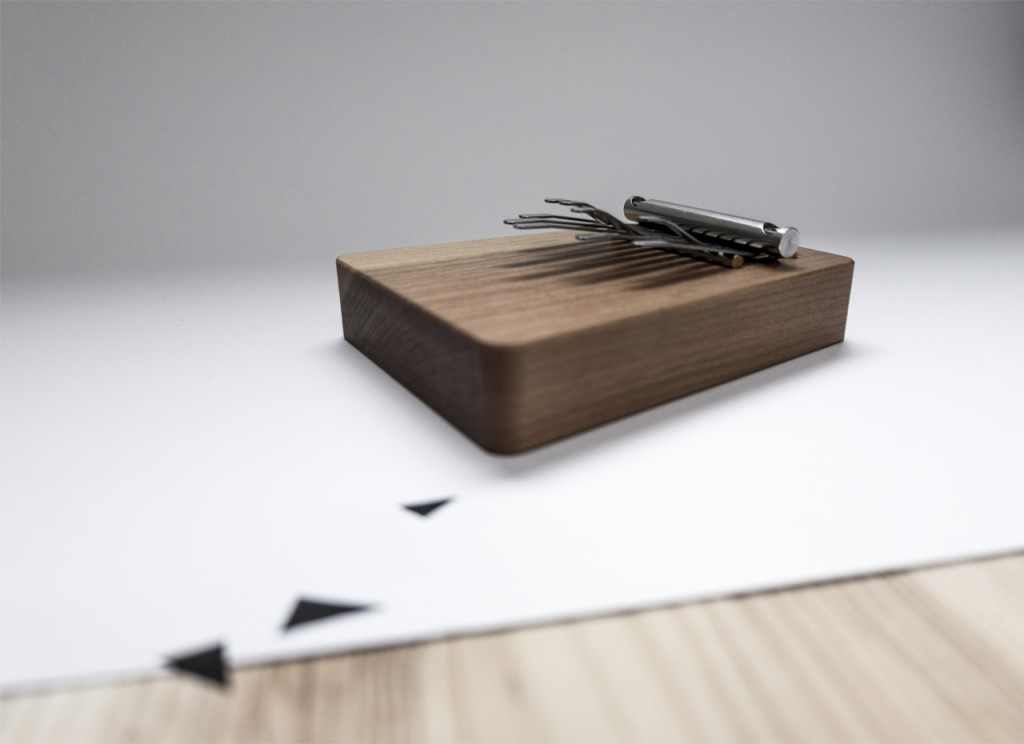 It is composed of a wooden board used as a soundbox with attached staggered metal tines, the number of tines varying depending on the instrument type and the way it can be tuned.
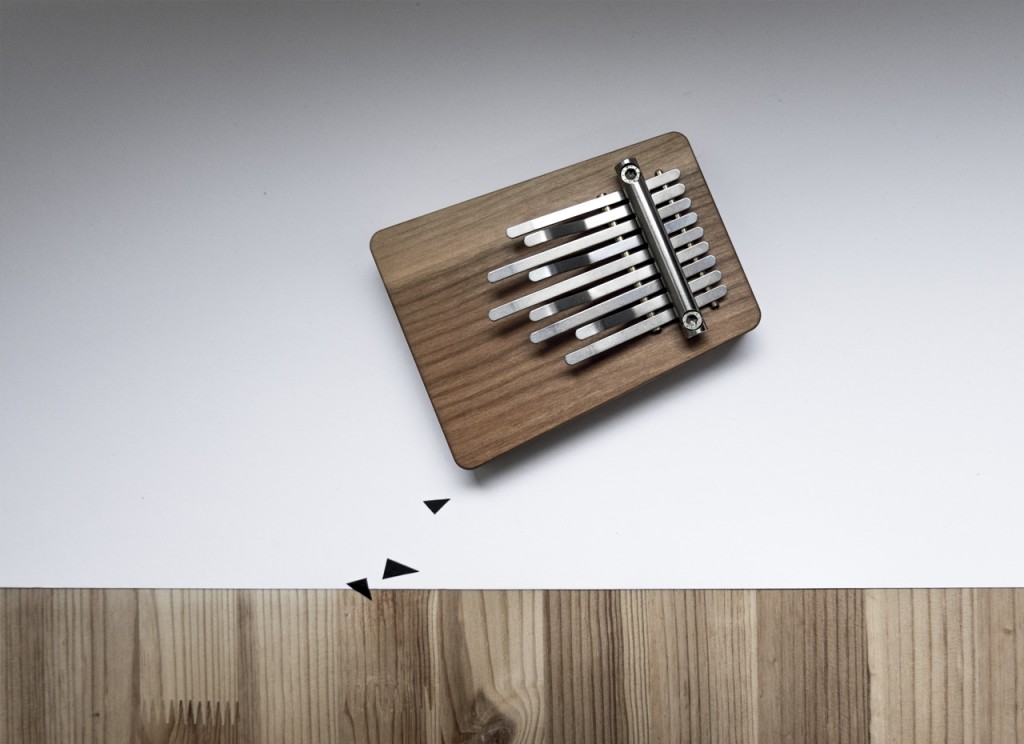 This instrument is typically used by the griots, the repository of the oral tradition in western Africa, he is a storyteller, societal and educated leader of knowledge, history, poetry.
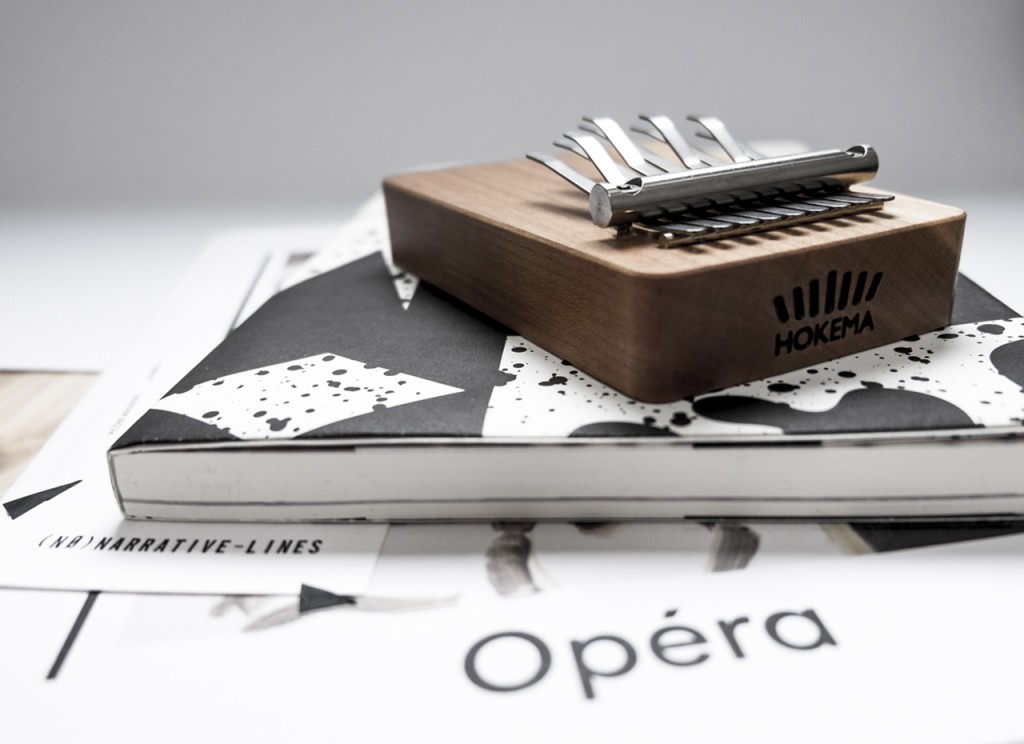 You would like to hear the sound of it ? Here is a very melodic and sweet sound… Youn Sun Nah…
 Continuing in our vintage journey, here is a Semflex, a little photographic camera, rather light, produced in France between 1949 and 1959 and made by “la Société des Établissements Modernes de Mécanique (la SEM)”. The model below is a TLR, Twin Lens Reflex, that work together to allow photographers to take photos with one lens and use the other lens as a viewfinder.
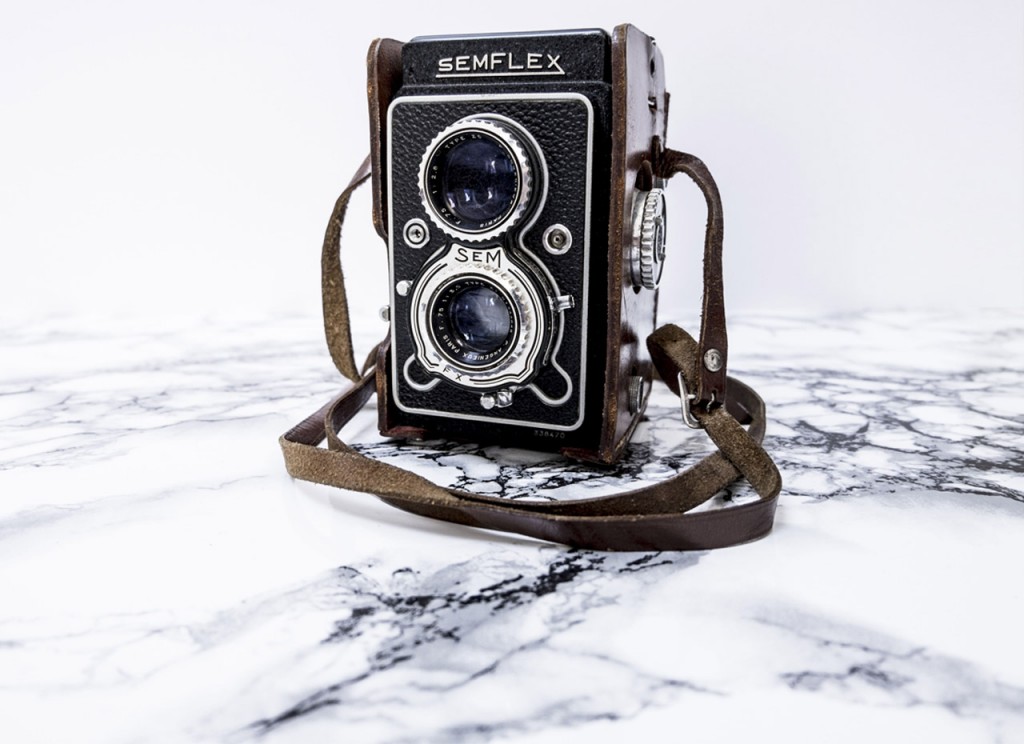 The flip-up hood contains the viewfinder. The focusing screen included can be a bit disturbing at first since it flips the image horizontally.
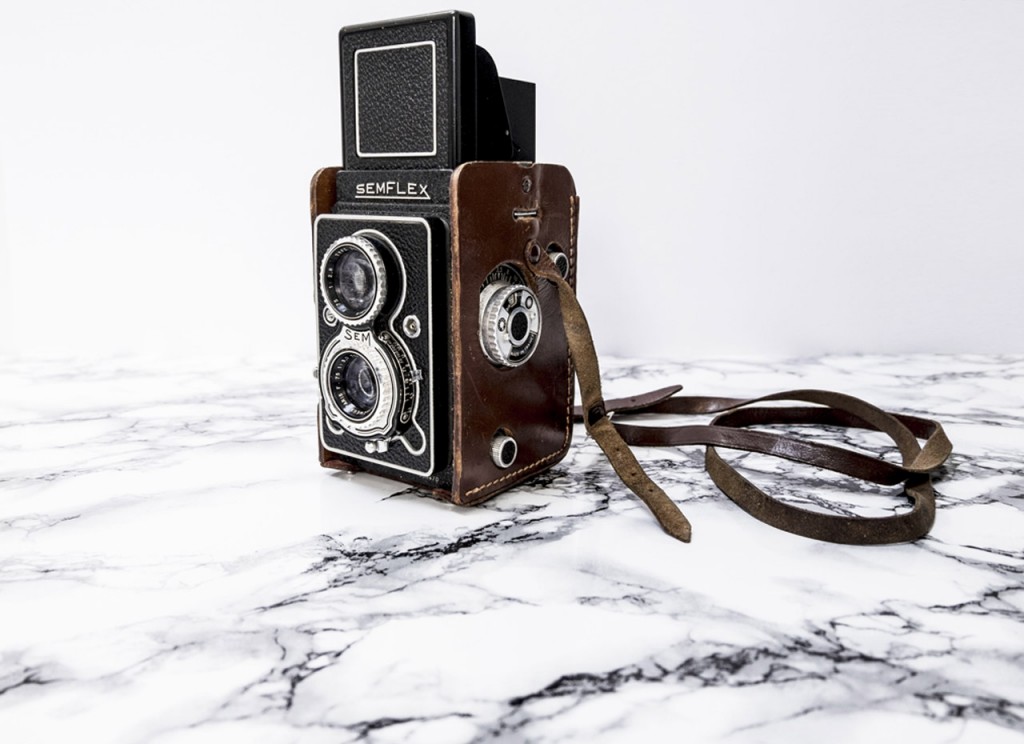 This camera used photographic films of 120 or 220 that includes 12 images in 6×6.
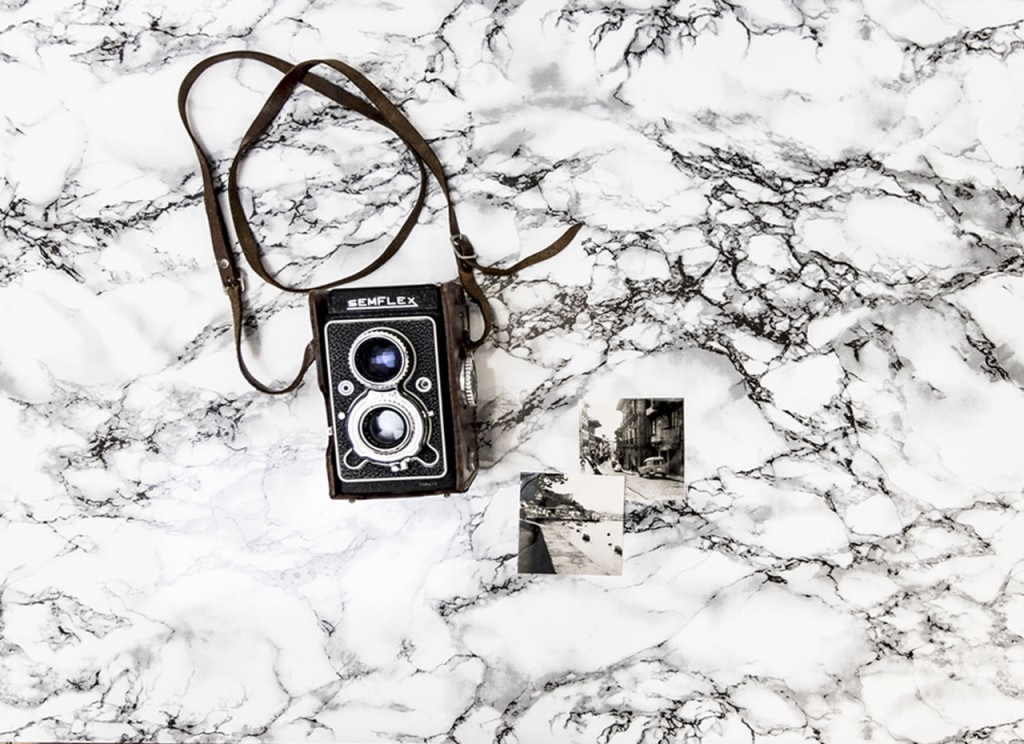 Now time to close the case and travel to our next destination (
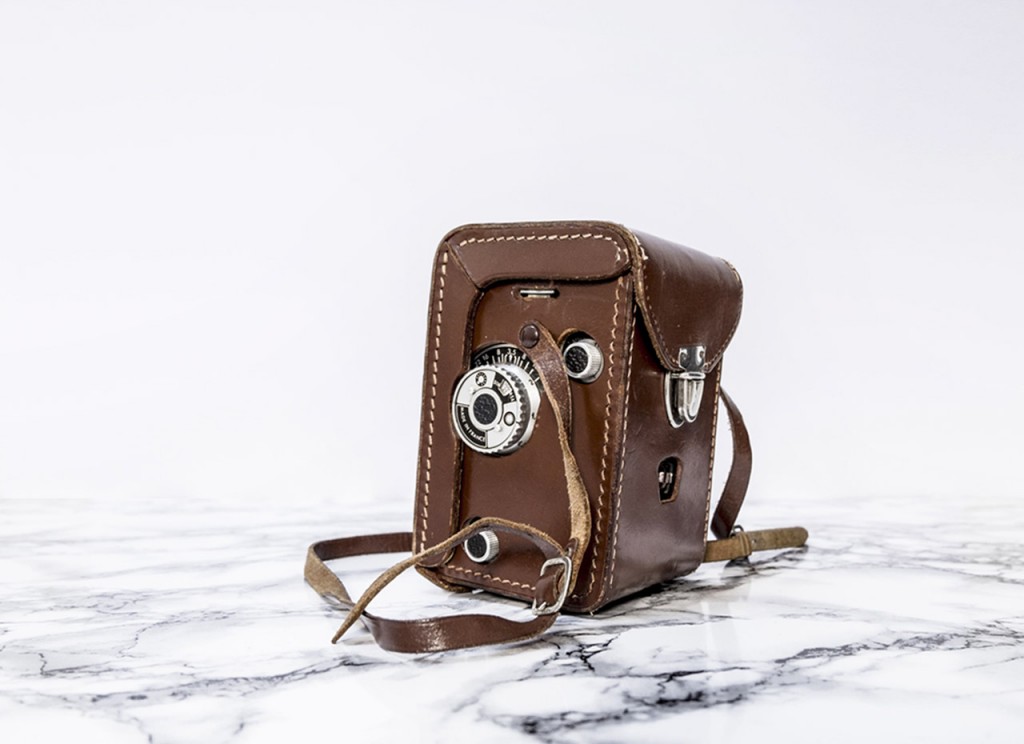 A simplified version of this modele carries the sweet name of “joie de vivre”…