Today is a special day as (NØ) goes back to school, but not a random school ! She goes back to stitch-school to offer you ten hand-embroidery stitches you must know ! Step by stitch step, it’s easy, have a look at the images and pretty illustrations that (NØ), as a good student, prepared for you ! To get a pretty regular embroidery, there is no choice but practice, undo to redo, unstitch to restitch …
-
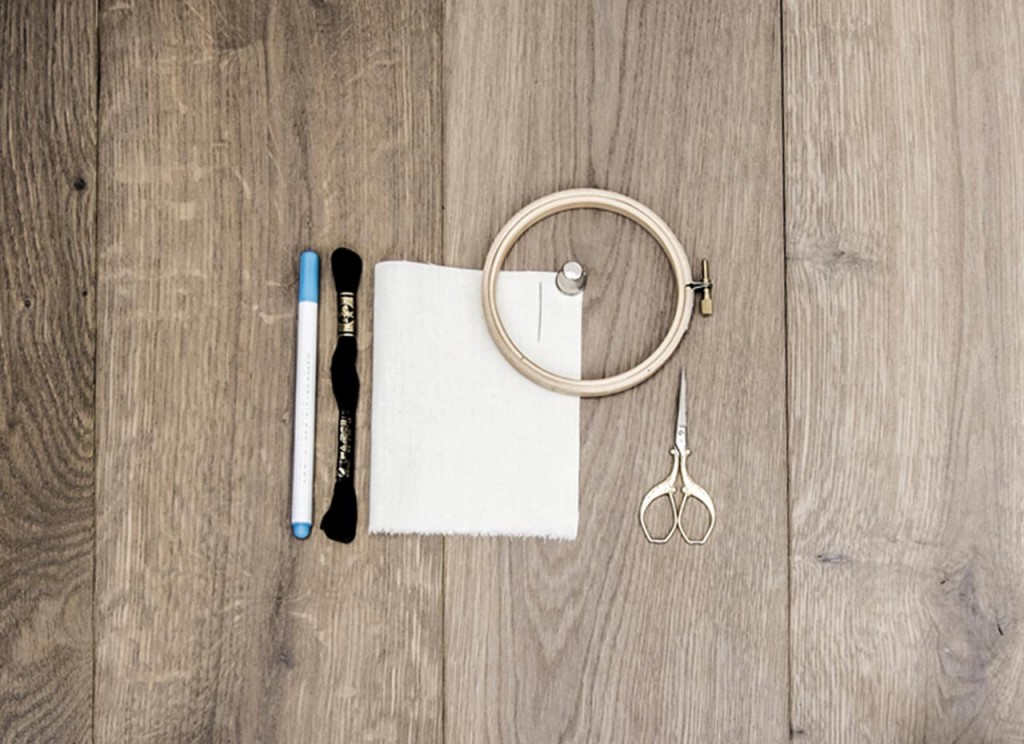
You will not need a lot :
By buying the suggested products via the links, you offer your support to (NØ)s creativity…
– 1 water-erasable marking pen or a tailor chalk to mark your drawing, you will find in every haberdashery or by Amazon
– Embroidery thread (DMC mouliné floss, using only one or two threads, or “spécial à broder” thread or any fancy thread you’d like to use !)
– Some fabric for practicing … A little cotton canvas should do for a start !
– An embroidery needle (large needle eye to avoid damaging your thread and a very sharp needle tip … watch your fingers !) you will find them in the same nice haberdashery or following this link.
– A thimble … Because the needle should be sharp!
– A hoop, you would find in your good haberdashery, in a DIY shop or by Amazon
– Sharpened embroidery scissors.
-
Let’s get started !
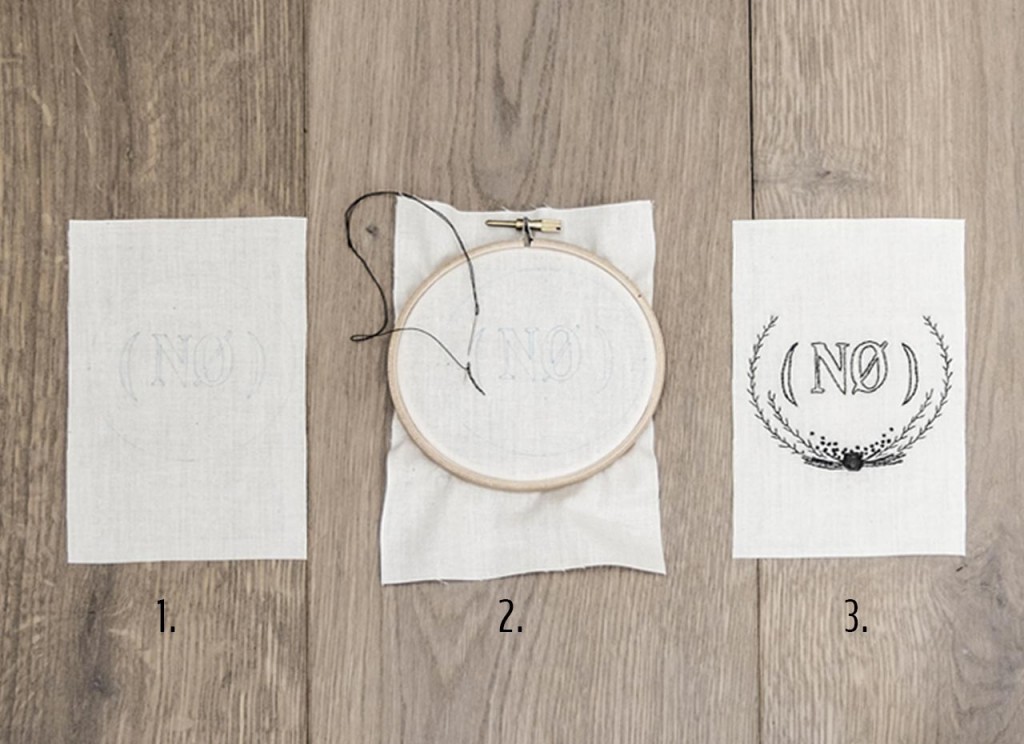 1. Using the marking pen or the tailor chalk, mark the design template on the fabric. (NØ) recommands straight lines, then curves for practicing at the beginning …
2. Place the embroidery over the inner ring of the hoop. Press the outer ring down. Tighten the screw of the hoop to secure the fabric in place. (You can use a screwdriver to tighten-up).
3. Thread the needle… Start embroider following the instructions below!
Running-Stitch :
This stitch is used to embroider straight or curved lines. The stitches need to be as regular as possible.
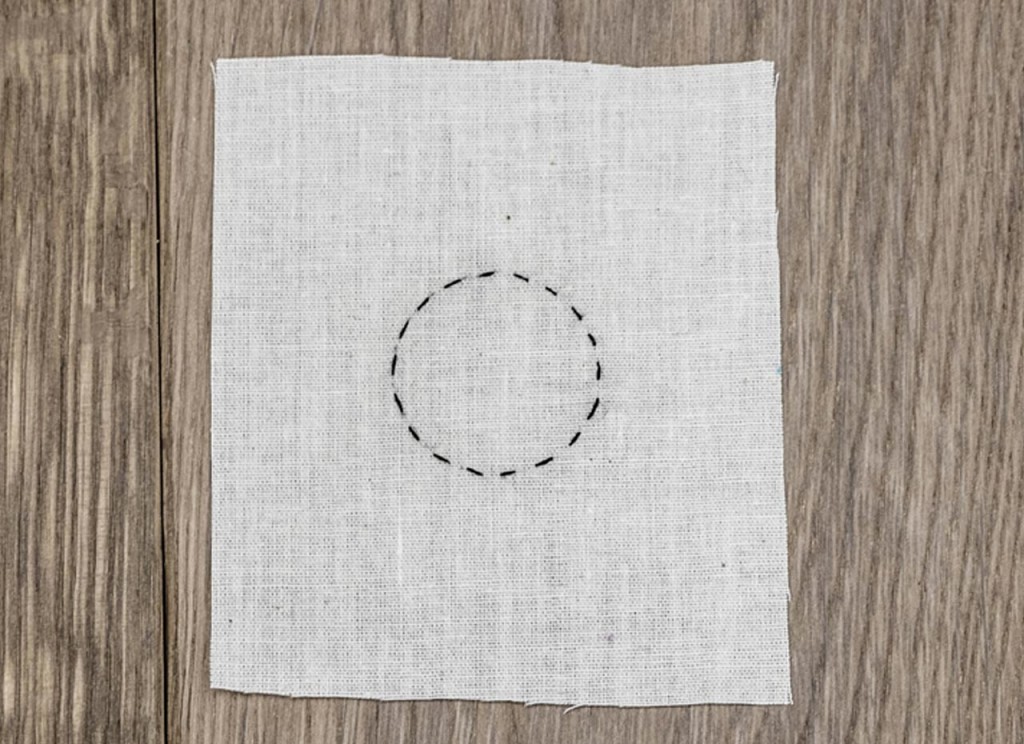
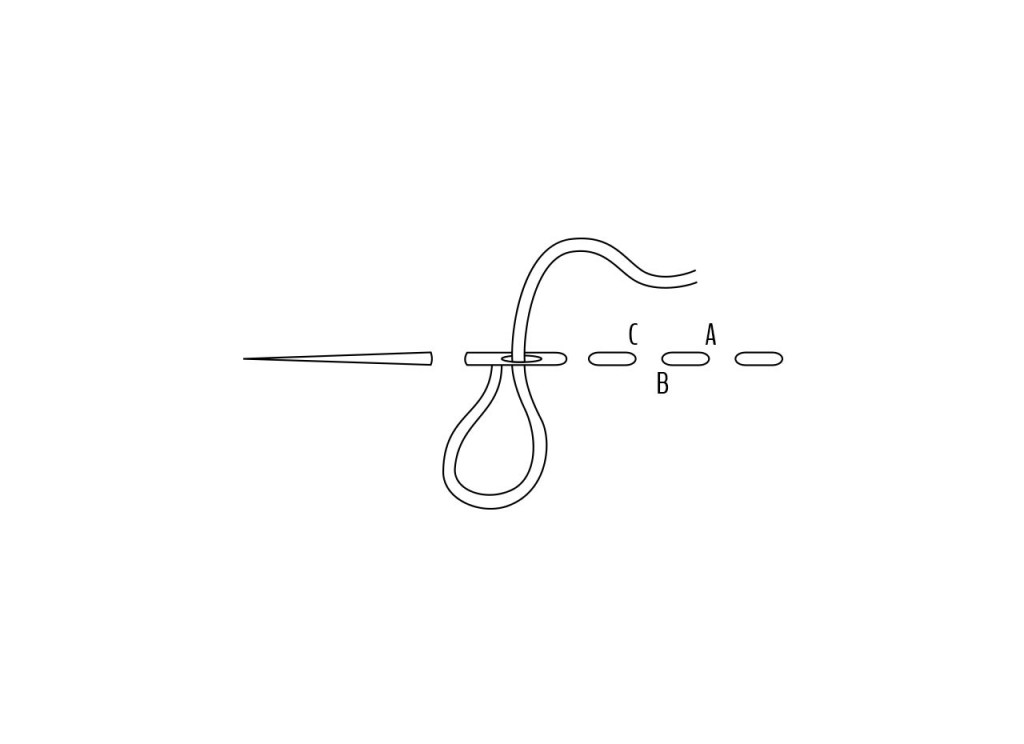 Bring the needle out through A.
Take the needle back through B and bring it out again through C to make a small stitch.
Backstitch :
This stitch is used to embroider straight, curved lines or tiny details. The stitches need to be as regular as possible.
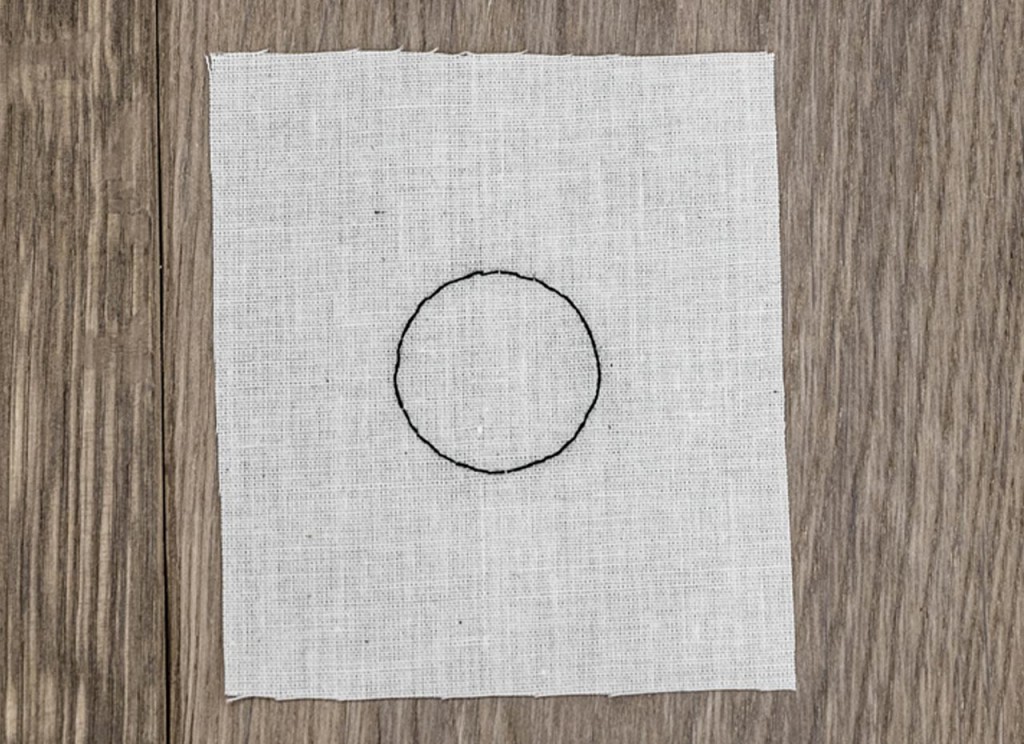
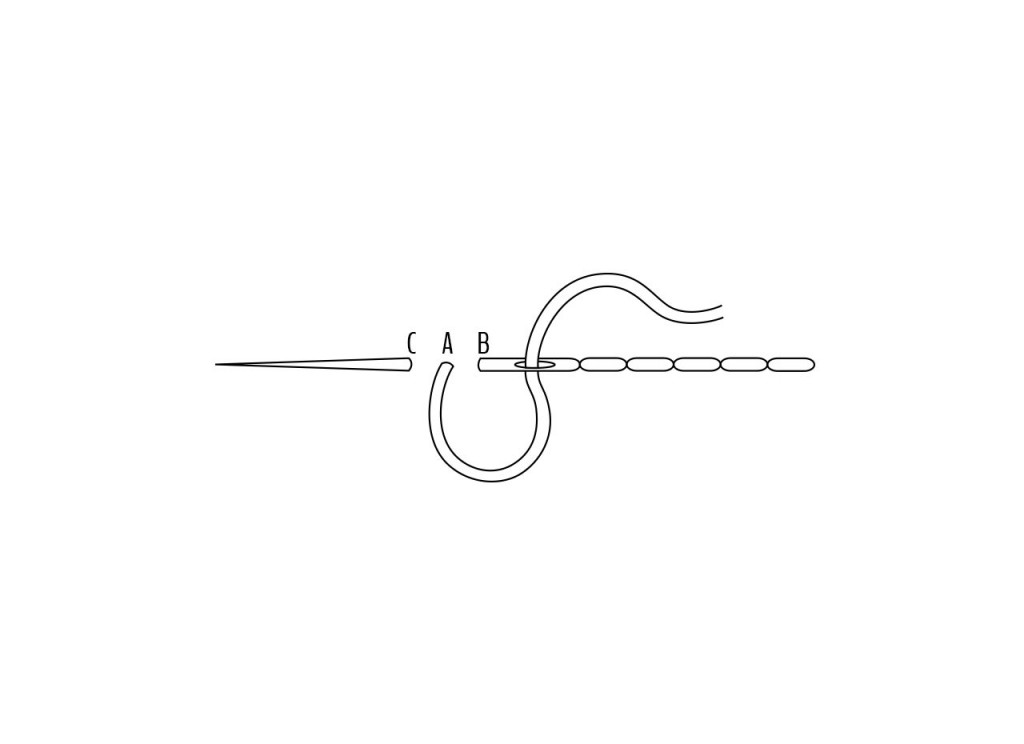 Bring the needle out through A.
Take the needle back through B and bring it out again through C. The space between A, B and C schould be the same.
Stem-Stitch :
This stitch is used to embroider straight or curved lines. The stitches need to be as regular as possible except in the strong curves, where they could be a little shorter to get a smooth line.
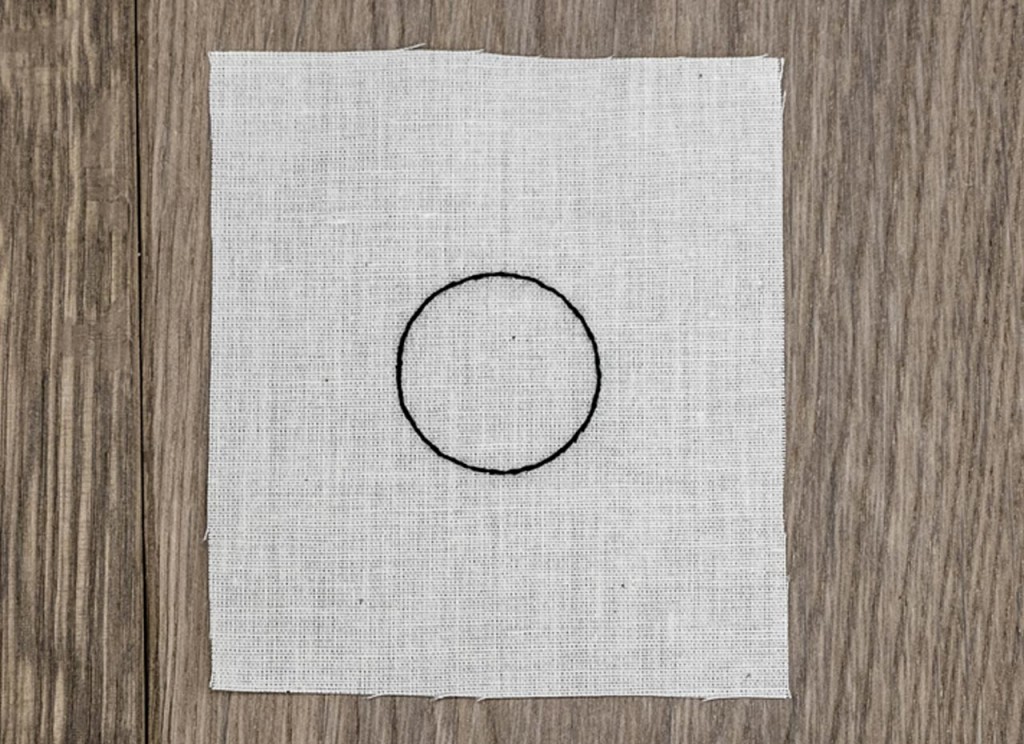
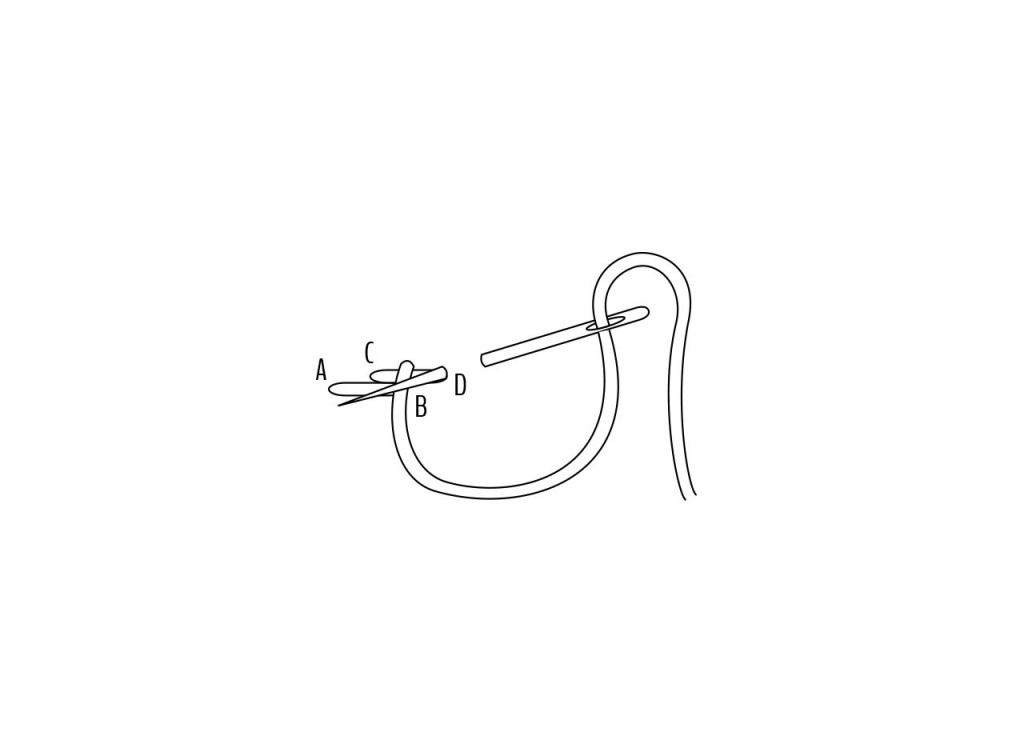 Bring the needle out through A.
Take the needle back through B and bring it out again through C, half-way between A and B a little over the sketched line.
Slip-Stitch :
This stitch is used to embroider straight or curved lines. It’s also used as a filling-stitch.
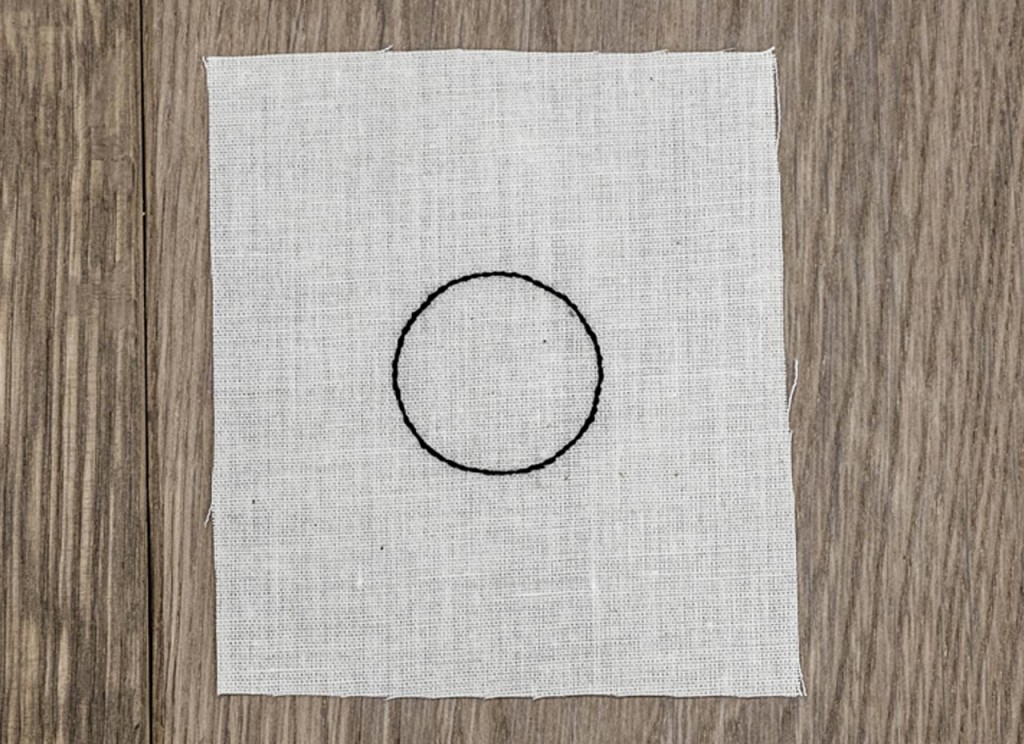
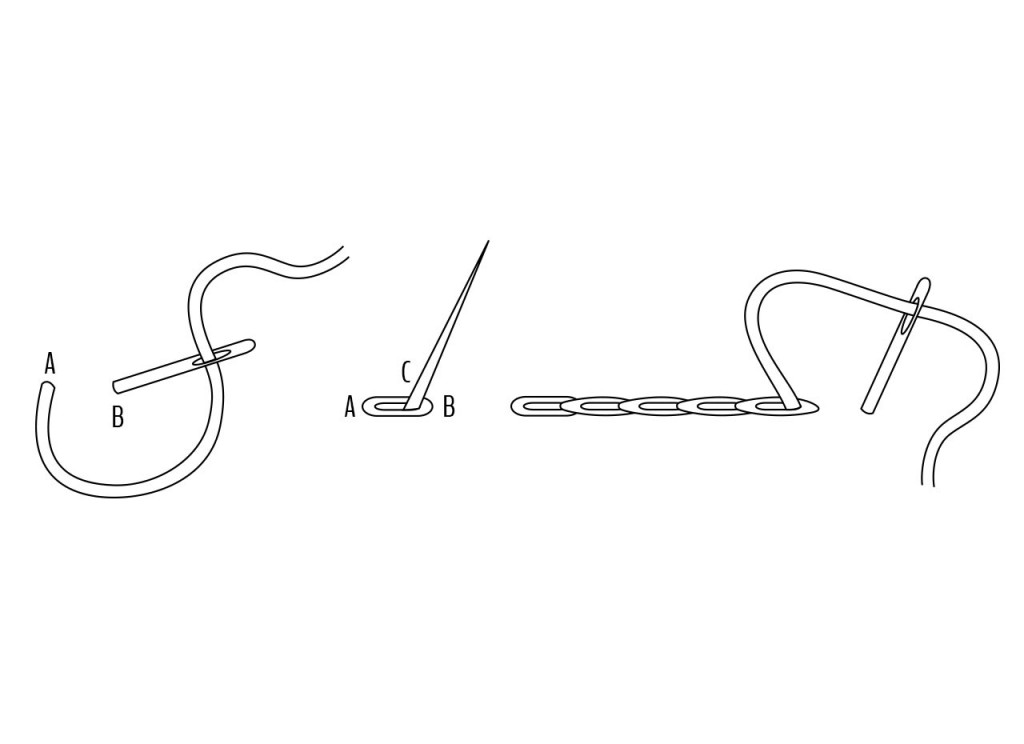 Bring the needle out through A.
Take the needle back through B and bring it out again through C, in the center of that stitch you just made, splitting the thread.
Chain-Stitch :
This stitch is used to embroider bold lines, straight or curved.
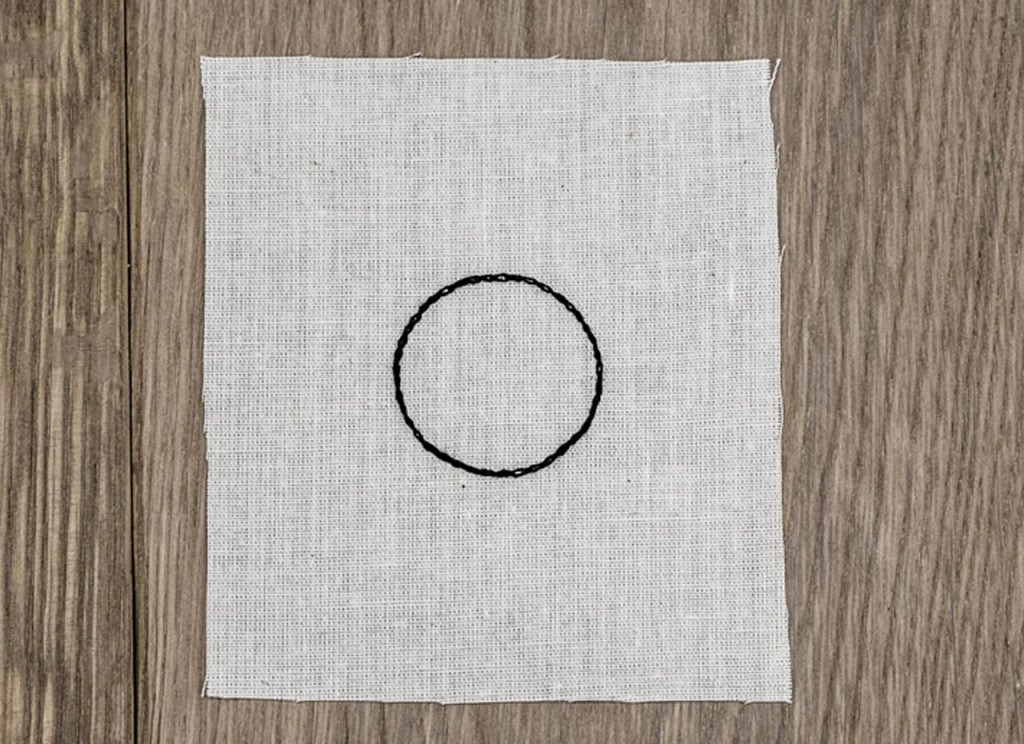
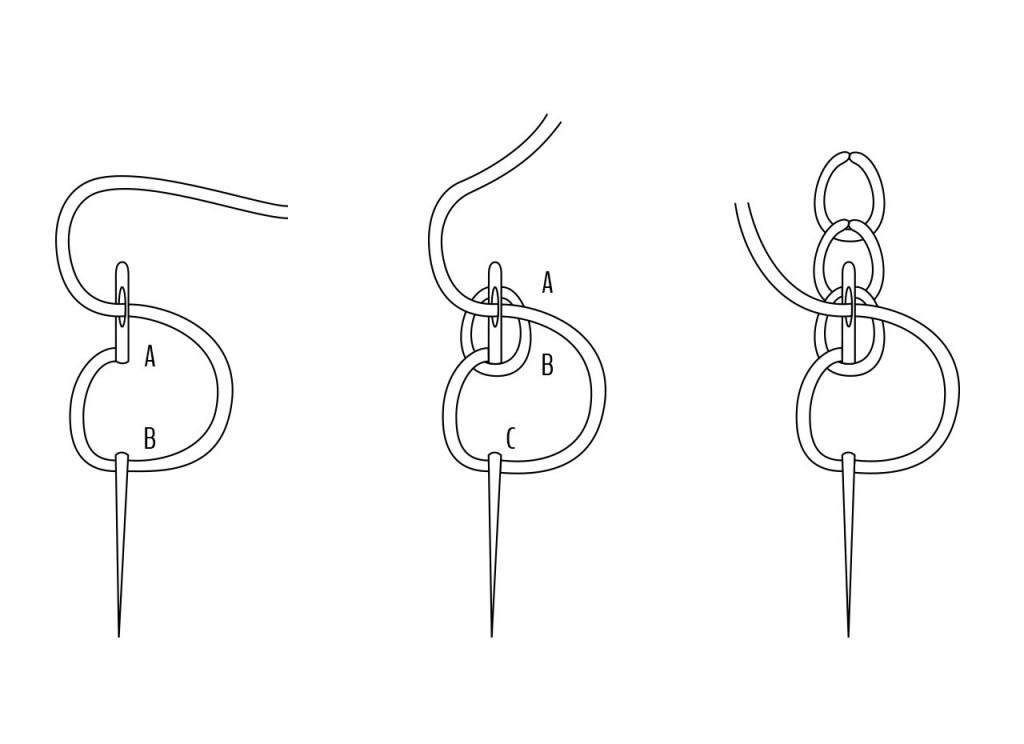 Bring the needle out through A. Take the needle back through A and bring it out again through B in the loop you just did.
Take the needle back through B and bring it out again through C. Finish with a short backstitch to fix the last loop.
Blanket-Stitch :
This stitch is traditionnaly used to embroider the blankets borders. You can space the vertical stitches as you want (more space for a lighter effect, less space for a opaque effect). They will be prettier if they have the same high.
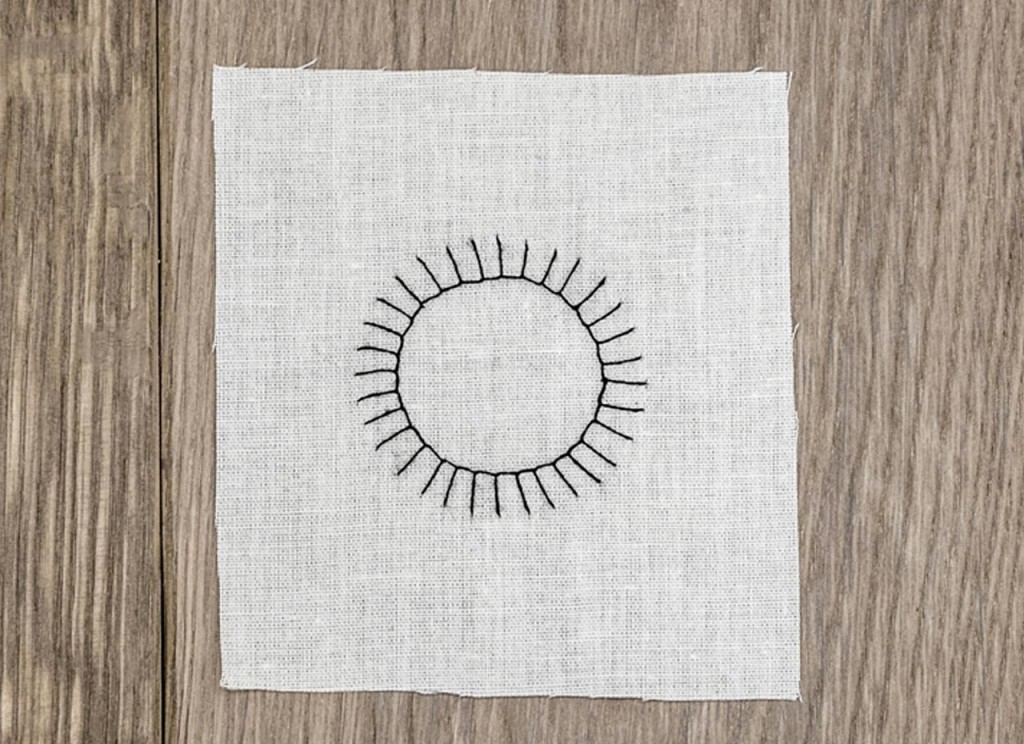
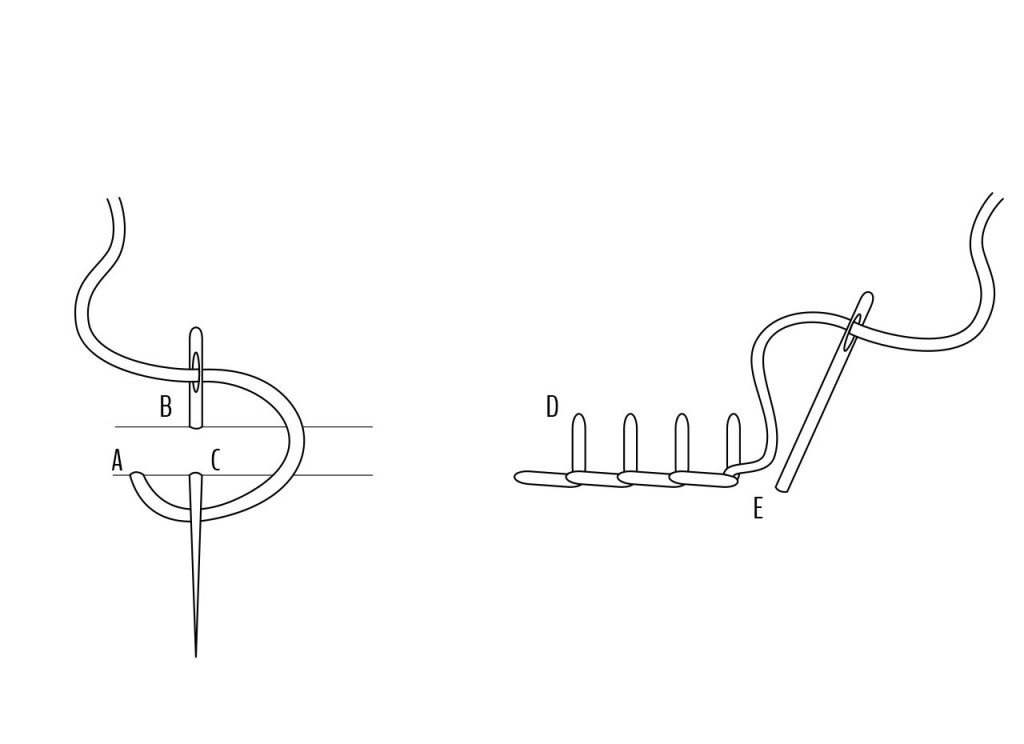 Bring the needle out through A (at the fabric edge if you embroider a blanket). Take the needle back through B and bring it out again through C leaving the thread under the needle.
Take the needle back through D. Take the needle back through E to finish.
Featherstitch :
This really delicate stitch can be used to embroider some nice plant stems… The stitches can be spaced a lot to give a ligther impression or closer to get a covering effect. To get a nice line, the stitches have to be really regular and the angle of the needle has to be always the same.
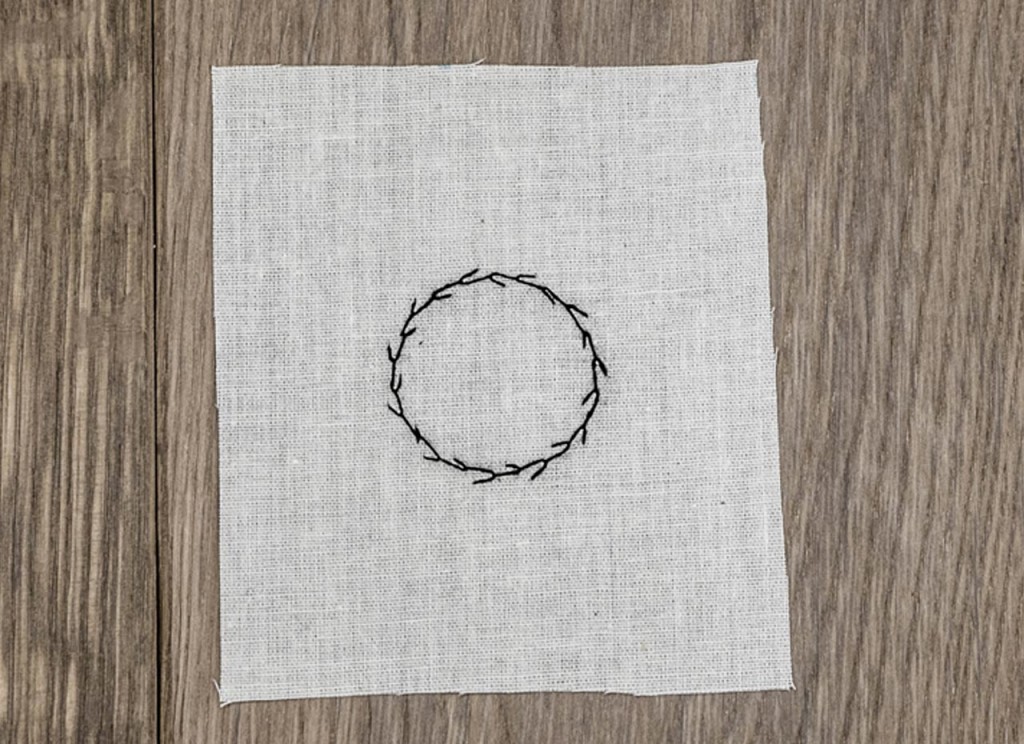
 Bring the needle out through A on the middle line. Make a loop to the right. Take the needle back through B and bring it out again through C in the loop.
Pull the needle down, holding the stitch with one of your finger. Make a loop to the left, take the needle back through D et bring the needle out through E in the loop. Make a small backstitch to fix the last loop.
Satin-Stitch :
This is one of the filling-stitches used to cover small surfaces. It is especially used to give some relief to a small design or to letter bed-linen.
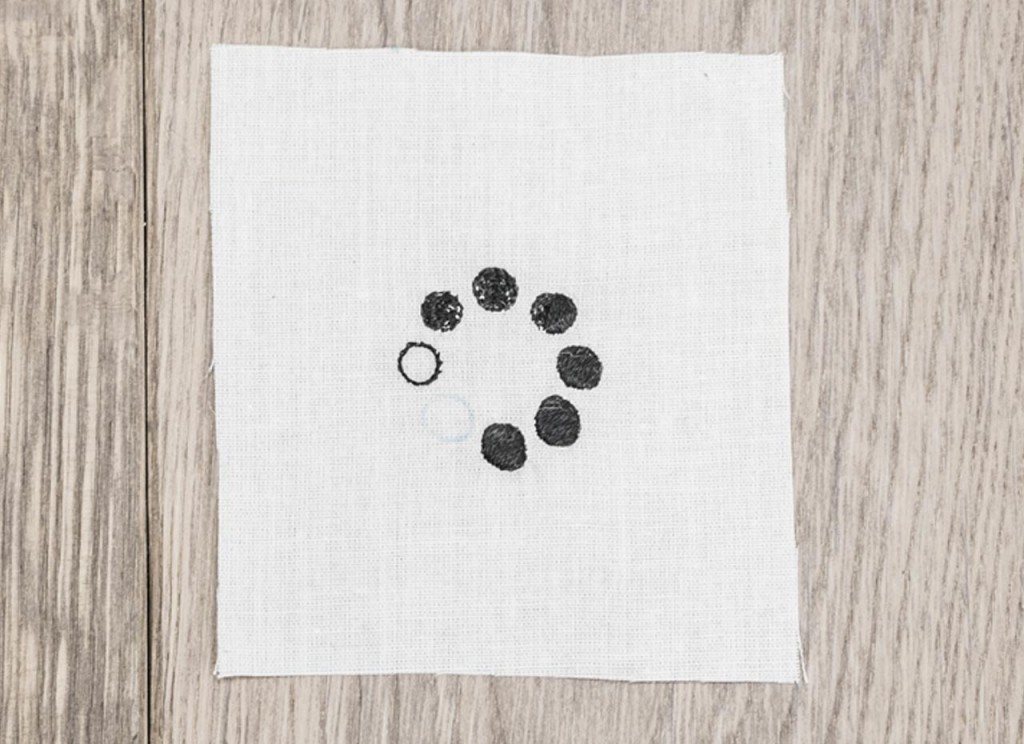
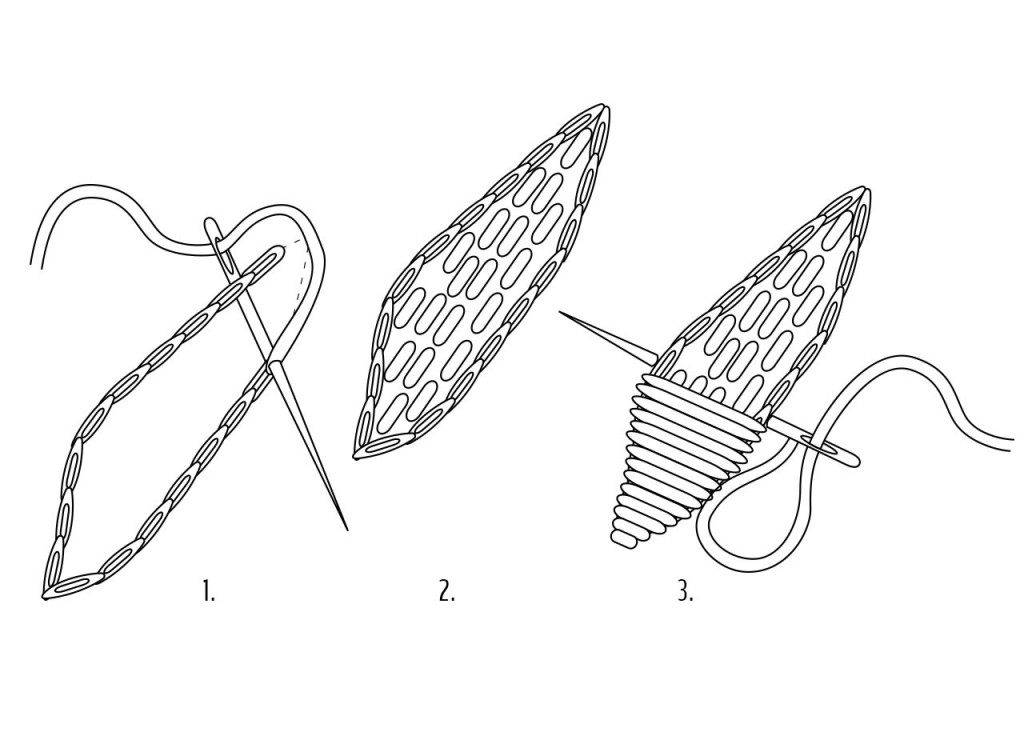
Embroider the outline of the design with a split-stitch. Fill the inside using a running-stitch or a chain-stitch or a stem-stitch. Cover the filling with the satin-stitch, from the middle of the design to the edge.
French Knot :
This small point is traditionnaly made with one thread of the floss and used as a fillinf-stitch. You can use two or three threads to get a bigger, rounder knot.
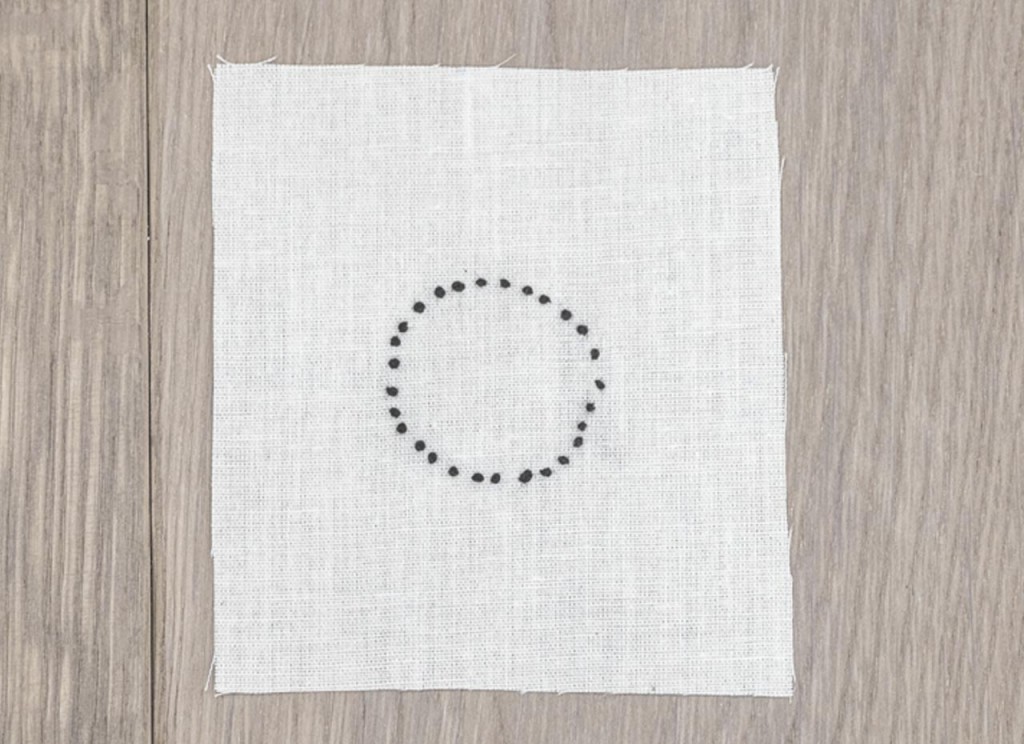
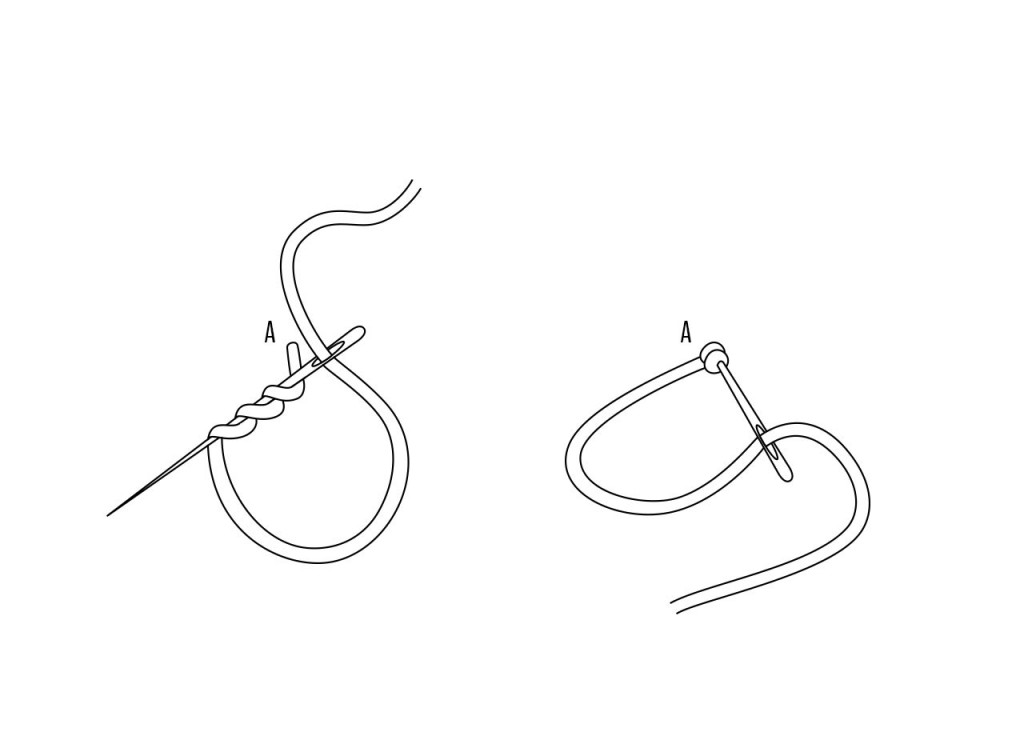
Bring the needle out through A. Wind the floss around the needle once or twice. Continue the tension of the floss with the no-needle hand to prevent it from uncoiling.
Take the needle back through B just next to A holding the wound thread with one of your fingers. Pull the needle back to fix the knot.
Bullion-Stitch :
This stitch can be used alone, as a filling-stitch, a rose-stitch or as a relief line.
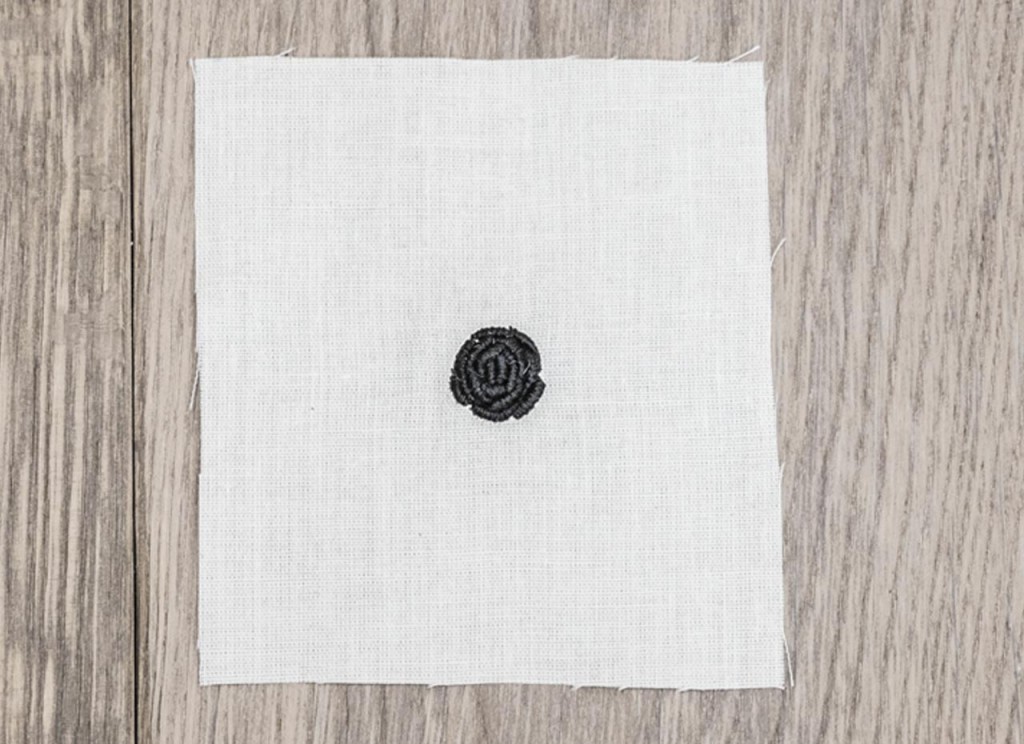
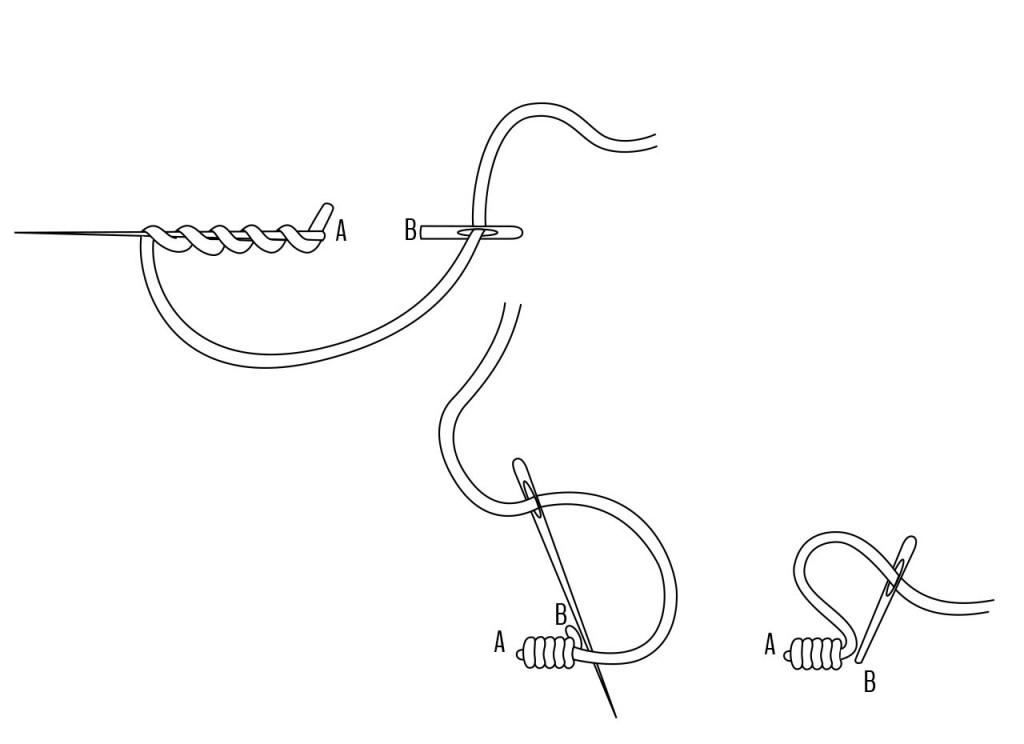 Bring the needle out through A. Bring the neddle back through B and out again through A. Leave the needle half in the fabric, not pulling on the thread. Wind the floss around the needle six or seven or nine times, according to the length of the stitch you just made. Continue the tension of the floss with the no-needle hand to prevent it from uncoiling. Push the wound thread to the fabric and pull the needle through the twisted thread.
Pull on the needle to couch the spiral on the fabric surface. Take the needle back through B again. THe spiral is now fixed on the fabric.
Et voilà… Here is a little sample of stitch combinations… But possibilities are endless !
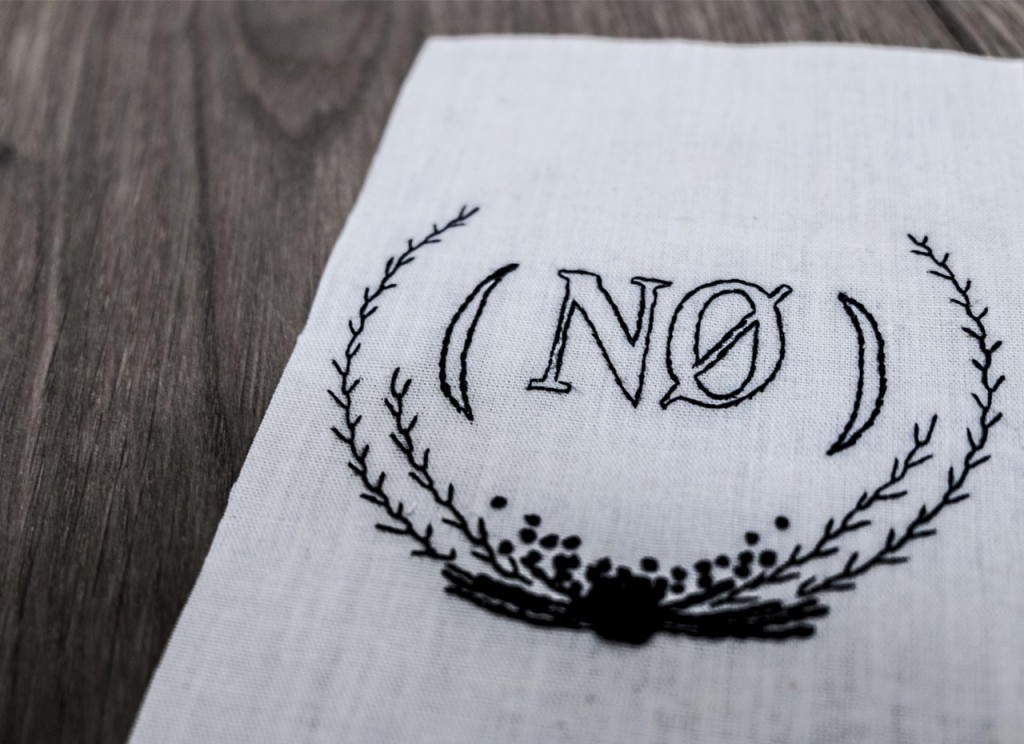 Let your imagination run wild… With those stitches, you can basically do anything ! (NØ) is very curious to see what will be your next embroidered project ! Looking for more hand-embroidery stitches? Have a look here.
