Today, (NØ) offers you a quick treat… A small Pumpkin-hat to be ready for Halloween ! Easy-peasy to get your treats… and a simply-funny way to celebrate Halloween.
List of the material needed to make the pumpkin hat :
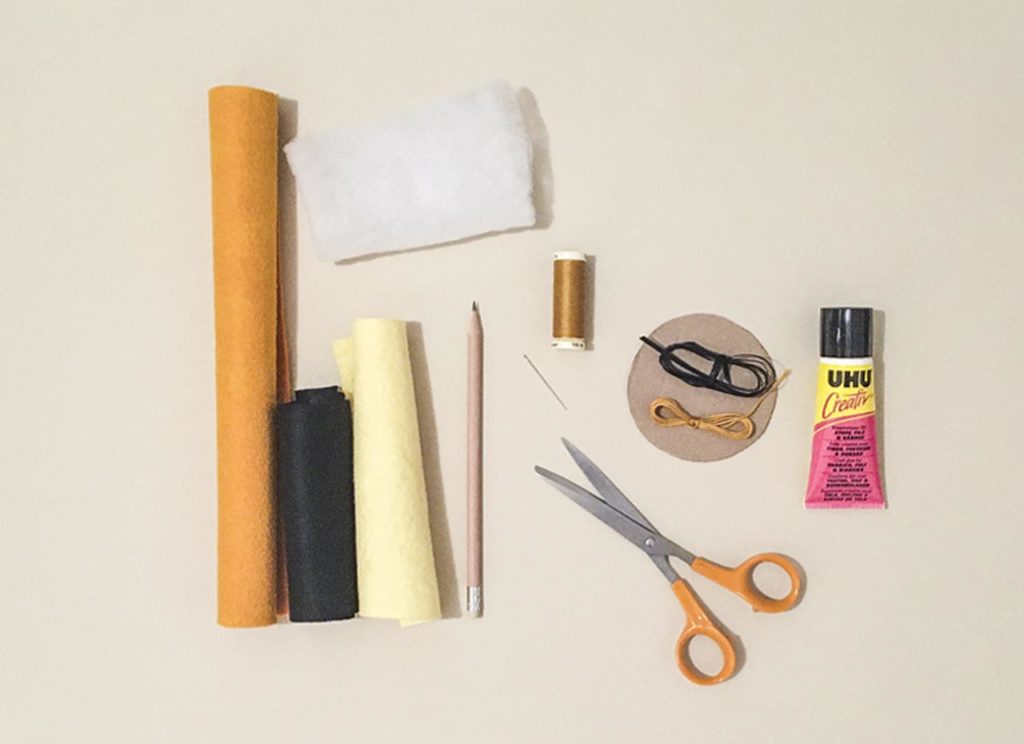
– Orange, yellow (or green if you want a green leaf for your pumpkin !) and black felt.
– Some padding material
– A pari of scissors
– A pen
– A piece of cardboard
– Orange sewing thread
– Sewing needle
– Orange embroidery thread
– Embroidery needle
– Some black satin ribbon
– A little bit of fabric glue
How to make the pumpkin hat, step-by-step :
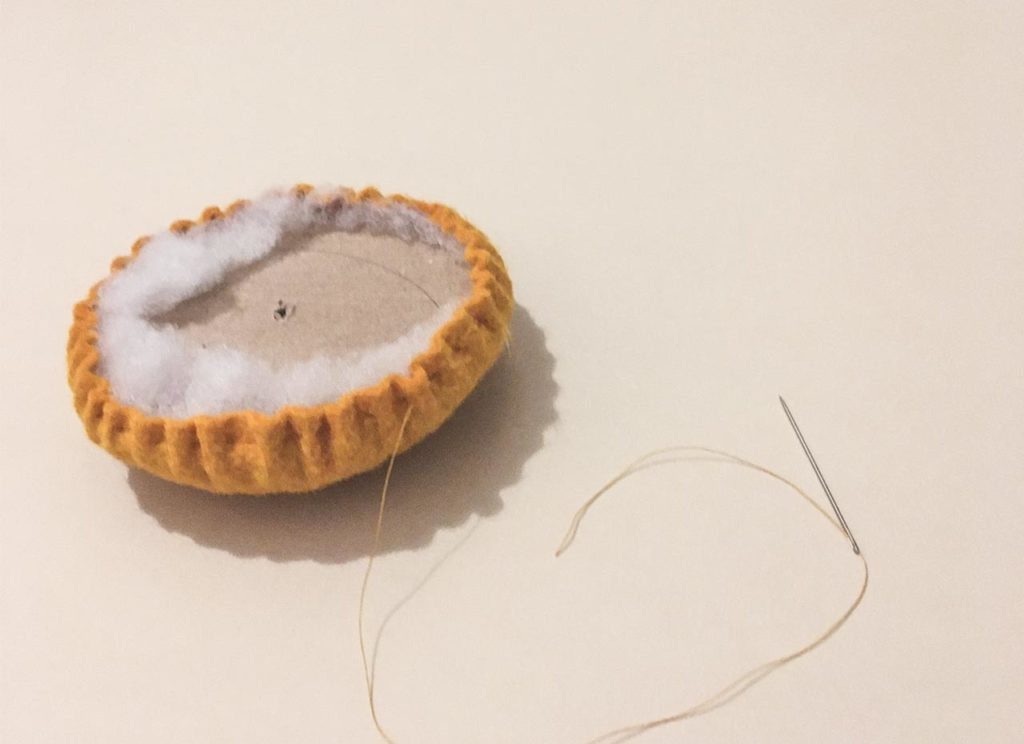
1. Cut a circle in the cardboard.
2. Cut a bigger circle in the orange felt (1.5cm all around).
3. Place the padding on the cardboard, use some glue to place the padding.
4. Place the felt on the padding, gather the felt and pull the thread to fix the felt on the padding.
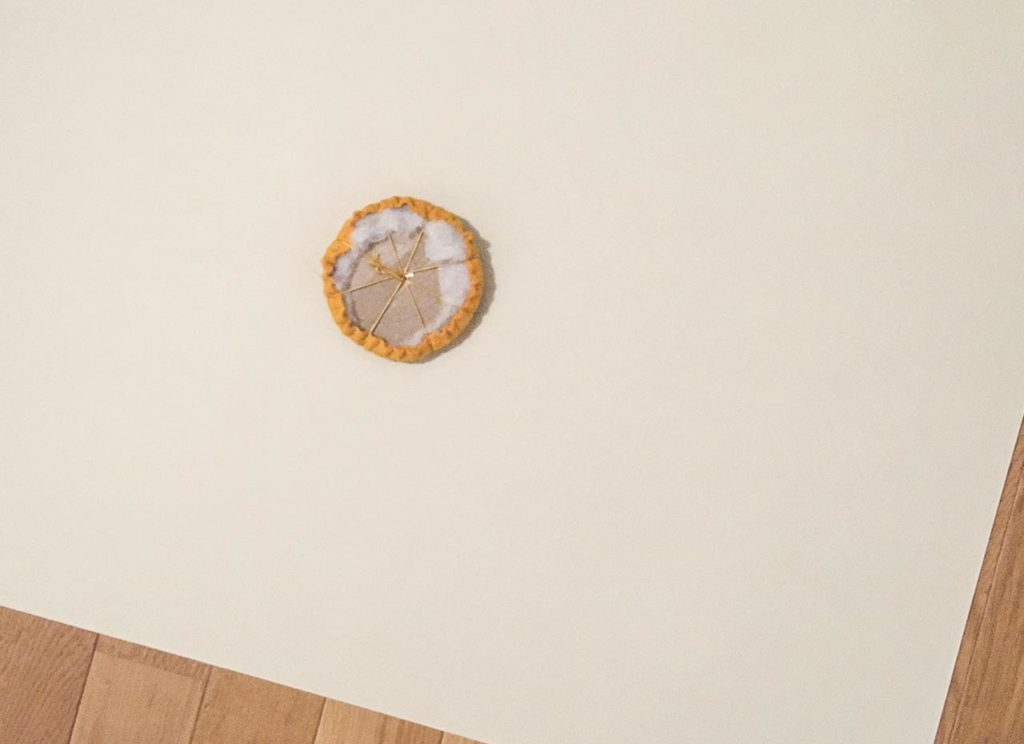
5. Make a hole in the center of the cardboard.
6. Fix the embroidery thread in the hole with a bit of glue or a piece of tape.
7. Sew the pumpkin quarters, going through the hole in the center every time.
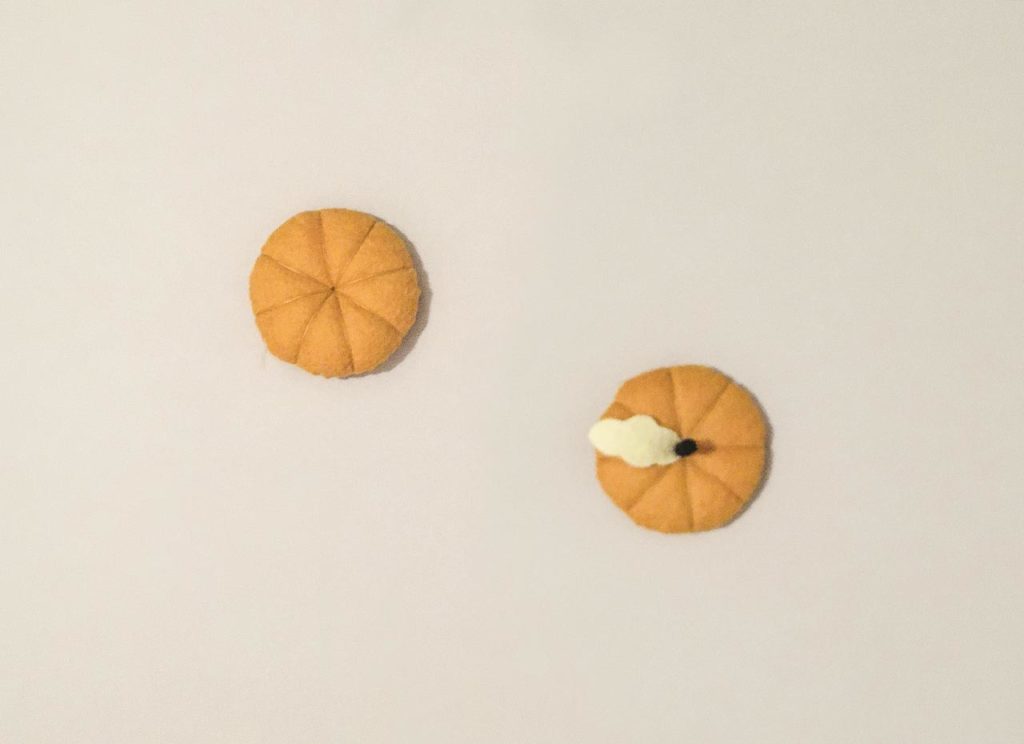
8. Cut a leaf in the yellow felt.
9. Roll a piece of black felt to form the small stem, sew to close the stem.
10. Sew the leaf and the stem in the center of the hat.
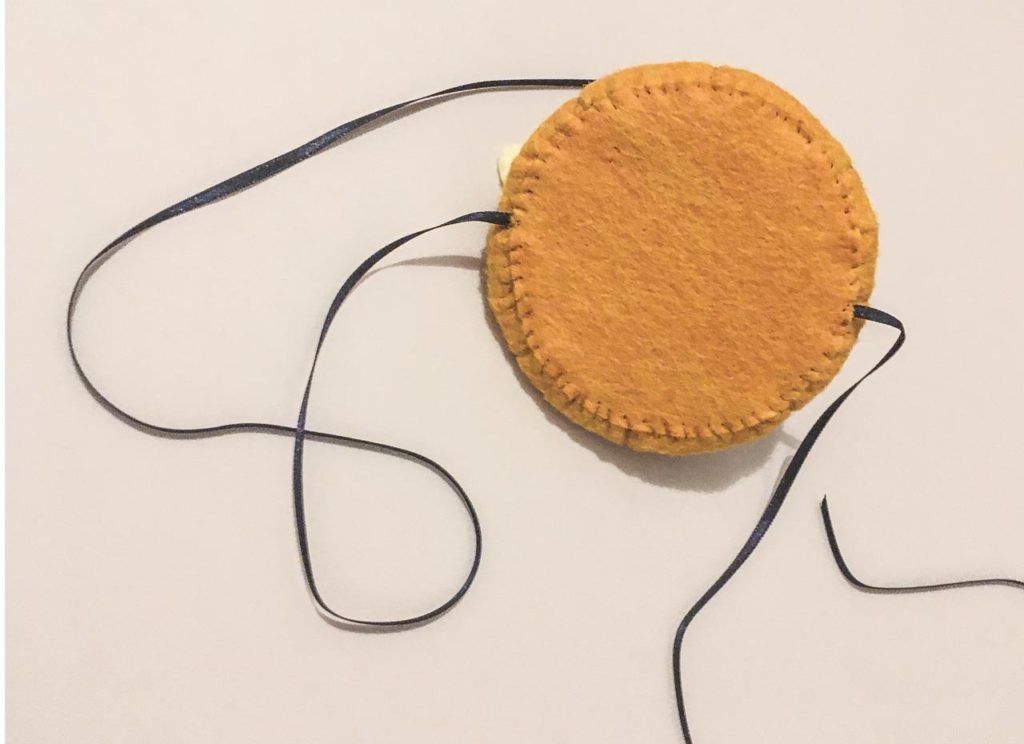
11. Cut a smaller circle in the orange felt, place the ribbon between the cardboard and the last piece of felt, sew all around to fix the ribbon and close the hat.
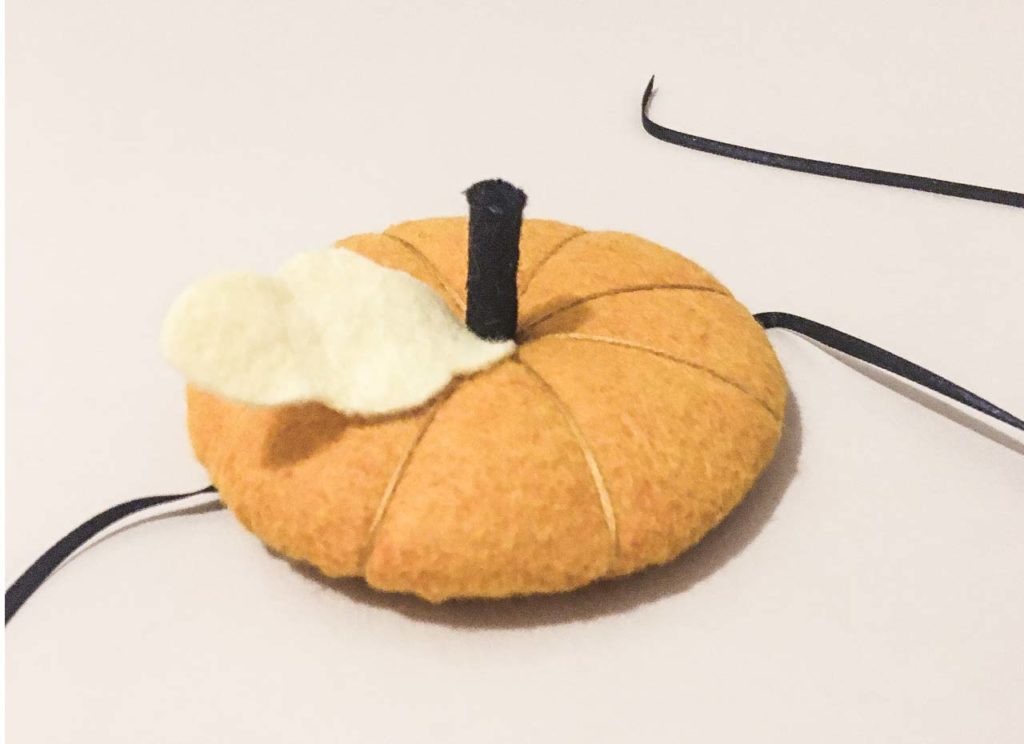
Voilà !! You are done with the small pumpkin hat !
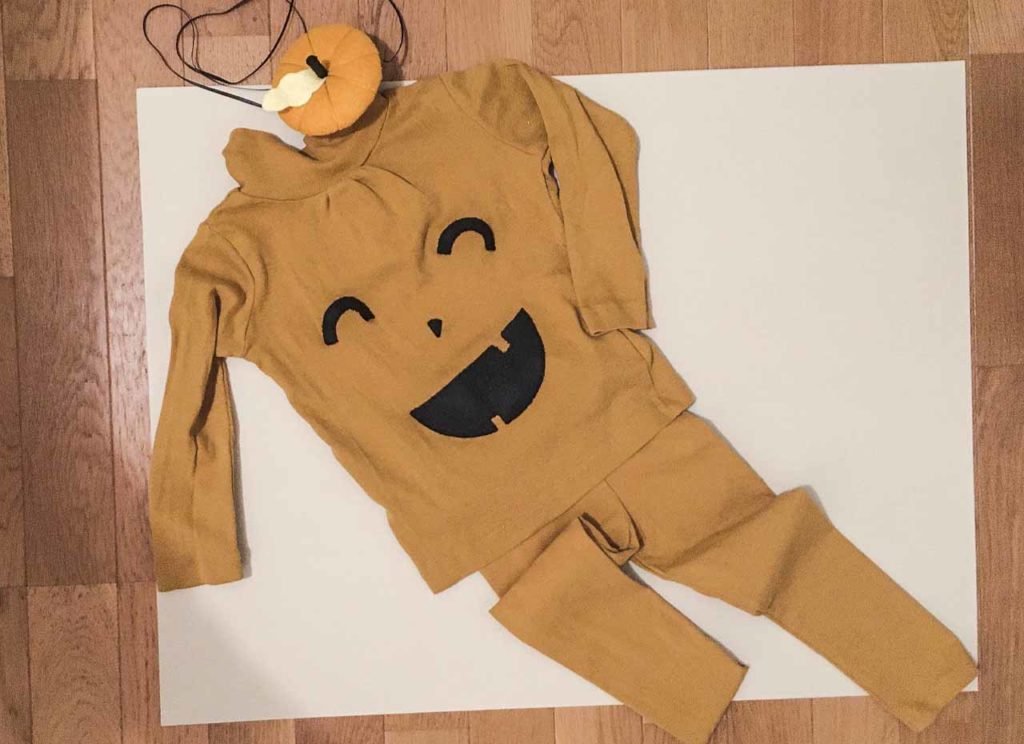
A rest of felt ? Cut out some eyes, mouth and nose and you’ll get a complete Pumpkin costume… Here the mini-size !!
Happy Halloween everyone !!
