Here we are again for a traditional hand-embroidery stitch class… A little while ago, (NØ) went back to school to offer you the top 10 hand-embroidery stitches you must know. Today, (NØ) is excited to share with you three new hand-embroidery stitches to add to your embroidery notebook. Step by stitch step, it’s easy, just have a look at the photos and pretty illustrated tutorials that (NØ) has prepared for you !
-
You do not need a lot :
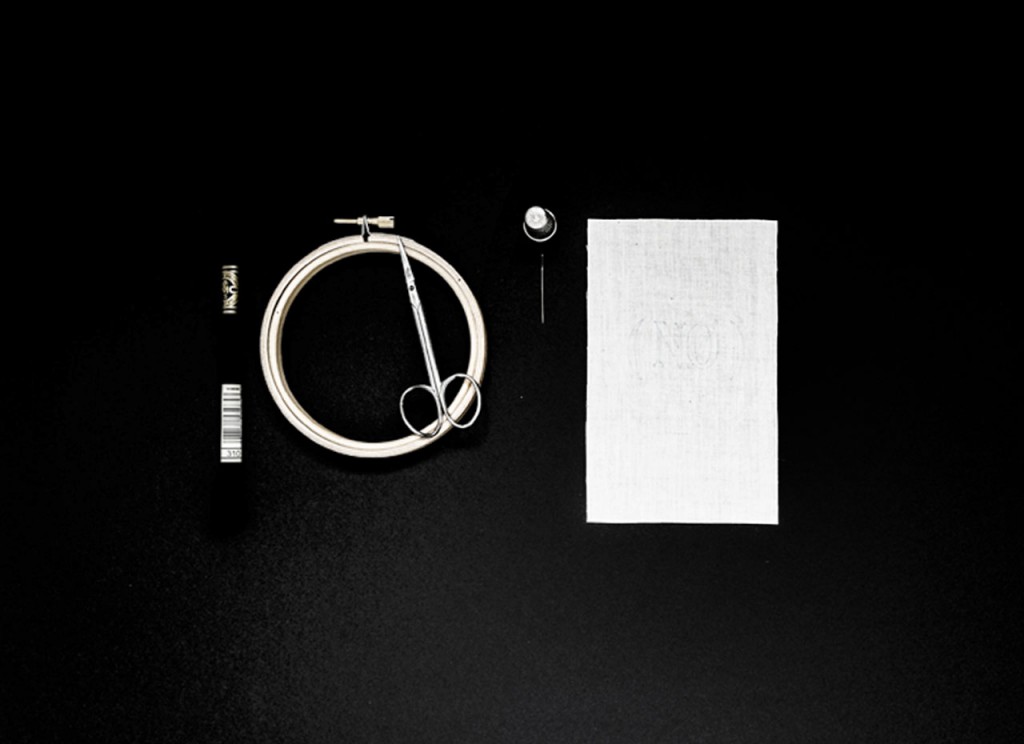
– 1 tailor chalk or a water-erasable marking pen to mark the drawing.
– Embroidery thread (DMC mouliné floss, using only one or two threads, or “spécial à broder” or any fancy thread you’d like to use !)
– Some fabric … A simple cotton canvas can be a good option for a start !
– An embroidery needle.
– A thimble.
– An embroidery hoop.
– Sharpened embroidery scissors.
-
Let’s go!
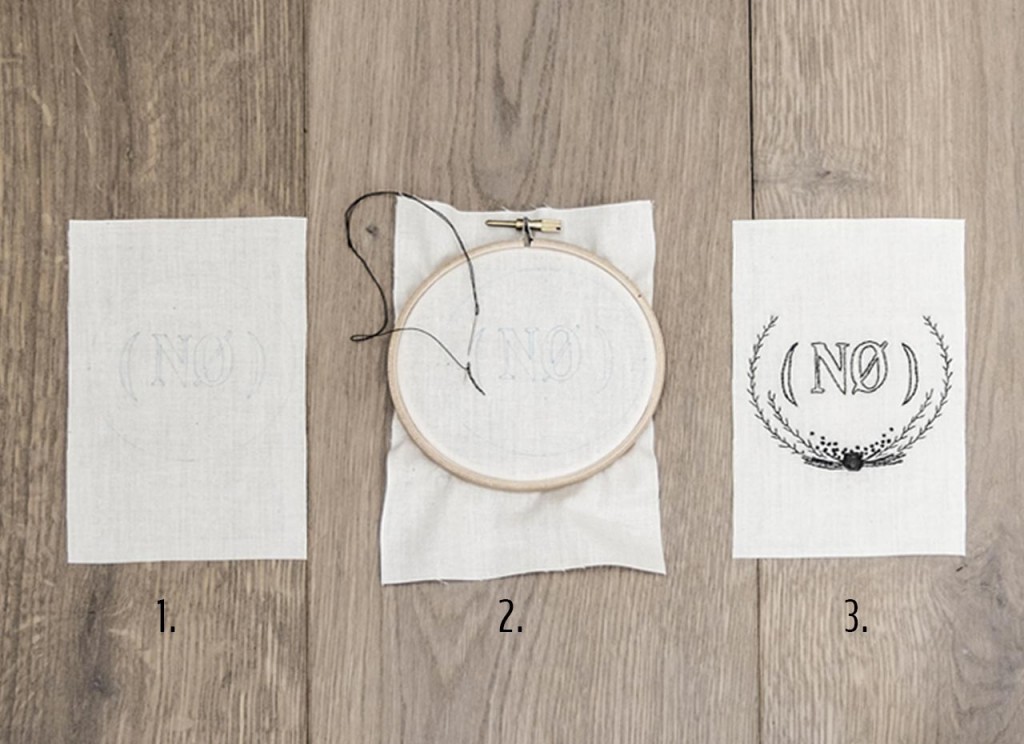 1. Using the the tailor chalk or marking pen, mark the design on the fabric.
2. Place the embroidery over the inner ring of the hoop. Press the outer ring down. Tighten the screw of the hoop to secure the fabric in place.
3. Thread the needle… Start embroider by following the instructions below!
Chain stitch :
This stitch is used to embroider thick, straight or curved lines.
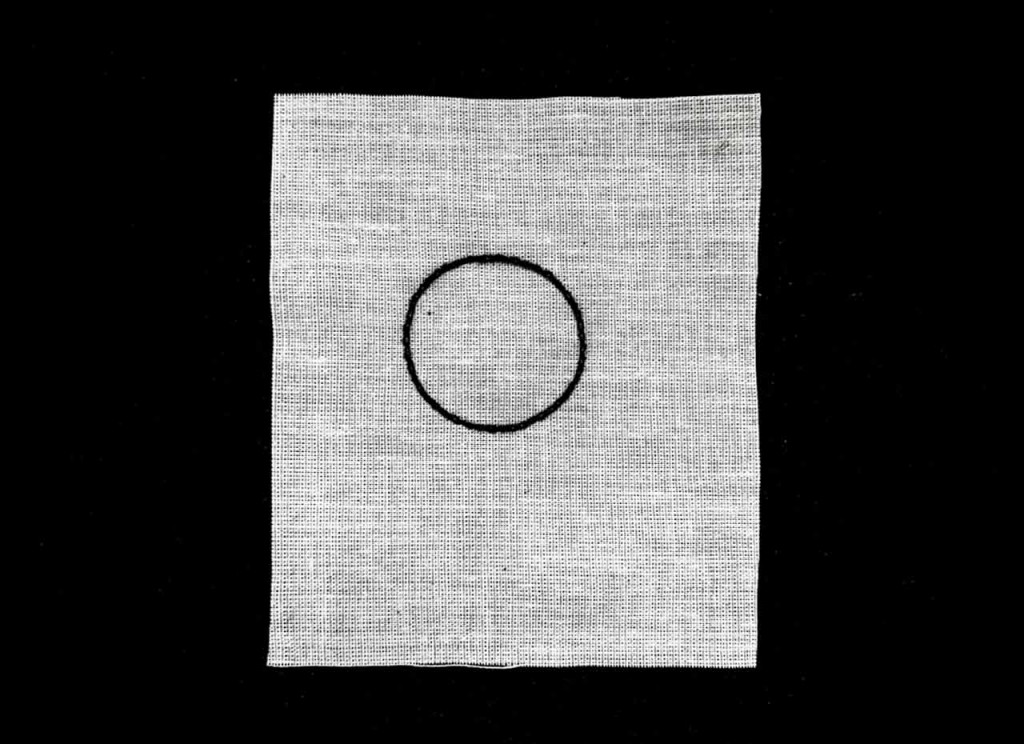
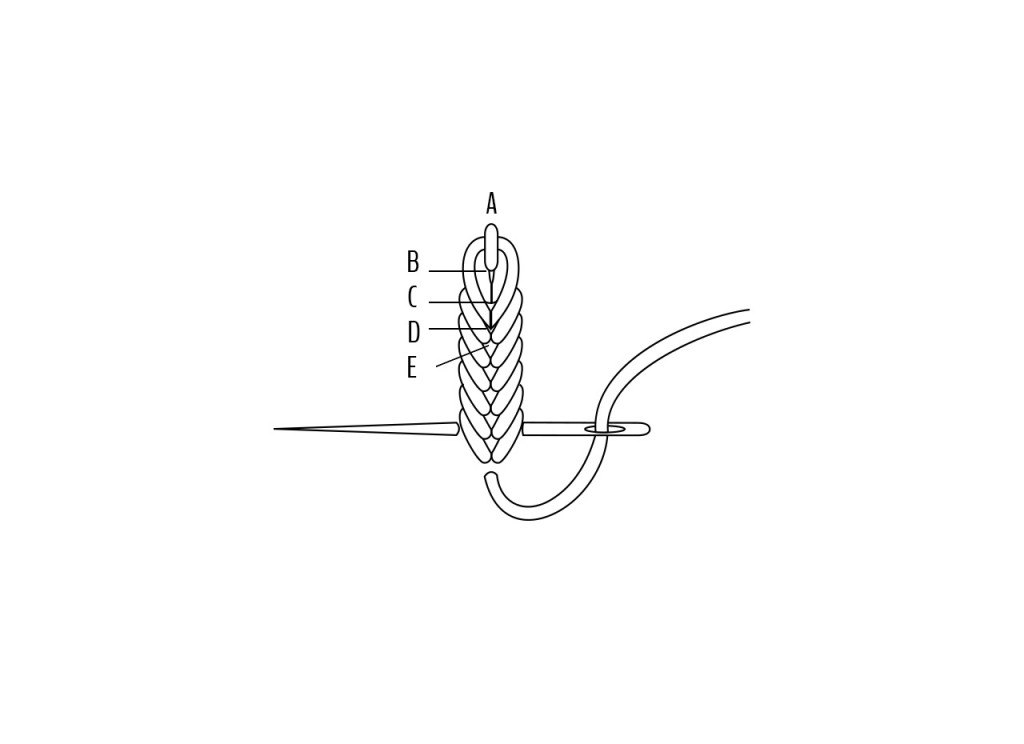 Bring the needle out through A. Take the needle back through B and again out through C. Bring the needle in the small stitch between A and B without taking the fabric. Take the needle back in D, get the thread in the loop. Take the needle back in E. Repeat !
Closed blanket stitch :
This stitch is traditionally used to finish the edges of a blanket. You can space the stitches as you want, accroding to the effect you want to create. It will look much nicer if all the stitches are at the same height.
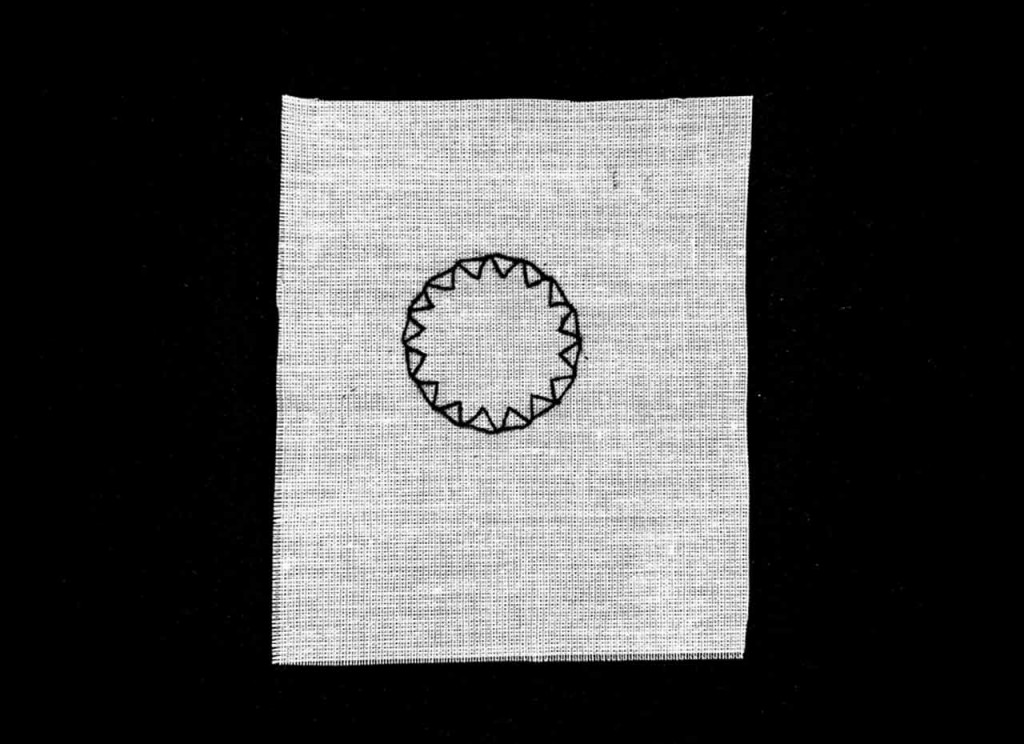
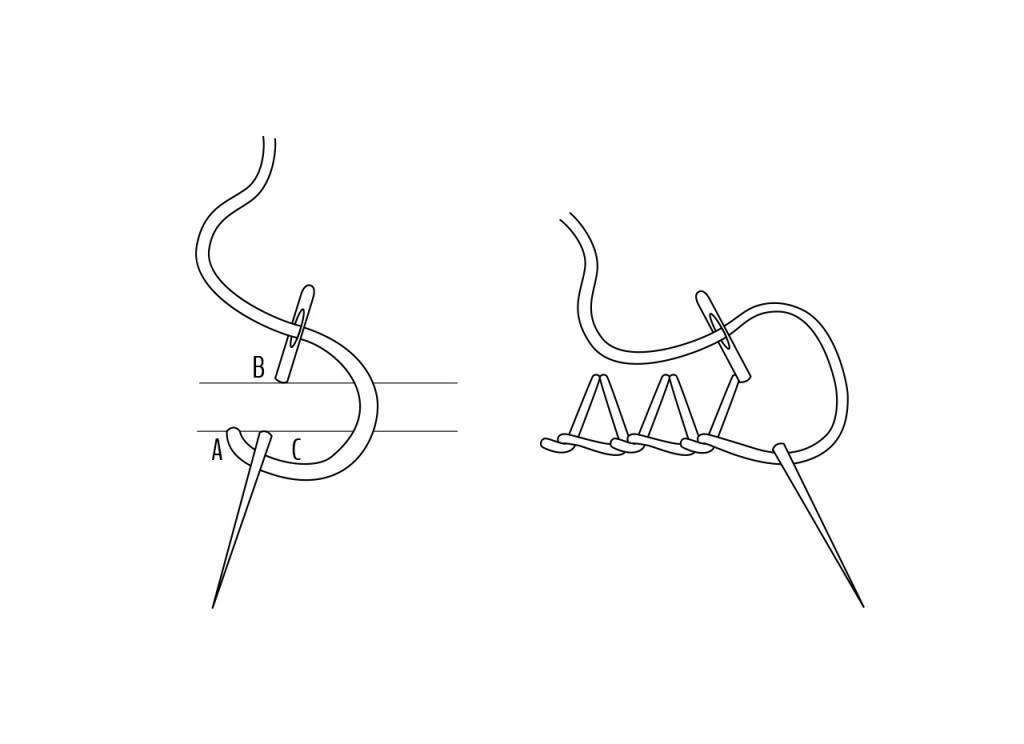
Bring the needle out through A (at the fabric edge if you embroider a blanket). Take the needle back through B and bring it out again through C near the blanket edge, leaving the thread under the needle.
Take the needle back through B and repeat.
Colonial knot :
This stitch makes a much larger knot than the traditional knot. It can be used solely or for close stitches to fill-up a pattern or draw a thick line.
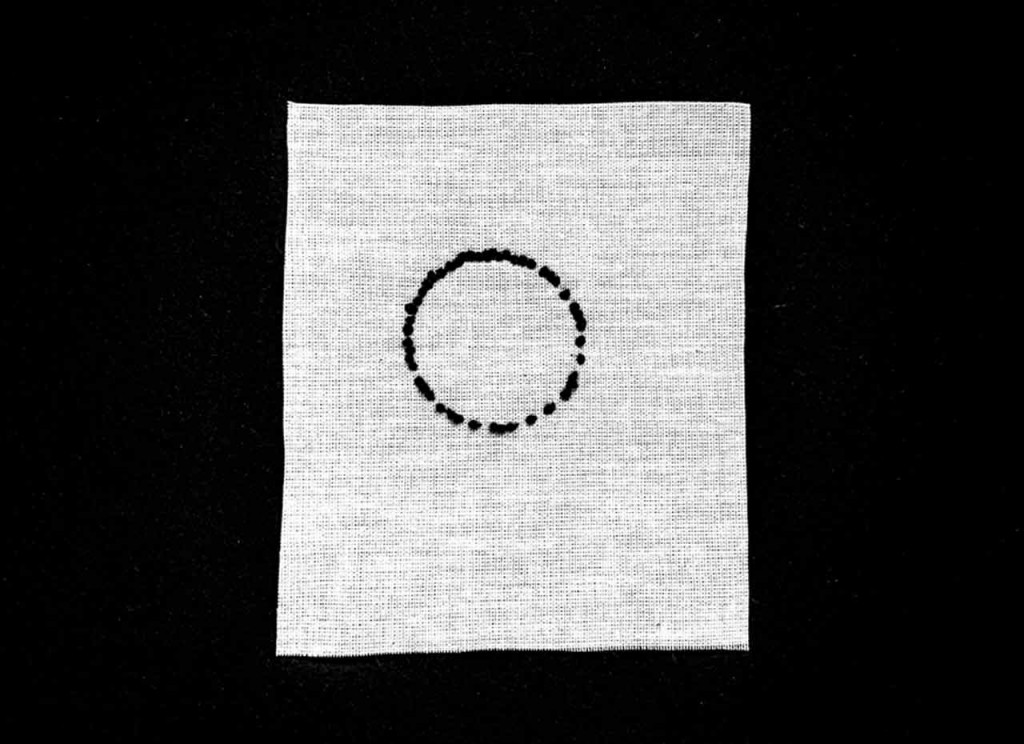
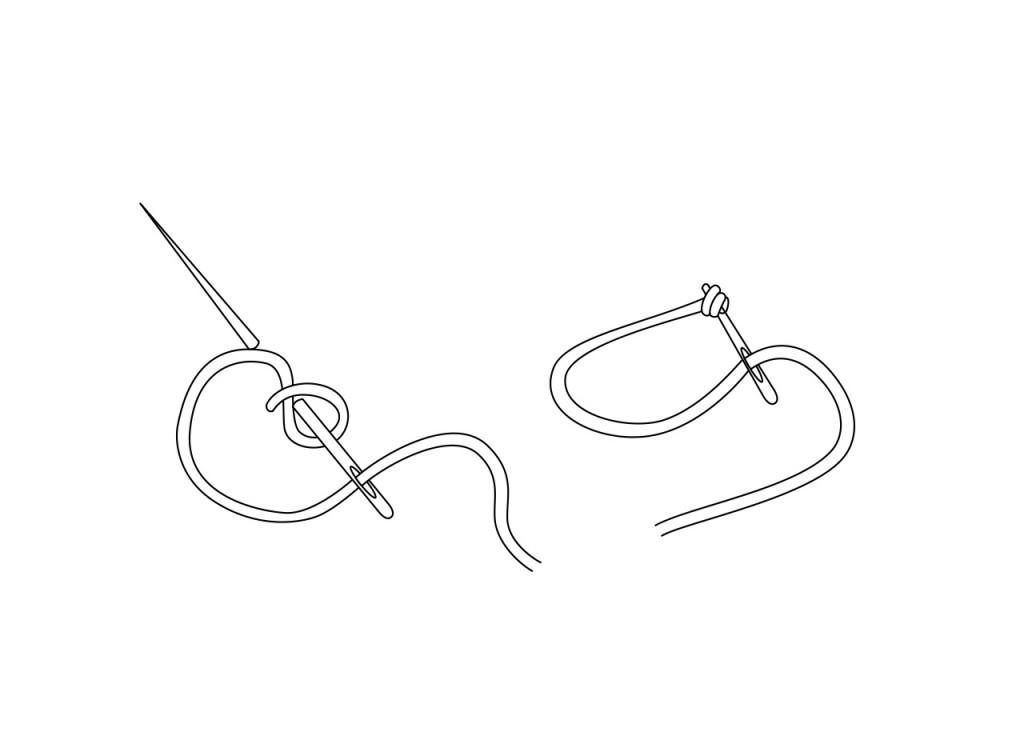 Bring the needle out through A. Wind the floss around the needle then pass the floos under the needle. Continue the tension of the floss take the needle back just next to the point A holding the wound thread with one of your fingers. Pull the needle back to fix the knot.
Now it is time to practice… (NØ) shows you how to make a nice little needle case using those new stitches… In the meantime, review your first stitch-school lesson about the top 10 hand-embroidery you must know!


