Author: 29mog@dor

  • ( WRAP ME #02 )

    ( WRAP ME #02 )

    Intended as a gift? Oh yes… But in a beautiful gift wrap ! Here is a simple idea you can varied according to your tastes, desires, mood, to customized a present…

    • What you’ll need :

    Gifts !! Here is one of (NØ)‘s favorite book that she loves to share “The Great Animal Orchestra ” from Bernie Krause, an enchanting auditive adventure…

    Bernie Krause - The Great Animal Orchestra: Finding the Origins of Music in the World's Wild PlacesBut you’ll also need some accessories :

    Animated Gift Wrapping with Music Notes

    • And some ideas how to wrap :

    Wrapping with music notesWrapping ideasOne little gift, two little gifts, three little gifts, that makes a (little) pile of gifts !

    Pile of giftsNeed other ideas for gift wrapping ? Have a look here…

  • ( CHRISTMAS FOREST )

    ( CHRISTMAS FOREST )

    As in the pretty stories her mum was reading her short before Christmas, (NØ) wants to go for a walk in a large forest where she would find the perfect tree, huge enough to be able to put many gifts under, to bring back in the leaving room !
    But she leaves in Paris and the living room is so tiny… And there is no forest at sight… Shall she give up? Certainly not, (NØ) wants a Christmas tree in the house ! A crazy idea grown in (NØ)‘s mind to build a Christmas tree FOREST…

    • To grow up your forest, you will need :

      Tools to build your own wood trees– Balsa wood (that you can find in Amazon, Walmart or any good craft store) from about 0,1in (2mm) thickness.
      – 1 utility knife.
      – 1 pen.
      – 1 ruler.
      – The tree templates to be downloaded and printed here.

    • To build the trees :

    Steps to build the trees1. Print and trace the tree templates onto the balsa wood.
    2. Cut out the two tree shapes using an utility knife. Do not forget to cut the notches (From the bottom to one triangle to the center mark. In the other, cut from the top to the center mark). Your notch only needs to be as wide as the thickness of your balsa wood.
    3. Fit your triangles together by sliding one slot into another.
    4. That’s it!

    • To embellish your Christmas trees:

      Tools to embellish your trees– Masking-tape or painter tape (that you can easily remove).
      – Gouache, the colour of your choice (or a lot of different colours gouache).
      – 1 paintbrush.
      – Liquid white glue.
      – Some pixie dust glitter powder.
      – Rubber stamps.
      – Decorative sequins or stickers, in star shape, moons, dinosaurs…

    • To decorate the trees:


    Steps to decorate the trees5. After step 2. Draw the pattern of your choice on the two tree pieces, both sides. Stick some masking-tape in the areas where you do not want any painting.
    6. Paint the free areas and remove tape before the paint completely dry.
    7. Continue with step 3 and 4. Fit your triangles together by sliding one slot into another. TA-DA!

    To make your Christmas tree twinkle brilliantly, simply replace watercolor by liquid white glue, then sprinkle some glitter powder, remove the masking-tape, tap of the excess. And let it shine !

    To add a short message on your tree, use rubber stamps dipped in the gouache or any “all-supports” ink.

    To complete your embellishment, stick a little moon or star at the top of the tree and that’s it !

    A short walk in the forest…

    Forest of trees on pink backgroundLet’s get closer to see some decorative ideas :

    Decorative ideas for your trees

    Glitter TreeTree with star and NoëlWhite TreeSmall trees on pink backgroundA walk in the forest ? No, a walk OF the forest !! Placed in a pretty wood tray, it’s not anymore (NØ) going for a walk in the forest, it is the forest who is going for a tour, in the house !

    Trees on a pretty wood tray(NØ) wishes you a nice walk ! (And best of it, those trees don’t loose their spines!!!)

  • ( NUIGURUMI FRIENDS #02 )

    ( NUIGURUMI FRIENDS #02 )

    Our cuddly toys family gets bigger and better… As promised, (NØ) is excited to spread some jolly ideas to give your nuigurumi-s a unique style!! What you will need is just a grain of imagination combined with a touch of fantasy to give life to your little stuffed characters. There are soft… (more…)

  • ( WRAP ME #01 )

    ( WRAP ME #01 )

    Graphic wrapping? So easy !! Download and print our black & white gift wrapping kit to create stylish & graphic christmas wrapping and set your gift apart! Download the pdf file here.
    Simply print the graphic pattern on a as thin as possible paper and the gift tags on a heavier paper. Cut, wrap, glue, tie up and voilà !

    • Here is what you will need:

    Black & white gift wrapping kit– Some thread, ribbon, wool, and linen string or shiny cotton…
    – Scissors.
    – Masking tape or wrapping stickers.
    – The printed gift tags that you have carefully cut out.
    – The printed wrapping paper.
    – Some GIFTS !!

    • Now the graphic gift wrapping steps :

    1. Punch holes in your gift tags using a paper hole punch or your scissors so that you can tie your tags or labels.

    Five gift label tags in blanc and white to download2. Wrap!

    Gift wrapping in B&WA gift in black and white
    Et voilà !

    Collection of giftsA pile of graphic gifts (NØ) hopes you enjoy this gift wrapping kit ! Do not hesitate to share your artistic creations with us !

    Do you need more creative ideas for wrapping gifts ? Have a look here…


  • ( NUIGURUMI FRIENDS #01 )

    ( NUIGURUMI FRIENDS #01 )

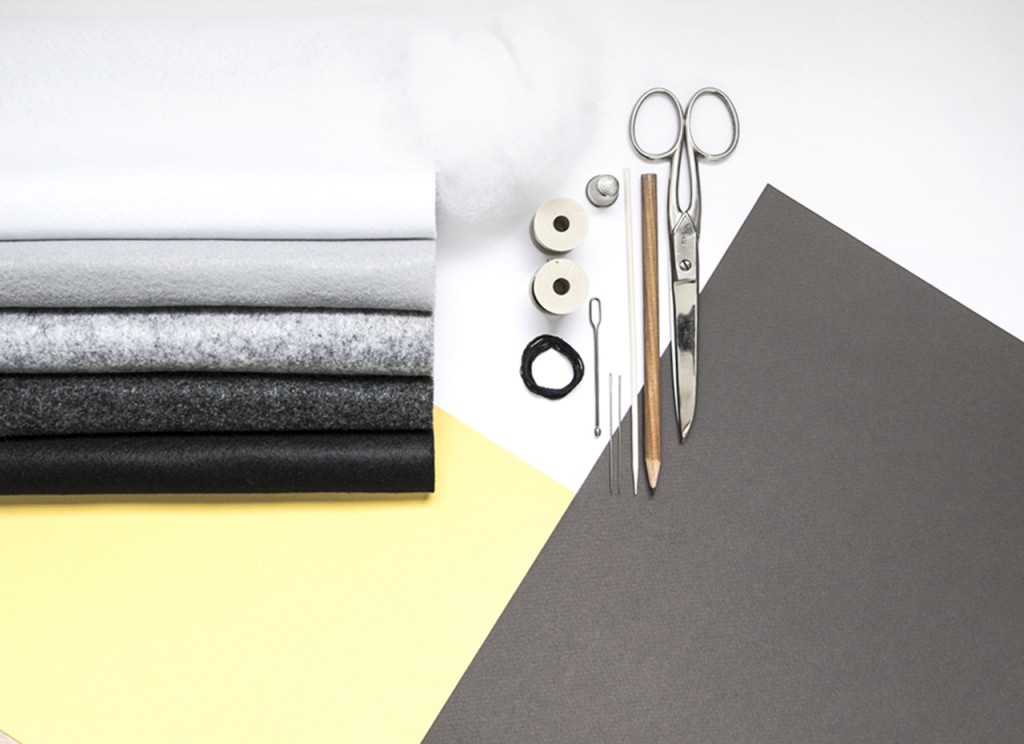
    (NØ) likes to tell fun and a bit crazy stories… But to do so,  (NØ) needs some characters… Let’s get started with a piece of pretty felt, embroidery cotton, a piece of cloud to stuff the puppets and here you go with japanese-style cuddly light toys called nuigurumi… ぬいぐるみ …

    • Here is what you will need :

    Pretty felt, embroidery cotton, cloud to stuff the puppets
    – 1 piece of felt, white, gray, black, heathered… Your choice…
    – some wool or cotton stuffing.
    – sewing thread matching nicely the colour of the felt.
    – cotton embroidery floss.
    – a bamboo pick.
    You will also need paper scissors, fabric scissors (do not use fabric scissors for cutting paper and vice versa or you risk damaging your scissors), a sewing needle and an embroidery needle.
    Make sure you download the different steps and patterns here (in french but self-explanatory with images).

    • To build Nuigurumi :

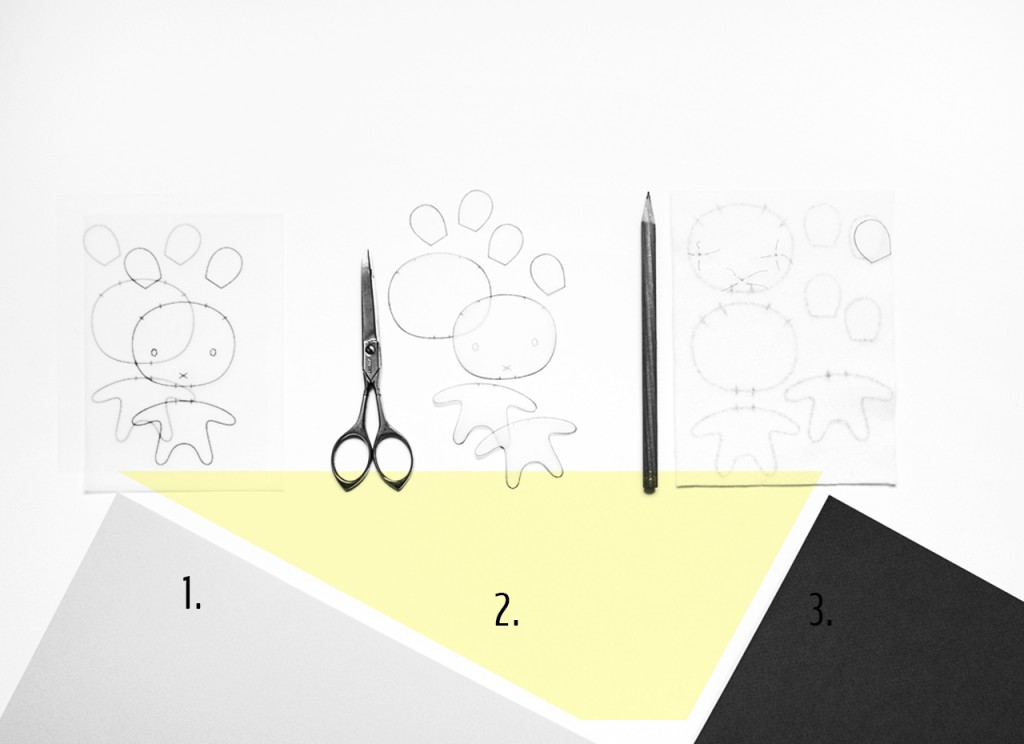
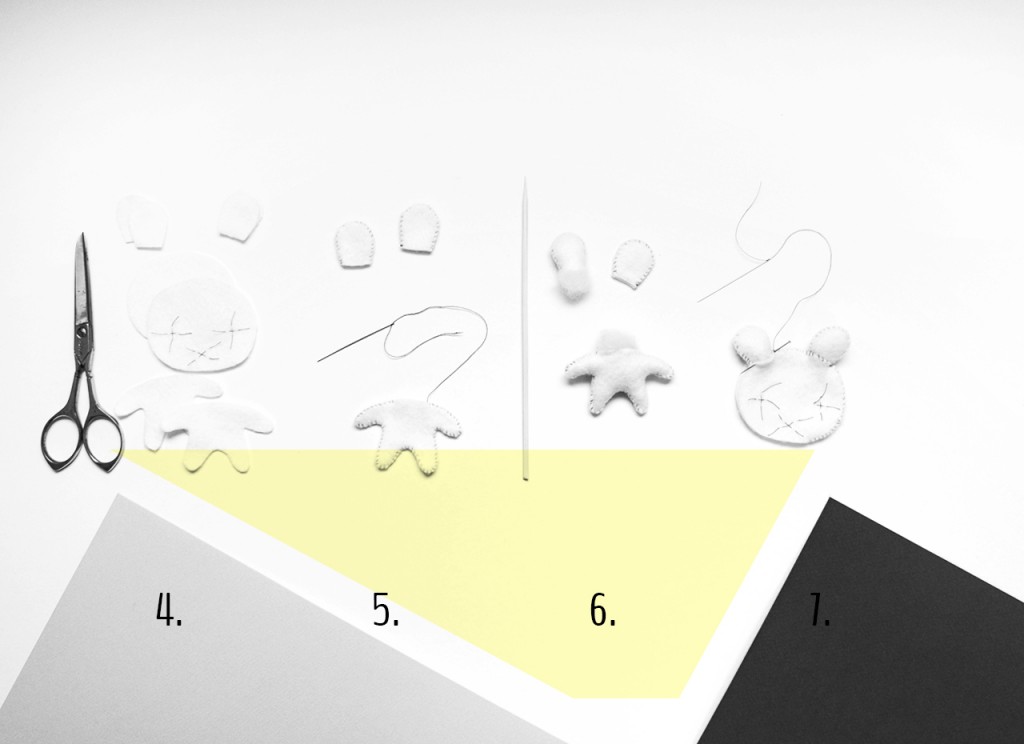
    Download the Nuigurumi template, cut and traceThe different steps on the pictures match the steps on the pdf file.
    1. Download the nuigurumi templates and print it out.
    2. Carefully cut out the templates, front and back, do not forget to mark the notches.
    3. Trace the different pieces on the back of the felt with a pencil and mark the mouth and the eyes with tacking thread.

    Step for sewing Nuigurumi - Cut, stitch and stuff4. Cut out nuigurumi body, ears and head directly on traced line.
    5. Stitch the two body pieces together (front and back) and ears together (front and back), using chevron stitch. Leave an opening at the top of the body (neck) and at the bottom of the ears for stuffing.
    6. Stuff body and ears. Use bamboo stick or knitting needle if needed for stuffing.
    7. Take the stuffed ears and place them in between the two head pieces. Align accordingly and sew them, leaving an opening (neck) for stuffing the head.

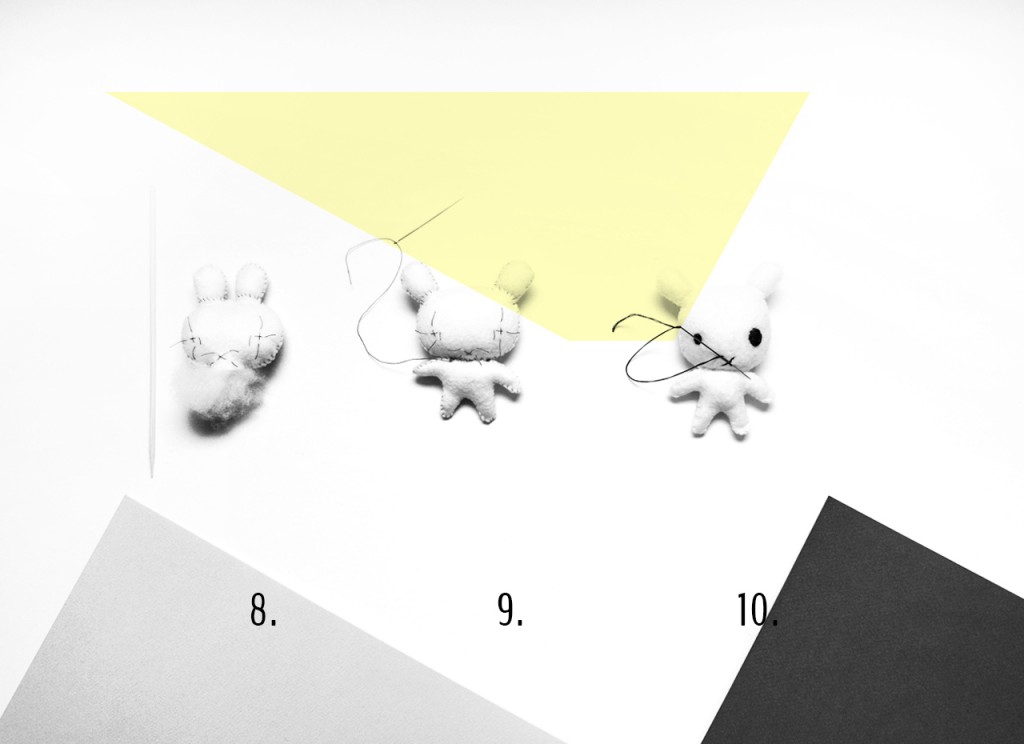
    Steps: Stuff, sew and embroider8. Stuff the head.
    5. Sew up openings on body and head using a chevron stitch.
    6. Embroider the eyes and mouth with filling stitches.

    Et voilà…

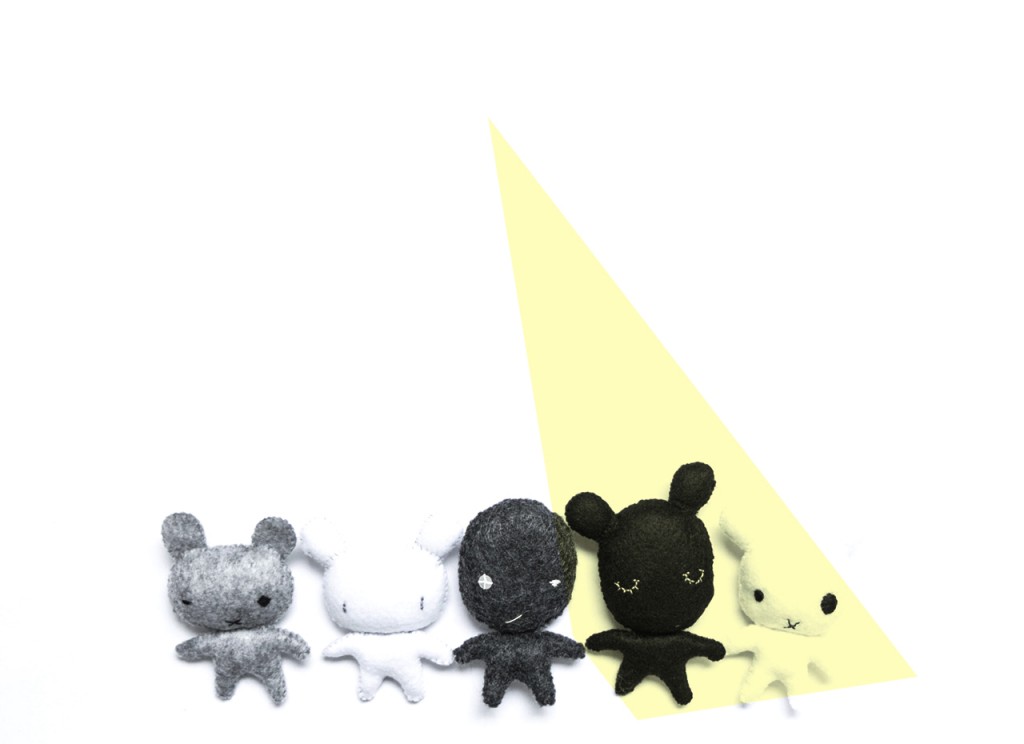
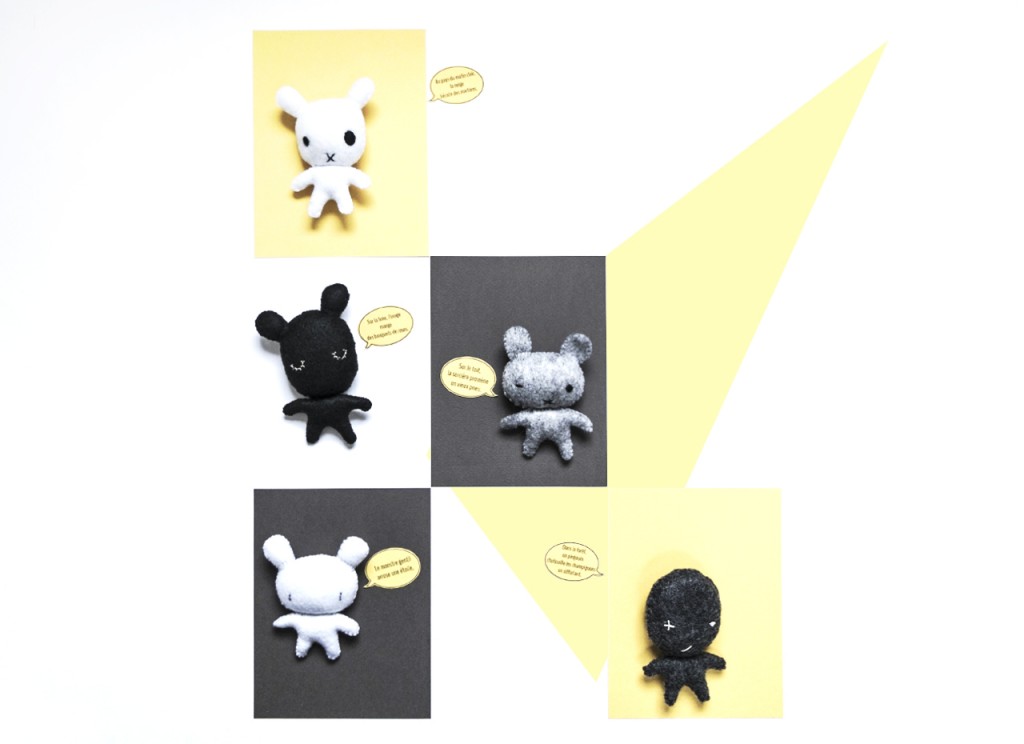
    The Nuigurumi family all together

    • Add some voice to your nuigurumi-s :

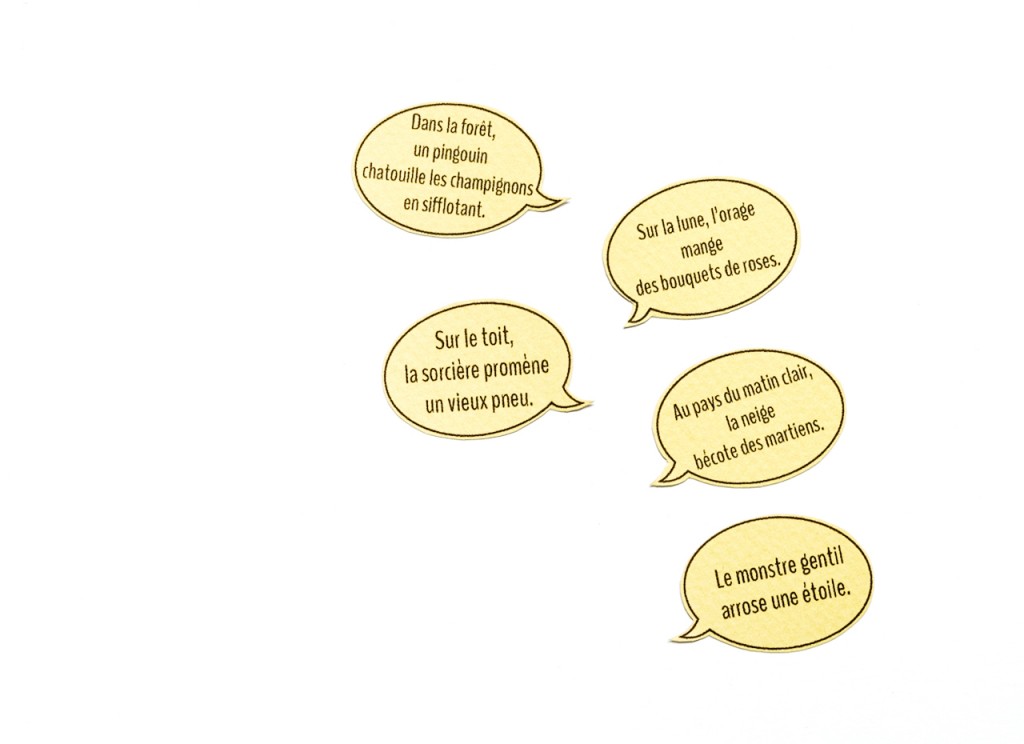
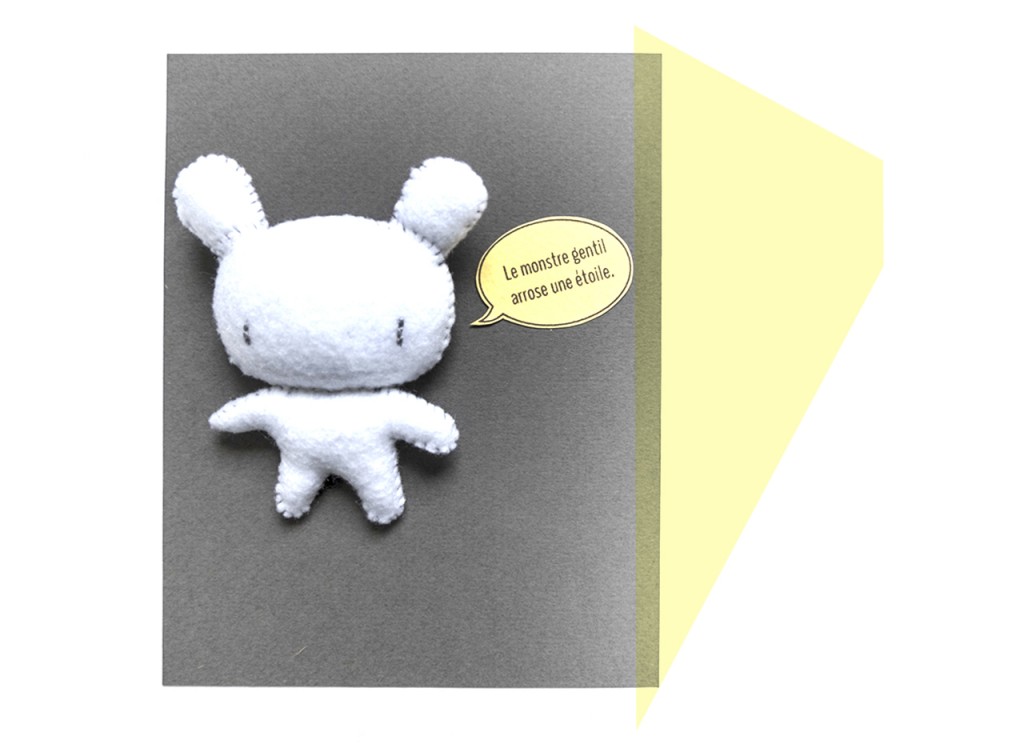
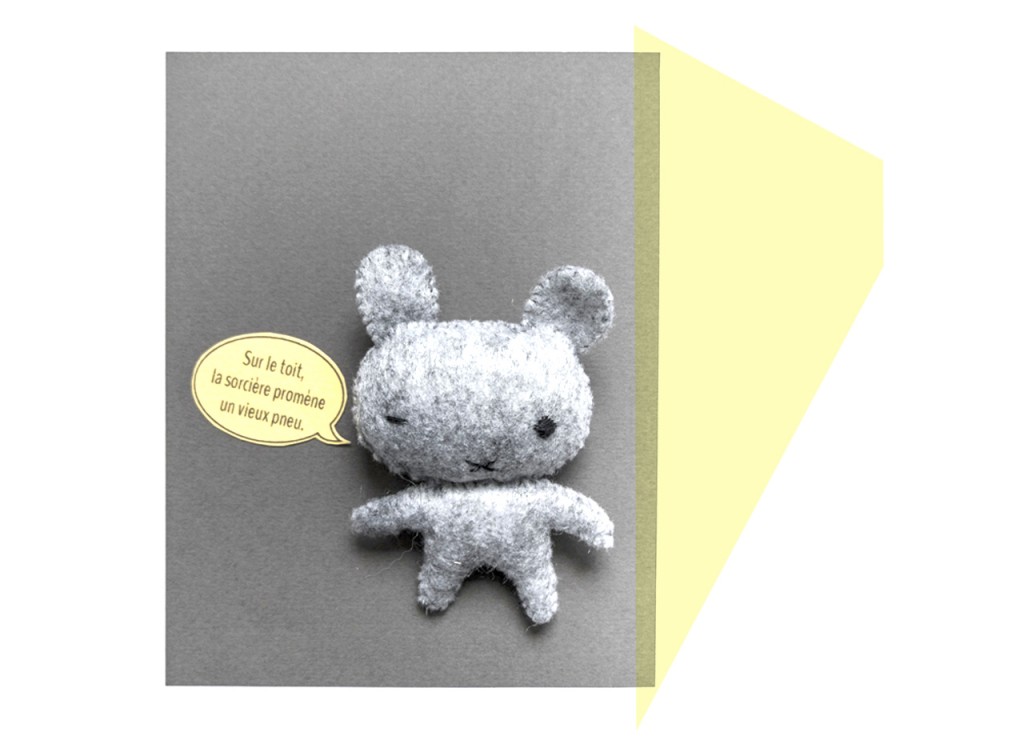
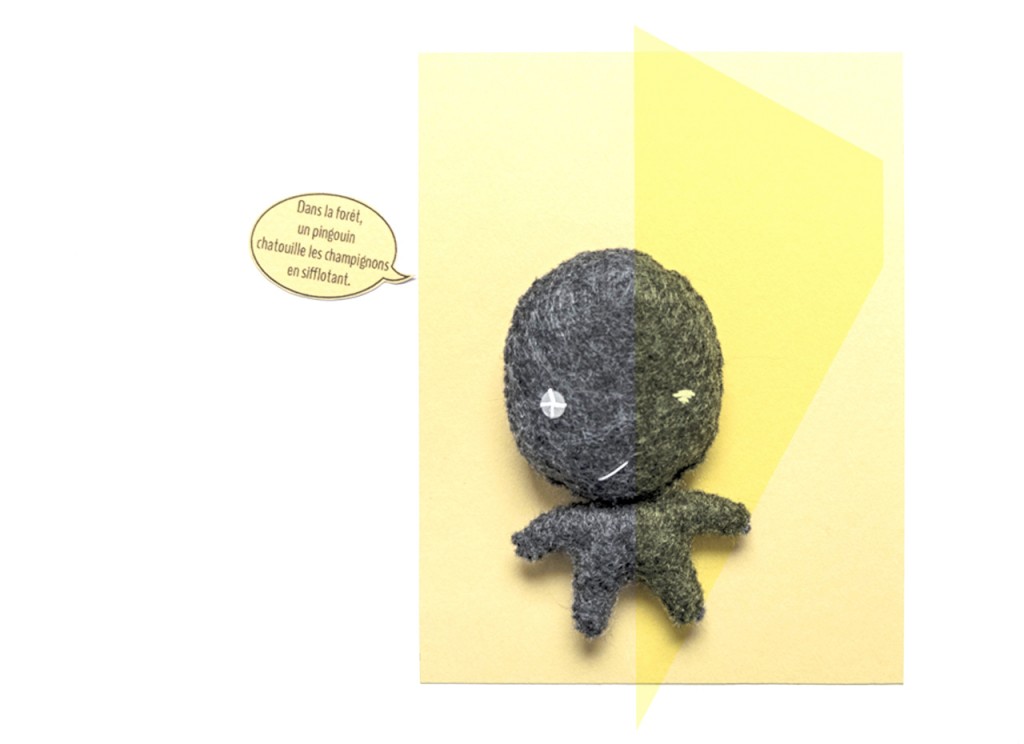
    Comic Strip Speech Bubbles“Let’s go have fun”…

    Nuigurumi talkingNuigurumi TalkingGray little puppet TalkingCollection of cuddly toys puppets

    Coming next… (NØ) is happy to share with you some customization ideas for your nuigurumi-s. Meanwhile… Tell us your stories !

  • ( ADVENT CALENDAR )

    ( ADVENT CALENDAR )

    Welcome to the (not always marvellous) world of icosahedron, hexahedron and other dodecahedron, or how to make the geometry from Platon attractive and fun by creating an Advent Calendar! But no need to go over the basics,  (NØ) has your back and just prepared a nice & sweet pdf document to be downloaded here. (more…)

  • (VINTAGE SEWING TABLE)

    (VINTAGE SEWING TABLE)

    Sky is dark… Quite normal after all, this is Paris. But no time to get bored!! So let’s go quietly explore every corner of this beautiful & vintage sewing table. A legacy of (NØ) super-Granny that seats next to her.

    Follow the guide:

    Sewing table in dark wood, white backgroundQuick look to see what’s inside!

    Sewing table with doors openScissors corner…

    Sewing table with Scissors cornerNeedles, crochets and embroidery tools corner…

    Needles, crochets and embroidery tools corner ...What’s underneath ?

    Sewing table fully openedDarning thread, embroidery ribbons, thread, yarn, string for wrapping, snap fasteners, fabric samples…

    Darning thread, embroidery ribbons, thread, yarnSnap fastenersFabric samples ...Our vintage sewing tableDid you enjoy the tour?


  • (ORIGAMI GOOD LUCK CHARM)

    (ORIGAMI GOOD LUCK CHARM)

    A lovely and melodious good luck charm with next to nothing : two or three pieces of pretty paper, some beads, some thread, a little bell…

    • What you will need to make your origami good lucky charm:

    Pretty paper, some beads, some thread, a little bell– 1 piece of Washi patterned paper 3x3in.
    – 1 piece of Washi plain paper 3x3in.
    (If you do not have Washi paper at hands, you can use every thin or very thin paper, maximum paperweight 80gsm)
    – 1 bit of golden paper.
    – 2 gold oval beads.
    – 1 antique gold tubular bead.
    – 1 small pompom.
    – 1 little golden bell.
    – some unbleached twisted cotton yarn.

    You can of course replace all the previous proposals by what you like most… Silver pearls, three pompoms, or no pompom, plain paper only…
    In addition, you will need a bone folder (or you can use your nails to mark the folds), scissors and a needle.

    • Alright, let’s go with the folding !

    (NØ) has created folding instructions in a pdf document that you can download here, or you can follow the steps described on the picture below, or you can do both at the same time… (The numbers on the picture are matching the steps described on the pdf document).

    Folding steps for building your origami good luck charmThat’s it… It’s folded !

    Origami Good Luck Charm in PaperYou can customize the wings by cutting and gluing small triangles or thin strip of golden paper. Up to you !

    How to Customize your origami cranes ...

    • What’s next:

      – Thread the small bell, the pompom, the tubular bead.
      – Tie a knot about 0.5in from the top of the tubular pearl, so that it blocks the crane from dropping.
      – Pass the needle through the body of the crane upwards.
      – Pull the thread through an oval pearl bead.
      – Tie another knot about 0.5in from the top of the oval bead.
      – Thread the needle through the body of the second crane, then add an oval bead.
      – Tie a final knot and cut the thread.
      Ready for take-off !

    Hang-up…

    Paper Cranes Hanging Or wrap up as a gift…

    Wrap up your good luck charm

    • A bit of ORIGAMI history :

    Origami in the Japanese culture is the traditional art of paper folding, it was born in China in the 6th century and made its way through Korea to Japan carried in the Buddhist monk’s baggages.
    The crane has become an icon, symbol of peace and longevity. Countless legends are associated to it. A popular proverb says : “anyone who folds a thousand cranes will have his wish granted”.

    Anyone who folds a thousand cranes will have his wish grantedGet ready, set… Fold!

  • (A TOUCH OF FANTASY)

    (A TOUCH OF FANTASY)

    One of those foggy mornings. I once again wake up, the head full of crazy thoughts, some small, some big, a few dotted ones, plenty twisted, whimsical or nice, kind or hairy, somehow sensible, and a lot of those thoughts which spin! I start bouncing, it tingles, but I am alone in the living room. Sad. Then I realize, how unfortunate it is, not being able to share those ideas, not being able to plant those seeds of fantasy that could grow and expend…
    Sew, Weave and Embroider
    SEW – Weave – embroider
    Fold, cut and Glue
    fold – cut – glue
    Draw, Ink and Colour
    draw – ink – colour

    Everything is in order… But here I come… Here I am… With you ! And if you want to know why “(NØ)NARRATIVE-LINES”, come, look around and read this.