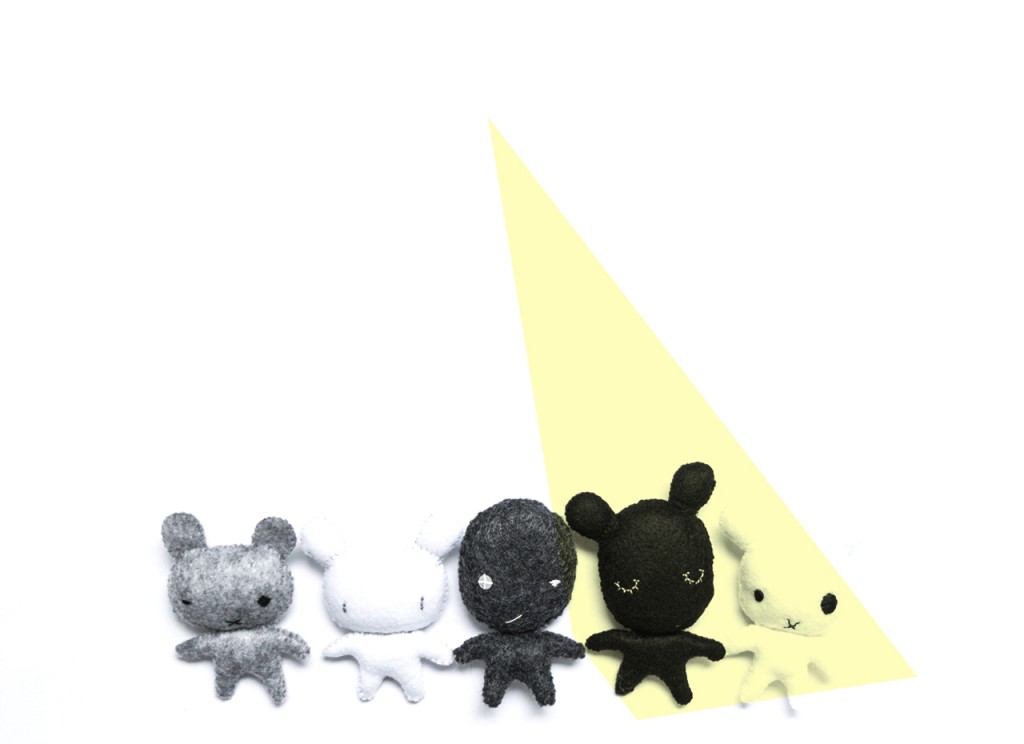
(NØ) likes to tell fun and a bit crazy stories… But to do so, (NØ) needs some characters… Let’s get started with a piece of pretty felt, embroidery cotton, a piece of cloud to stuff the puppets and here you go with japanese-style cuddly light toys called nuigurumi… ぬいぐるみ …
-
Here is what you will need :
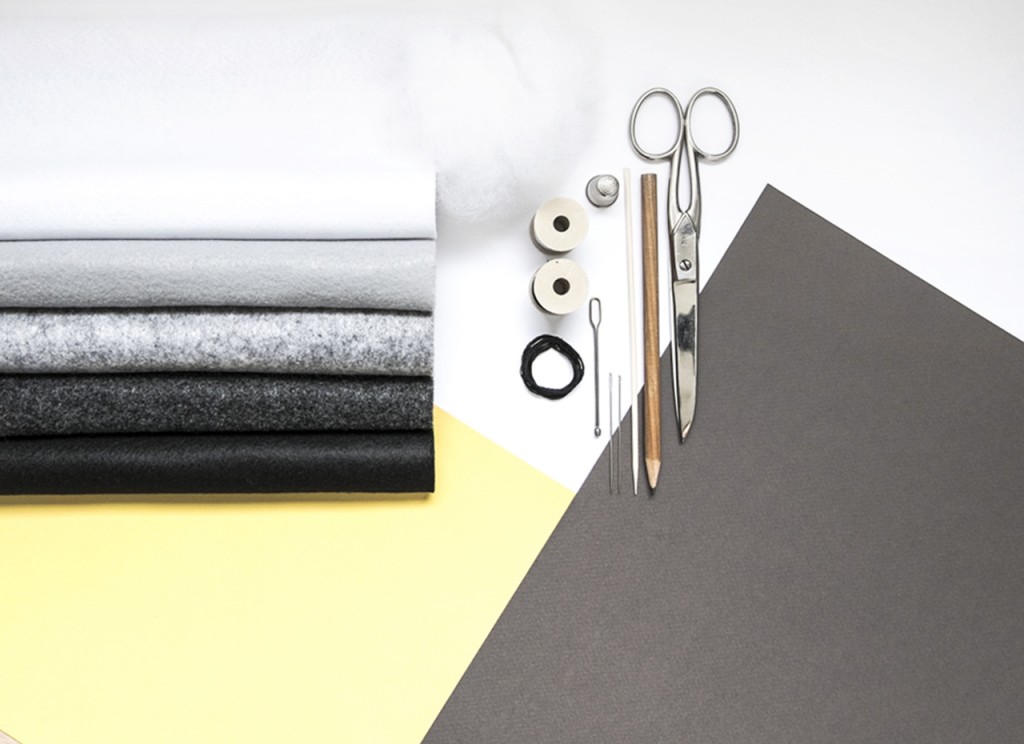
– 1 piece of felt, white, gray, black, heathered… Your choice…
– some wool or cotton stuffing.
– sewing thread matching nicely the colour of the felt.
– cotton embroidery floss.
– a bamboo pick.
You will also need paper scissors, fabric scissors (do not use fabric scissors for cutting paper and vice versa or you risk damaging your scissors), a sewing needle and an embroidery needle.
Make sure you download the different steps and patterns here (in french but self-explanatory with images).
-
To build Nuigurumi :
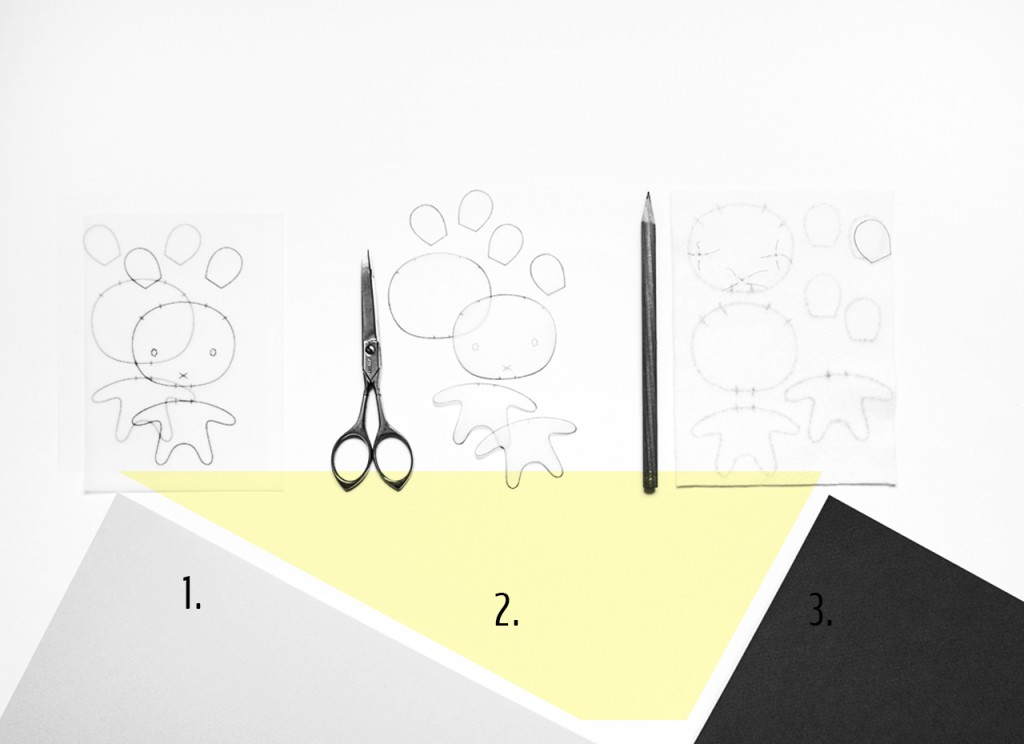 The different steps on the pictures match the steps on the pdf file.
1. Download the nuigurumi templates and print it out.
2. Carefully cut out the templates, front and back, do not forget to mark the notches.
3. Trace the different pieces on the back of the felt with a pencil and mark the mouth and the eyes with tacking thread.
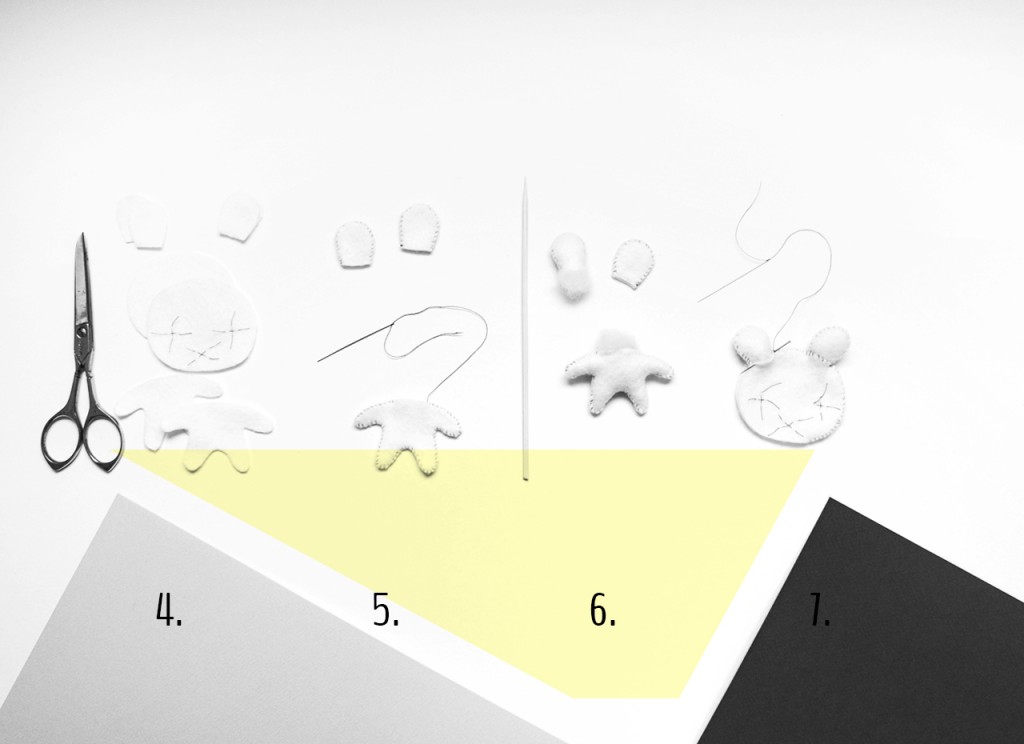 4. Cut out nuigurumi body, ears and head directly on traced line.
5. Stitch the two body pieces together (front and back) and ears together (front and back), using chevron stitch. Leave an opening at the top of the body (neck) and at the bottom of the ears for stuffing.
6. Stuff body and ears. Use bamboo stick or knitting needle if needed for stuffing.
7. Take the stuffed ears and place them in between the two head pieces. Align accordingly and sew them, leaving an opening (neck) for stuffing the head.
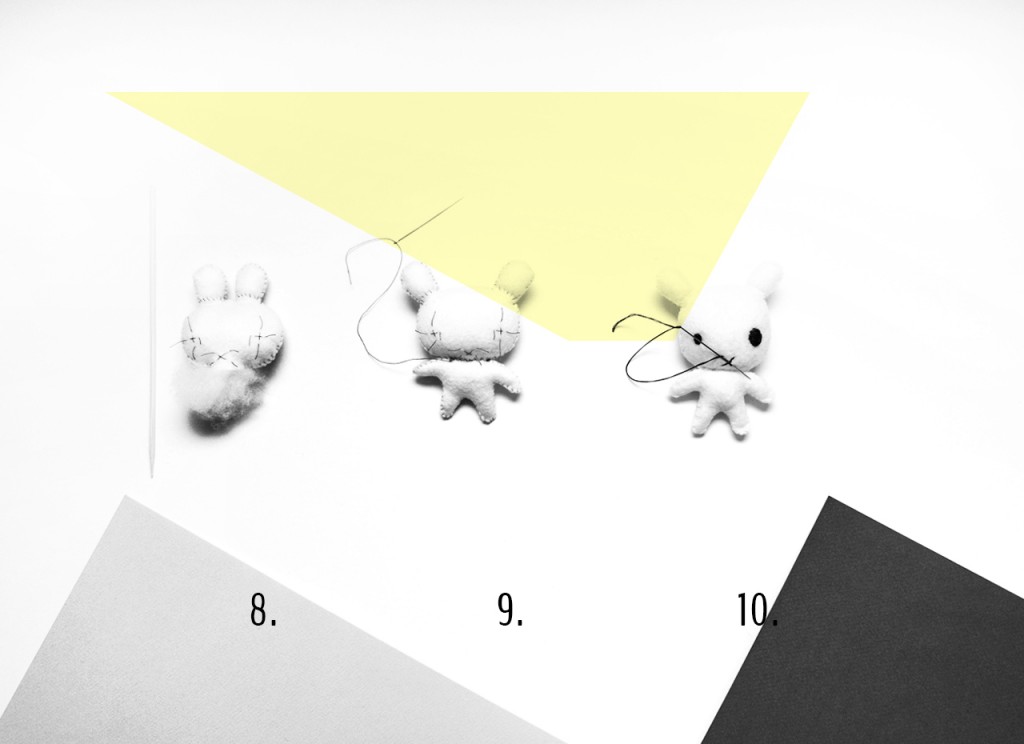 8. Stuff the head.
5. Sew up openings on body and head using a chevron stitch.
6. Embroider the eyes and mouth with filling stitches.
Et voilà…
-
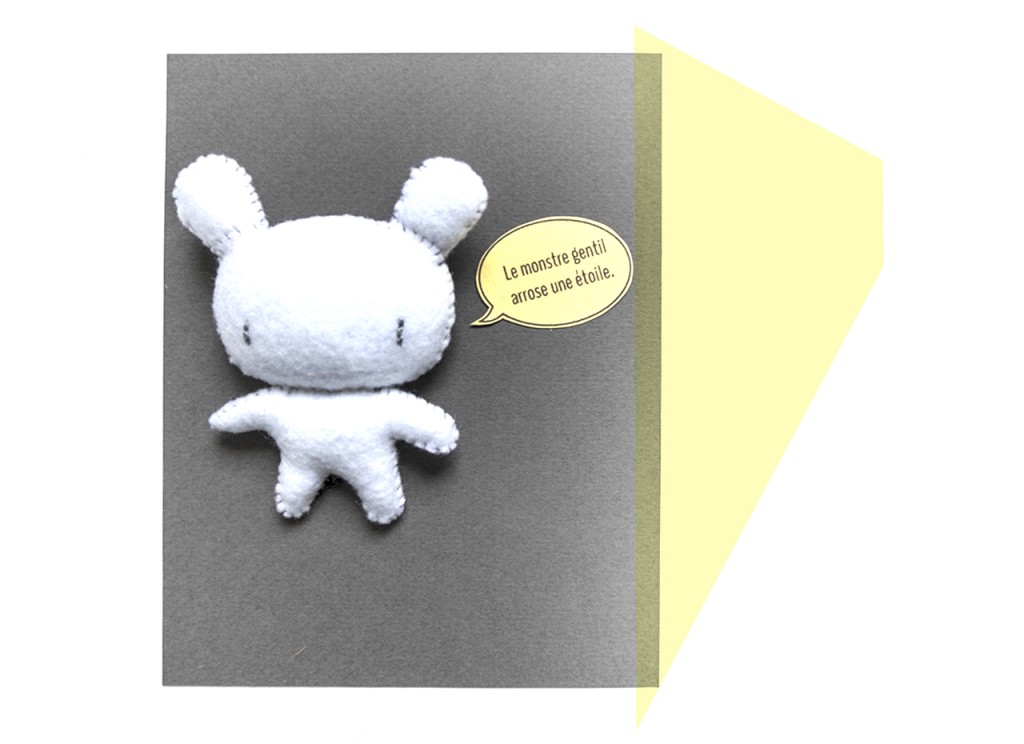
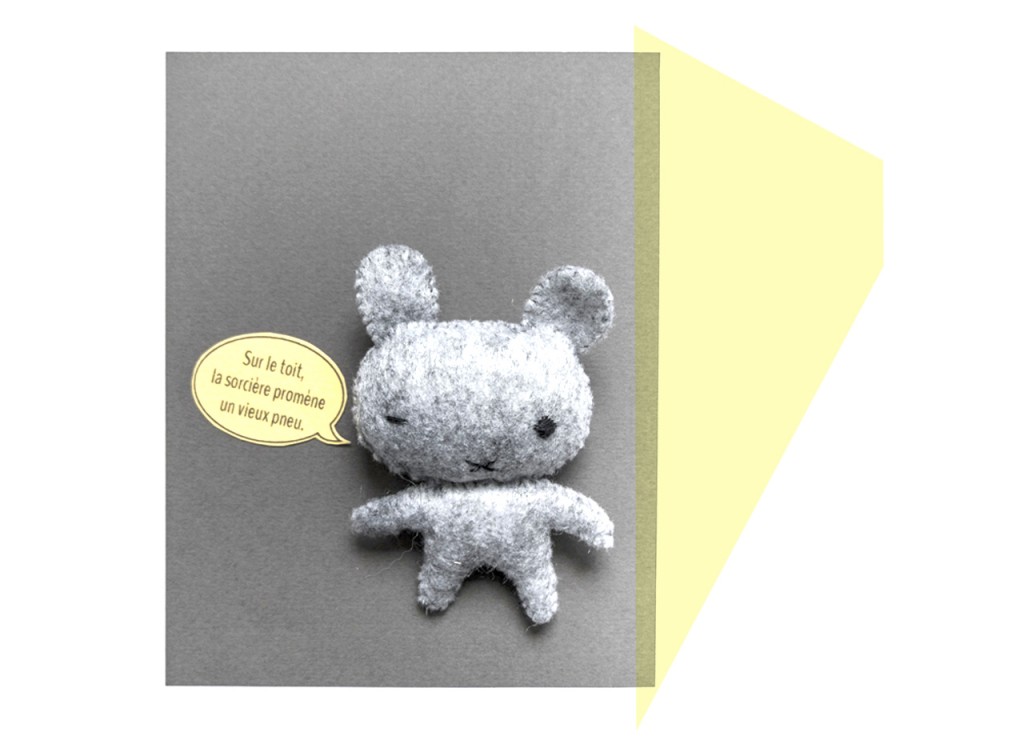
Add some voice to your nuigurumi-s :
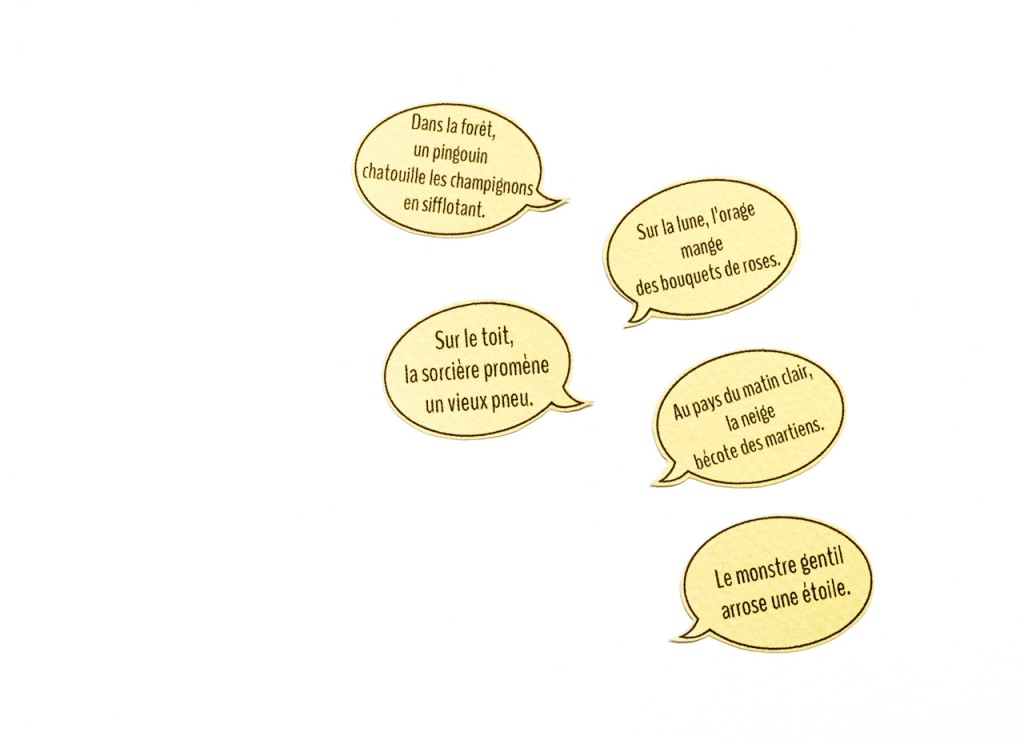 “Let’s go have fun”…
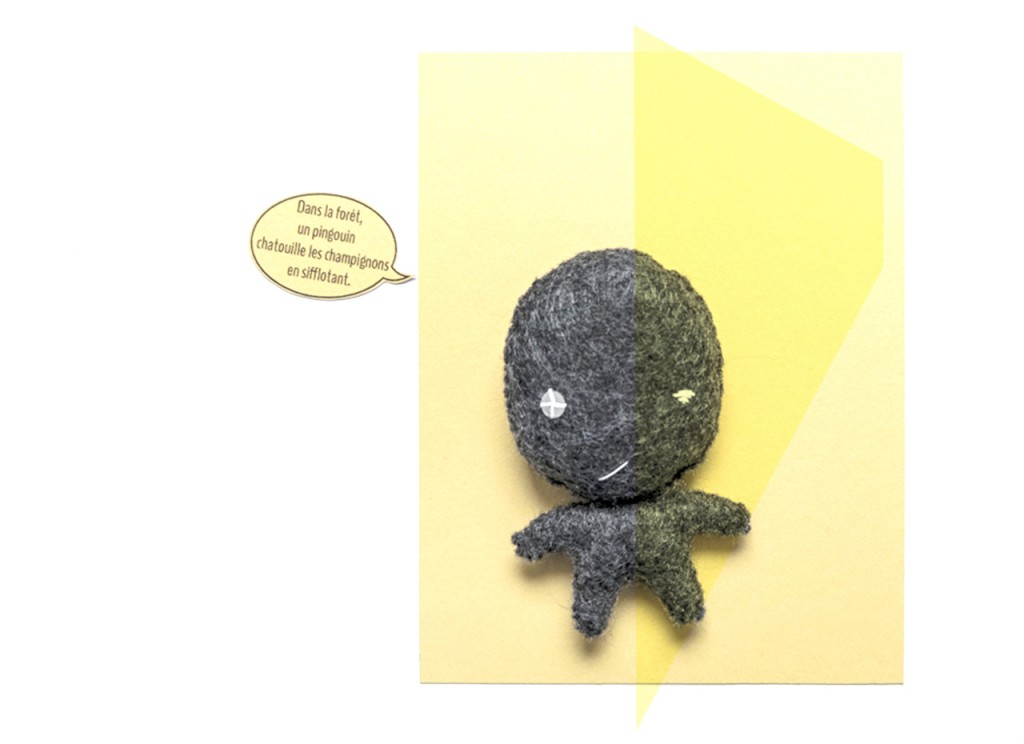
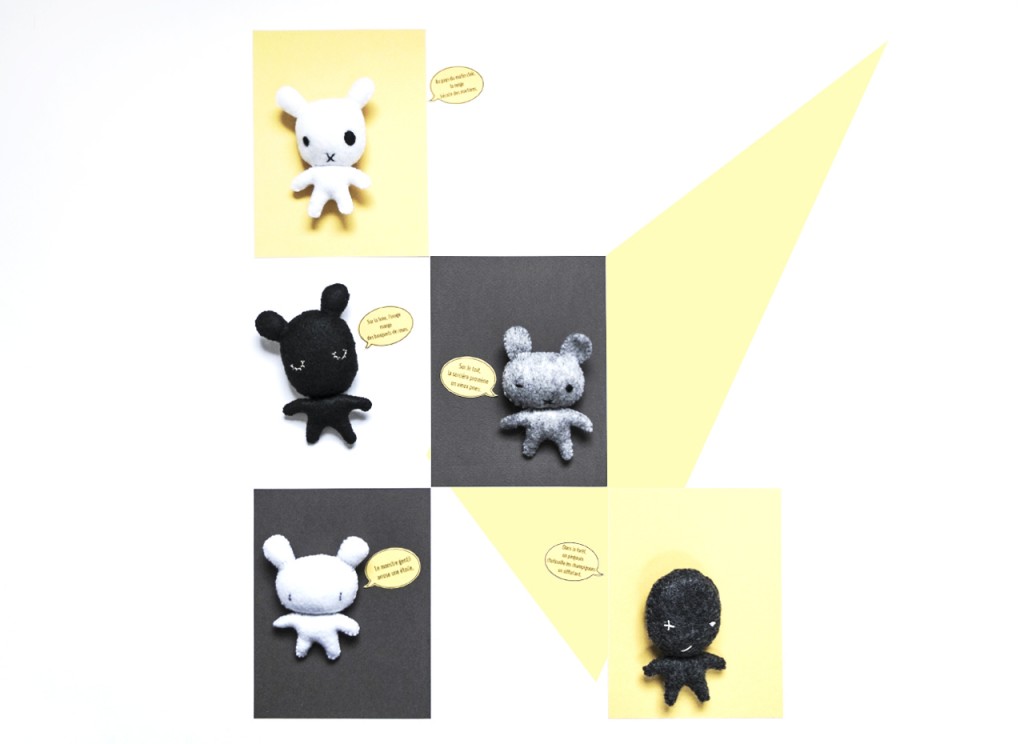
Coming next… (NØ) is happy to share with you some customization ideas for your nuigurumi-s. Meanwhile… Tell us your stories !
