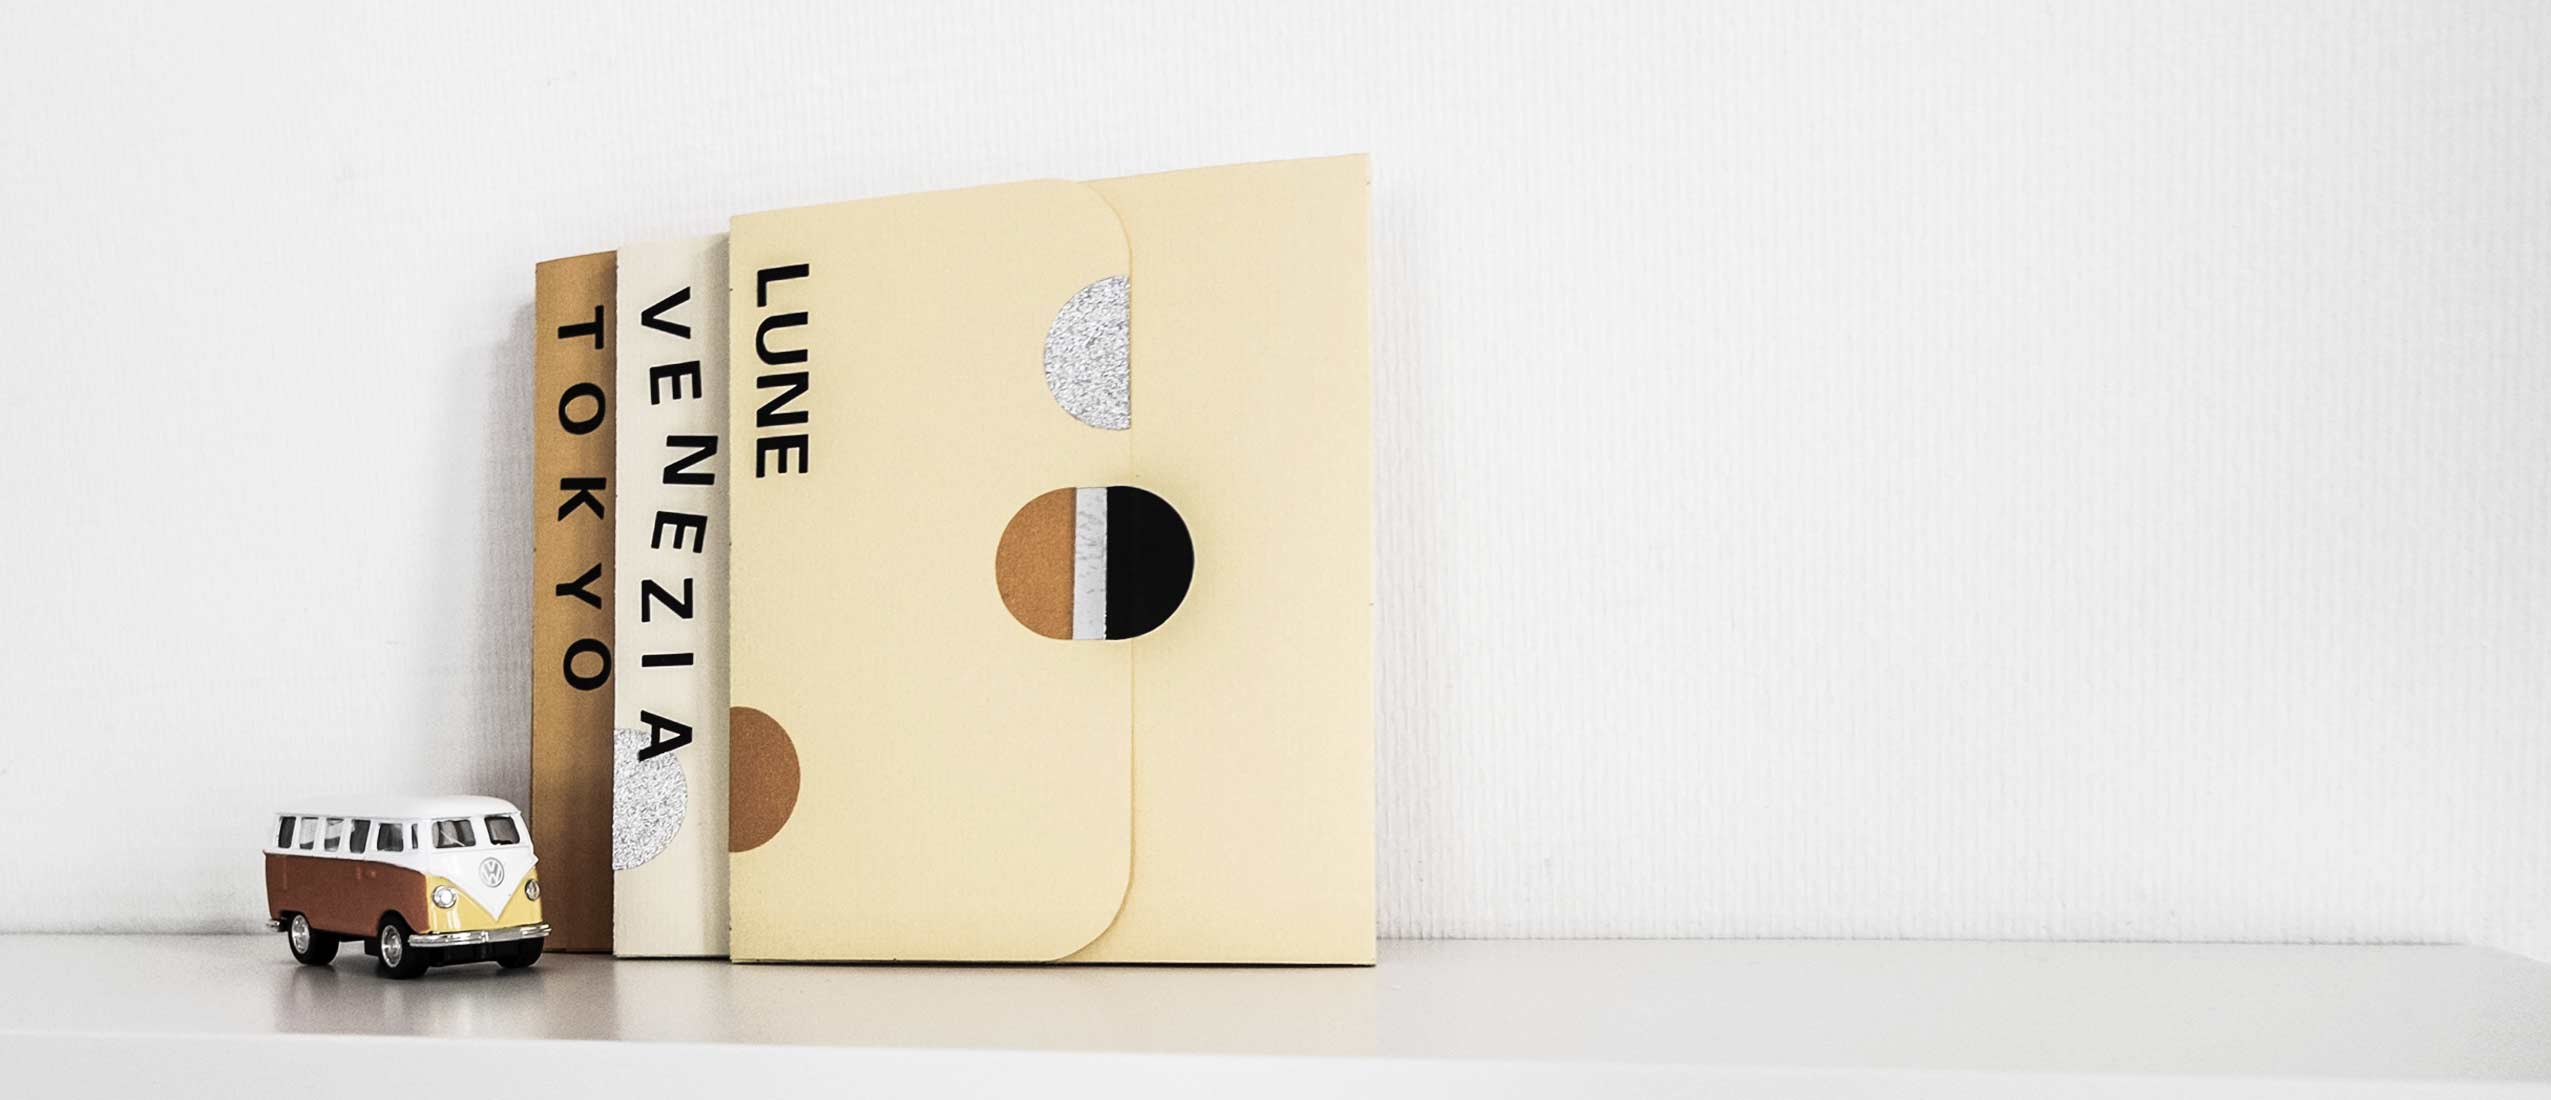
When (NØ) heads off on an adventure, she loves to keep aside some charming souvenirs, a “near-great” photo, a carousel token, writen or drawn first-impression or a nice candy wrapper, all in a pretty notebook she can open later on for a travel by thought…
Despite the cloudy weather, the “sunny” days (more…)
Author: 29mog@dor
-
TRAVEL-JOURNAL
-
GRAPHIC NECKLACE
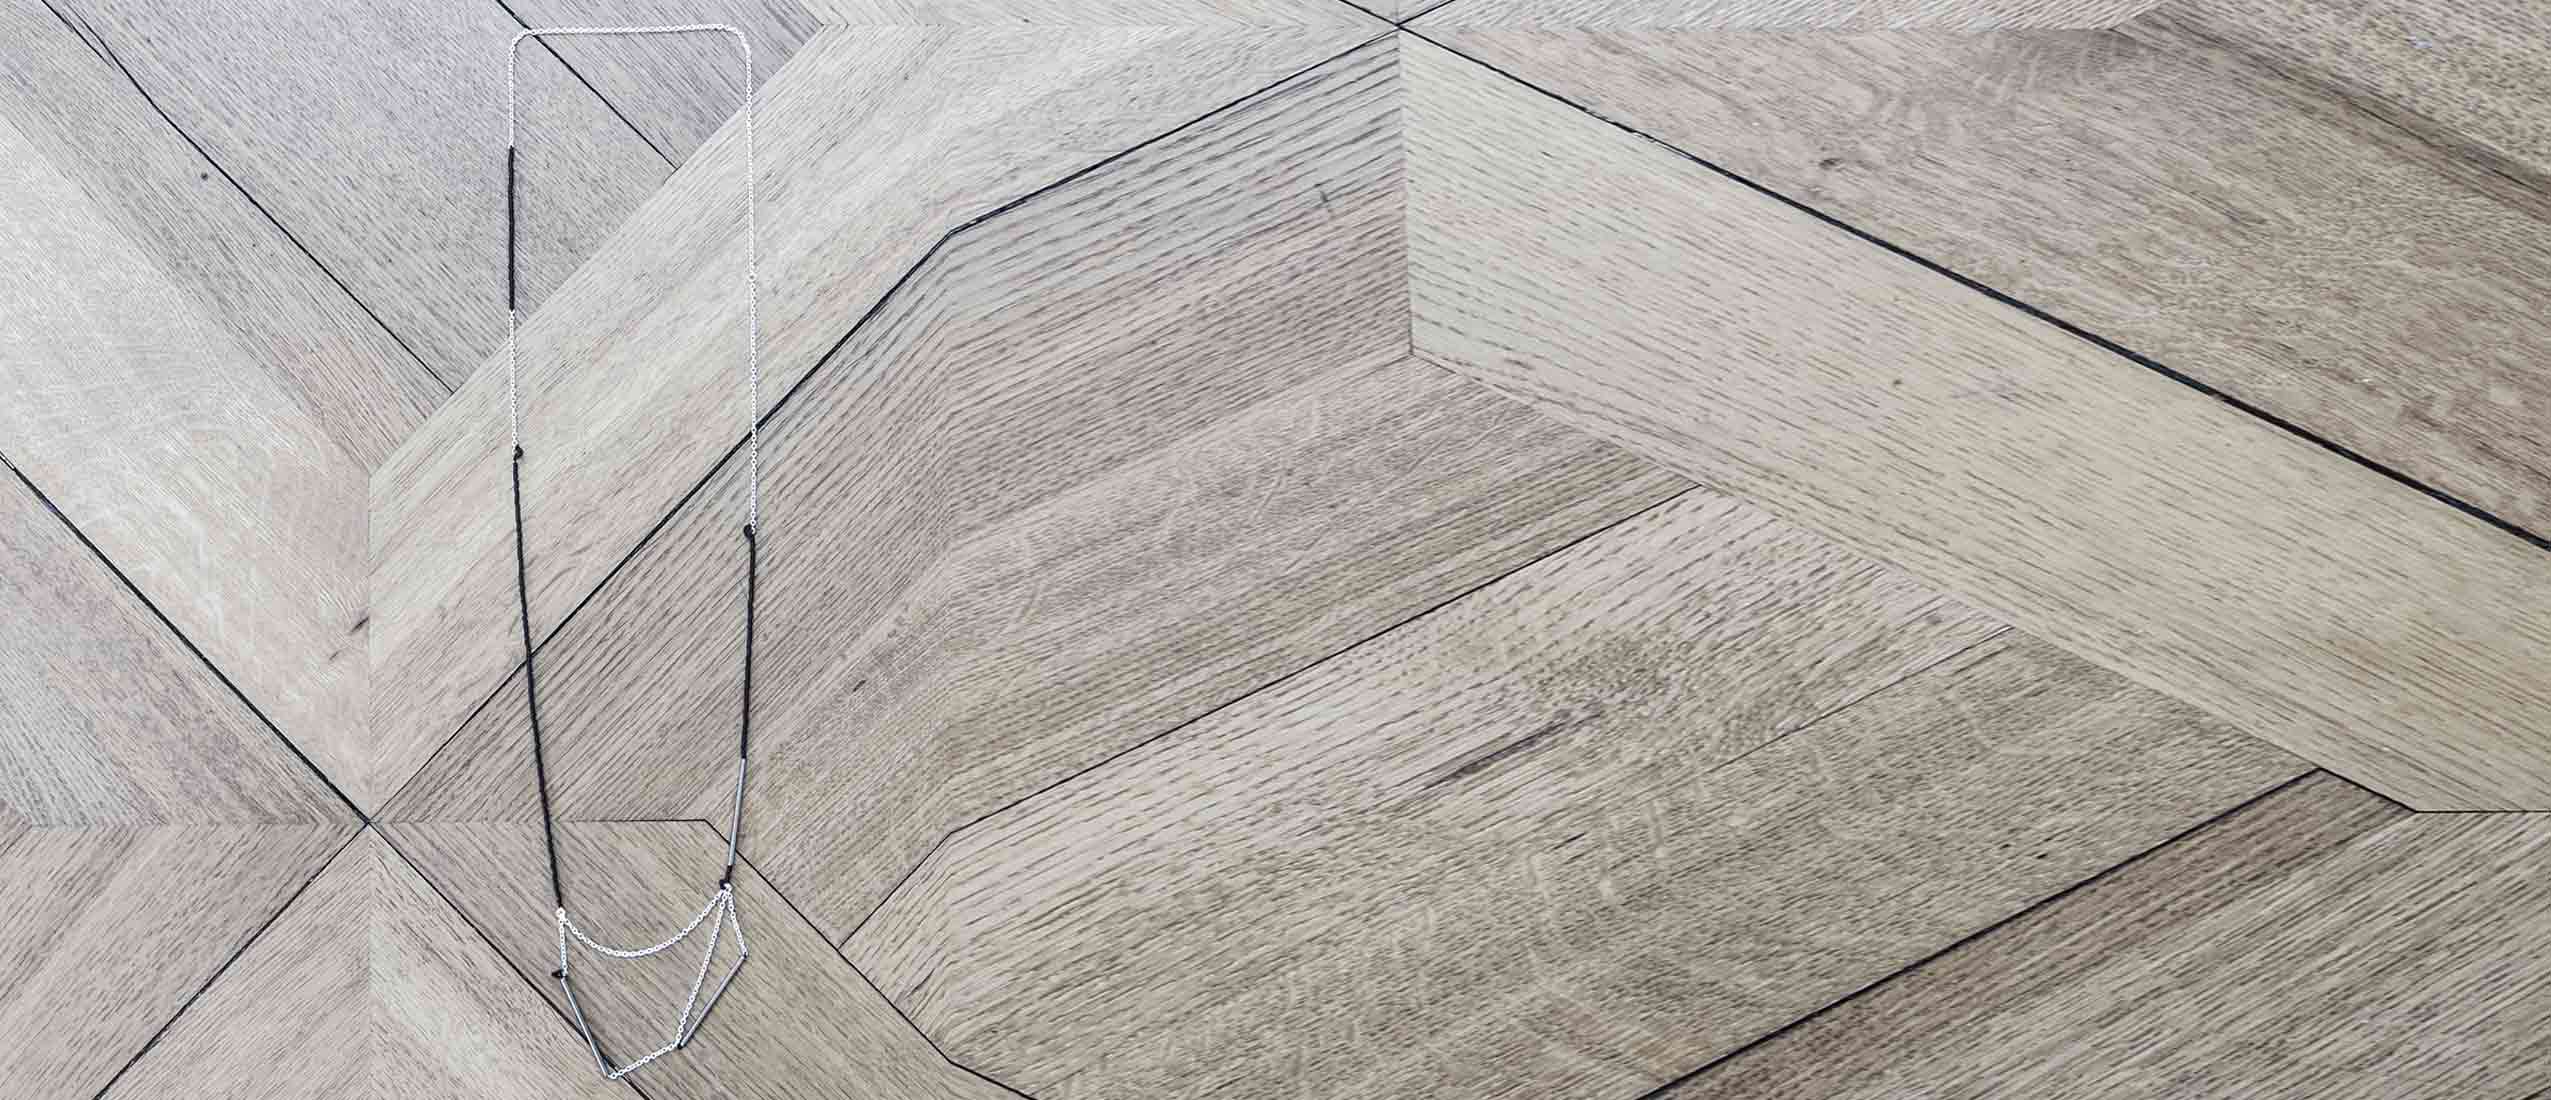
Hum Hum Hum… Mother’s day is coming, soooon… An idea… What do to ? With three little silver tubes, a piece of chain and a few black pearls, (NØ) restyles the famous noodle-necklace she used to tinker as a child and concocts now a simple “in no time” graphic necklace !!
-
To make the necklace, you will need :
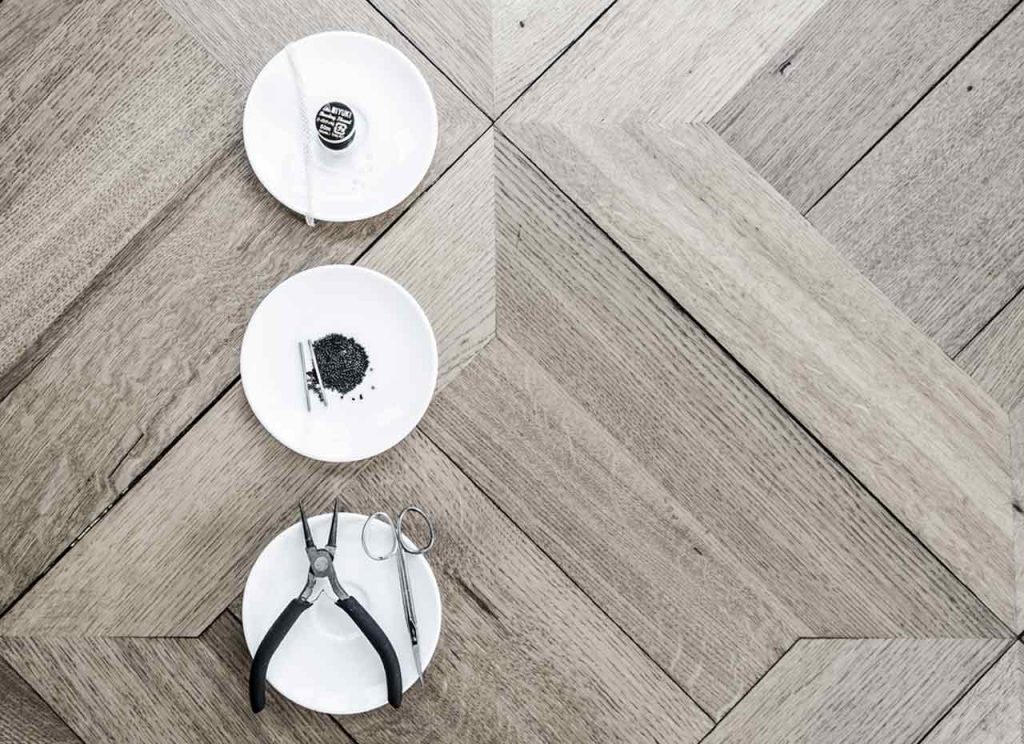
– Few inches of silver or golden chain, depending of your preferences (or your mum’s…)
– Few jump rings matching the chain colour.
– Bead thread (matching the pearl colour)
– 3 silver or golden tubes.
– Few small pearls, colour of your choice (here Miyuki-Delica, matte black).
– 1 clasp.
– 1 jewelry pliers.
– 1 scissor.-
Here is how to assemble :
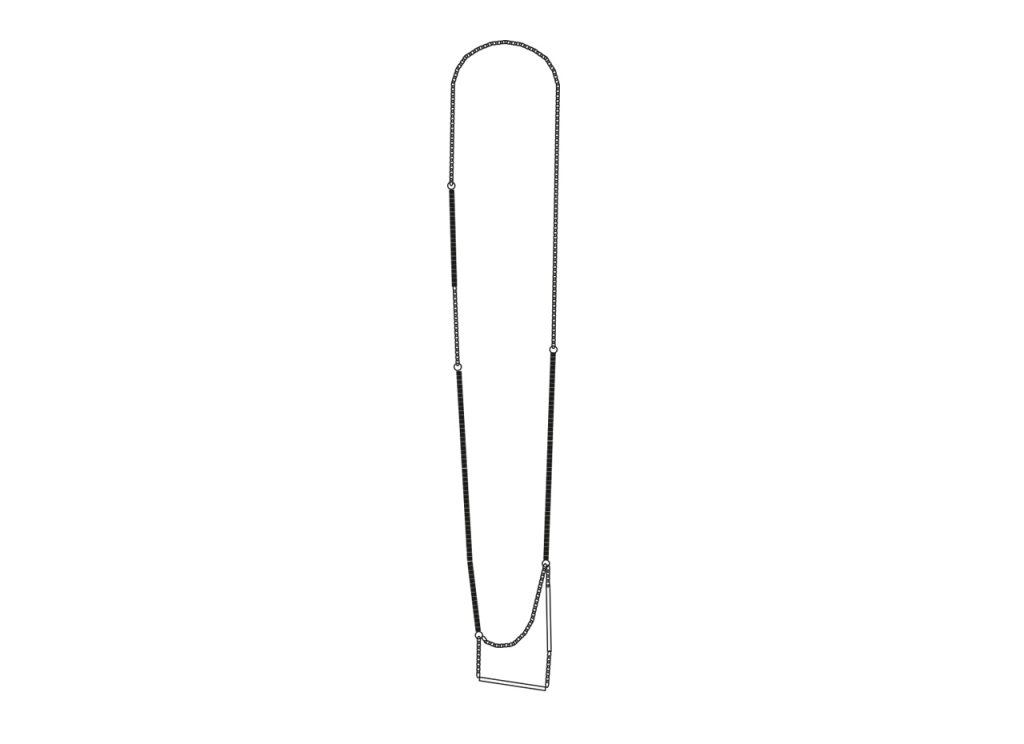
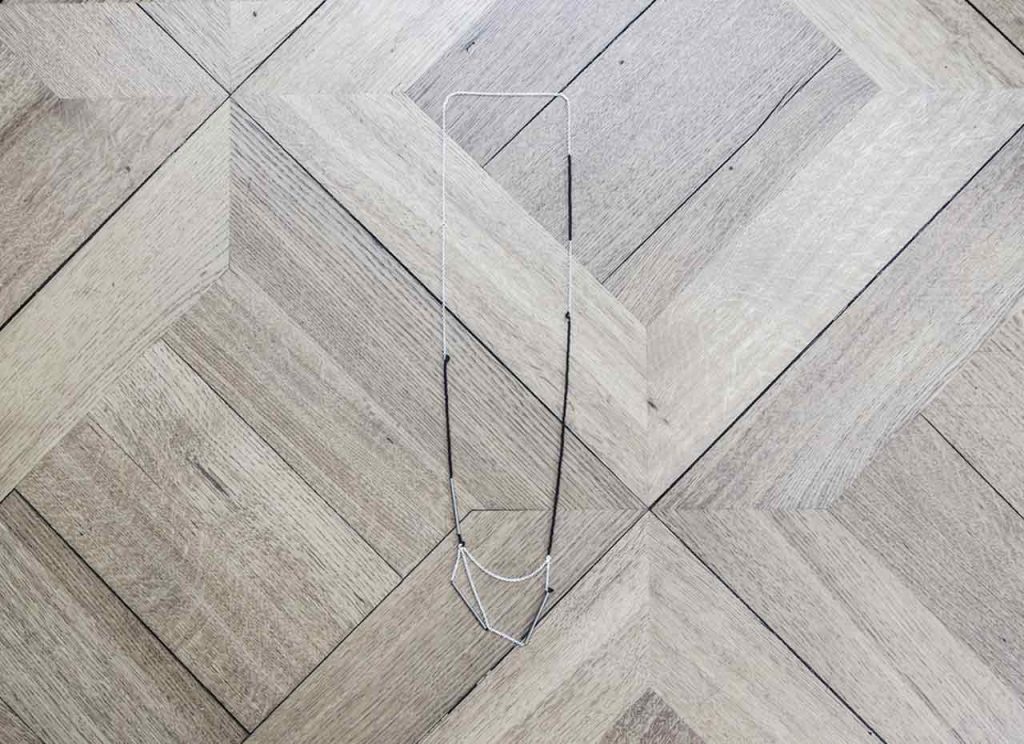
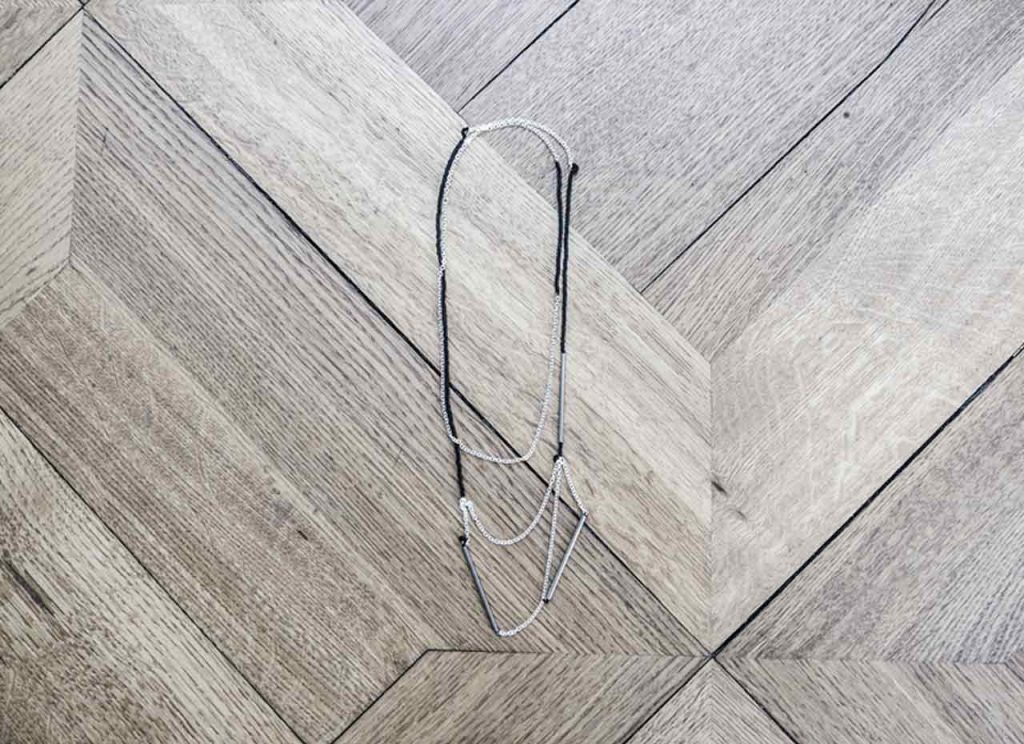
Thread the different items as shown, following the pattern atop or not : few inches of chain, a jump ring, few inches of pearls, another piece of chain, a ring, few pearls again, one or two inches of chain, a tube, some chain, a tube, another round of chain, another ring, some pearls… Complete with a clasp to wear this necklace in two ways, the “classical” short-version or the “sautoir” long-version…
This necklace is just an example… Follow your imagination and design your own ! You can also leverage on this sample to make your own set of jewels with bracelet and earring.-
The long-version :
-
The short-version :
-
One small detail :
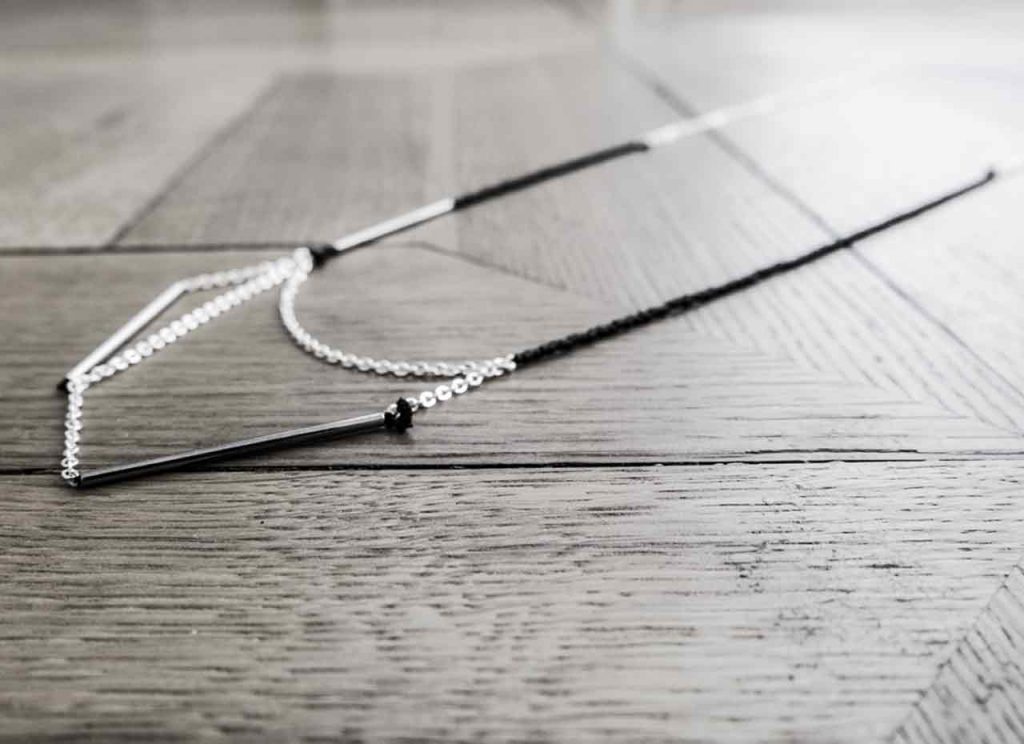
(NØ) wishes a fantastic mother day to all mums around the world, with a special thought to her mother MCS !
Looking for other ideas for mother day? Offer an embroidered punch, sew home sweet slippers or give a beautiful embroidered needle case!
-
-
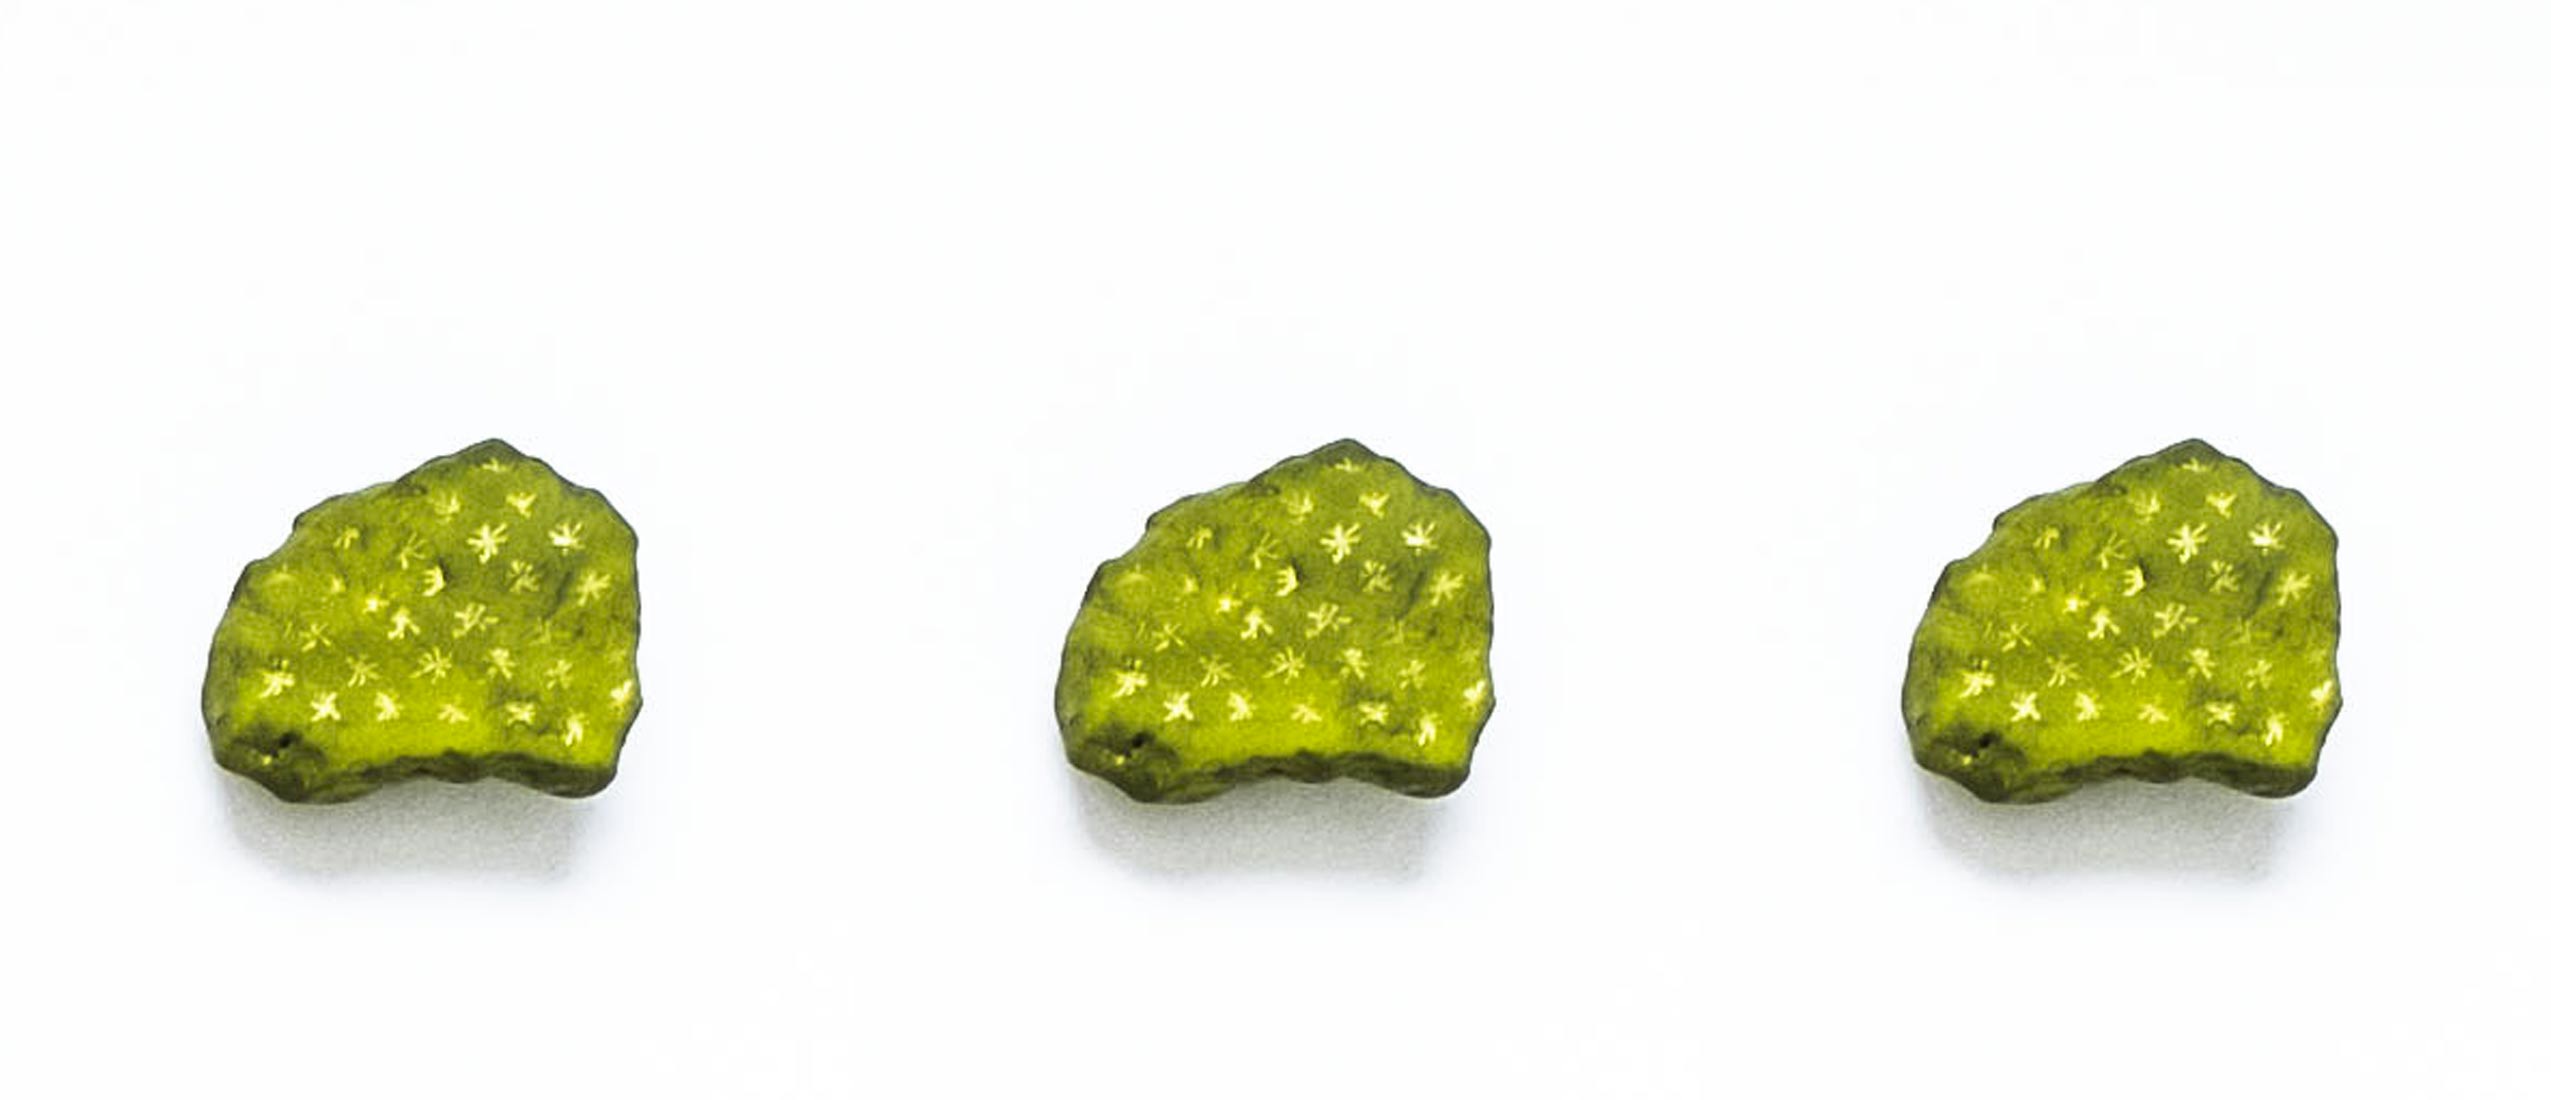
(STONE-TUS)
Well, so (NØ) has a looooot to do !! Nevertheless, her imagination runs wild and is producing some funny little ideas that she is eager to share with you before they go away… Such as turning tiny stones into cactus… Yes, yes, sort of “stone-tus”… A sweet and funny DIY, if like (NØ), you don’t really have green fingers… Come and play “Hop o’ My Thumb” with her !!
-
To turn your stones into cactus, you need :
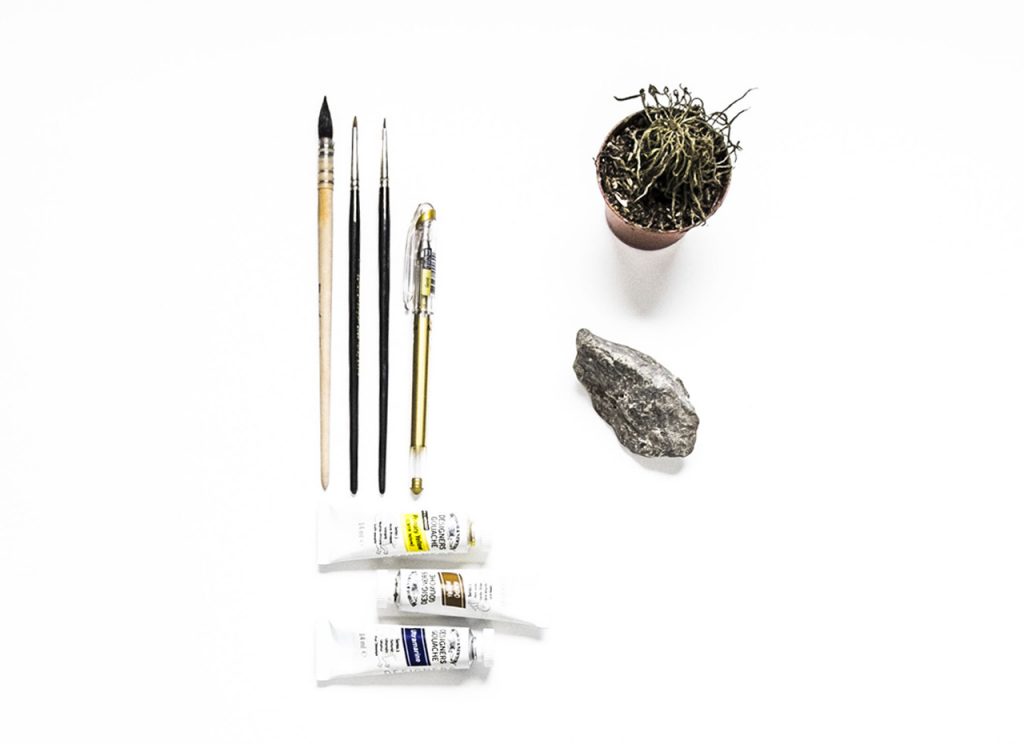
– Some funny-looking stones to pick from the forest, along the stream or in a pretty garden…
– Paintbrushes.
– Some gouache in blue, yellow, green, ocher (if for you cactus must be green, if not, choose any color you fancy…)
– A gold or silver or white or black or whatever you want pencil.
– A plant pot with a stunted not-so-pretty-looking-anymore plant to be replaced.-
Hop’on, it is quick and easy :
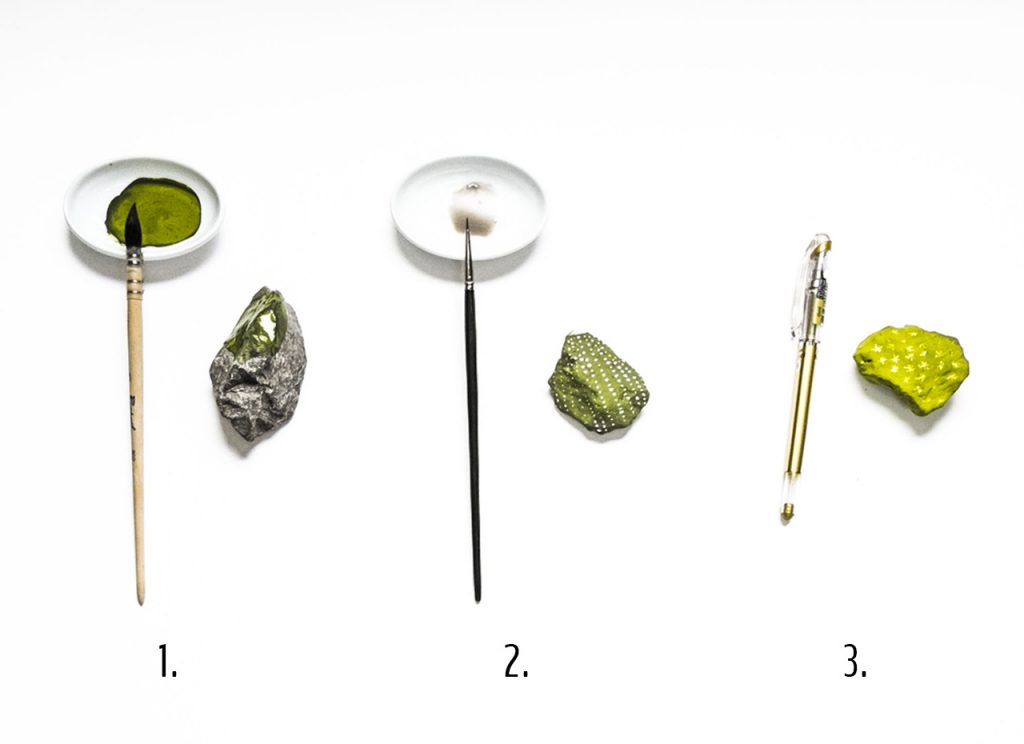
1. Wash your stone and let it completely dry. Color paint the entire stone in green, blue, pink, few extra coat of paint might be necessary… Wait for the stone to dry before moving to the next step.
2. Using white or silver gouache, paint some little spots to make the illusion of cactus flowers.
3. With you glitter pencil, draw little crosses to create the sharp prickles !Et voilà… Just need to plant. And best of all, you do not need to water the stone-tus…
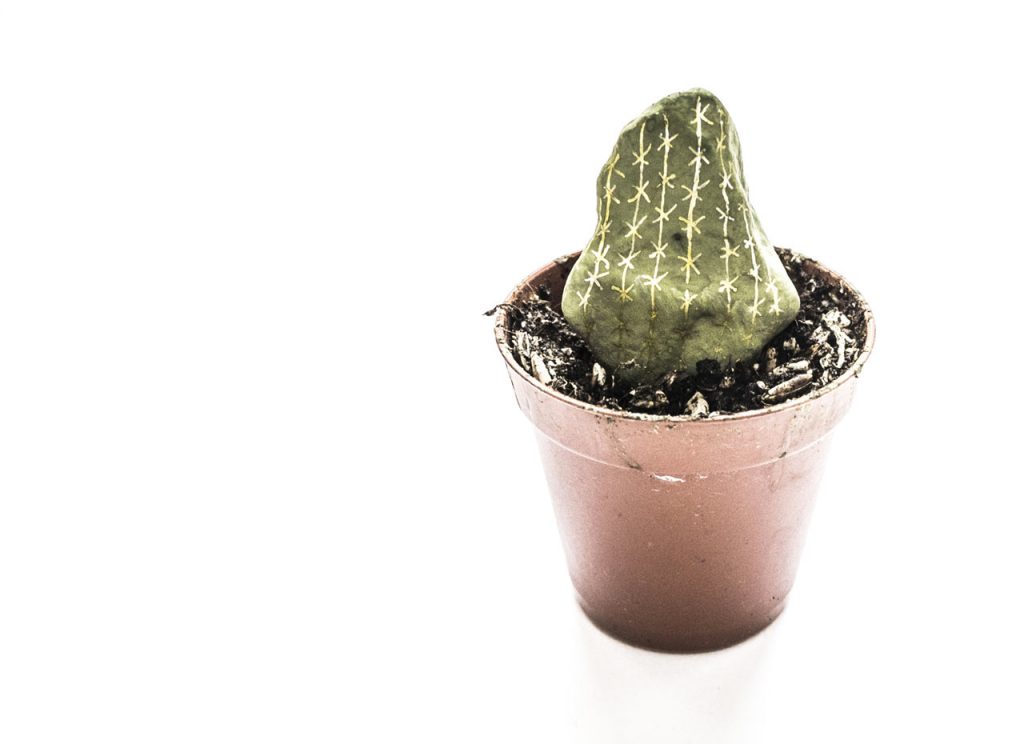
Tell us… Do you have green fingers ?
-
-

( IT RAINED OVER NANTES…)
Ouhlalalalala………….. (NØ) has (slightly) neglected the blog lately, because she had to “leave” but she did not forget you and kept you in her mind ! Today she gives you some pictures of a walk in Nantes… Follow (NØ) on the battlements of the “Château des Ducs de Bretagne” !

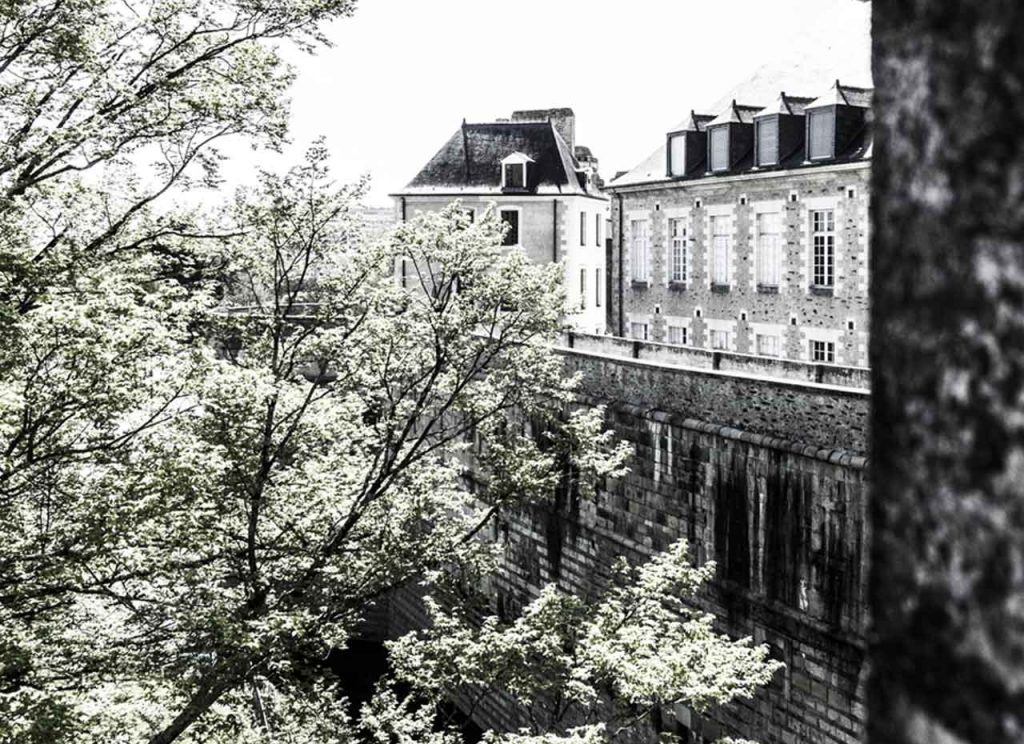
Oh, a castle can be such a beauty !!

In the inner castle court… (NØ) believes she is the Duchess Anne…

And go discover the castle in every nook and cranny…
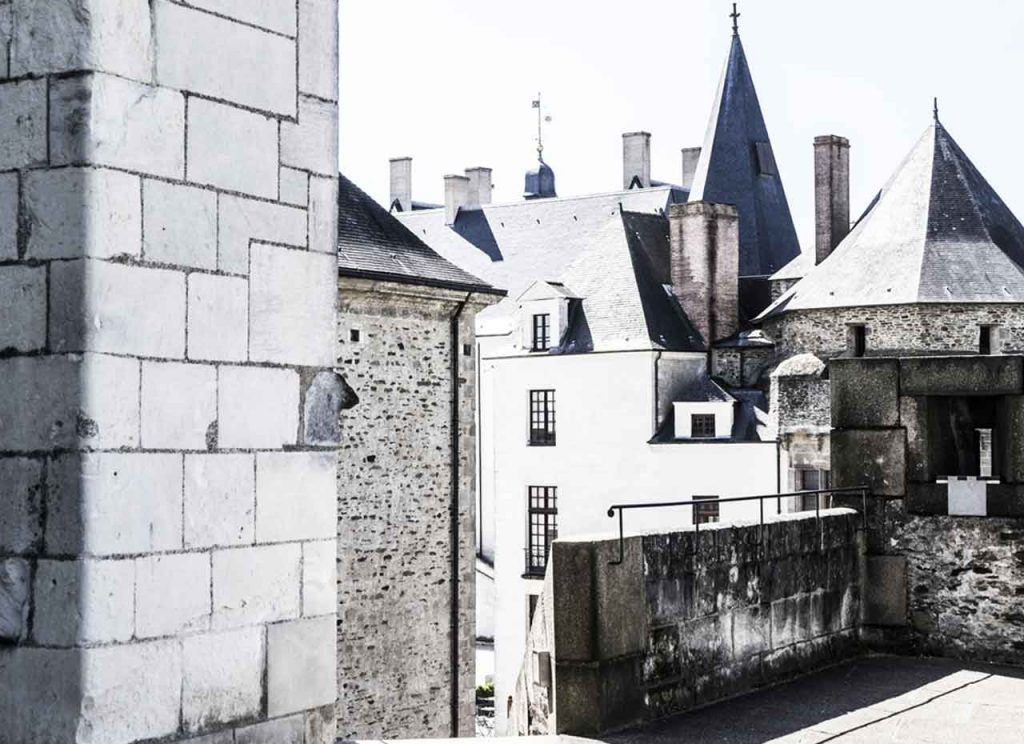
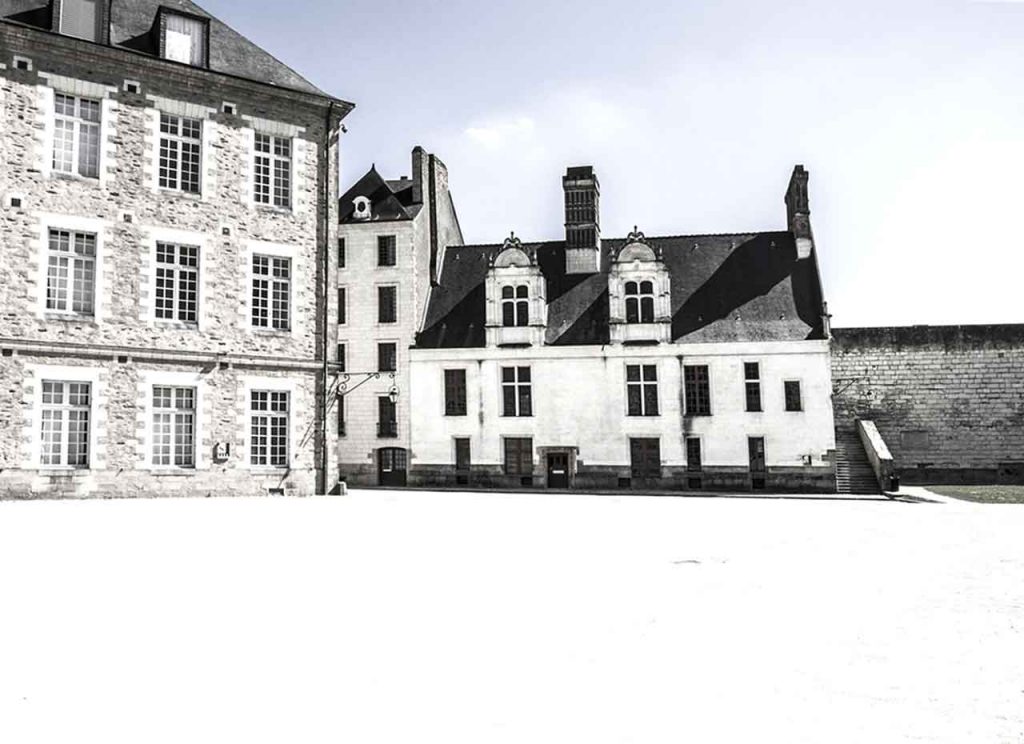
The city of Nantes and (NØ) have another
surprisewalk in store for you… In the meantime, you can hum Barbara’s lyrics, that could help to bring back the spring season !“La ville avait ce teint blafard
Lorsque je sortis de la gare
Nantes m´était encore inconnue
Je n´y étais jamais venue…” -
( SPRING CROWN )
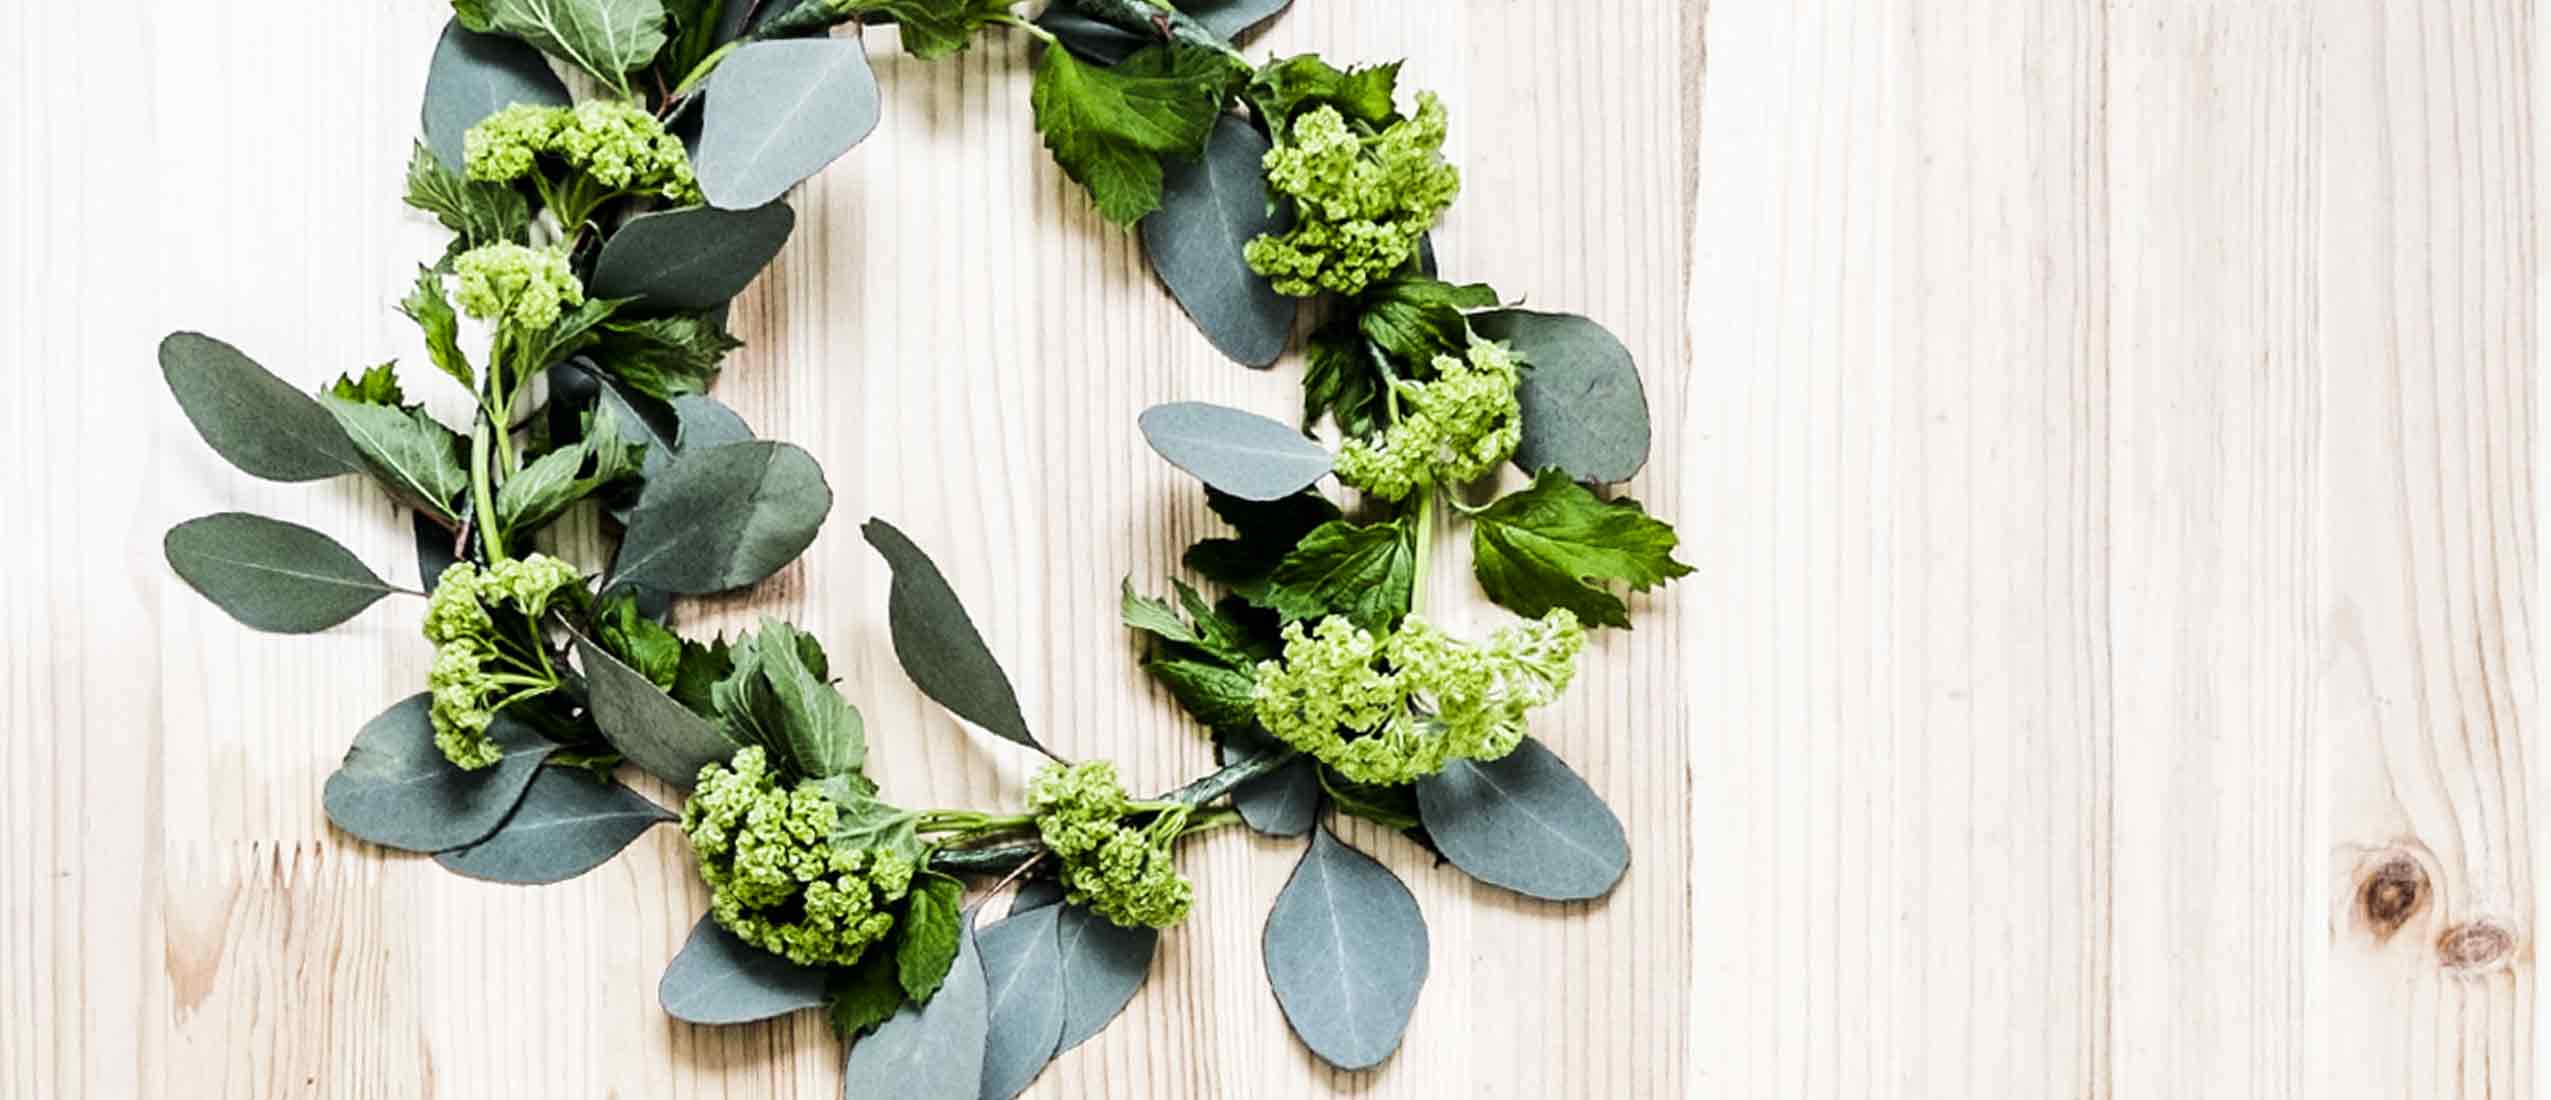
Let the sun shine… Let the sun shine !! Spring is here, (NØ) is so excited that she starts again to jump around in the living room (she is not allowed to jump on the bed…), to dance in the kitchen (tomato sauce can stain but that’s ok…) and sing at the top of her voice all the time (neighbors are pleased…). So, today she is excited to share her great mood with a happy DIY to celebrate Spring season !
-
To make (NØ)‘ spring crown you will need :
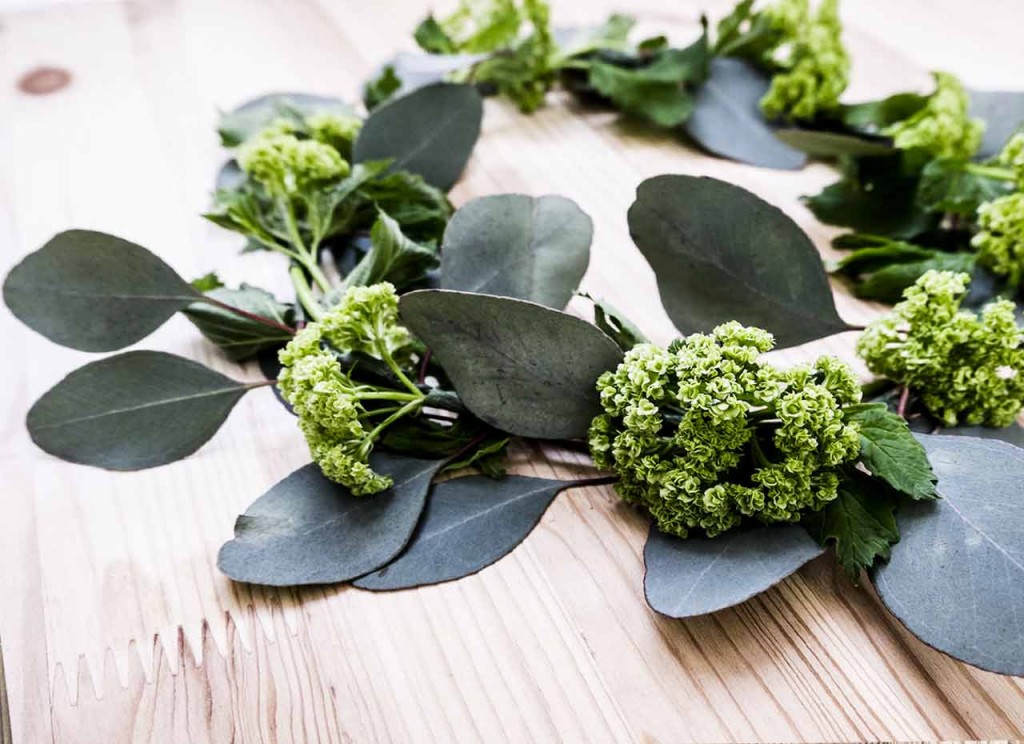
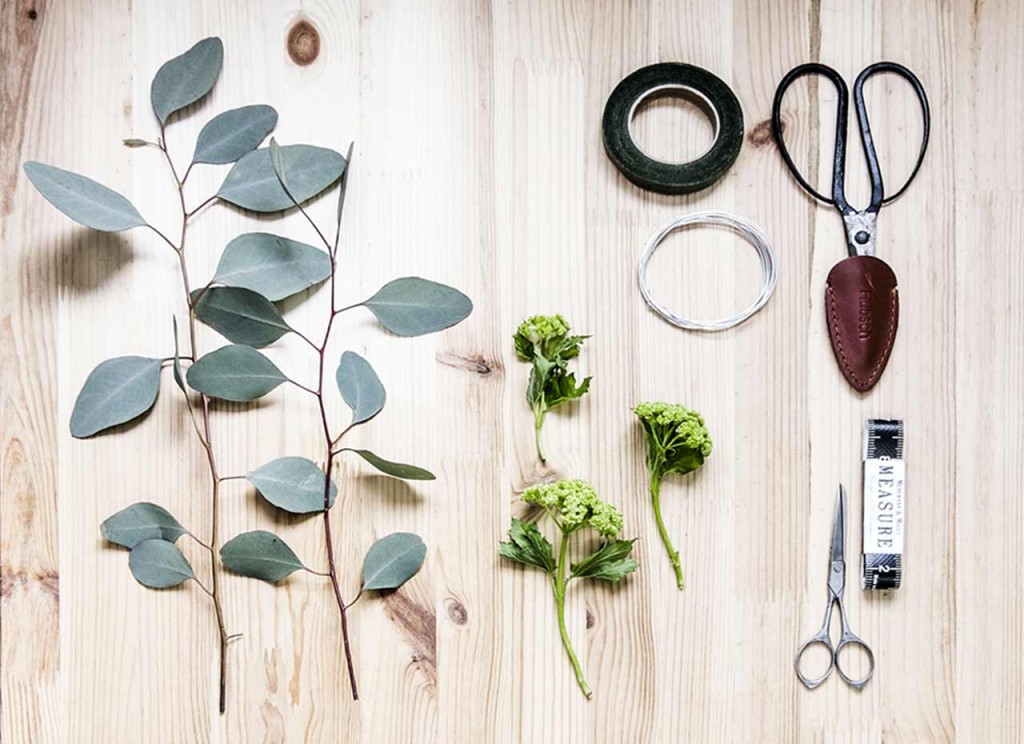 – Some Eucalpytus branches. Or any other flexible foliage.
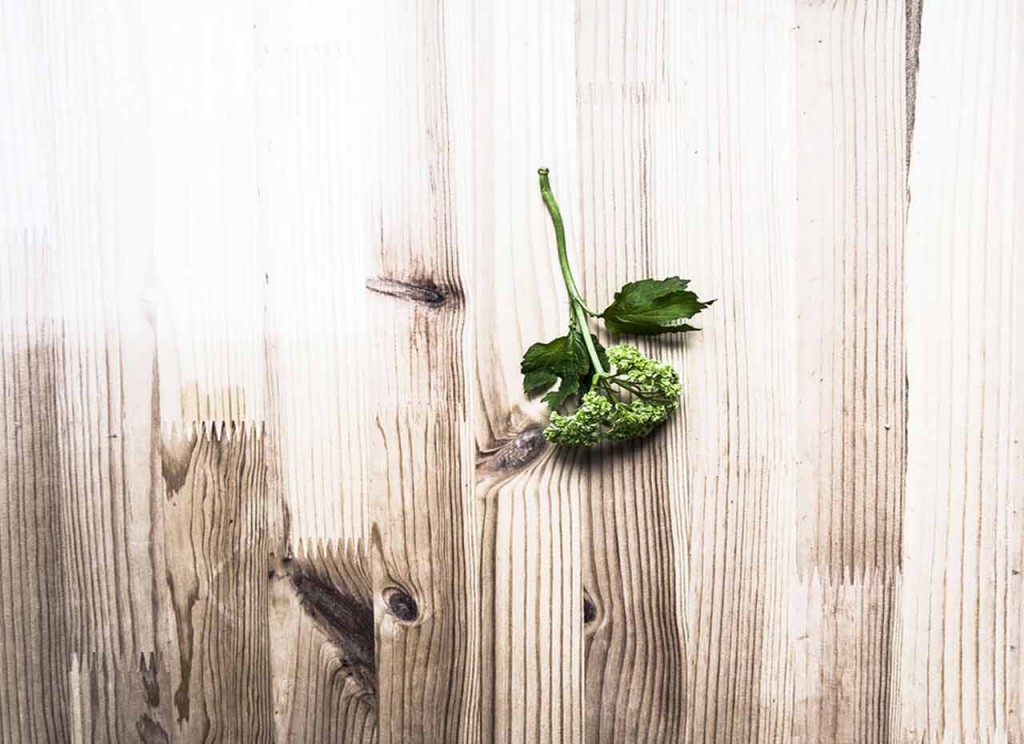
– Few flowers of Bupleurums. Or any other flowers of your choice.
– A piece of thin metal wire.
– Heavy duty scissors.
– Flower ribbon that you can find at the flower shop or DIY shop.
– Tape measure.-
How to proceed ?
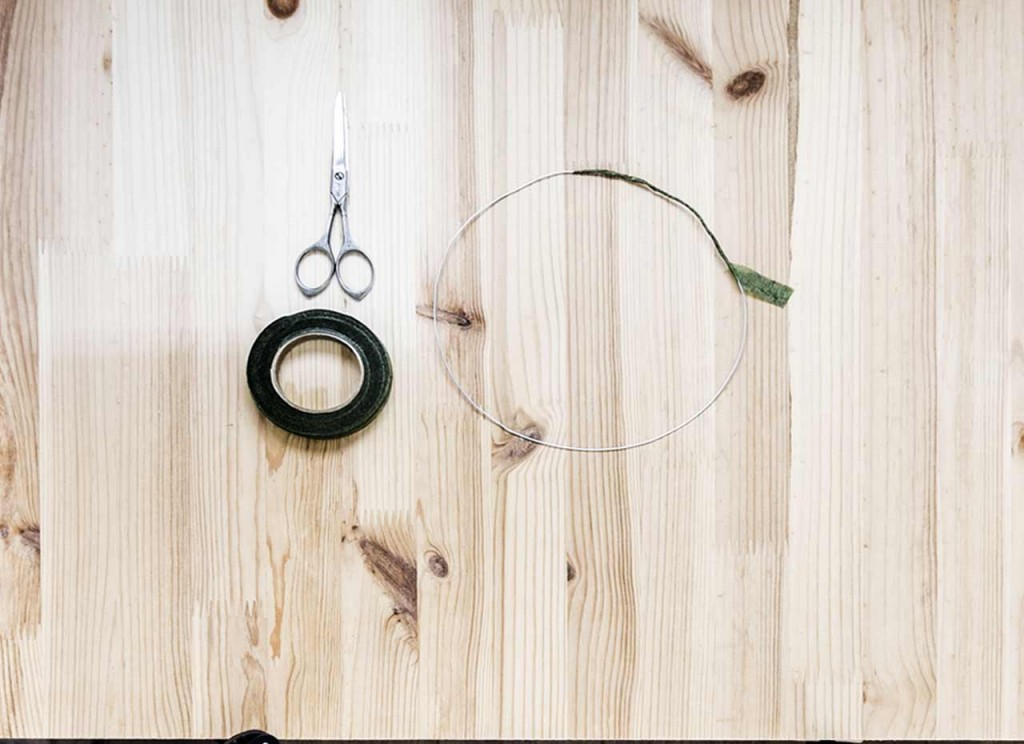 Measure the size of your head and cut a piece of thin metal wire of the desire length. Wrap with the floristic ribbon.
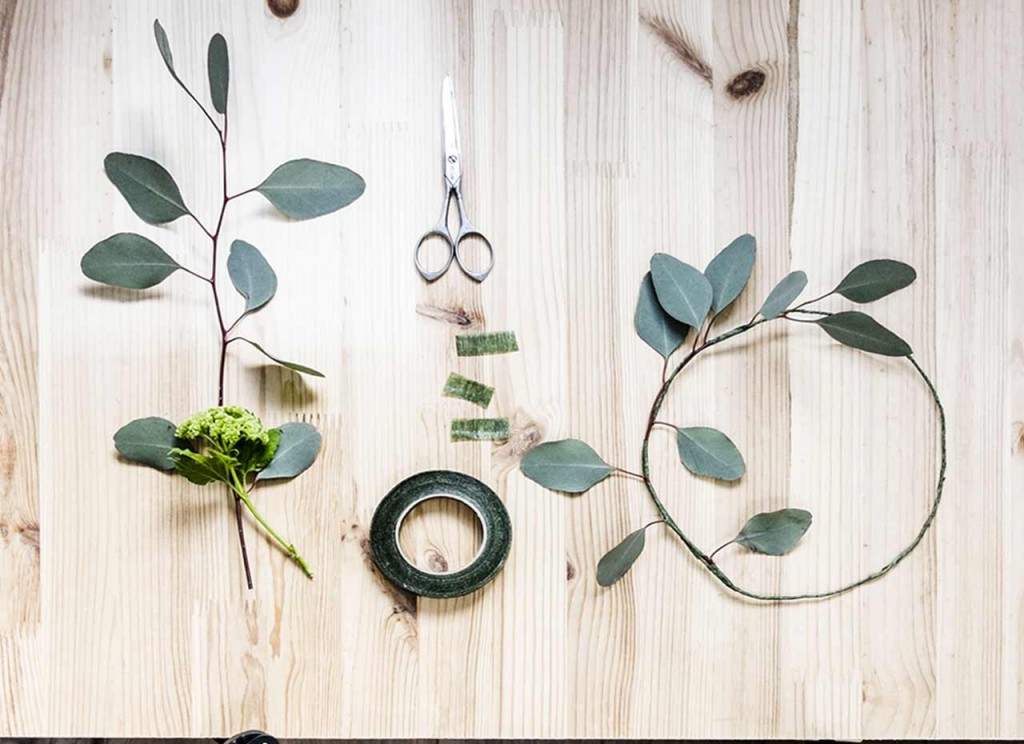 Cut the Eucalyptus branches. Encircle it or wrap it around the wire, use the ribbon to maintain it.
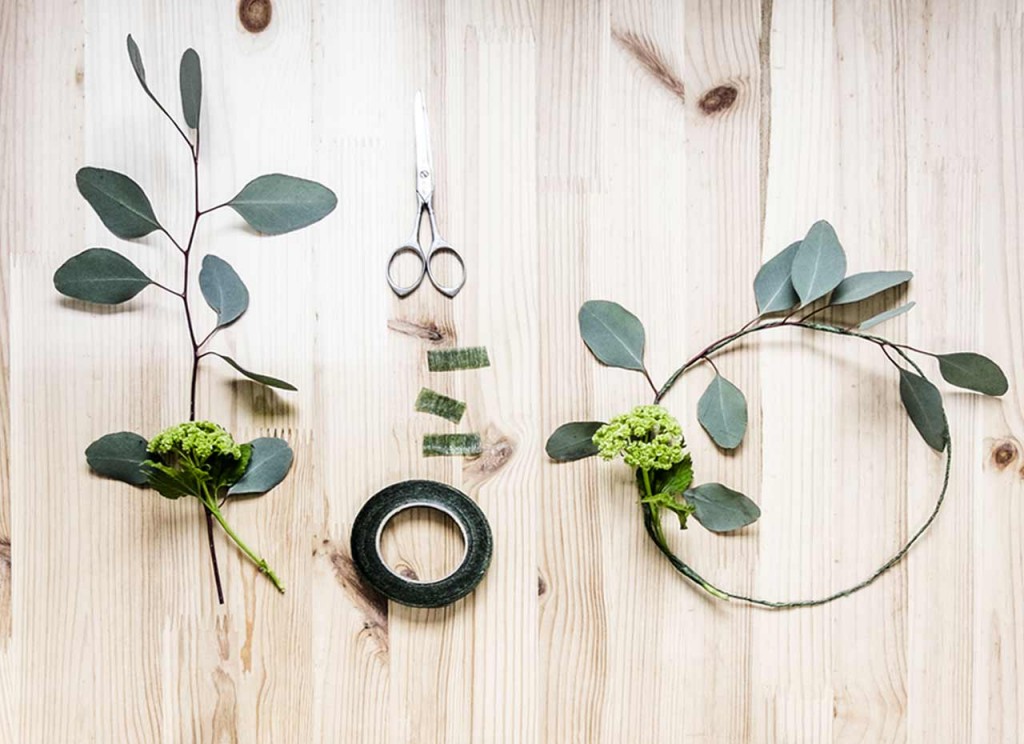 Continue by adding flowers…
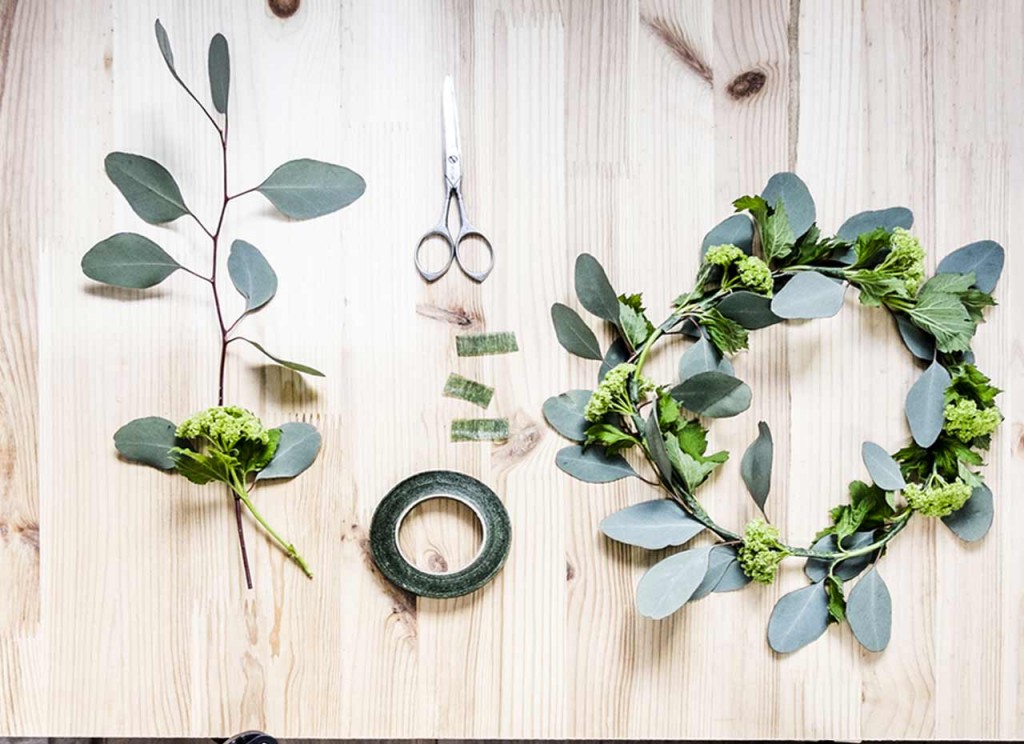 You can make your own light Spring crown or build a more heavy one depending on your mood !!
Et voilà !
 What about you ? How will you celebrate Spring season ?
-
-
( SURPRISE-BUNNY )
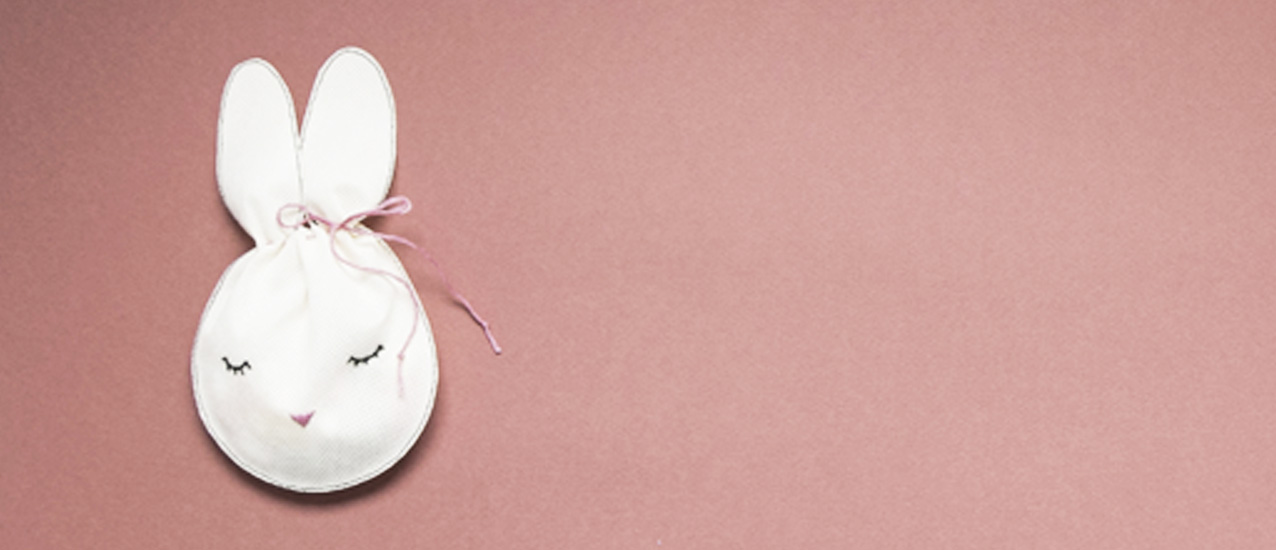
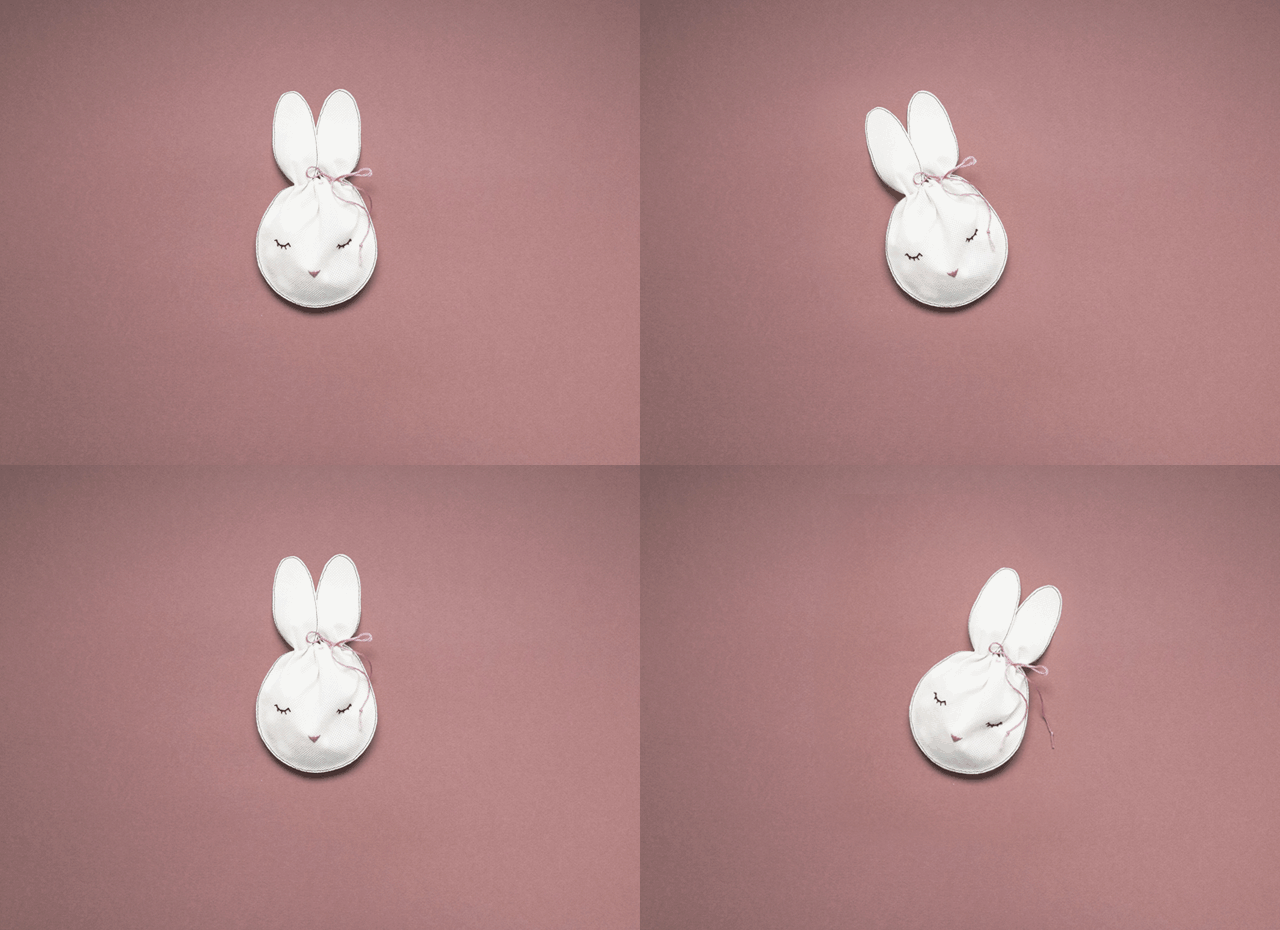
In (NØ)‘s land, Easter eggs are delivered into cute little funny “bunny-head-bag” … An easy customizable DIY idea for the small ones, who will be able to decorate their bunny-pouches and a nice reward for the big ones who will enjoy the sweets inside !
-
What you will need :
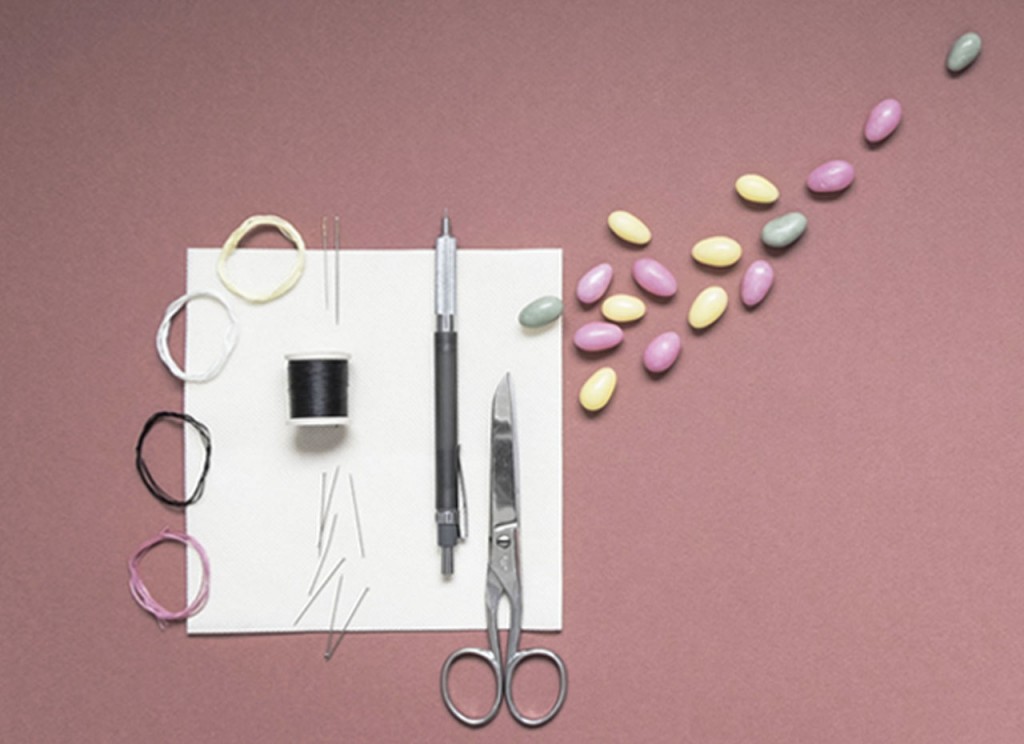
– A piece of nonwoven-fabric, that you can find at any small notions or fabric store, and that you can easily cut without fraying !
– Pencil or taylor chalk.
– Bunny-head-bag template to download here.
– Scissors.
– Embroidery thread and needle or simply color felt pens to draw the eyes and the nose.
– Sewing thread.
– Few pins.
– Some Easter candies to fill the rabbit head.
Those bunny-head-bags can be sew by hand or using your sewing machine.-
How to Do It Yourself ?
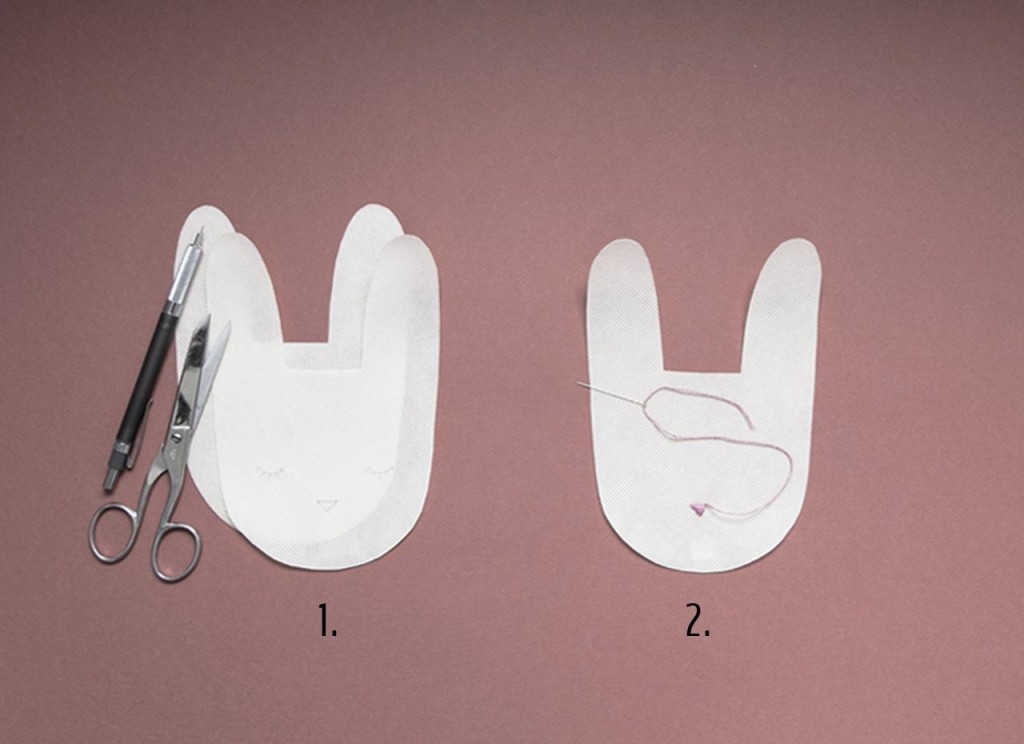
1. Trace the rabbit head, the eyes and the nose. Cut two heads, one for the front and one for the back.
2. Embroider or color the eyes and the nose on the front piece.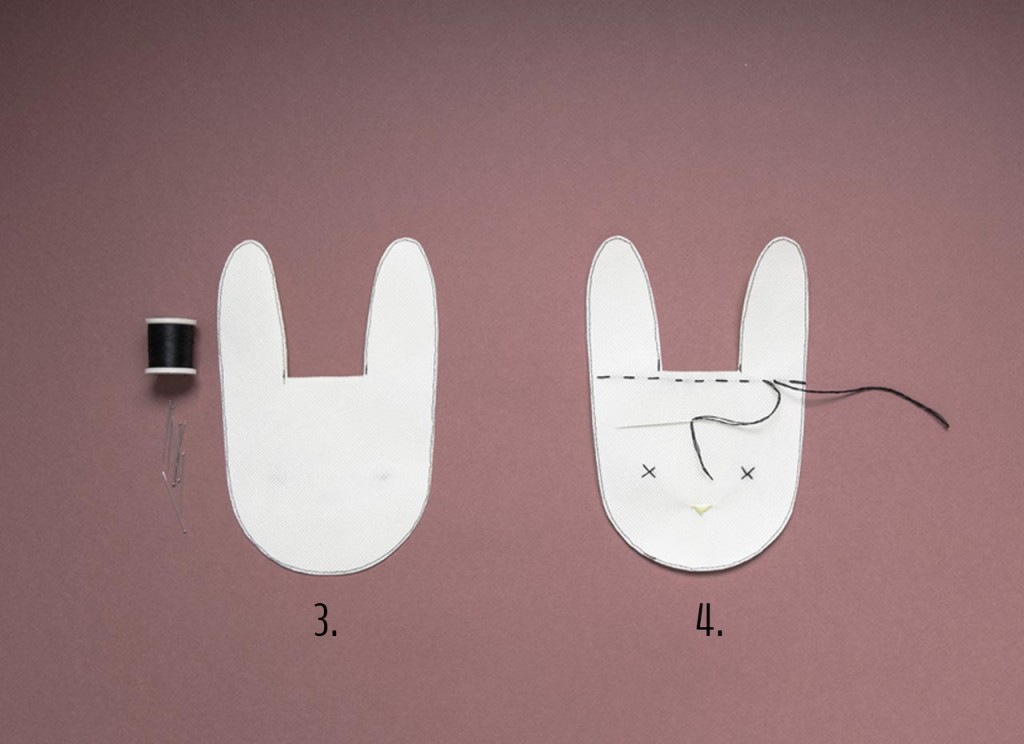
3. Sew the two bunny-heads together by hand or using a sewing machine, leaving 1mm margin around. Leave free space between the two ears to stuff the head with candies.
4. Pass a piece of ribbon or thick cotton at the top of the head using the running stitch as shown on the photo below. Stuff the head with candies and pull the ribbon to close the head.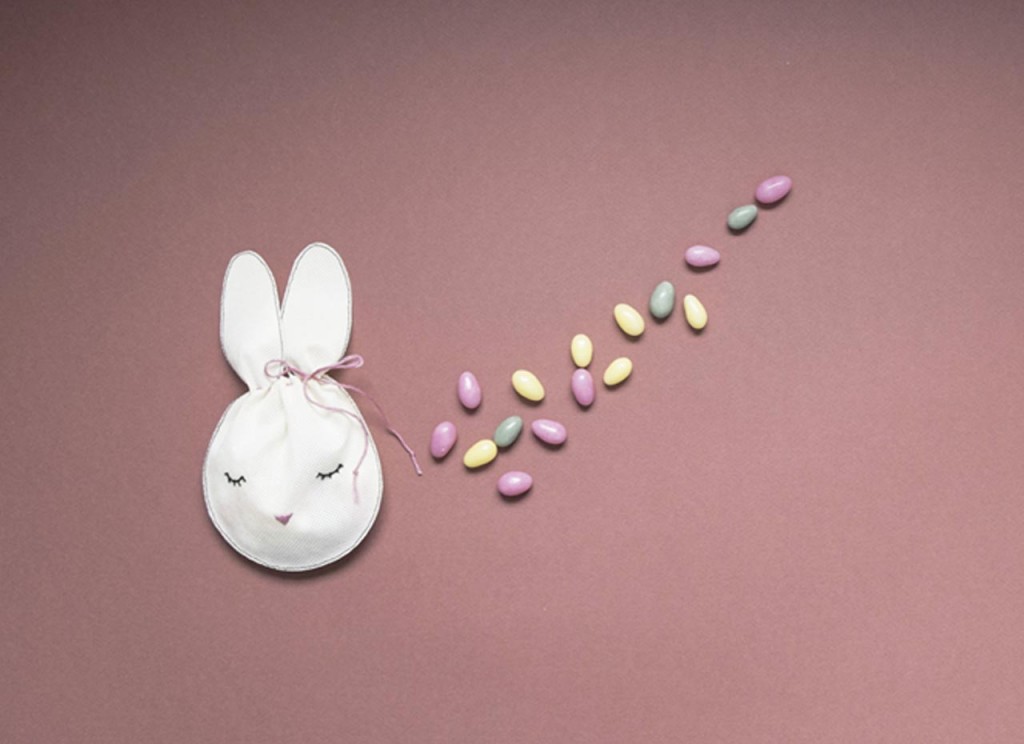
Ready to offer !!
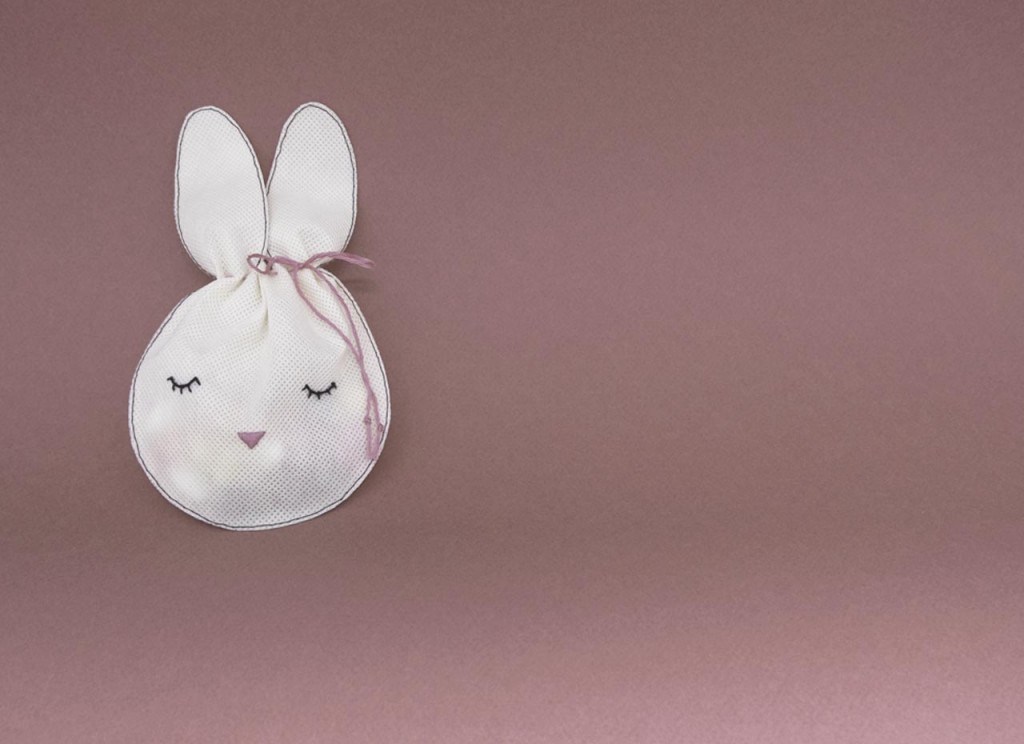
You get a happy-cutty-bunny-head-bag !!
Let your imagination run wild with your bunny head… With glaces … A small yellow nose…
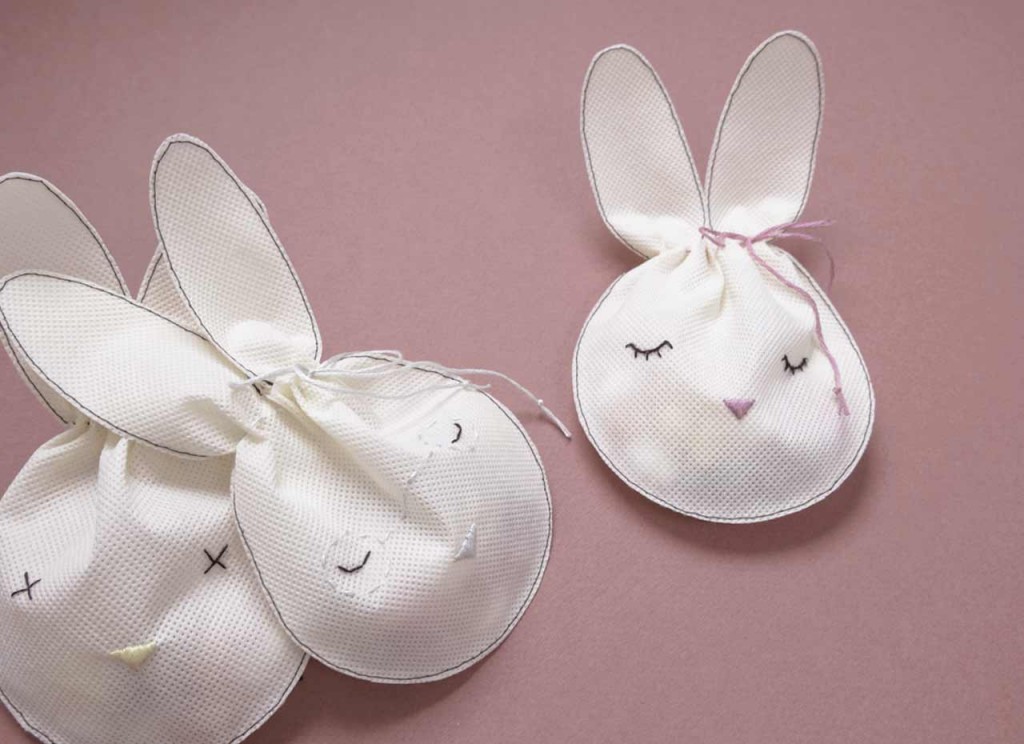
(NØ) wishes you a happy Easter !! Have fun !!
Are you looking for other creative projects? Have a look at (NØ)’s DIY slippers or learn how to create cute little puppets !
-
-

( AT EUGÈNE’S…)
A sunday walk in a sunny Paris… (NØ) brings you to the home of the famous artist Eugène Delacroix. You know, the painter of « La Mort de Sardanapale » (« The Death of Sardanapalus »), « Les scènes des Massacres de Scio » (« The Massacre at Chios »), « La Nature morte aux Homards » (« Still Life with Lobsters ») or (more…)
-
( NEEDLE CASE )
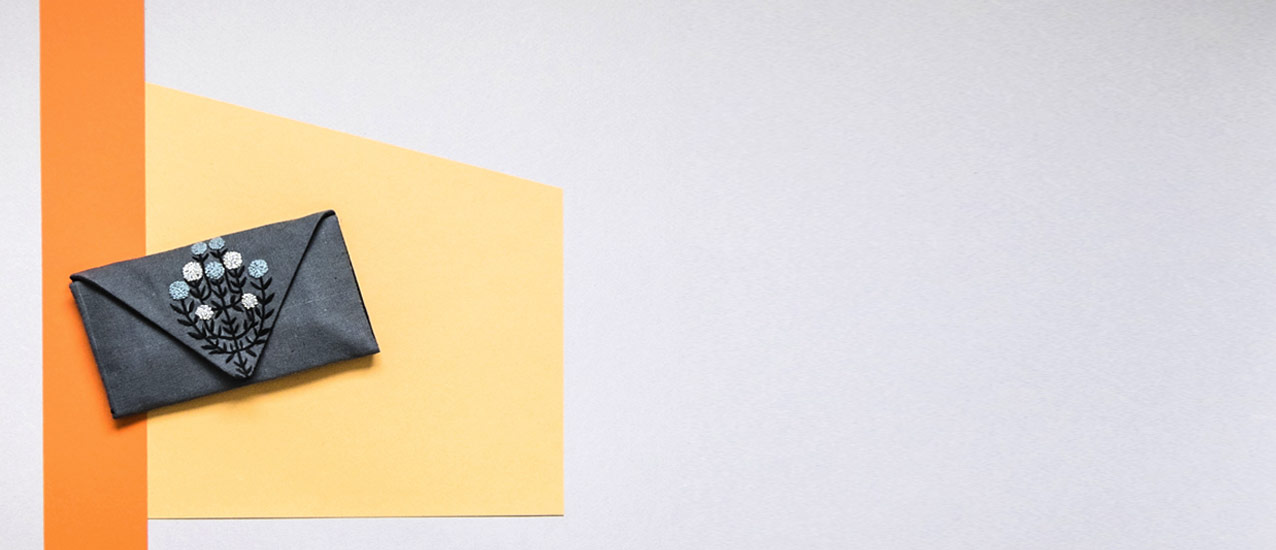
(NØ) is sometime miles away, sunny head and feet in the clouds… So she often misses things… The white thread bobbin… Her favorite golden scissors… The thimble (the right one…) Or her sewing-needles, and surprisingly enough, there is no haystack around ! Being tired of sticking “wanted notices” (more…)
-
( STITCH BY STITCH #02 )
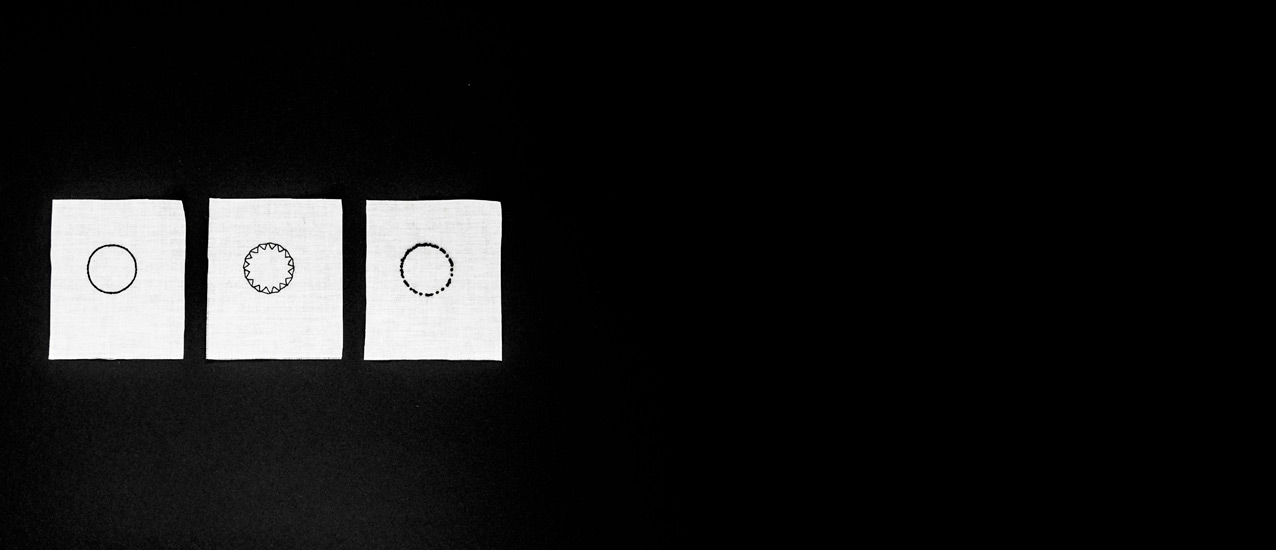
Here we are again for a traditional hand-embroidery stitch class… A little while ago, (NØ) went back to school to offer you the top 10 hand-embroidery stitches you must know. Today, (NØ) is excited to share with you three new hand-embroidery stitches to add to your embroidery notebook. Step by
stitchstep, it’s easy, (more…) -
( HOME-SWEET SLIPPERS )
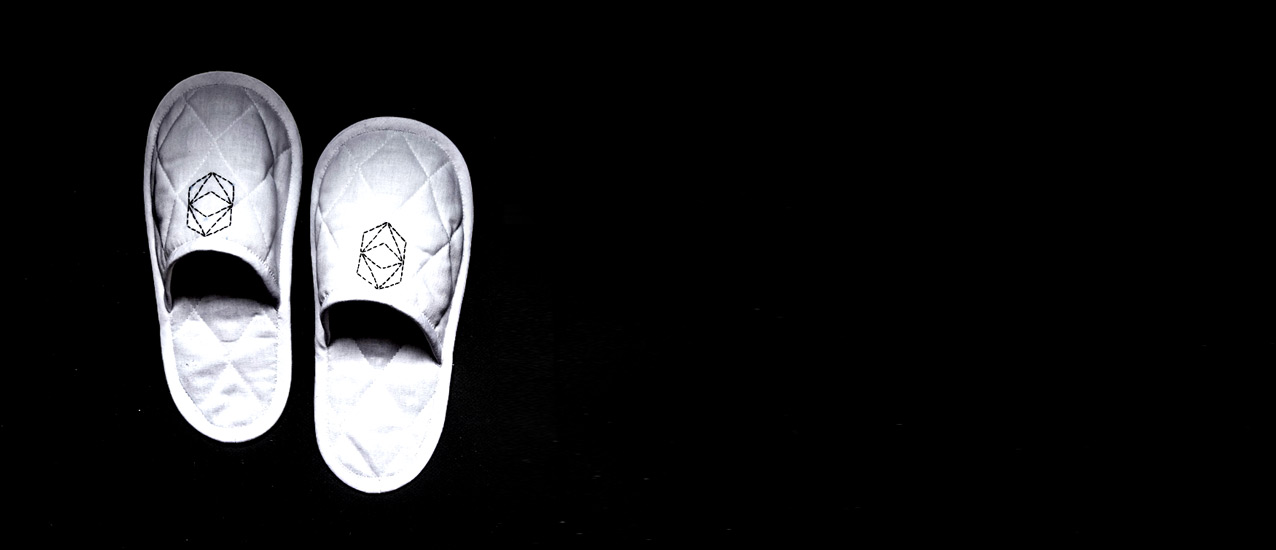
“Put on your slippers”… Who has never heard this sentence as a child? To tell you the truth, since then, (NØ) hates slippers and any other soft shoes with a passion… That is it… But… Sometimes her guests have (freezing) cold feet ! So (NØ) decided to make some cute fabric slippers just for them ! Have a look at how she creates them !
-
To make your home-sweet slippers, you will need:
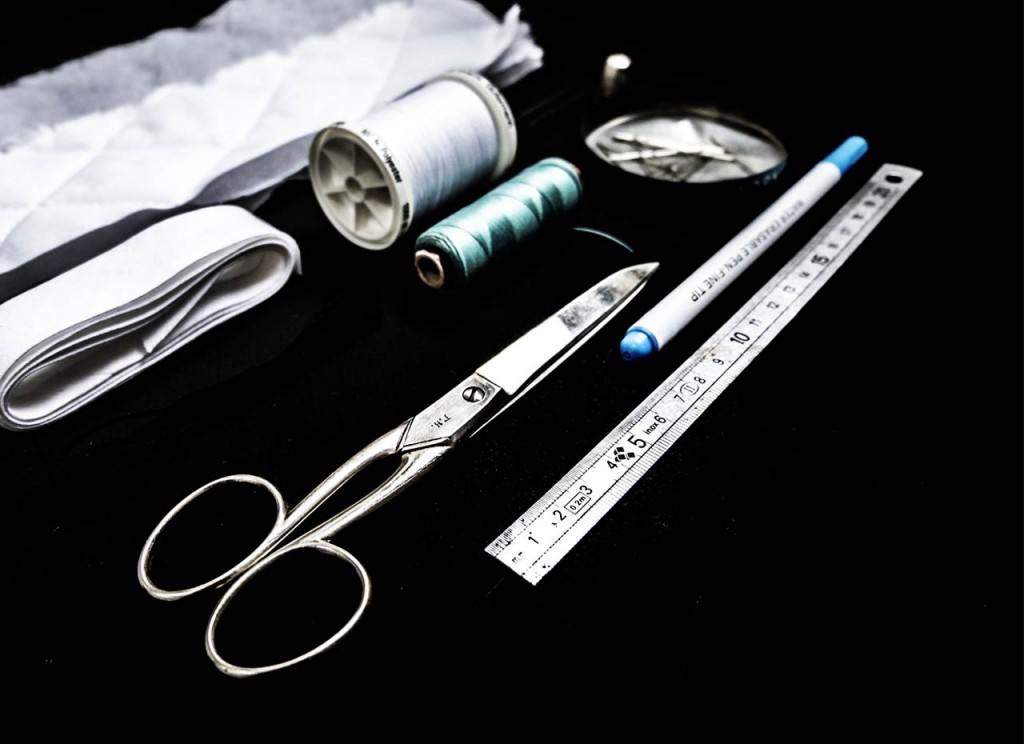 – Some cotton fabric and quilt or already quilted cotton.
– Matching bias.
– Sewing and tacking thread.
– Fabric scissors.
– Sewing needle.
– Sewing machine.
– Few pins.
– 1 marking pen (water erasable) or tailor chalk.
– Optional, if like (NØ) you would like to customize your slippers and make them recognizable, you will need some embroidery floss and an embroidery needle !
– Sewing patterns, for making small and large slippers, including shoe sole and top, to be downloaded here.-
How to sew the bias? Follow (NØ)‘s instructions:
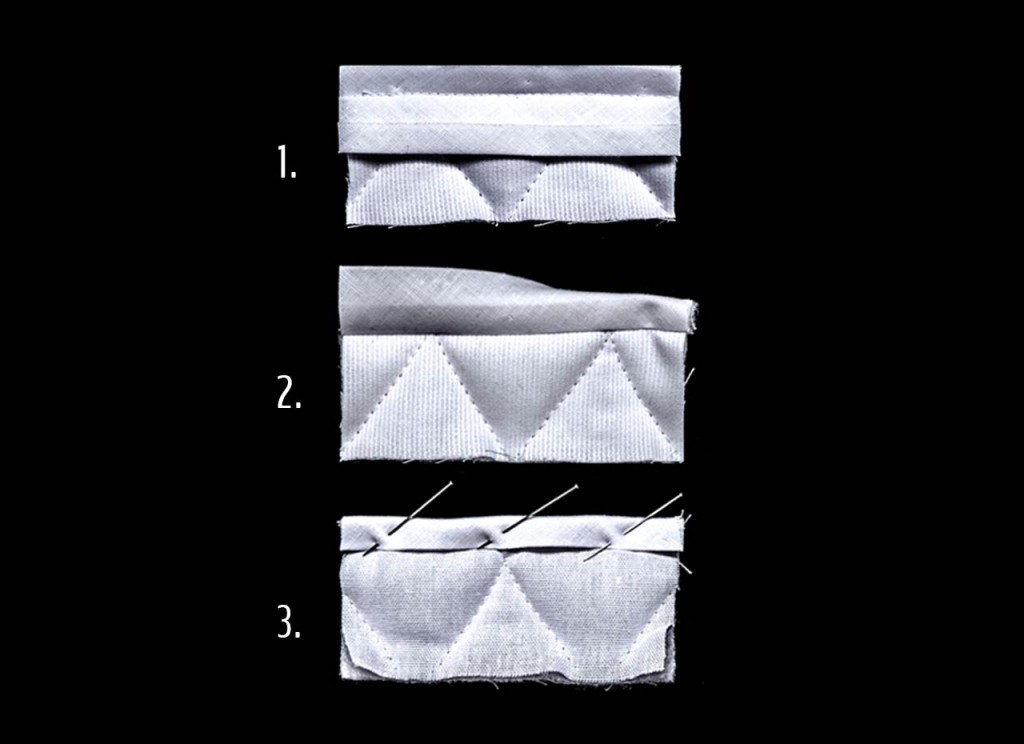 1. Open the bias and place it edge to edge with the fabric. Machine sew it in the crease.
2. Fold along the stitching (The stitching is inside the bias) and fold again the bias on top of the fabric as shown on the picture above.
3. Turn the fabric over and sew the other side of the bias, hand sewing or using your sewing machine.-
Now the slippers :
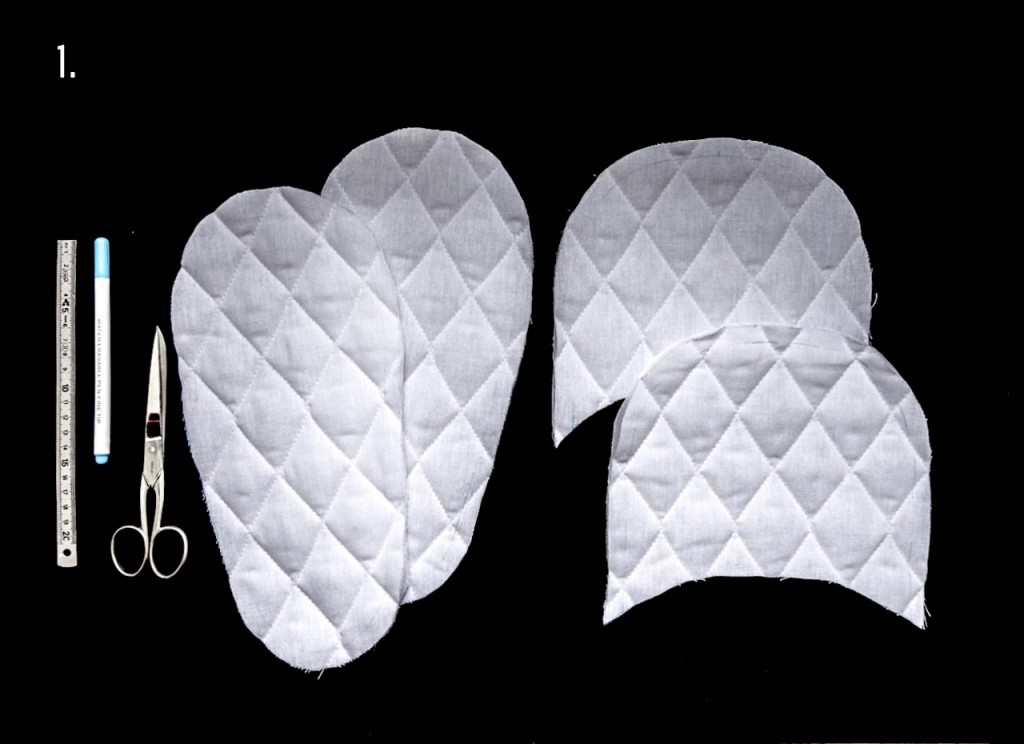 1. Download slipper’s patterns here. They exist in two sizes. One for women, one for men. Don’t forget that most of us have two feet …
Print the patterns and trace on the quilted-cotton using the marking pen. Add 1cm (or 0.4in) sewing allowance all around. Cut.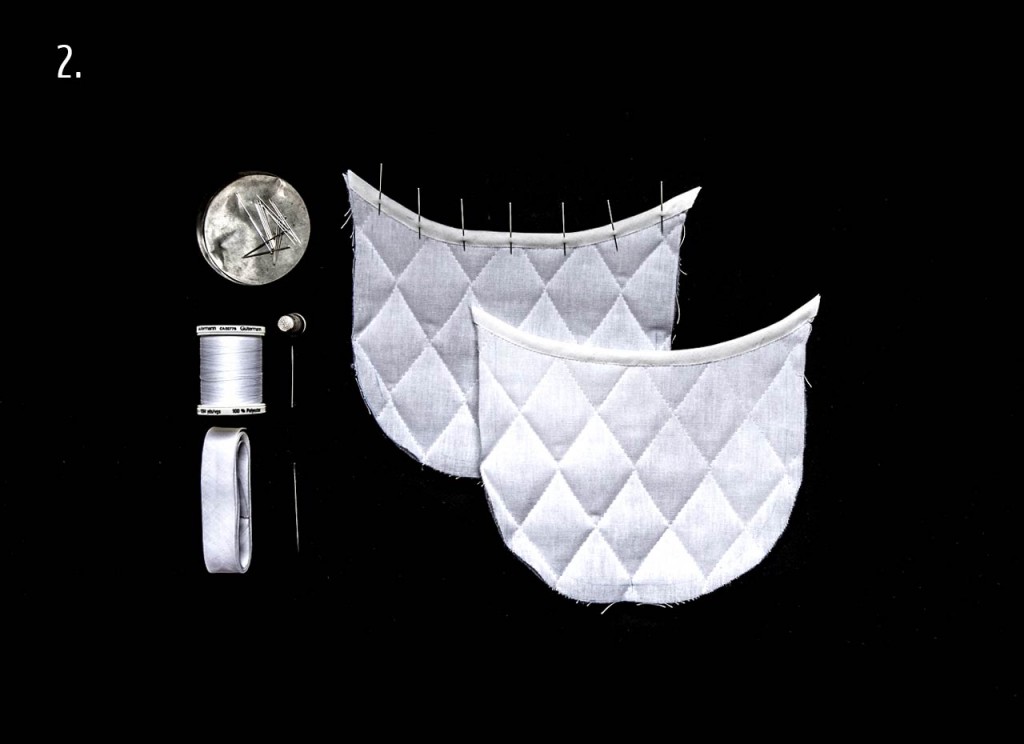 2. Place the bias on the slipper’s tops as shown on the picture, following the steps above.
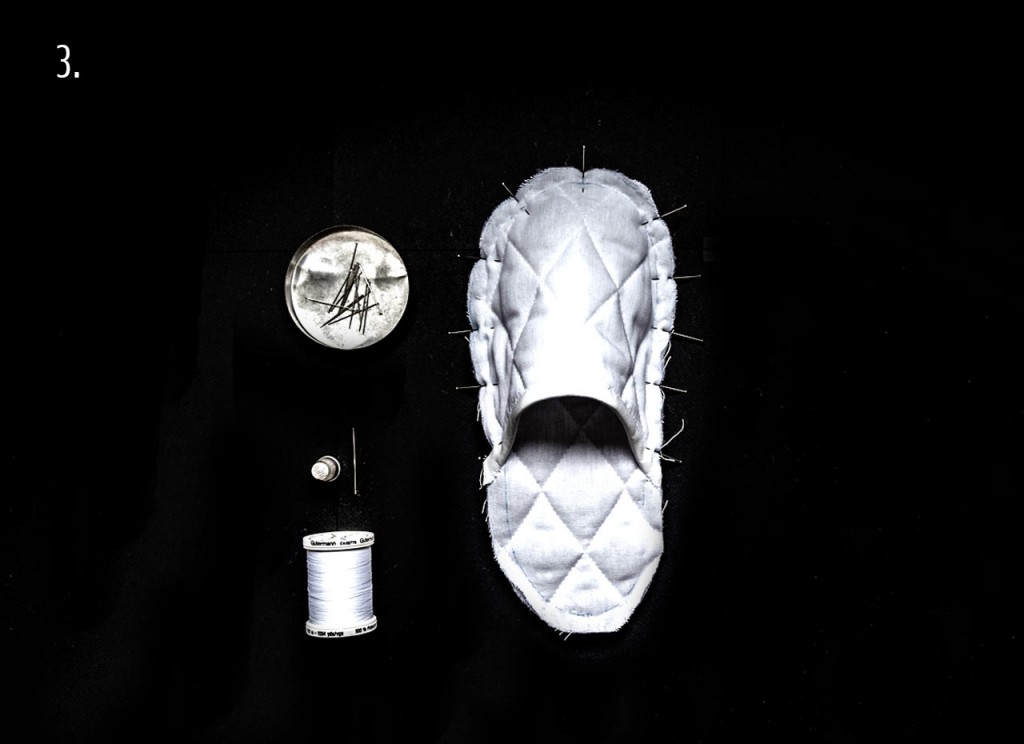 3. Place the tops over the shoes soles. Pin it, optionally tack and machine sew.
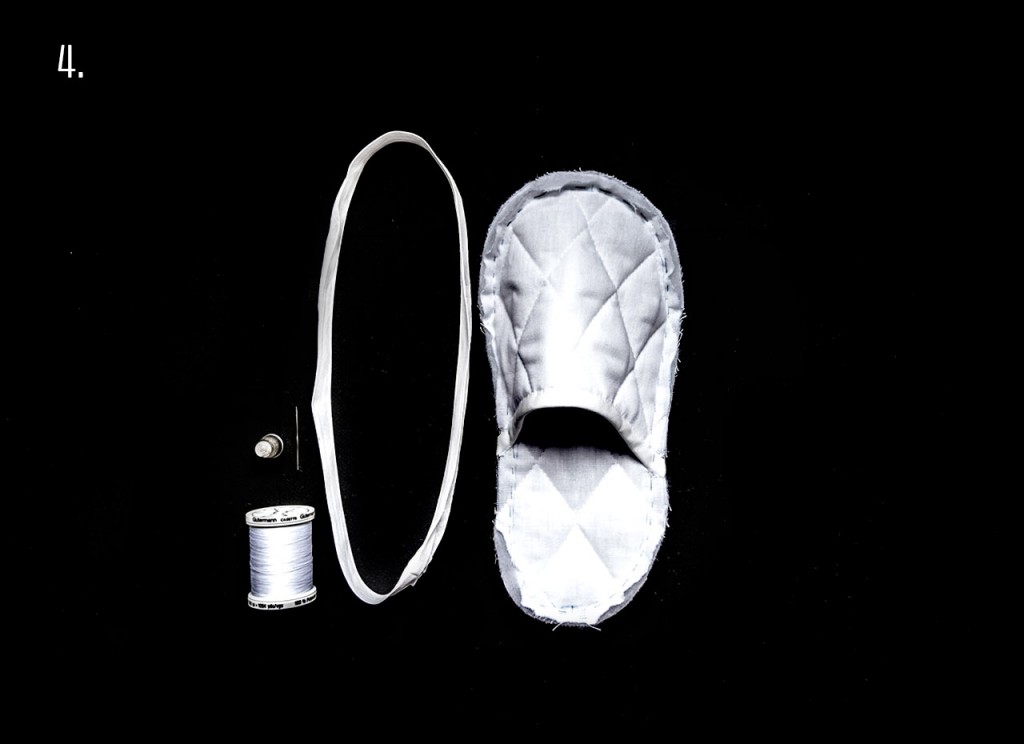 4. Set a piece of bias matching the size of the sole. Sew the two sides together in order to make a circle.
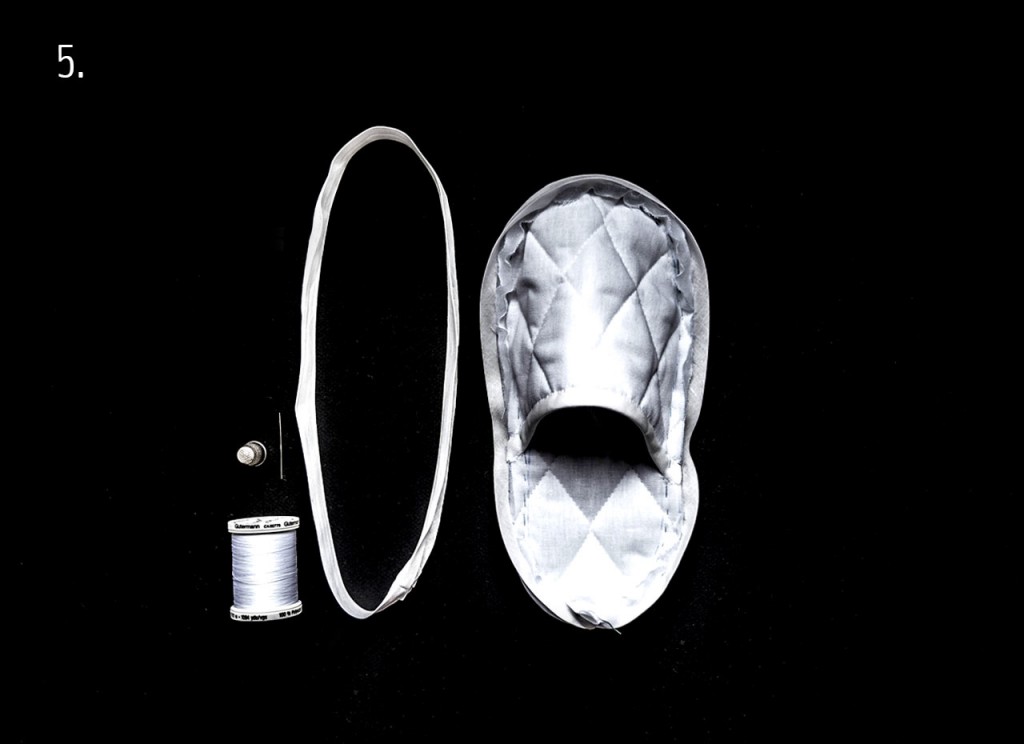 5. Place the bias all around the sole, tack it if required (this can be useful for the curved lines in front of the slippers where there are two pieces of fabric to be sewn together).
And yes, that is it !
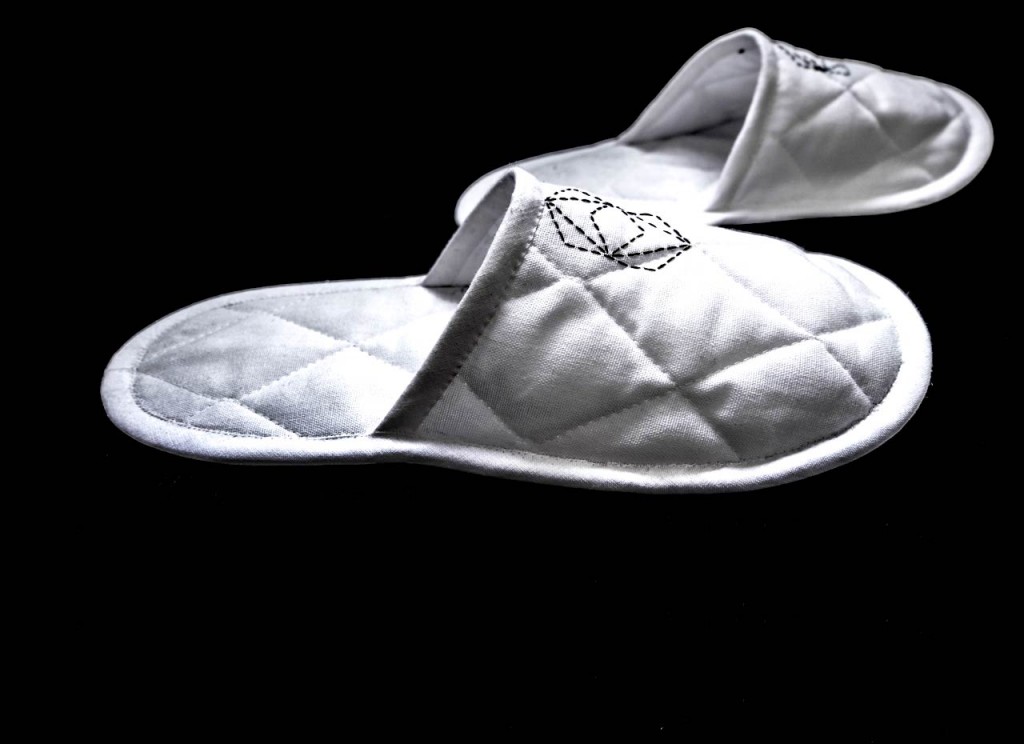 Yippee, just for the blog, (NØ) puts on her sweet-home slippers !
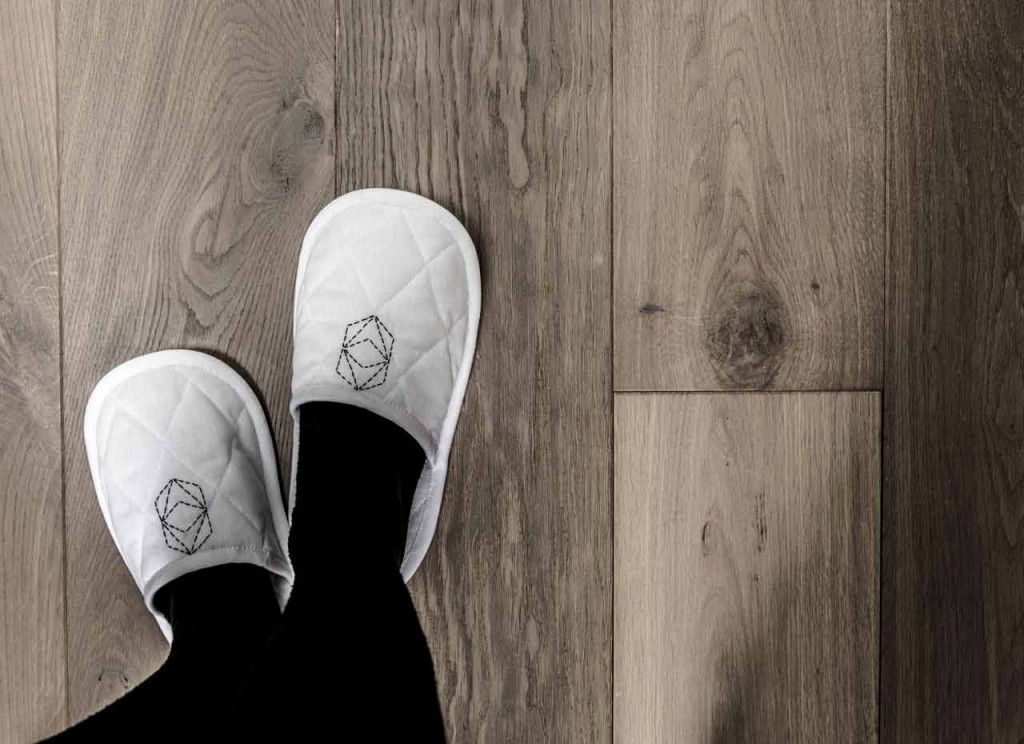 And you, what is your favorite “cocooning” toy ?
-