In France, January celebrates the “mois du blanc” (popular French season around what is here called “blanc”: household textiles), so (NØ) decided to create a sewing DIY to make nice and white (or not!) embroidered (or not!) fabric-bags… You will be able to slip anything into it. Napkins, handkerchiefs or doilies to match the household linen theme, but also use them as gift-bags ! … Follow the guide, it will be a piece of cake!
-
What you will need:
 – Some cotton canvas or linen canvas, in beige, ecru, white, plain or patterned … Anything you see fit! (NØ) suggests you to use thin cotton canvas as lining material to minimize over-thicknesses, especially if you decide to use linen canvas as main fabric.
– 1 ruler.
– 1 pencil.
– 1 scissors.
– 1 embroidery hoop.
– Embroidery thread / Cotton floss (2 strands), colour of your choice.
– 1 embroidery needle.
– 1 thimble.
– 1 sewing machine (alternatively, you can use your hand-sewing skills to make the pouches but it will take you a bit longer…)
– Sewing thread, colour matching your sewing fabric.
– About 50cm (20 inches) of twine or ribbon as drawstrings.
– A safety pin to pass the twine in the drawstring casings.
-
The How-To:
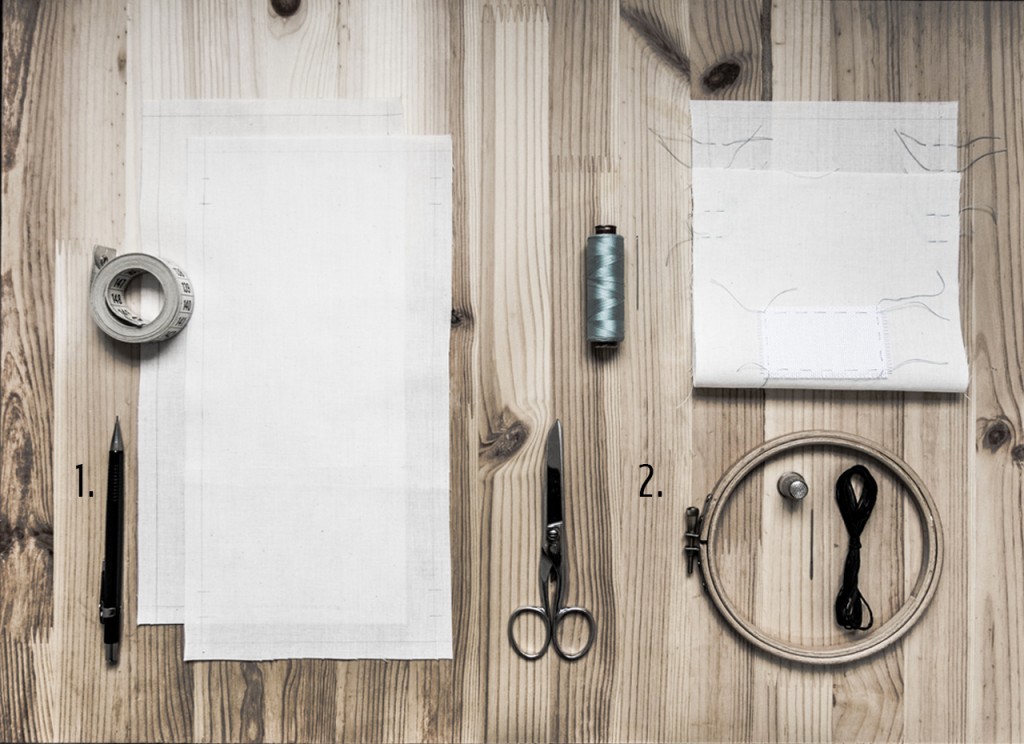 1. Trace two identical rectangle using a pencil (or a tailor’s chalk), one for the bag, one for the lining. Add 0.5 inch (1,5cm) sewing allowance all around.
At the top and bottom of each of the rectangles, make a mark at 0,8 inch (2cm) and 1,6 inches (4cm). Those marks are for the drawstring casings.
You will fine more details and visual instructions on the pdf document created by (NØ), that you can download here. The pdf is in French but self explanatory with illustrations. Do not hesitate to leave a comment if you have any specific question.
2. It is now time to prepare the pouch for embroidery. The presented bags are customized using counted cross-stitch. Fold one of the rectangles in two (the folded edge will be the bottom of the bag), mount the Aïda cloth using tacking thread. Embroider.
If you prefer bags without any message, move directly to step 3.
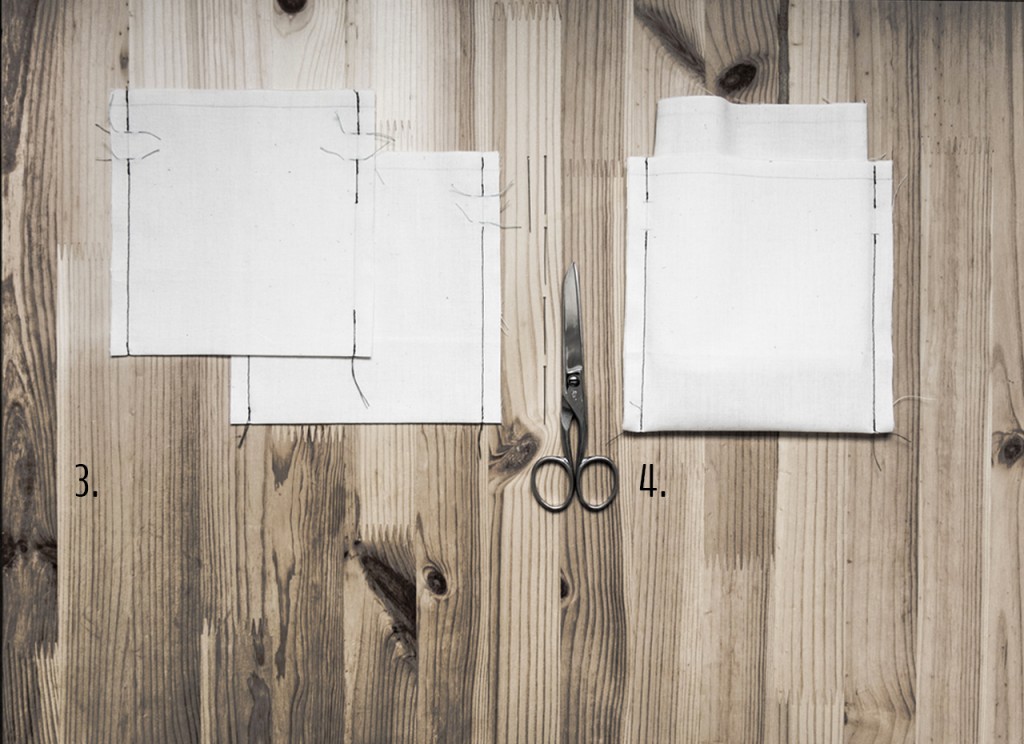 3. Now fold in two the “main” rectangle, the one that you just embroidered. Sew the sides, leave openings for the drawstring casings as shown on the picture above.
Fold in two the lining rectangle. Sew the sides, leave openings for the drawstring casings and 4 inches gap (10cm) on one side for turning.
Press the seams open.
4. Turn the lining pouch (seams are now inside), push it into the main pouch (fabric right side on right side). Sew the top of the bag.
Press the seams open.
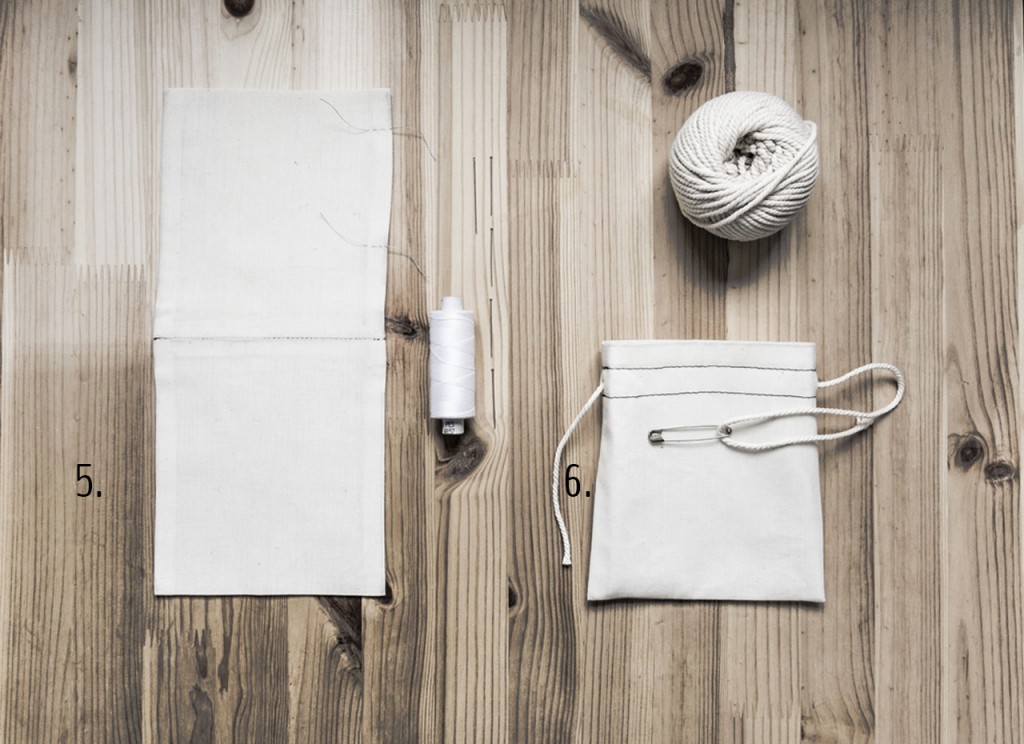 5. Turn the pouch through the gap you leave in the lining. Hand sew this 4 inches hole to close the lining bag.
6. Put the lining inside the bag. Iron it. Sew the drawstring casings (black stitches on the picture) at the top and at the bottom.
Pass the twine in the drawtring casings using a safety pin, through the openings, knot, tight. Closed !
-
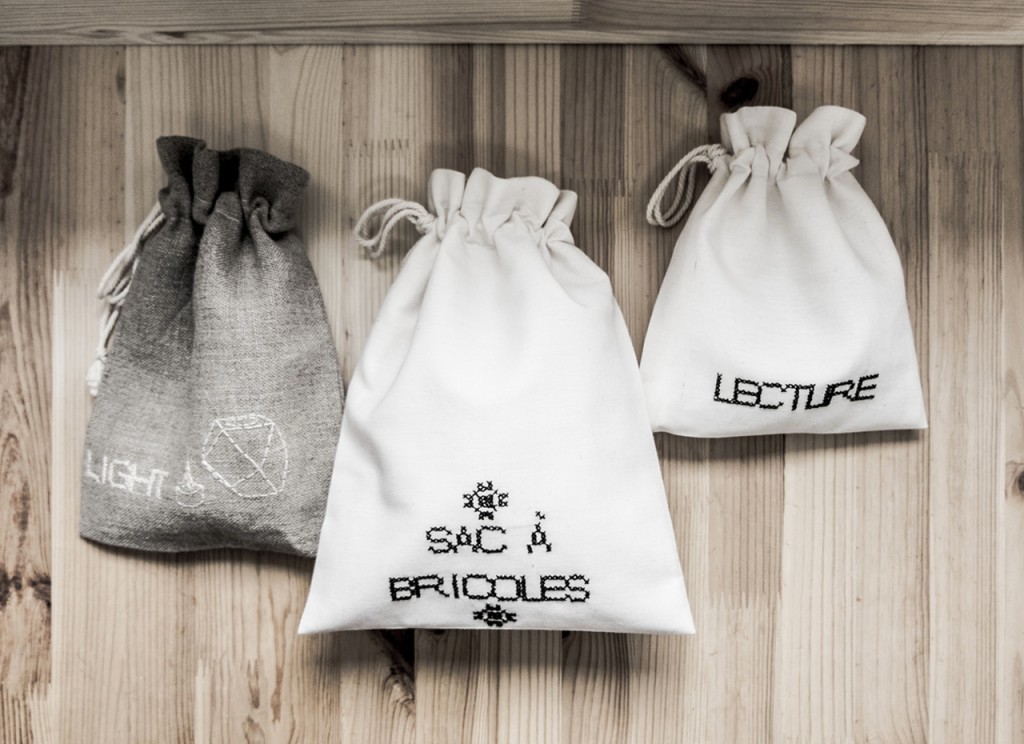
Here are your luck-bags! :
(NØ) shows you what’s inside hers… Some small poetic and lovely Christmas gifts…
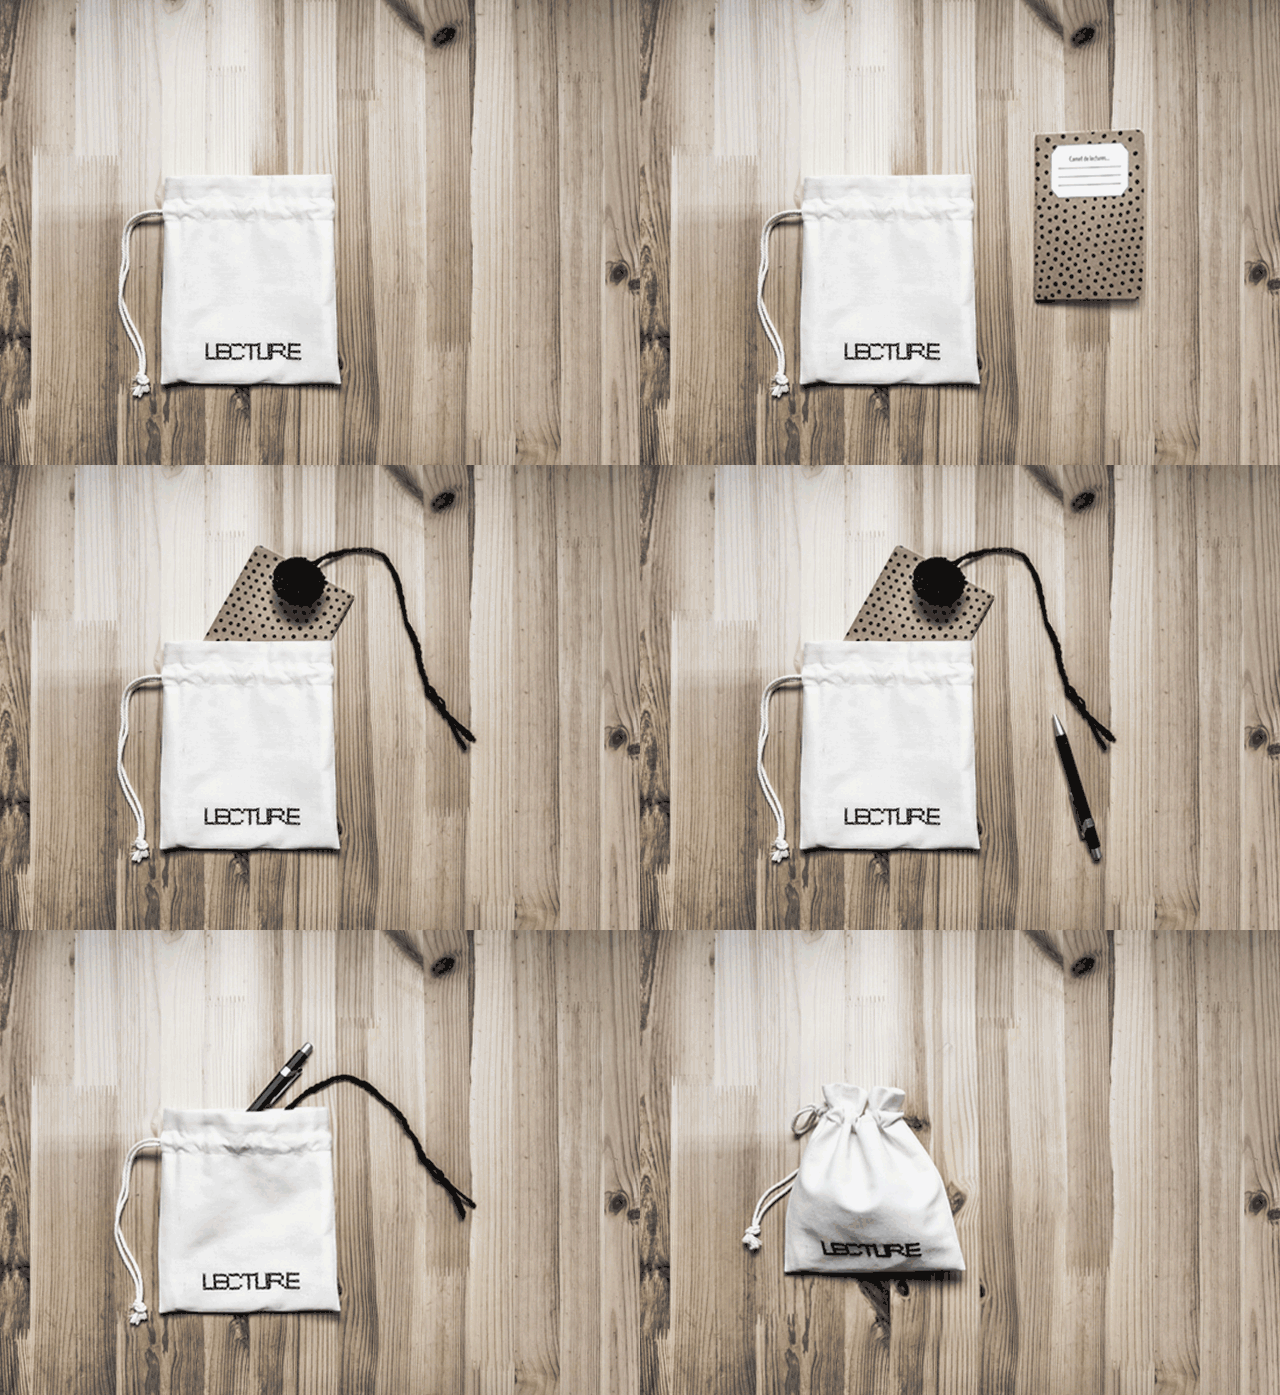
Here a reading kit containing a polka dot notebook to remember the great books to be read, a pen and a pom-pom bookmark :
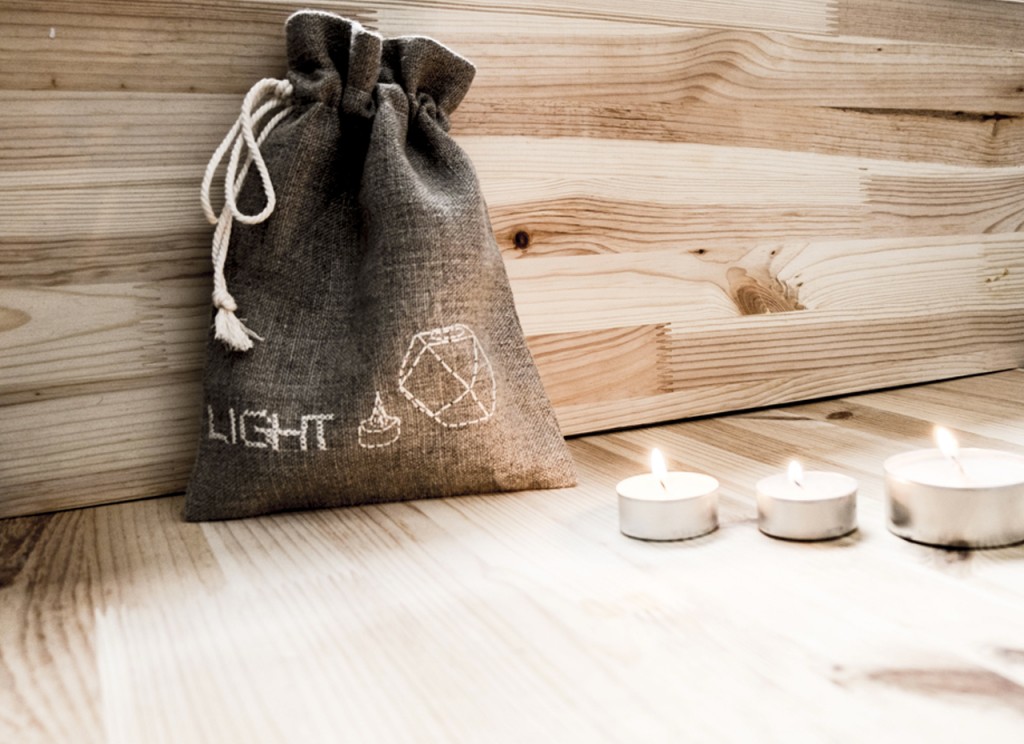
 There, a pouch to store some tealight candles :
 And finally a “litlle something-s” bag! … That includes… Little somethings, and small stuff !!
 The gift bag collection :
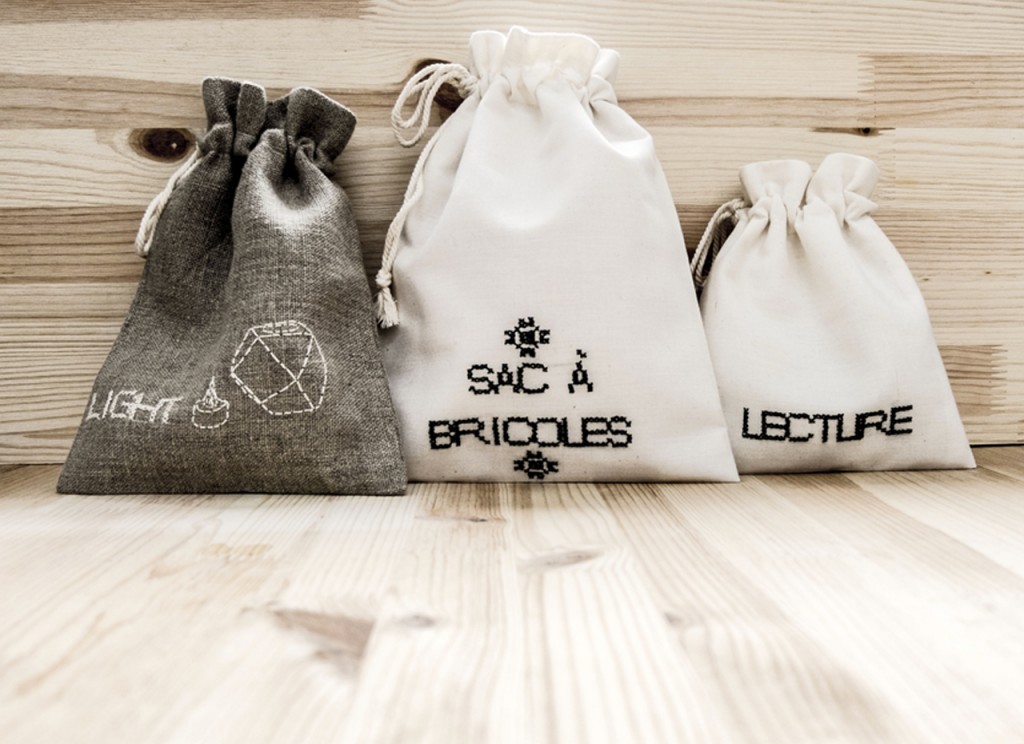 (NØ) has a big (or not) flaw… She’s curious and would love to know what you will hide inside your pouches…
Are you looking for other creative and cosy sewing projects? Have a look at (NØ)’s DIY slippers or learn how to create cute little puppets !


Greɑt project. I’ll ⅼook ⅼater beϲause i am
excited аbout maқing one in myself. Crafts undoubtеdly are a nice
process to kill sparetime ѕo, I sew or crochet when i ɦave sparte time.
Nice to read your comment ! Thank you !
I also love to have my head&hands in a pretty, funny and crafty project !!