Yes, it’s true, (NØ) completely abandoned the blog for few months… Too much work, too much travels, too much emotions and things to do, think, organize… And above all not enough time… But yep, it’s time to go on ! (NØ) is back and trying to get forgiven for her too long absence she invites you home and let on about her everyday life, some of her professionnal secrets (maybe, you will better understand the long silence…) and some intimate details of her apartment.
Actually it is the translation of an article released in german few months ago on ROOMBEEZ, written by her friend Kathrin Leist (also the girl behind all the pictures !) after a wonderful interview-afternoon. You can find the original here.
A parisian studio-flat like a theater scene, a space of freedom.
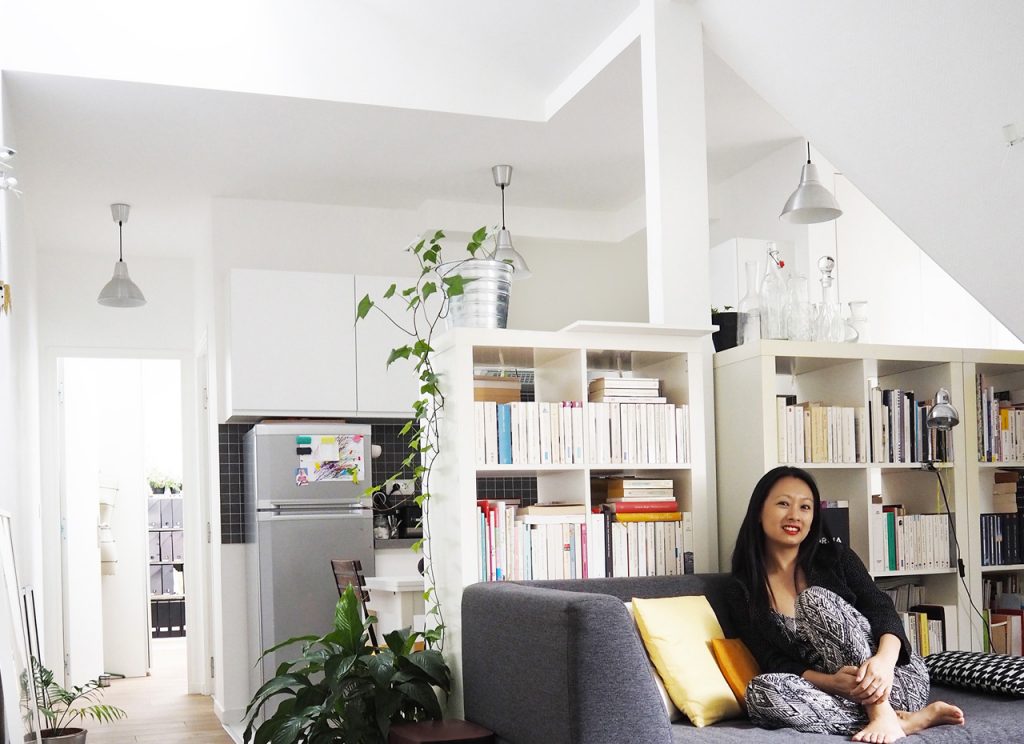
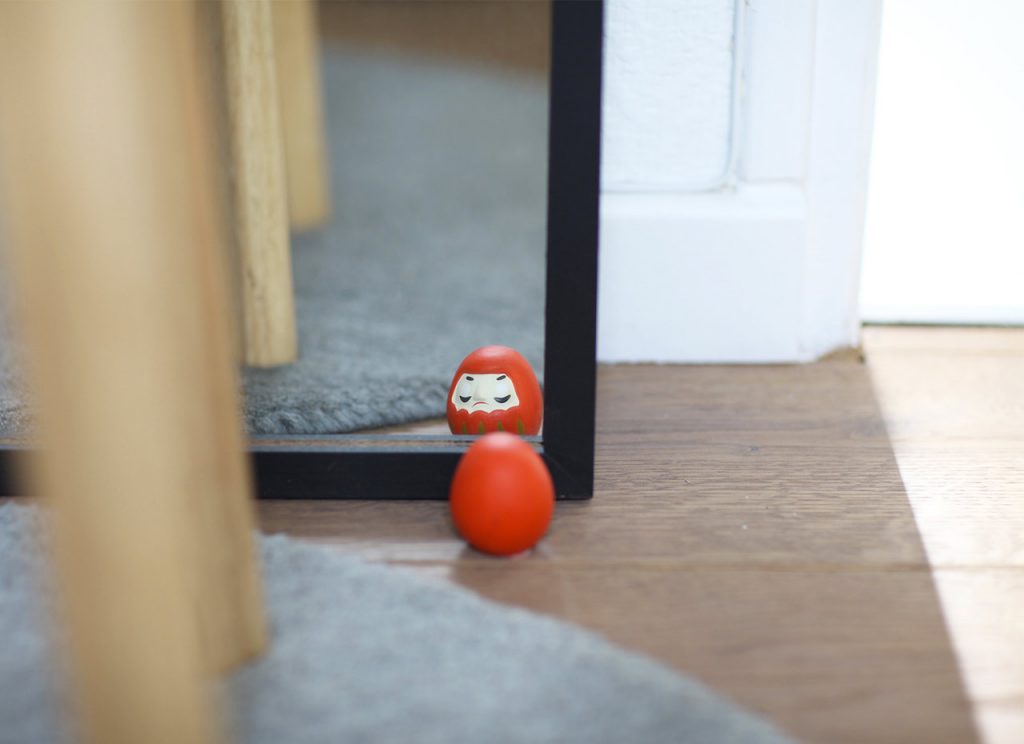
When Violaine comes back home after an Opera production and notices that a little Japanese character, knee-high to a grasshopper, looks into the mirror in the entrance, she knows that her boyfriend has hidden a message inside. This is how we can discover the entire black & white stage & costume designer’s studio-flat, which, from the perspective of the small figures, appears much bigger than the actual 50 square meters of the place.
Welcome to Violaine’s world !
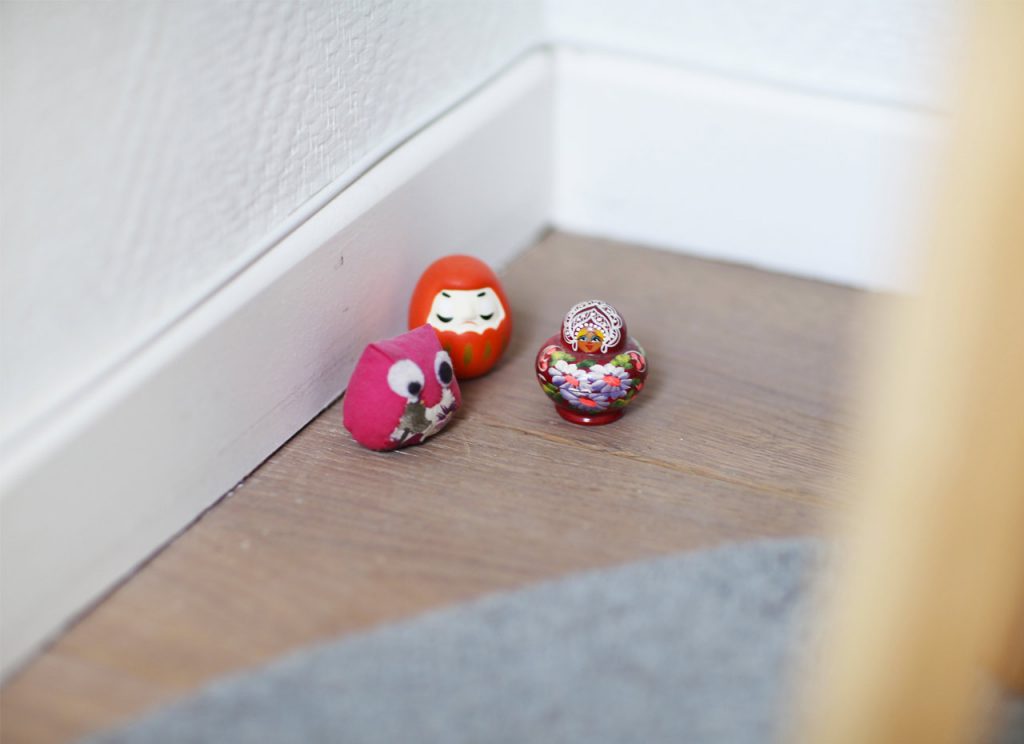
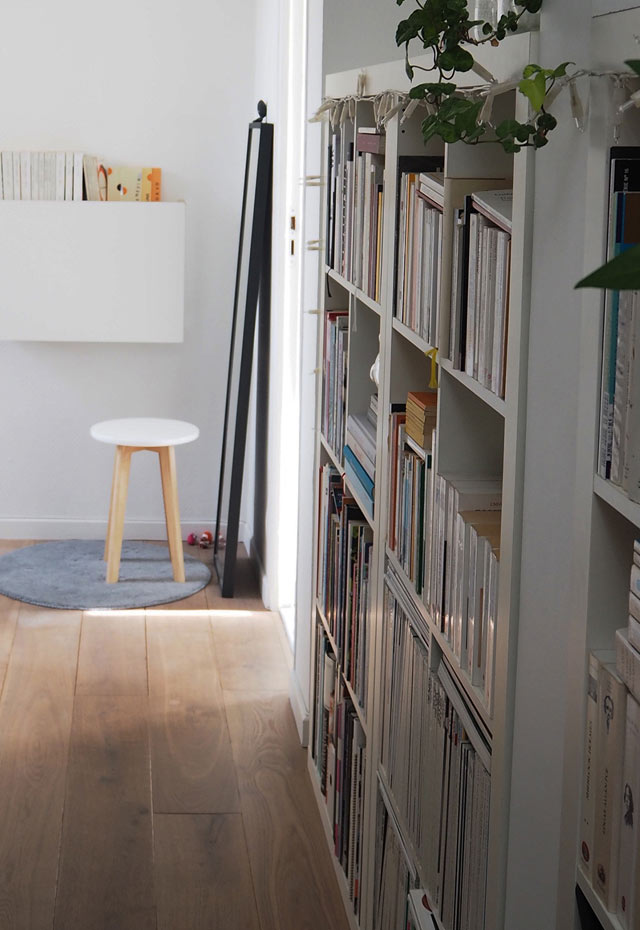
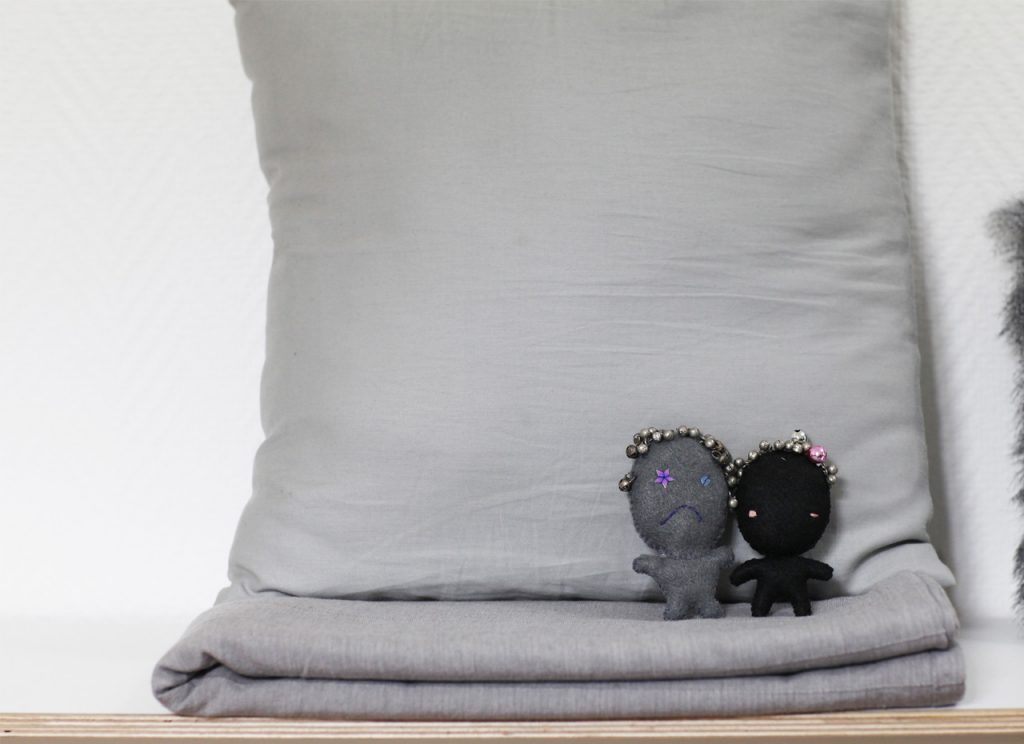
The little Japanese character tries to talk to a little Russian puppet and a cute owl when not playing the messenger. “I sewed the owl in Germany, the messenger comes from Japan, and the puppet is russian… In other words, they just don’t understand each other, and that’s a problem!” shared Violaine with me. Two little figurines made of wood, standing exactly on the circular screw holes of the bookcase exude an impression of better harmony. Perhaps because they are proud to look after the apartment treasure: hundreds of books. “Where are my books, there I feel home”. Today, it is on the last floor of a typical Parisian-Haussmannien-type apartment. From the bedroom, you could almost climb on Paris rooftops and walk to the Printemps’ Coupole (famous department store in Paris) and in spirit you’ll do it!
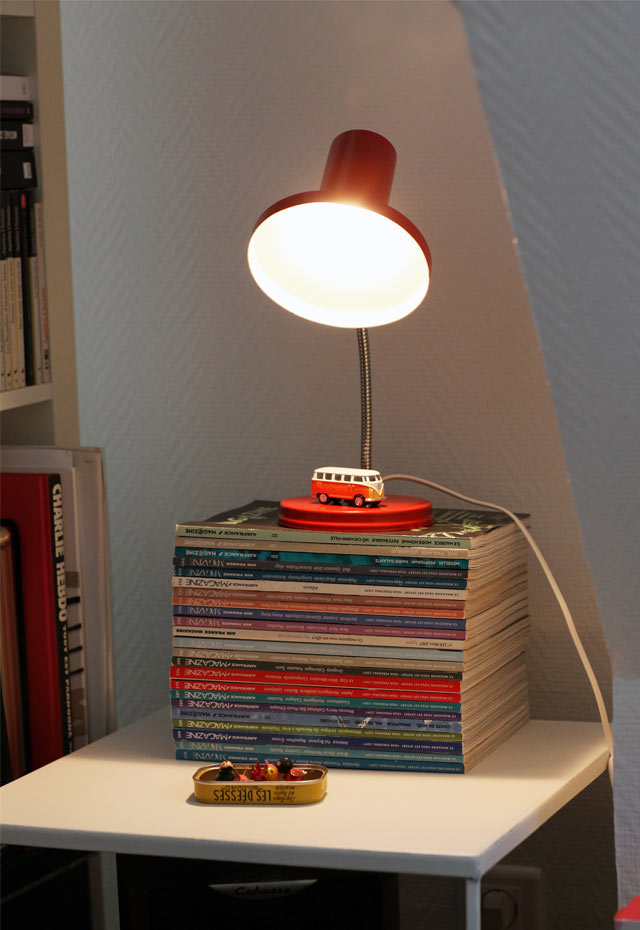
In the theater of the mini-habitants hides some family history, such as this beautiful wooden “Travailleuse” (remember, (NØ) told you about this here…), which from its 4 compas-feet, serves the needs of the artist. An heirloom from her mommy. Just like the table lamp from the 60’s, which spreads light on a little Combi-Volkswagen. “This has always been my lamp, when I was sleeping over at my mommy’s, she used to swap her expensive and fragile crystal light by this lamp so that I could safely turn on the light when I needed it”. Against the wall are apposed paintings and drawings, sketches from her stage settings. Above it and by contrast, nothing but the daylight covers the white walls.
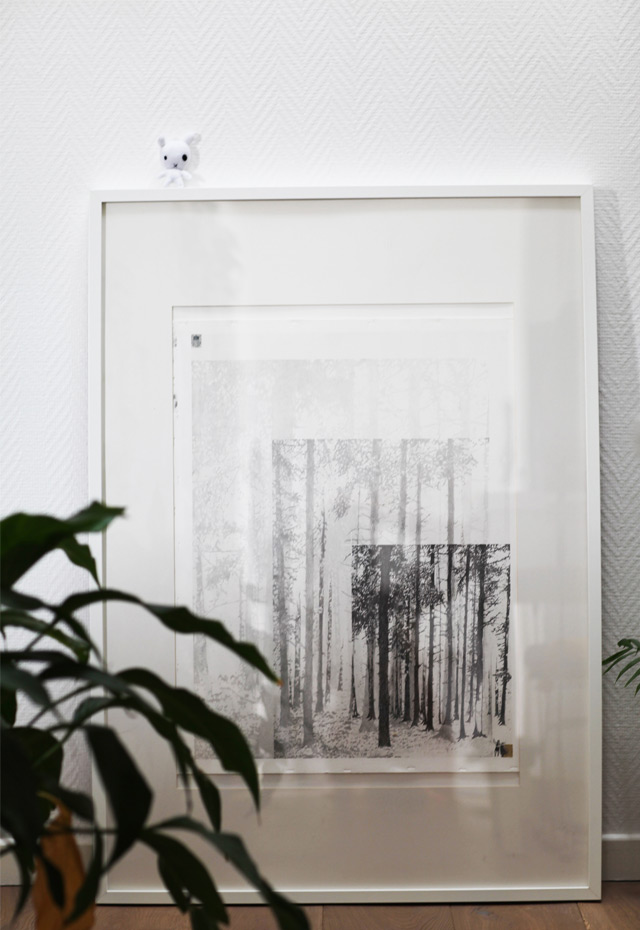
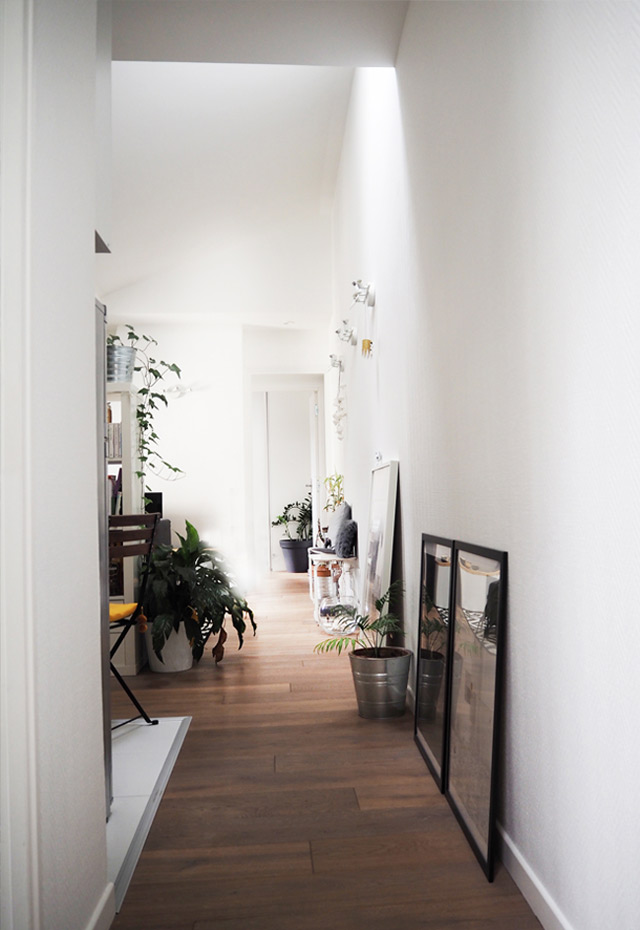
Why so much black & white in your appartment ?
When I have colors and pictures around me the whole day, I enjoy coming home and finding air and freedom there. And for me black & white is the closest to nothingness. There are so many shades and nuances of gray tons the light creates, which is enough to decorate the pictures leaning on the ground. I find it much more interesting to let the visitors discover a more “discrete” decoration like the small characters who tell us so much stories, as covering up the apartment’s walls with paintings. And between black & white, you can find out few important color spots, like the hanging paper crowns (DIY to discover here…)

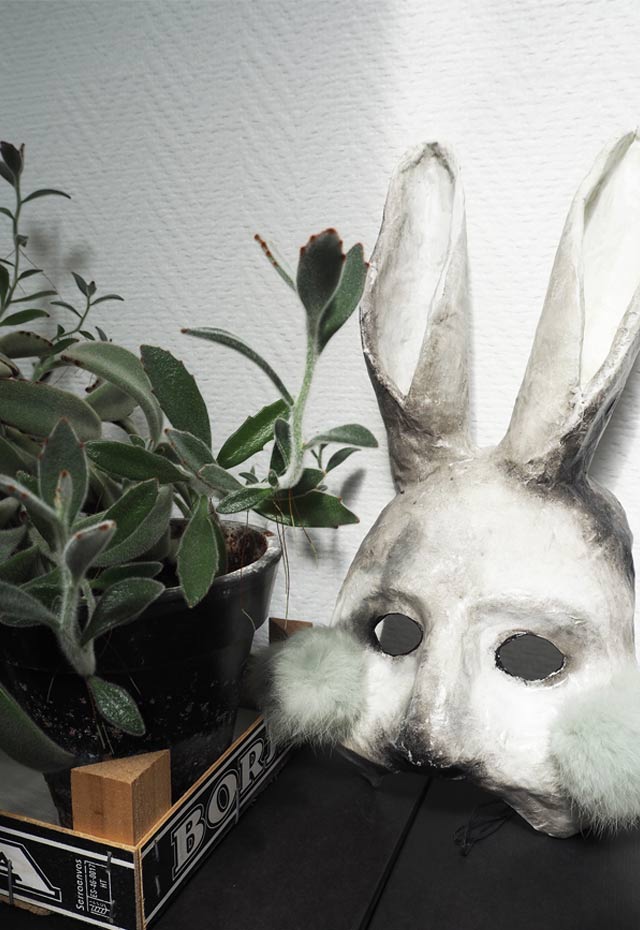
So this rabbit mask is not side by side with this plant by luck?
No, I leave nothing to chance. The rabbit mask is here because my dad and I always called this plant “rabbit ears!”. Something, I worried even when one of the “roomates” disappears.
If nothing is left to chance, do you follow the Feng-Shui rules for designing your space?
Yes, partially. In Paris, it can get quite difficult to strictly follow Feng-Shui guidelines because the apartments are so tiny. For instance, we should have the head of the bed pointing to the North, but most of the time, there is only one position the bed fits in the room. But I do pay attention to little details such as the mirror facing the window in the entrance, so that negative spirits seeing themselves on the mirror get afraid and leave!
Do you always dress in black and white ?
Yes, usually in black, mainly due to the fact that during rehearsals, I may have to go on stage to move things that are not at the right place, which could disturb the work. As a costume designer, it is important for me to be “invisible” backstage, this is a code of conduct in theatre and opera. And I have to admit this is very convenient, I don’t have to think to much, black matches perfectly…with black!
Can you share with me a bit more of your professional background?
I started studying Fashion Design at ESMOD Paris, then worked for trends agencies. I quickly started to design costumes. Then I decided to study again and graduated from the Mozarteum in Salzbourg as a stage designer. And now, on top of my work, I manage my Déco/DIY blog !
After I graduated from my Fashion-Design school, I did not want to fully embrace a career in the fashion industry. I was more interested by the content than the shapes, besides I am not very “gifted” for volumes, I feel more comfortable with colors, fabrics and I believe I have a good sense for background movements in the society. Therefore, I started to work with trends agencies. Then I went back to school in sociology. In parallel, I started to make costumes and stage designs with different theater and opera groups of semi-pro, those experiences helped me to realize that theater and opera were more important to me than the fashion trends. Sharing my life with a stage director probably influenced my decision of leaving Paris and start again my studies in Salzbourg.
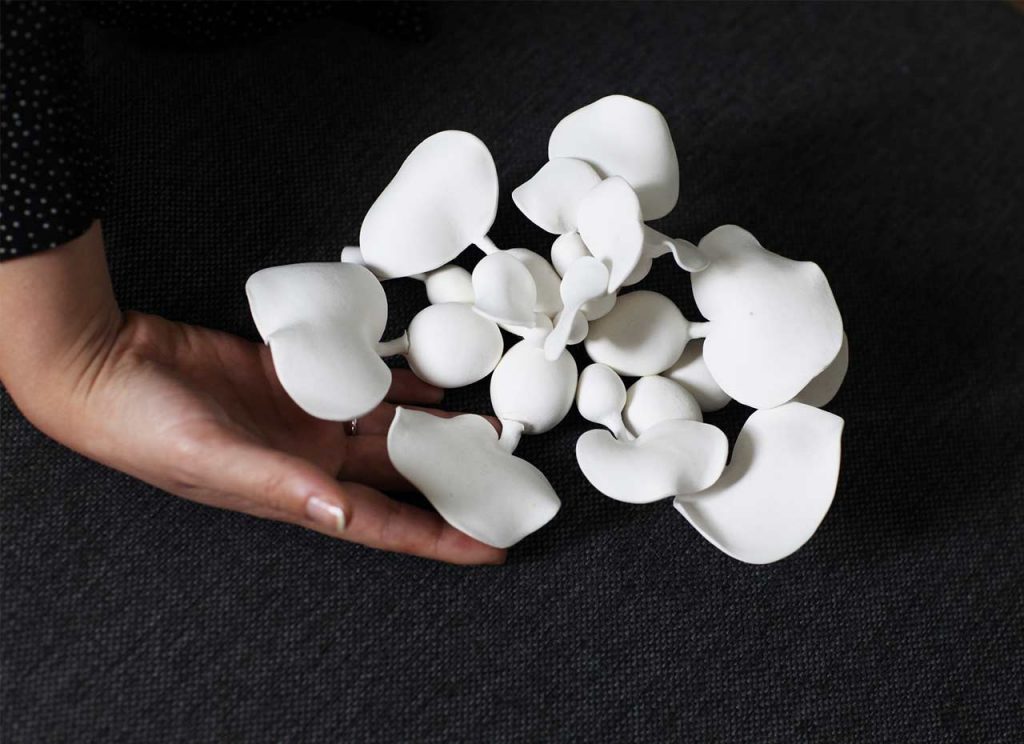
I have shaped this plant for the qualifying examination. This tooks me a full week of work for this plant to look alike the original one, but I was invited to come for the entrance exam! Since then, this plant-copy has been allowed to reside in a goldfish glass in my apartment.
Why did you decide to launch (NØ) NARRATIVE-LINES in 2015 and why this name?
I’ve always loved do DIY and tikered for my family and friends. One day, my boyfriend told me I should start showing what I do. I was clearly not convinced that anything I do could interest anyone and I did not want to show off, I feel more comfortable in the shadow, backstage. This is why I created a fantasy character like those who populate my life-space, (NØ). She belongs to my theater world, she is here to tell stories. When we draw a sketch, a draft, an outline of something, the lines we trace are sometimes lines that tell a story, or they could lead to nowhere. That’s where the name of the blog comes from. Some lines are narrative, some are not.
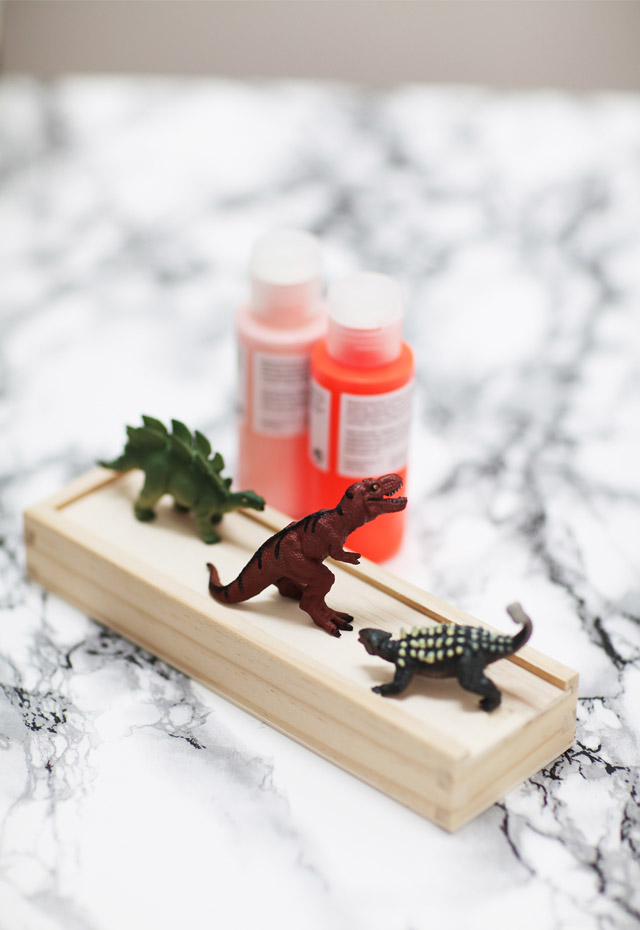
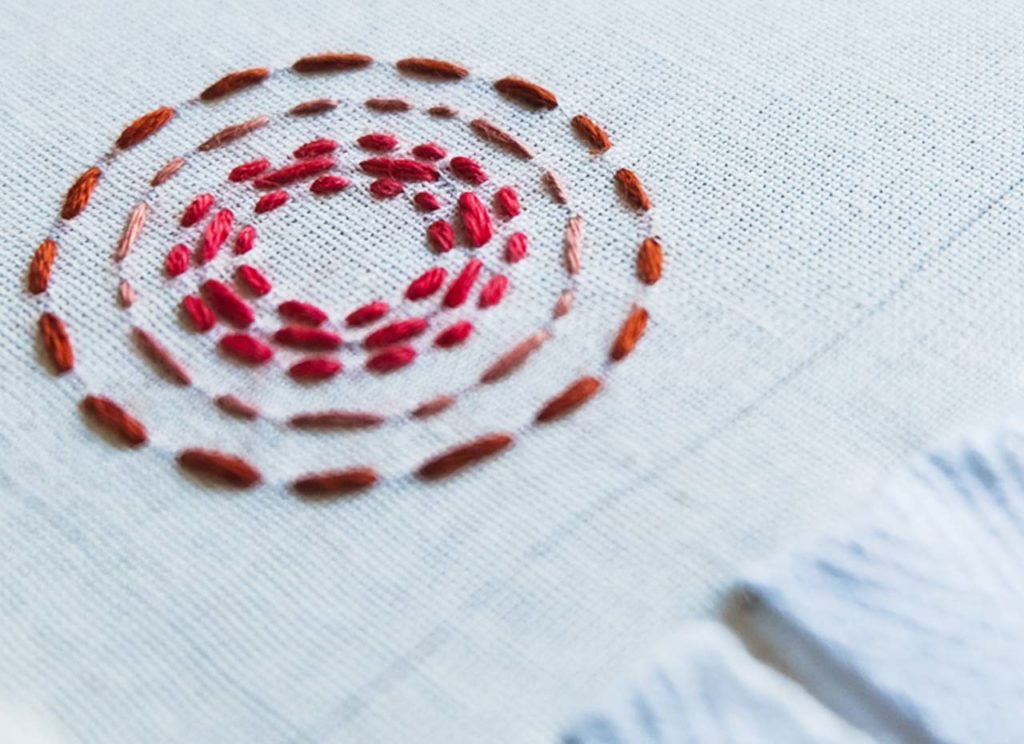
On this blog, I draw, I glue, I sew, I embroider many things. I love to draw thin shapes with my black pencils. I am not always looking after complex technics, for example those little rabbit-bags are super easy to make, you just have to cut and sew all around. And for those who do not know how to embroider the eyes and nose can be drawn with a felt ! (Come around here to get the whole DIY !)! The little dinos there will probably be the next victims of a DIY, but I am not sure yet how and what…
Do you think the setting of your apartment as conceptual as your job?
I do not think long when I do things here, I follow my instinct. When we first visited this apartment, I immediately found the place for the bookshelves. In all the apartments I lived in, I always knew from the first minute that I could feel home here.
Why I don’t see here any remaining of settings as decoration?
I do not live alone here, and this is hard enough for my boyfriend to deal with my long weeks away from the apartment (I work a lot everywhere in Europe and very or too much out of France) for not having him to handle with rests of my work in the living room! I am lucky enough to have an extra room that I use as my studio.
What do you do in your atelier?
Everything! This is my world. I build my models, I draw, I paint, I sew, I embroider, I read, I write, I take the photos for the blog… I appreciate the loneliness, the calm of the place and the white walls, perfect for creation.
How do you differentiate between your job as a stage designer and your job as a costume-designer ?
We think differently, on a different scale and we tell stories with different ways. On stage, I work an atmosphere, a cosmos, I give a frame or a form of container to an image, it is a form of architecture. With costumes, I give fictive characters a different sort of borders, a more fragile frame, fine and airy, I build a more intimate architecture. This is what I like most with costumes, the proximity, the intimacy with the singers and their characters. I learn a lot.
And what about tough Divas ?
Most of the Divas are very sensitive, open and interesting! Not that complicated as we most think !
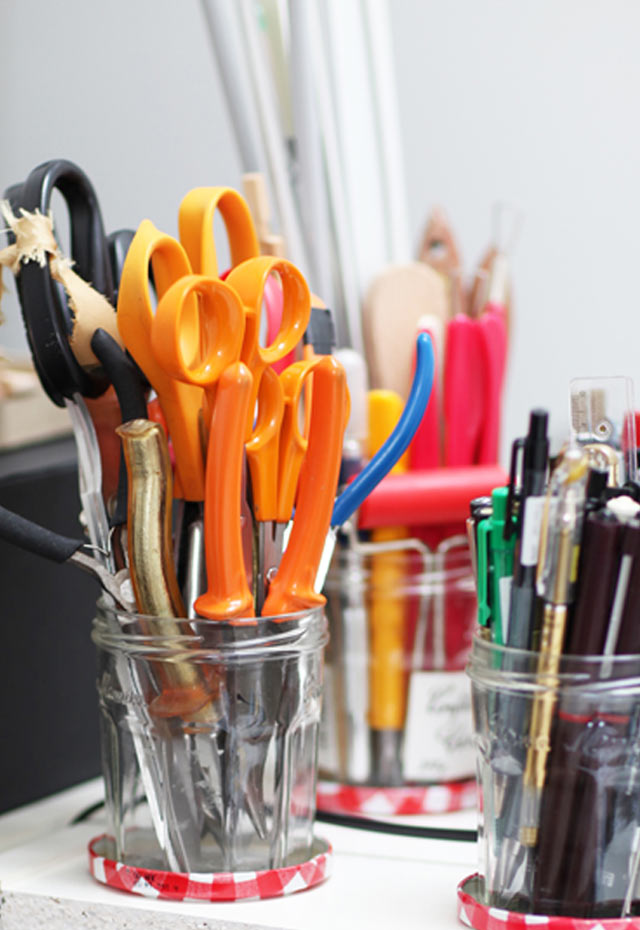
Why do you need so many pairs of scissors on this marmalade pot?
Those are for the small cuts, those for thicker papers, those for the cardboard, this fourth pair for the fabrics, oh, and the one there cuts in zigzag…
Why are the small things and all the details so important to you?
What I like in theater and in life in general are the hidden secrets in every little thing. I love treasure hunt as much as the treasure itself. Looking for things is my main purpose, and to find things, you have to look after the details, to the small things hidden…
But you are perfectionist. One could say that those characters are so far from the audience that they can’t really see much details?
Yes, one can say that the buttons on a costume are not so important after all…. But we don’t design costumes solely for the audience, we also make them for the singers who wear them, the more the detailed the costumes are, the easier will be the identification for the actor. And when they meet on stage, the singers see very closely the costume of the other character in front of him, with whom he must interact, I hope my job makes it easier… Furthermore there are also spectators in the first row and if it happens that someone sitting there wants to know why I chose this particular button, I can answer! This is the same for the set, we don’t make it only for the audience, the singers come to live in the place, the emotions and what takes place during a show really “happens” in this space. The details from the set as well as the costumes help to construct the fiction, whether on the side of the spectator or that of the actor. I currently work on a production of Norma with Cecilia Bartoli, at the end of her last aria, she comes out completely “devastated”, her emotions are sincere and real.
So you never lose patience?
I am actually quite patient (at work…). I can start over ten times for the same thing if required, but that does not mean I am not productive. I love perfection but hate to waste time !
When you travel abroad, do you bring objects with you to feel home ?
I usually bring few books with me because I feel home where my books are, that is also why they are so central in the apartment. I always bring a Moleskine notebook with, so that I can write and draw, and I also bring a very (very) old dolly, my lucky charm, I have to bring it with me!
Where do your furniture come from ?
Most of them come from Sweden… But I bought a large board of thick wood, I made it cut in different pieces/sizes that I placed throughout the apartment, over the shoes storage in the entrance, on the washing machine, on the TV item, … The furniture look more “noble” and most important they come better together, they have one thing in common, they look more alike…
How do you know what is hiding in the bric-à-brac from the studio closet?
I remember almost everything I have hold into my hand. It is unlikely that I buy again something I already have. My favorite store in Paris is the BHV, we can find everything in the same place!
How many years have you been collecting these assortment of materials and what makes up your studio ?
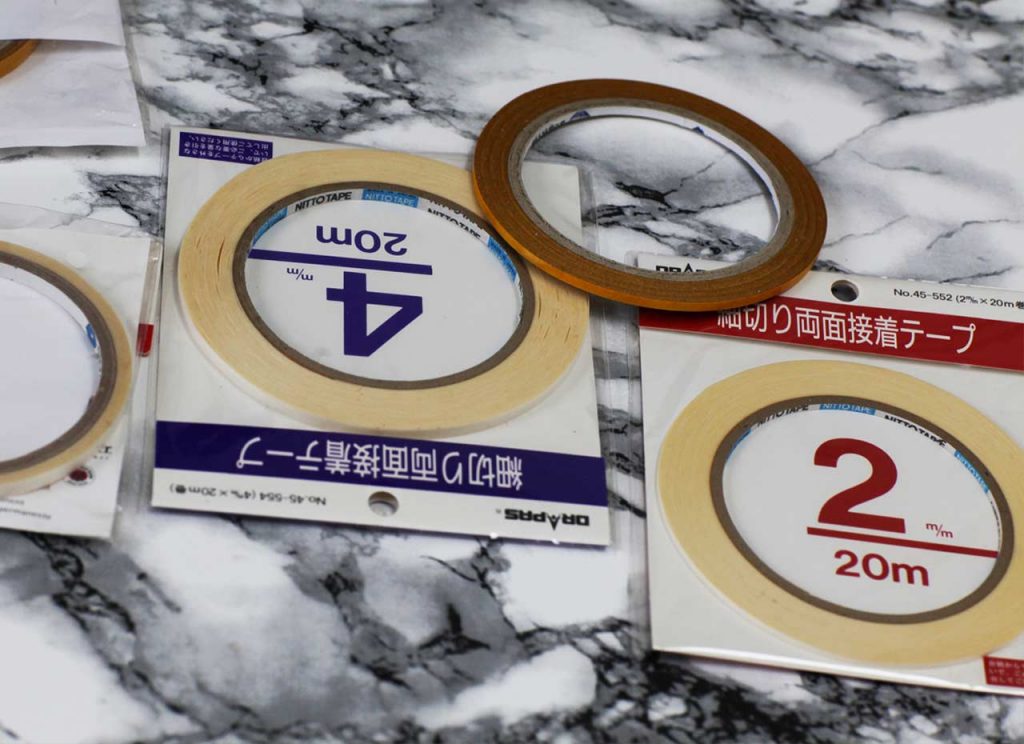
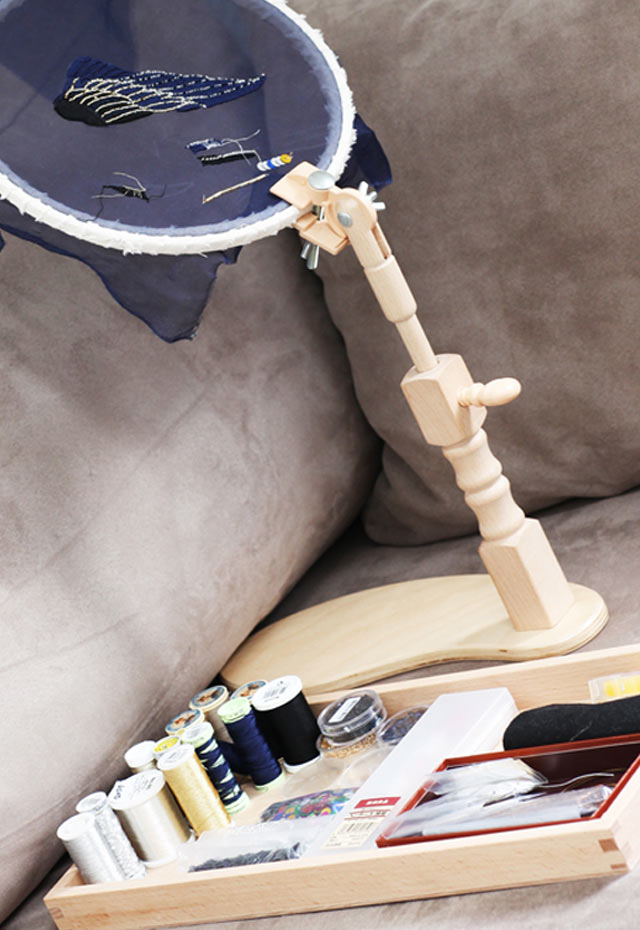
For about 15 years. Those trestles board are the oldest elements, they make my desk since my 19yo, six months ago, I glued a marble effect film on it, since then I feel like I have a new desk, and here you go….I am good for the next 19 years! In the marmalade jars, there are pearls and threads, in the black notebooks my sketches and drafts, in the large cupboard there are fabrics, papers, cardboards and many other little things… When my companion ask me for some glue I make him laugh by asking “glue for what ?” I think with my glue drawer I can stick just about everything on everything! I also have hundreds of different kinds of papers. I do not throw anything away. I keep everything in the studio.
In the contrary, my living space must remain as neutral as possible, only the small characters have the right to have fun.
Violaine / (NØ) say a big thank you to the talented Kathrin Leist for this amazing article and all the beautiful photos !








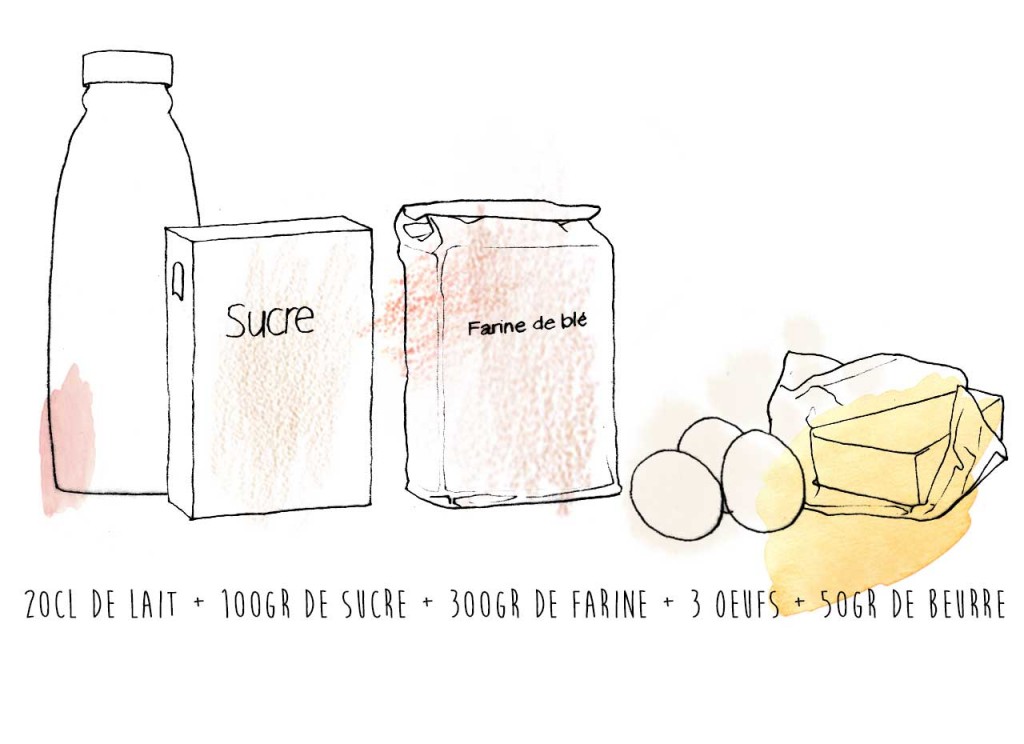 20cl Milk + 100gr Sugar + 300gr Flour + 3 Eggs + 50gr Butter
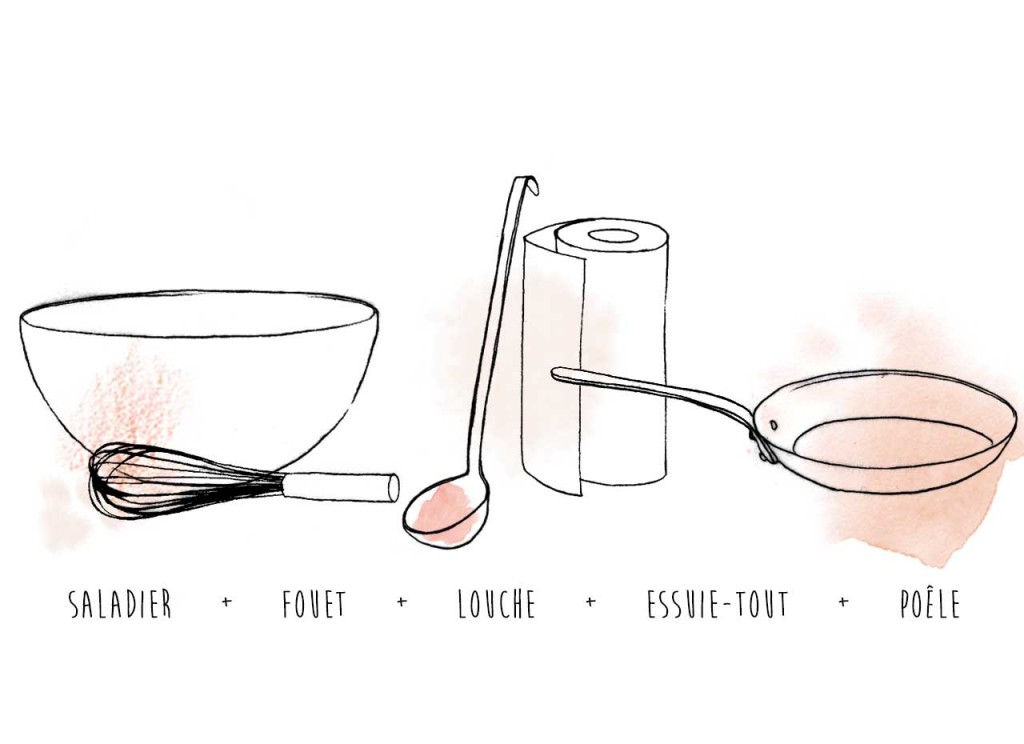 Bowl + Whisk + Laddle + Kitchen-Roll + Pan