
Ouhlalaaaaaaa…………. Super eaaaaazyyy -you can even do it with the kids which makes it even funnier! Today, (NØ) has prepared a little playful & colored DIY because it’s a good way to celebrate summer and also just because it’s fun. Do you have a curious mind ? Check it out :
You actually do not need a lot to make your little paper boxes :
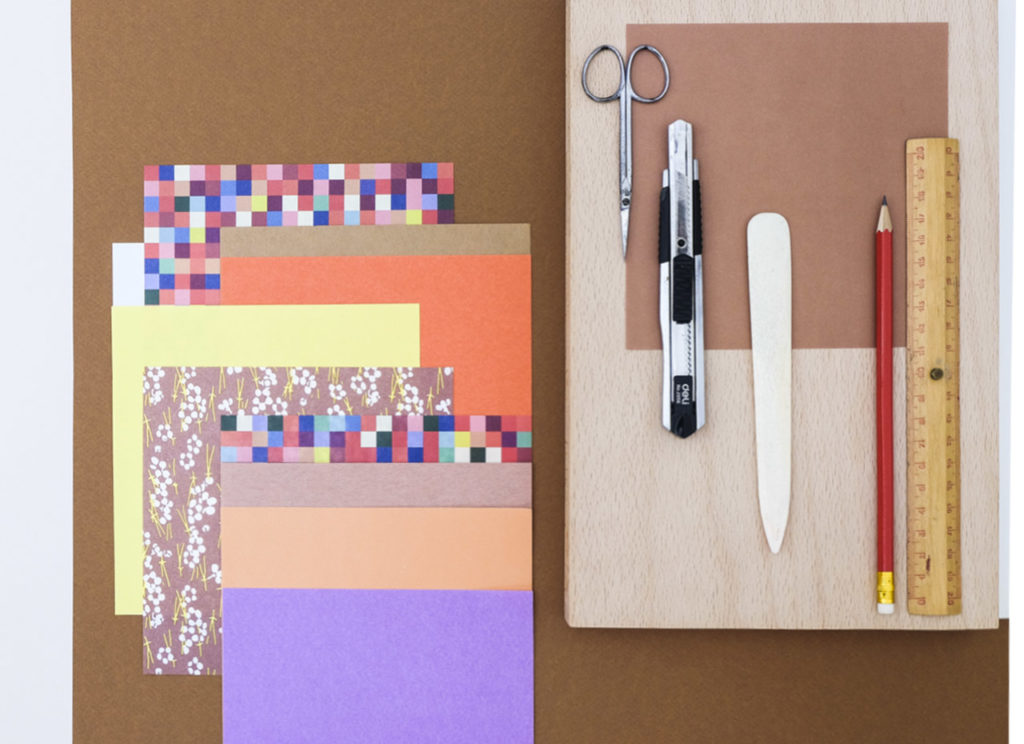
– Colored papers… Plainty of nice little papers, origami papers are ideal, but it can work with any type of paper: colored, patterned, mettalic… as long as it is not too thick!
(NØ) has selected some 70’s style little papers…
– Cisors or cutter, to squared the paper !
– A pencil.
– A ruler.
– Un bone folder (optional).
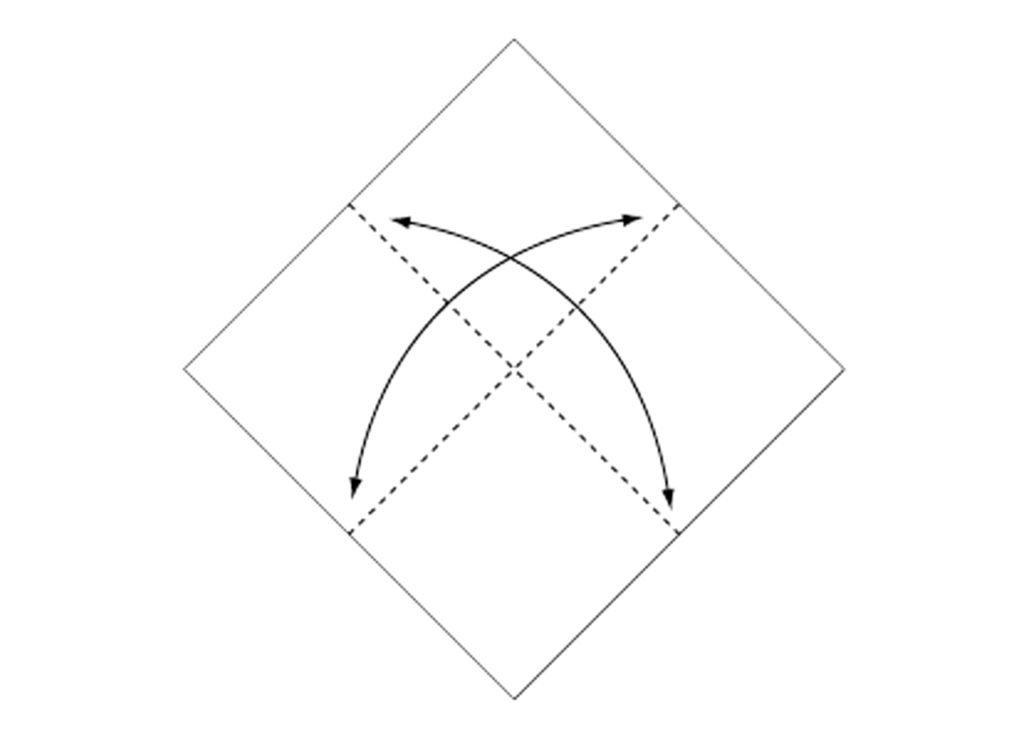
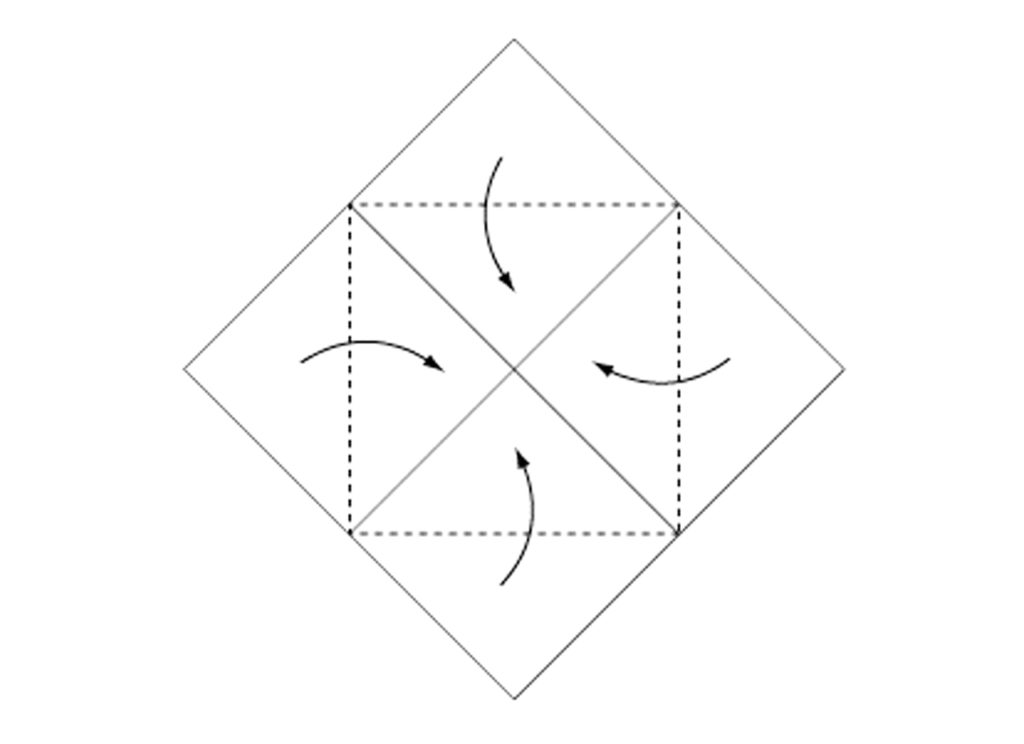
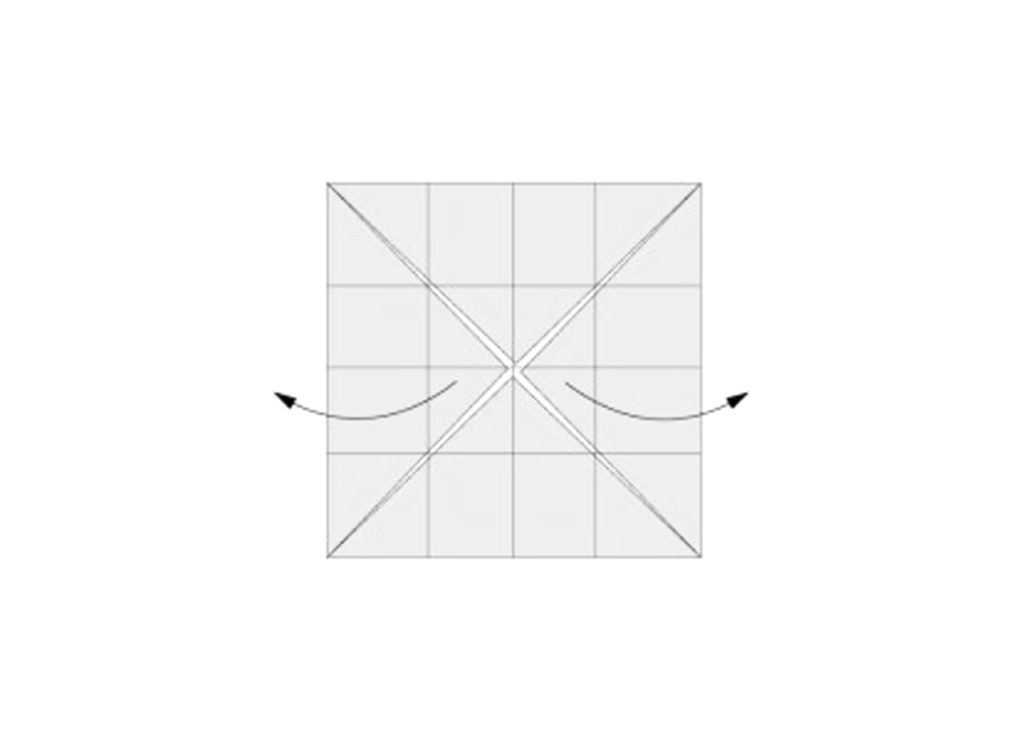
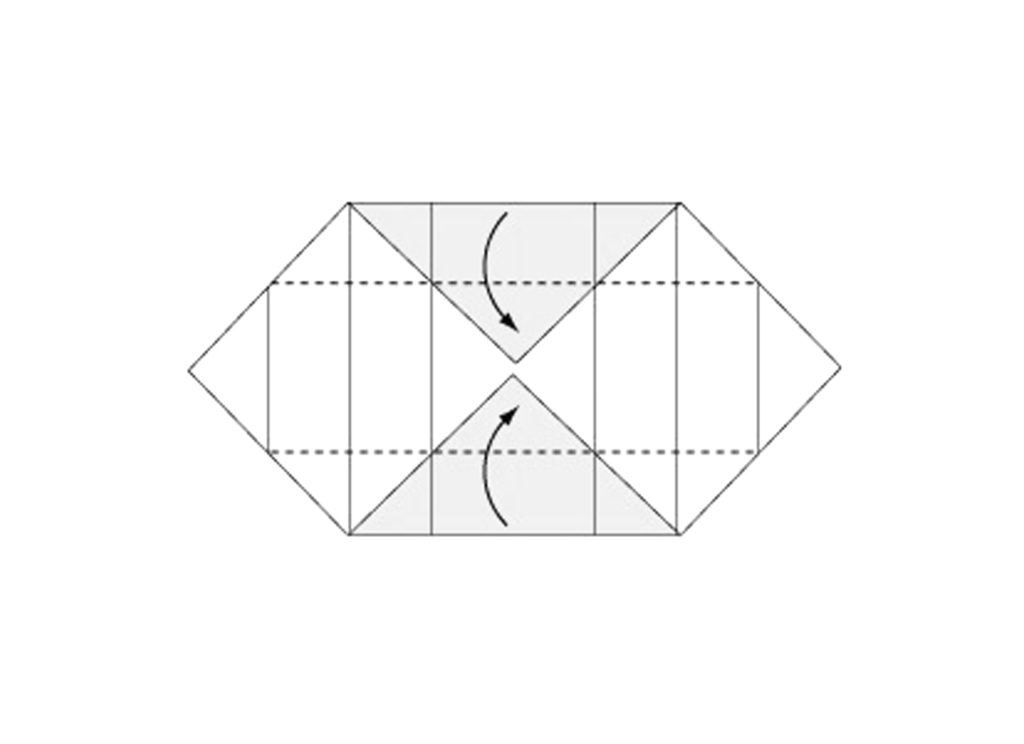
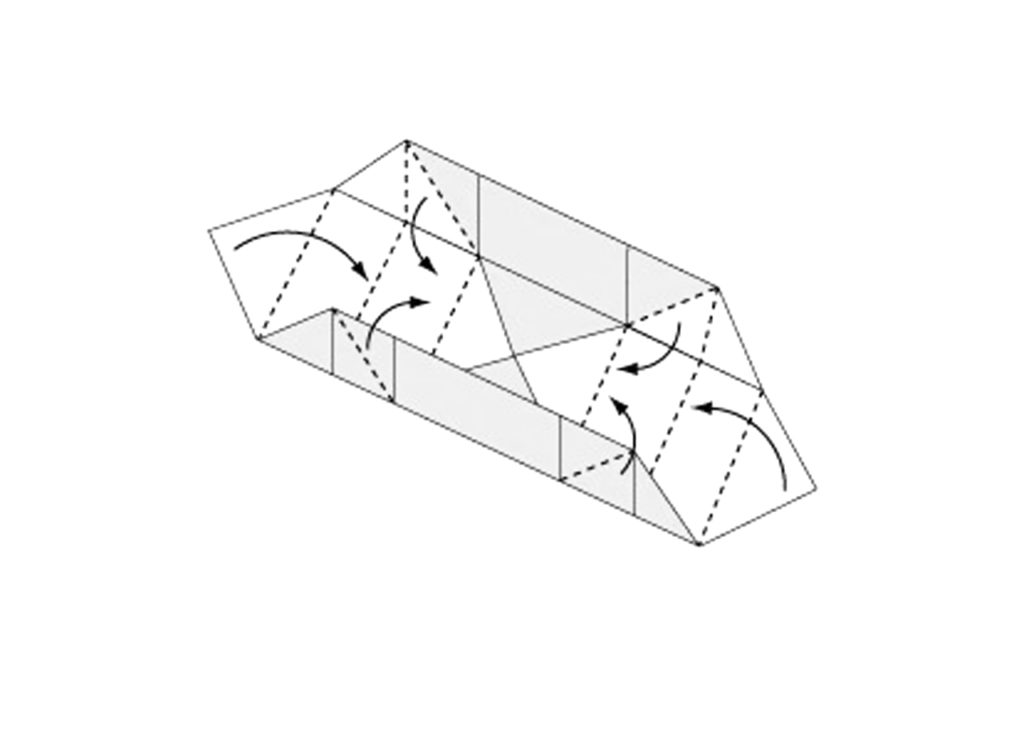
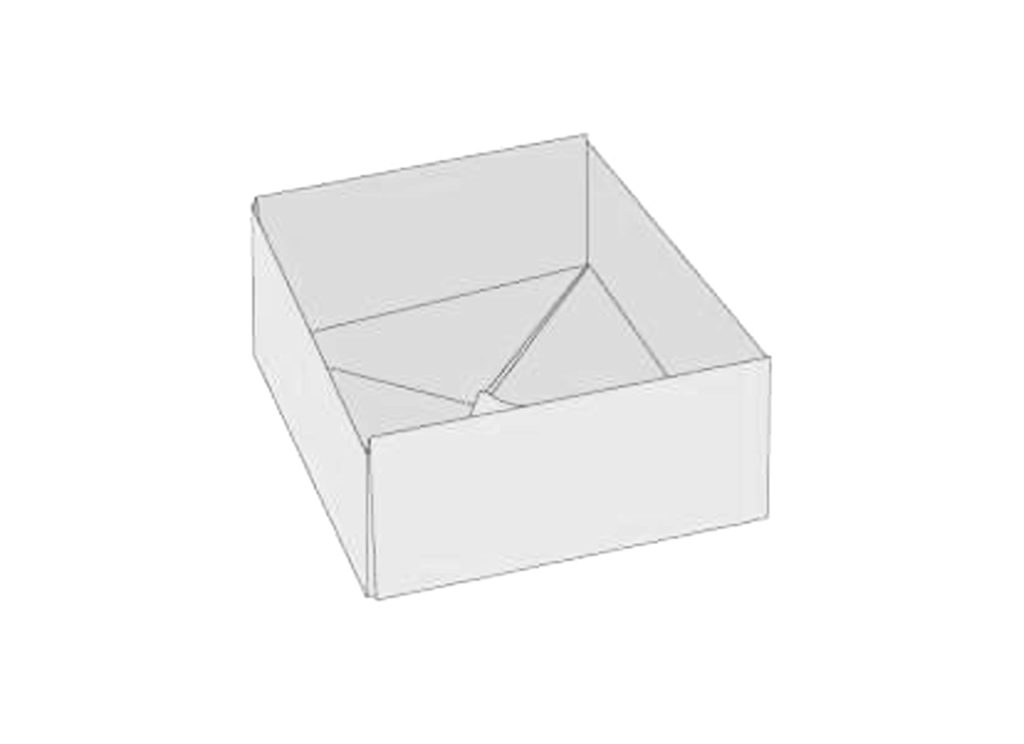
Follow the illustrated steps below to build the little Origami boxes :
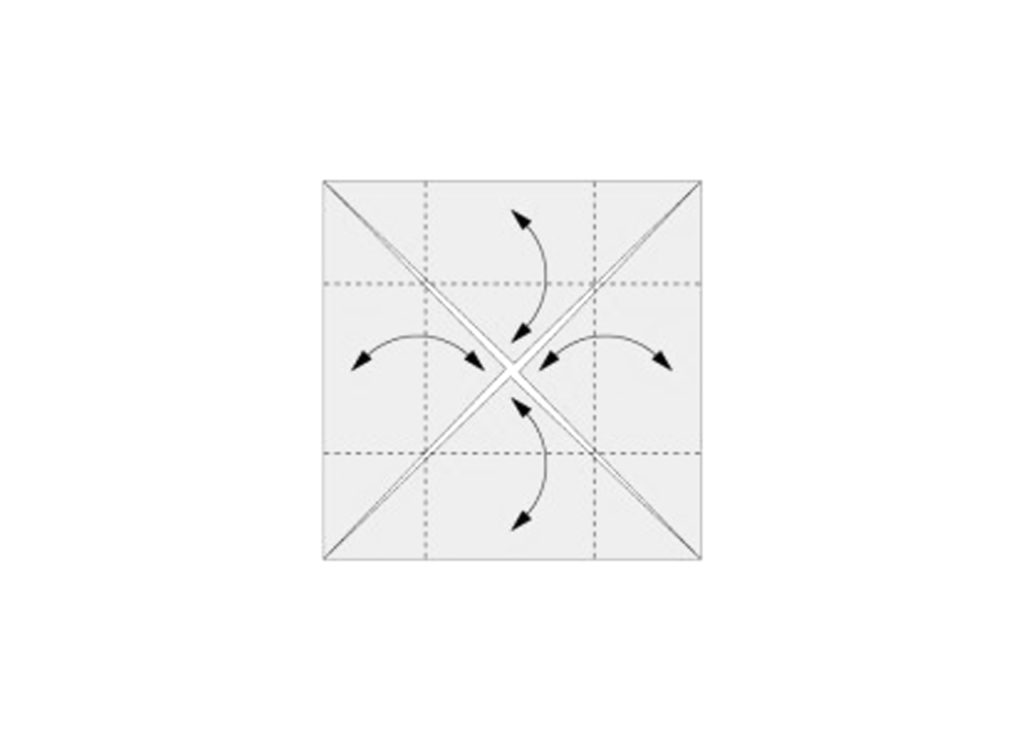
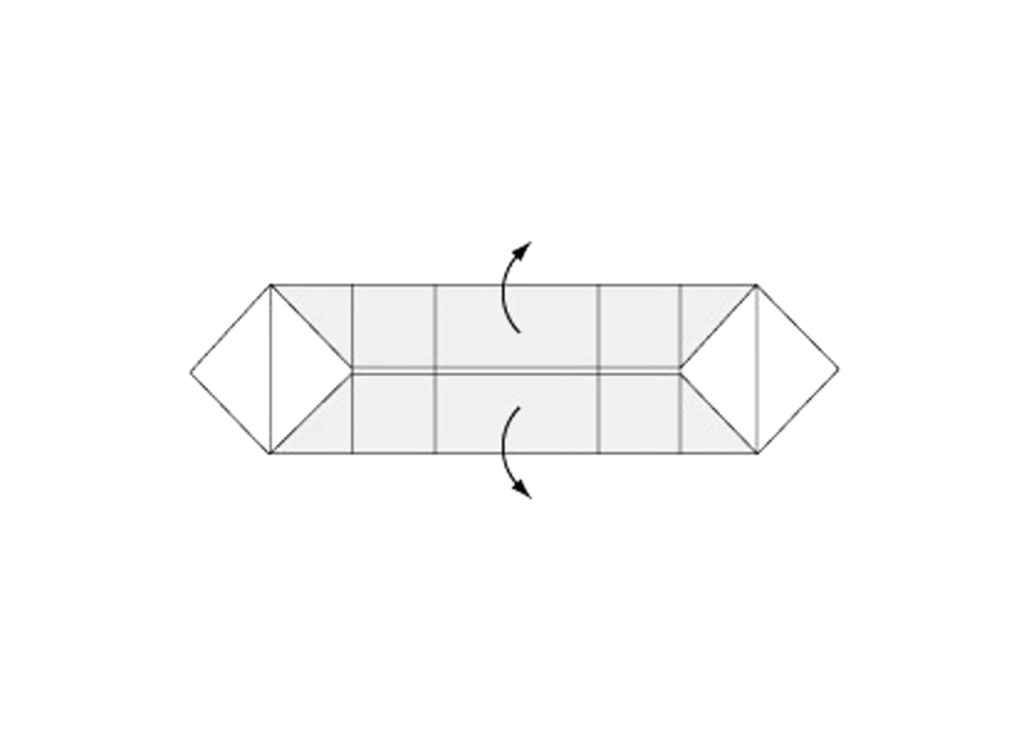
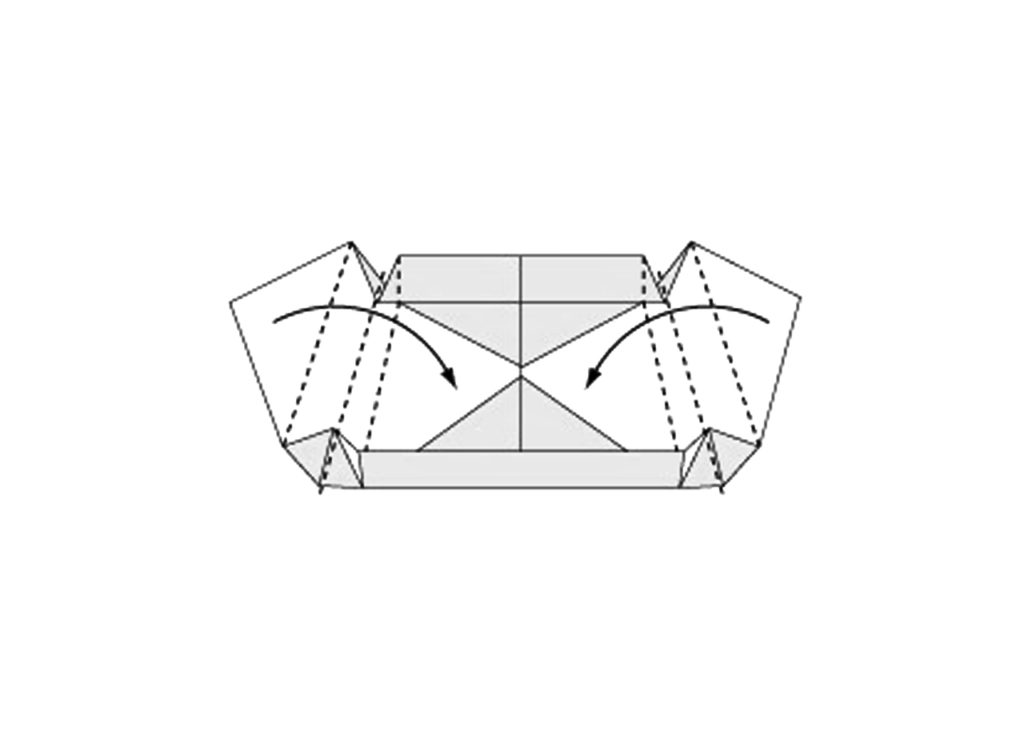
To make the top, fold again while leaving 4 or 5 mm empty at the center at step 5. The most important is to clearly marked the folds so that everything fits nicely.
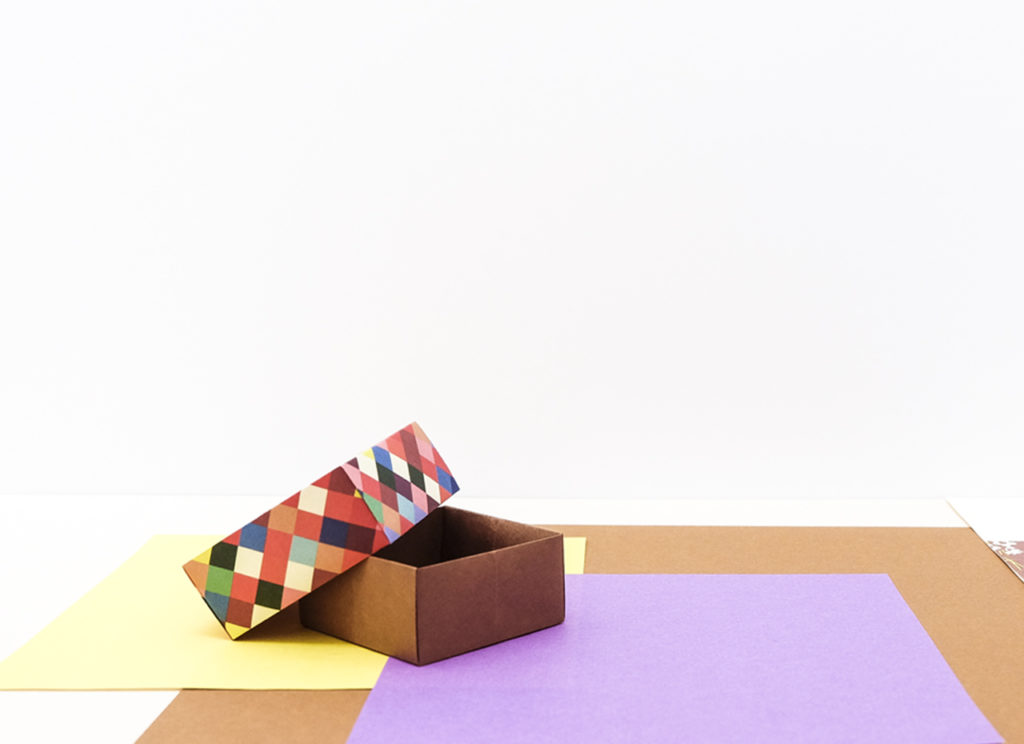
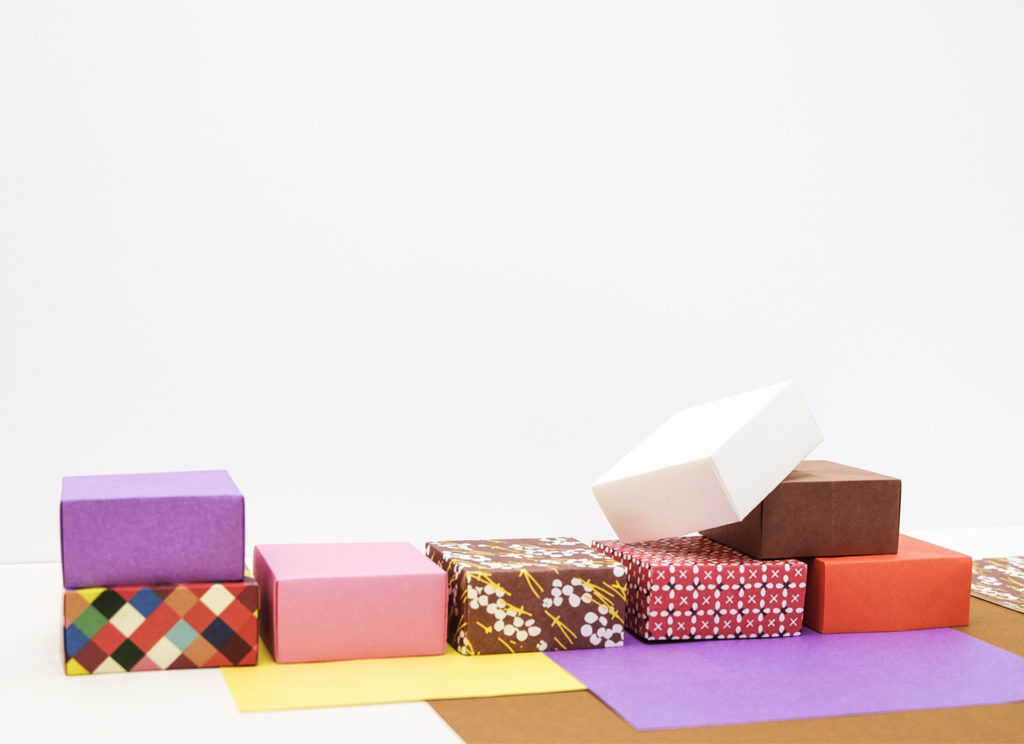
Here is the little family :
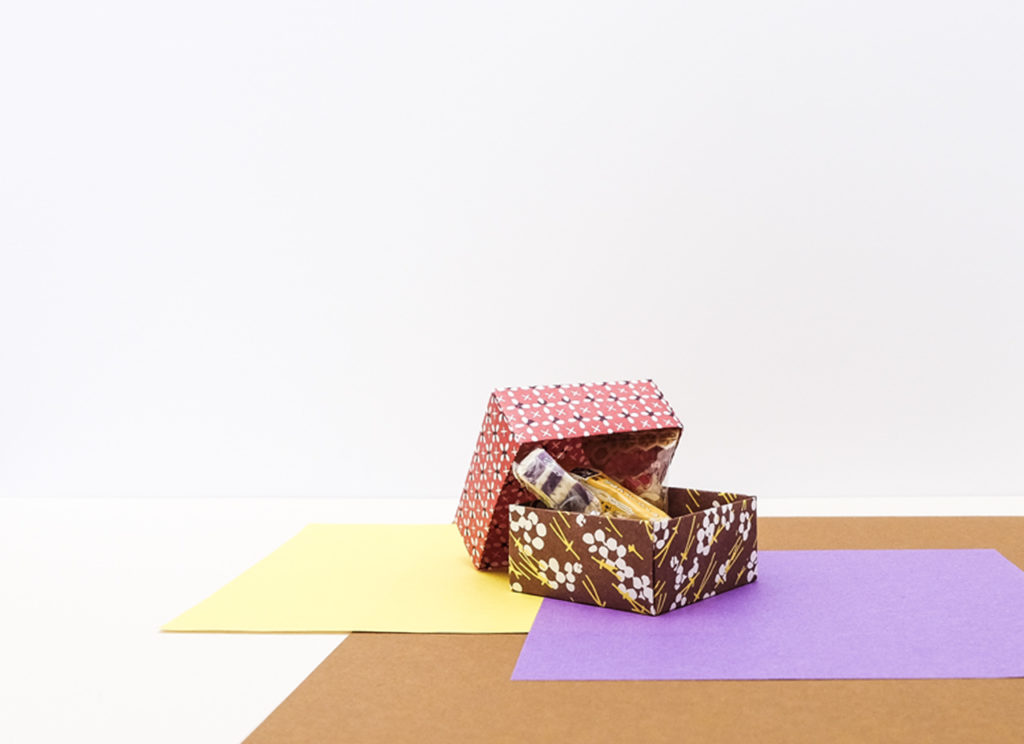
What if the family was leaving for a trip ?
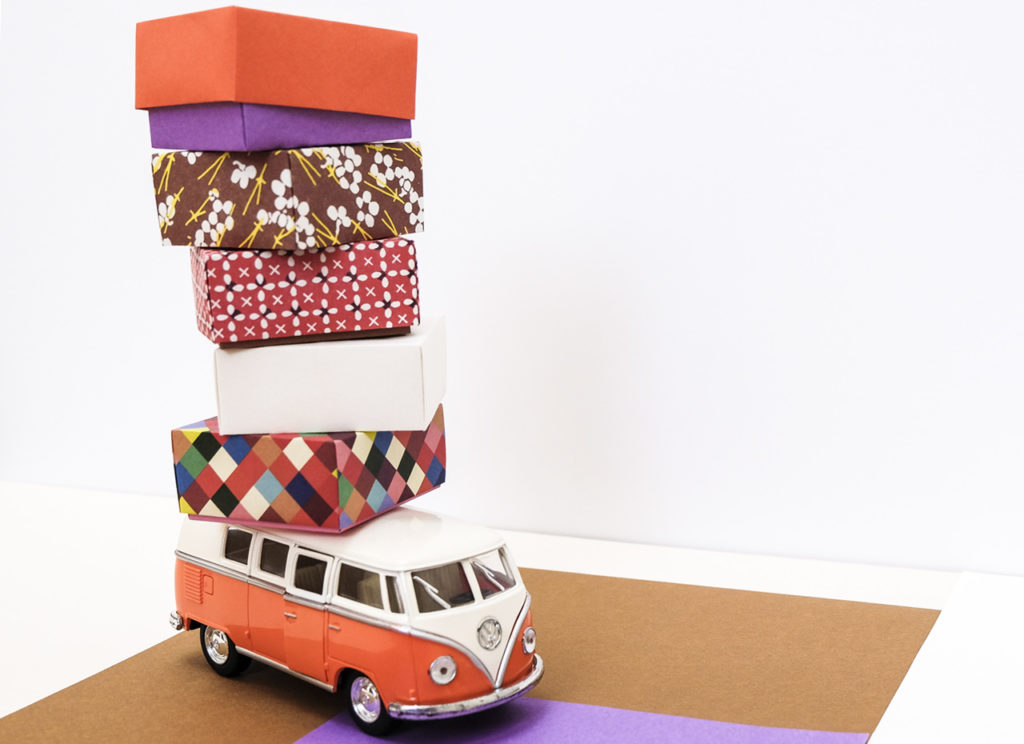
Another one for the ride ?
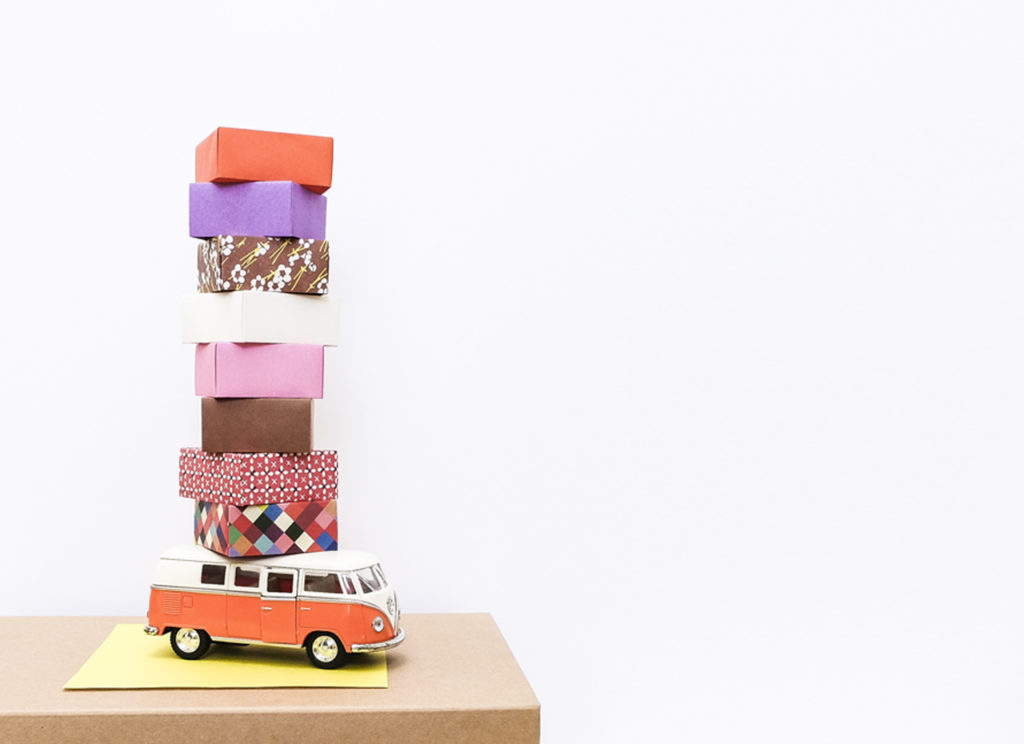
Oh! Look ! Our Origami boxes are dancing on their own!
Et voilà! Now your turn to “play” 😉
If you want to continue your folding activity, have a look here… (NØ) shares with you how to make a japanese good-luck charm!