Author: NoNarrativeLines

  • ( SPELL )

    ( SPELL )

    She whispered to the plants, and they whispered back in secret. « Spell of nature » is the working title of a new pattern collection. It is a quiet tribute to (NØ)’s grandmother, who was a kind of alchemist, a white witch, though no one called her that aloud.

    A slanting wind crosses the clearing,
    blond dust on the morning’s lashes.
    Beneath my steps, the earth barely breathes,
    cracked open by ancient vows.

    Stems stand watch, slender and proud,
    scratched with amber, knotted with salt.
    Bearing names no one speaks anymore,
    their shadows turned inward.

    A flower — open like a joyful wound —
    breathes out a secret whose scent wavers.
    Each leaf holds a fragment of story,
    folded in a shimmer of moss, sealed by a drop of dew.

    Here, silence tastes of mint and blackberries.
    An undone prayer drifts among the brambles.
    And the sky, edged with green dust,
    bows its brow toward the unseen.

    Tell me once more the story of gentle witchcraft,
    the one from my childhood bathed in sunlight.
    The echo of your voice whispering our incantations
    fills my silences—I lean into your memory.

    She knew about every root, every leaf, mushroom or root in her garden, not just their latin name, but also their stories, their hidden power, their spirits and treated them as treasures. She crushed leaves into poultices, warmed up petals into salve, distilled stems into potions that healed bodies and souls.

  • ( COFFEE )

    ( COFFEE )

    First Thing First… COFFEE… Nothing in the day can truly begin without that first cup of coffee. The alarm rings, and already (NØ)’s taste buds stir with anticipation—here, coffee is sacred. Bold and black to start, sharp as the morning light. Then slowly, gently, it begins to mellow with the hours. A large cup in the mid-morning, a smoother pour after lunch, and by the end of the day, it’s practically a warm whisper, drowned in comfort, wrapping things up in style… Until tomorrow morning calls again !

    (NØ) always begins by plunging their fingers into the bag of beans… They slip, they crackle, a sound full of promise— something great is brewing.

    A quick turn of the grinder— just enough to crush the beans… but not too fine! The magic lies in the balance.

    A touch of French finesse for the cafetière— nothing beats a slow brew in water that’s warm, not scalding. After all, burnt coffee is bad coffee.

    At last, the pleasure of that small, steaming cup… the scent of a morning full of promise, rising gently with the first sip.

    And you ? How do you like it ?

    What’s your own little ritual— that one essential thing to start the day just right?

  • ( MID-SUMMER )

    ( MID-SUMMER )

    (NØ) finds her way back to creation with a new project. Too big, too beautiful, too intense to be real. And yet—it is. Follow (NØ) day by day and step behind the curtain to discover what’s taking shape. Today, the sun is too glorious to stay indoors, so she’s taking you down a small path from her memory… Let yourself be carried away— It’s summertime.

    Under the weight of a sun-drenched summer wind, I followed that light-filled path winding its way toward the streams where my childhood still flows.

    In the heart of summer, one of those days half-dream, half-memory. The stones beneath my feet were burning— a path of fire under each step.

    The shadows of the trees slid over me, and when I finally reached the water, the noise of the world had dissolved into the perpetual murmur of nature.

    In the footsteps of the white witch from my childhood, my secret alchemist, the enchantress of the everyday.

    Water flows beneath each of my steps, echoing the power of plants, the music of roots, the mysteries of flowers.

    The open road—scented with sun and tall grasses, the sweetness of berries, and the sparkling waters of streams.

    Today, the sun is exceptionally brilliant, casting a golden glow that beckons you to step outside and savor the beauty of nature. Instead of remaining indoors, (NØ) invites you to wander along a quaint path nestled within her cherished memories, a gateway to a world where time slows down and the worries of daily life fade away. Allow yourself to be swept along by the gentle breeze and the warmth of the season, as it wraps you in a comforting embrace. It’s summertime, vibrant colors, sweet scent of blooming flowers, and joyful chorus of birdsong, a serene and picturesque backdrop that encourages reflection and relaxation.

    Embrace the moment, let your mind wander freely, and experience the simple pleasures that this glorious day has to offer.

  • ( SNOWDROP CARD )

    ( SNOWDROP CARD )

    Hello Winter! Today (NØ) shows you how to draw a cute card to send a sweet conforting message to face the end of a cold winter… As snowdrops are coming up, (NØ) chooses to sketch those charming and delicate flowers. The first one blooming at the end of winter. Follow the quick video to draw it as (NØ) does !

    HOW TO

    What you’ll need to create the card :

    – Paper 180gr at least
    – A good Printer
    – Scissors or Exacto knife
    – Pencils
    – Eraser
    – An Ipad with Procreate… This is the App (NØ) uses to draw her snowdrops wreath an edit the short video !

    The video of the drawing steps :

    Small details of the card :

    Yep, You’re done ! Just print it !

    (NØ) is excited to see your cards and see you soon if you liked this new kind of post…

  • ( HOME-CLAY )

    ( HOME-CLAY )

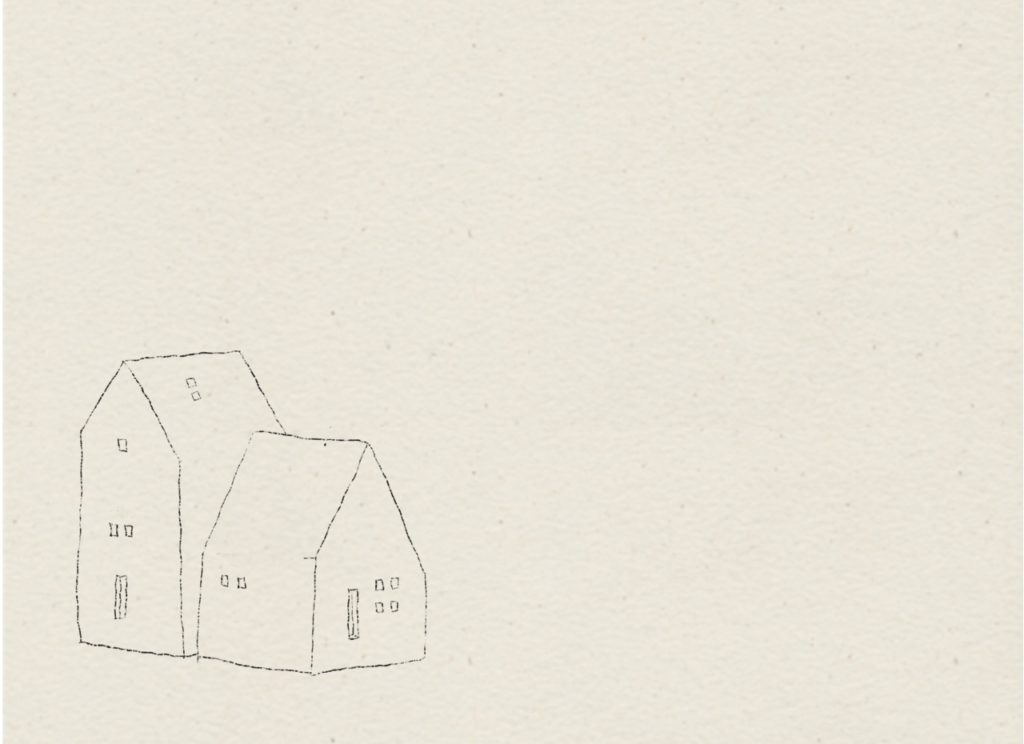
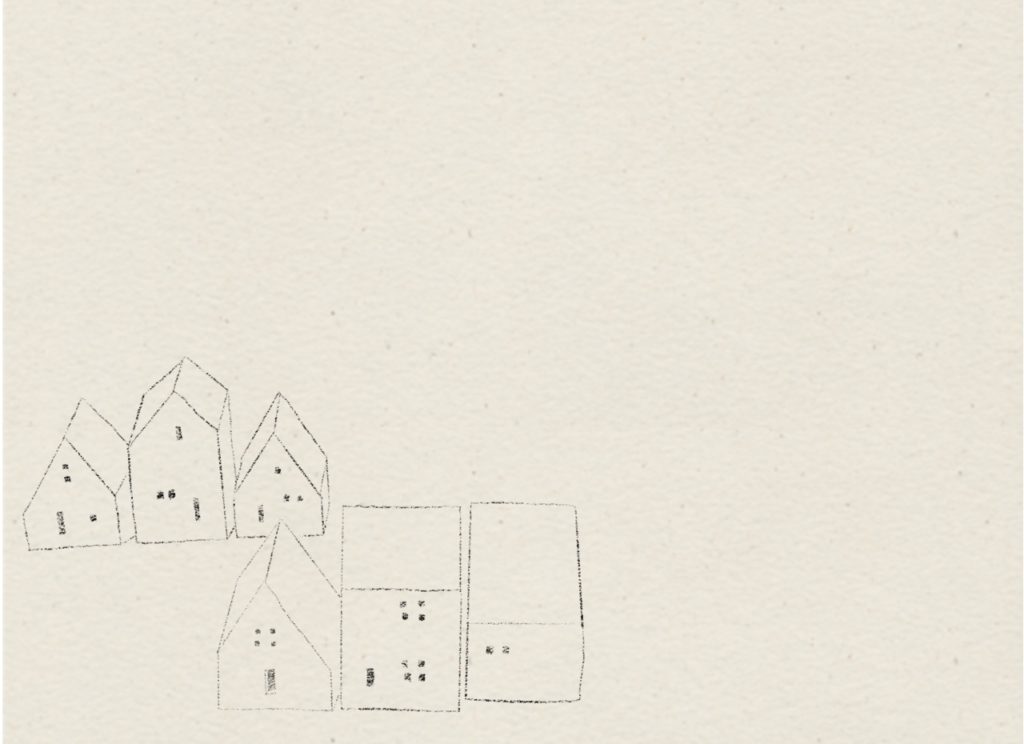
    Today in the northern hemisphere is the winter solstice … The sun will rise late and set early! Fortunately, this also means that soon the length of the day will begin to lengthen … Faithful to ancient and pagan traditions, which (NØ) particularly like for their traditional charm, she invites you to celebrate the return of light by making little ones house shaped candle holders.

    (NØ) guides you step by step :

    Material :

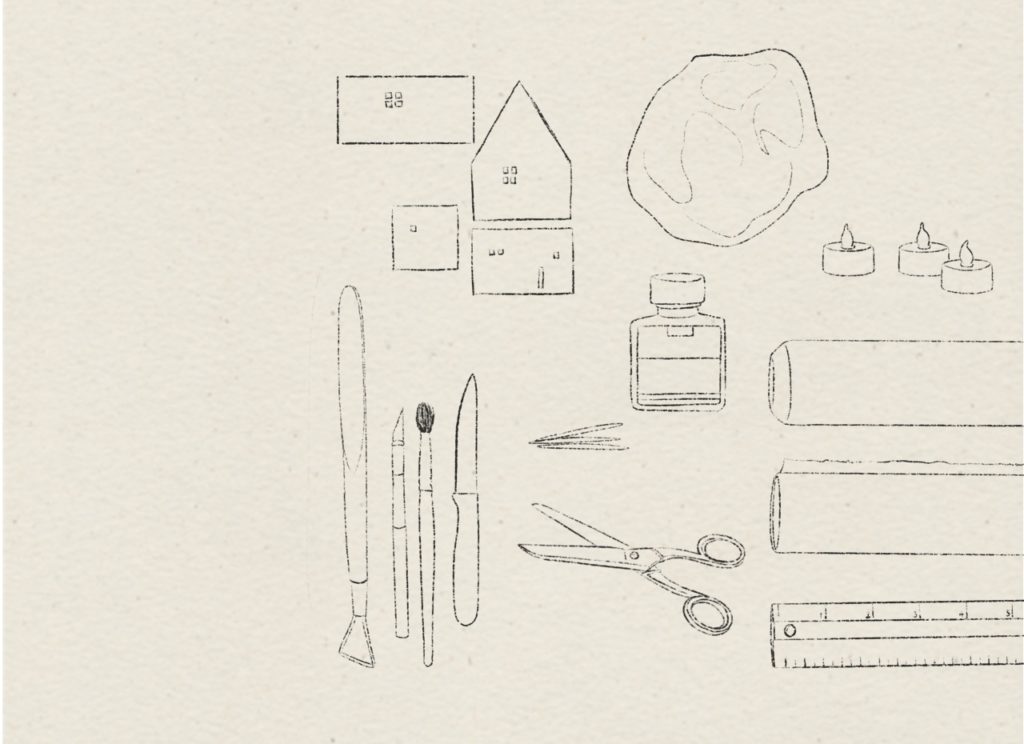
    Here are all the things you will need to make your own Clay light houses.

    Clay Light House Material List

    By buying the suggested products via the links, you offer your support to (NØ)s creativity…

    – The PDF of the Houses templates
    – Cardboard
    – Scissors or a cutter
    – Some self drying clay, clay without firing, white, red, grey, black… something you fancy ! You will find the clay in a DIY shop !
    – A small pointed knife
    – A toothpick
    – A rolling pin
    – A brush and a smoothing tool
    – Small LED tea lights that you can find on Amazon.
    – Some varnish and a little patience …

    Light House step-by-step :

    When you have everything, here are the step-by-step !

    Clay House

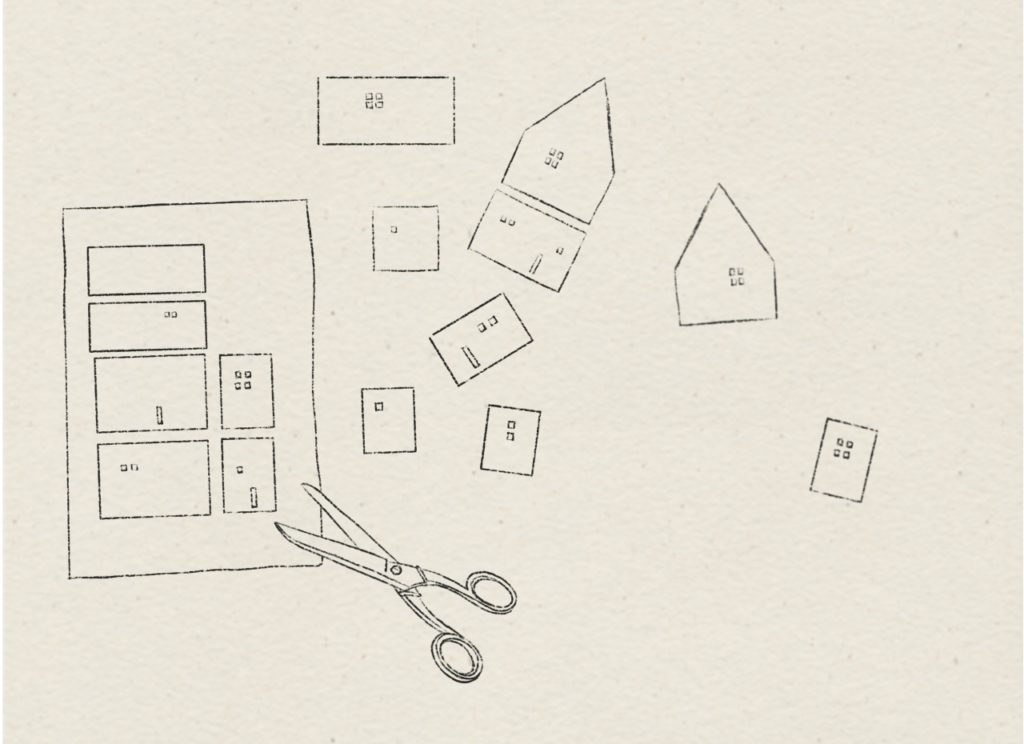
    1. Print the template onto cardboard! Download the PDF.
    2. Cut around it.

    CLay Light House Cutting the clay

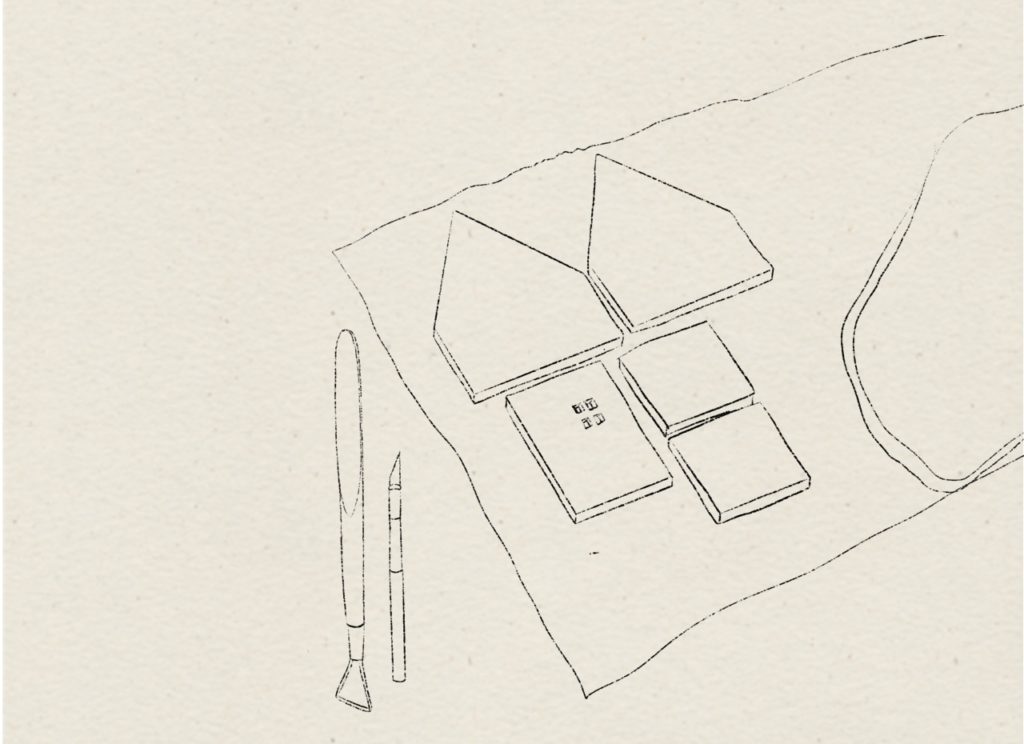
    4. With the rolling pin, lay the clay…
    5. Roll out until you get a regular plate about 5mm thick.
    6. Lay the pieces onto the clay and use a knife to carefully cut around the shapes. Cut out the windows and the doors.
    7. Gently detach the different pieces of the houses. Form a ball with the scraps of clay, you can reuse them by keeping them in a well sealed plastic bag so that the clay does not harden.

    Clay Light House, assembling
    Clay light House Assembling

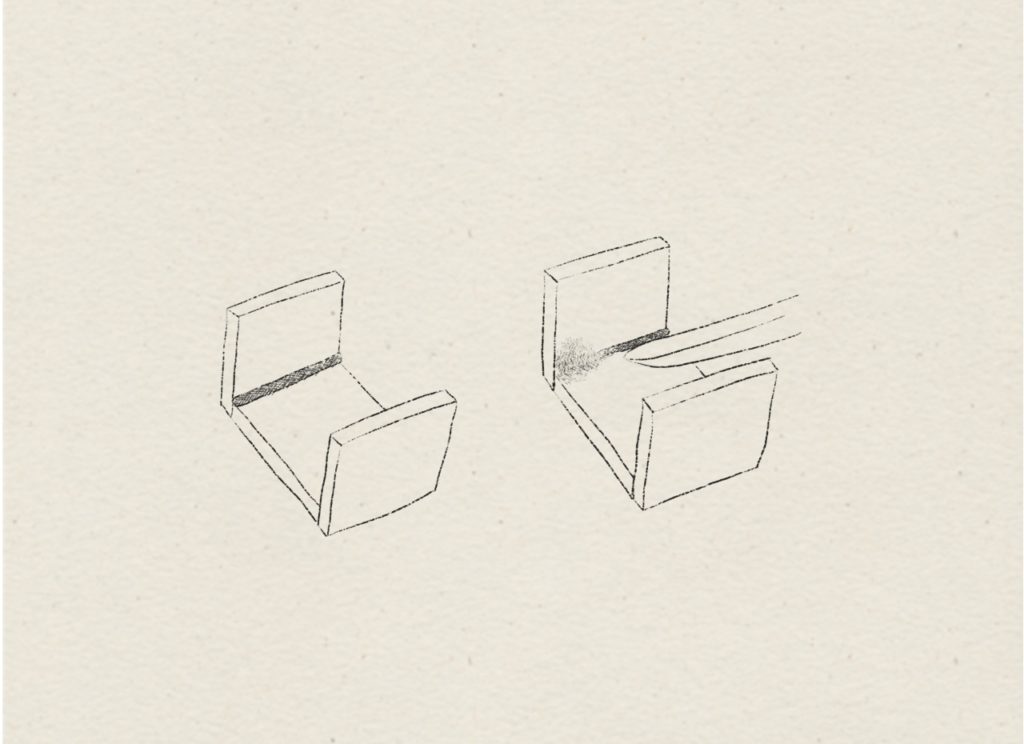
    8.Scrape the sides to be assembled using the toothpick, make small notches in crosses so that the clay can adhere well.
    9. With the brush, apply some water on both sides and a small piece of clay to assemble the different pieces of the house together.
    10. Repeat for all sides of the house as well as the roof.
    11. Let dry.

    Finished Clay Houses

    12. You can decorate your little houses by coloring them with a little acrylic paint, gold or silver paint …
    13. You can varnish your homes to give them a shiny finish!
    14. Light the candle and place the house on top … There you go! A small home-made village. To keep the clay that you have not used, do not forget to close the bag tightly.

    Here the clay-houses village :

    Clay Houses village !

    You can make different houses by letting your imagination or memories speak! Here is something to gently illuminate your winter days and nights … Don’t forget to show me your homes …

  • ( ADVENT CALENDAR )

    ( ADVENT CALENDAR )

    Follow (NØ) and make your embroidered Pockets for a very personal Advent Calendar !

    Ho Ho Ho! Christmas is coming… (NØ) remembers one of those small childhood pleasure : open every evening from December 1st one of the Advent Calendar window and discover a new treasure every time ! Today she offers you to get this delightfull tradition by making an Advent Calendar for you, your children, a friend or simply a dear one to share the joy of the “Before Christmas-Time”.

    (NØ)’s Step by Step :

    Matériel :

    Here is the list of everything you’ll need to create this Advent Calendar.

    List of the Material needed for the Advent Calendar

    By buying the suggested products via the links, you offer your support to (NØ)s creativity…

    – The PDF file with all the numbers to embroider Download here
    – 24 small fabric bags that you can get in a DIY store or on Amazon or sew them yourself following the tutorial of (NØ)’s Pouches
    – Embroidery watersoluble paper you can buy in a good haberdashery or clicking on this link
    – A pencil
    – Small embroidery scissors
    – Embroidery Thread, black, ecru or white, (NØ) uses the DMC 6 strands thread
    – An embroidery needle
    – Some pins
    – A piece of string
    – 24 wooden pins

    The Advent Calendar Step by Step :

    When you have all your material, here is how to Do It Yourself !

    Drawing the Numbers Pattern

    1. Print the pattern wtih all the numbers, download the PDF file.
    2. Trace the numbers on the watersoluble paper.
    3. Cut out every number. You can choose to keep the circle around or not, as you wish !

    Advent Calendar Embroidery Steps

    4. With 2 pins, place the watersoluble paper on the pouche where you want your number to be embroidered.
    6. Embroider the circle with a Running stitch. You can go back to basics with (NØ) and her Stitch by stitch .
    7. Embroider the numbers using a Backstitch.
    8. Make a knot on the back.
    9. Cut out the watersoluble paper excess.

    Advent Calendar, finished bag

    10. When you have every single 24 pouches embroidered, you just have to give them a warm bath, the paper will disappear. Allow them to dry, and Hop, magic !

    The Advent Calendar Pouches :

    Advent Calendar Bags
    All pooches finished !

    Your DIY Advent Calendar :

    Now you just have to fill the pouches with small gifts and hang them on the string… (NØ) is getting ready with some ideas et will show you what she hides in her Advent Calendar !

    Hanging Advent Calendar
    Ready for the 1st of December !

    How to sew your own pouches, (NØ) guides you step by step !

    How to sew your own pouches, (NØ) guides you step by step !
    To go back to embroidery basics, here is the famous Stitch by Stitch !
    Every single secret of a professional embroiderer are in this post…
    (NØ) offers you another Advent Calendar, created with paper !

  • ( TRICK OR TREAT )

    ( TRICK OR TREAT )

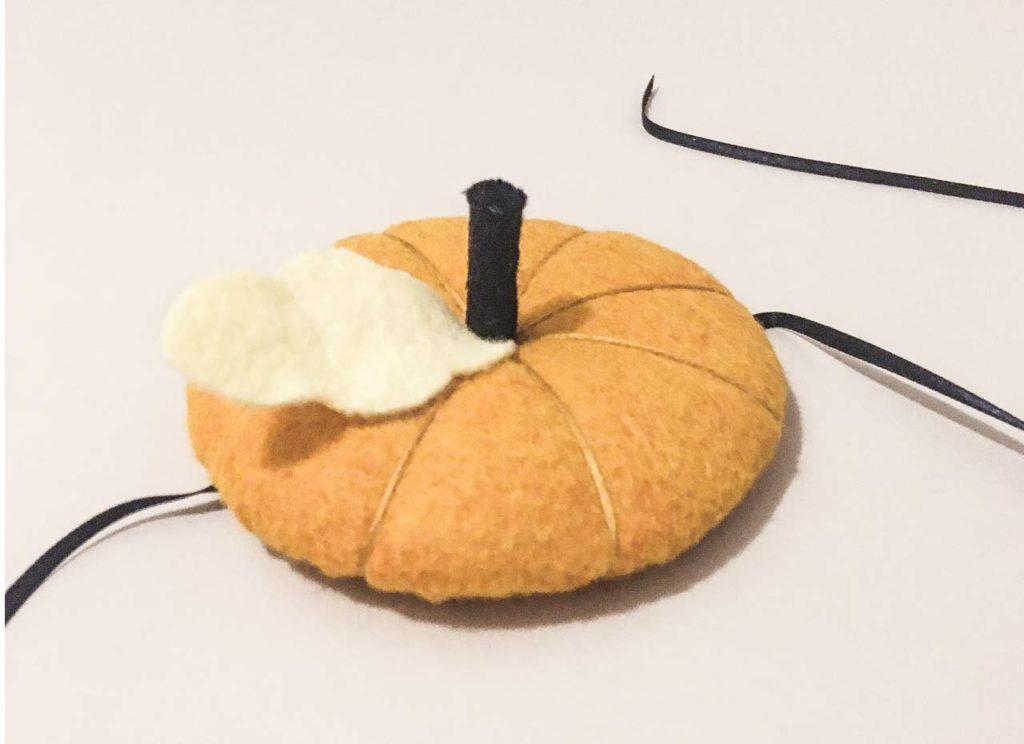
    Today, (NØ) offers you a quick treat… A small Pumpkin-hat to be ready for Halloween ! Easy-peasy to get your treats… and a simply-funny way to celebrate Halloween.

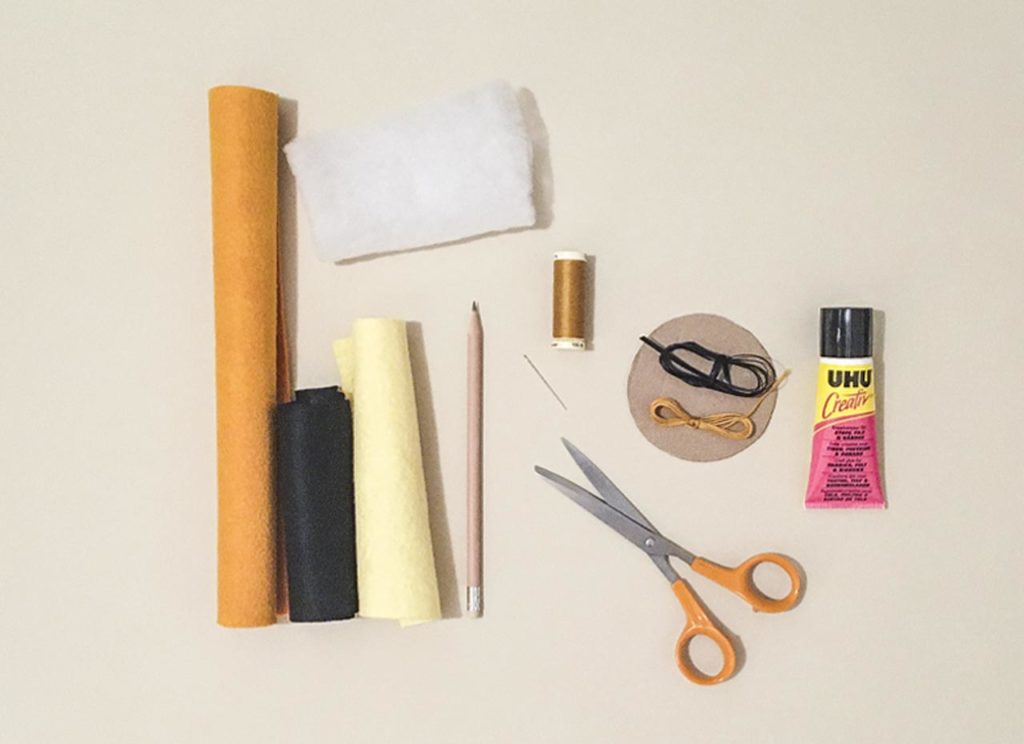
    List of the material needed to make the pumpkin hat :

    Pumpkin Hat Material

    – Orange, yellow (or green if you want a green leaf for your pumpkin !) and black felt.
    – Some padding material
    – A pari of scissors
    – A pen
    – A piece of cardboard
    – Orange sewing thread
    – Sewing needle
    – Orange embroidery thread
    – Embroidery needle
    – Some black satin ribbon
    – A little bit of fabric glue

    How to make the pumpkin hat, step-by-step :

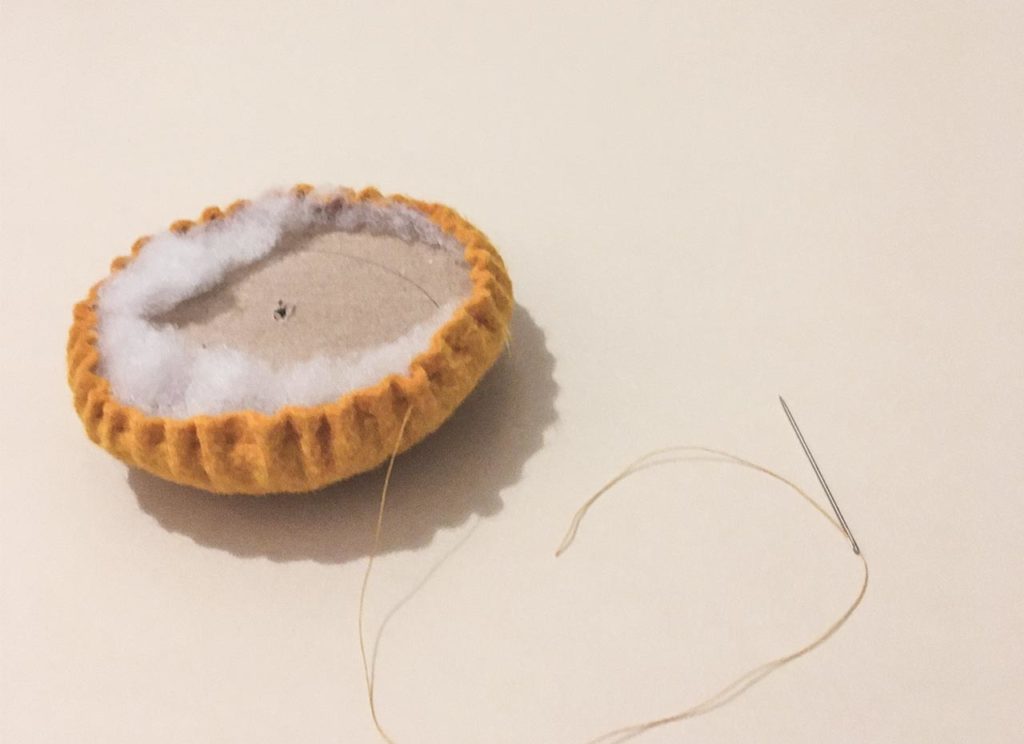
    Recouvrir le carton avec la ouate et la feutrine

    1. Cut a circle in the cardboard.
    2. Cut a bigger circle in the orange felt (1.5cm all around).
    3. Place the padding on the cardboard, use some glue to place the padding.
    4. Place the felt on the padding, gather the felt and pull the thread to fix the felt on the padding.

    Pumpkin hat

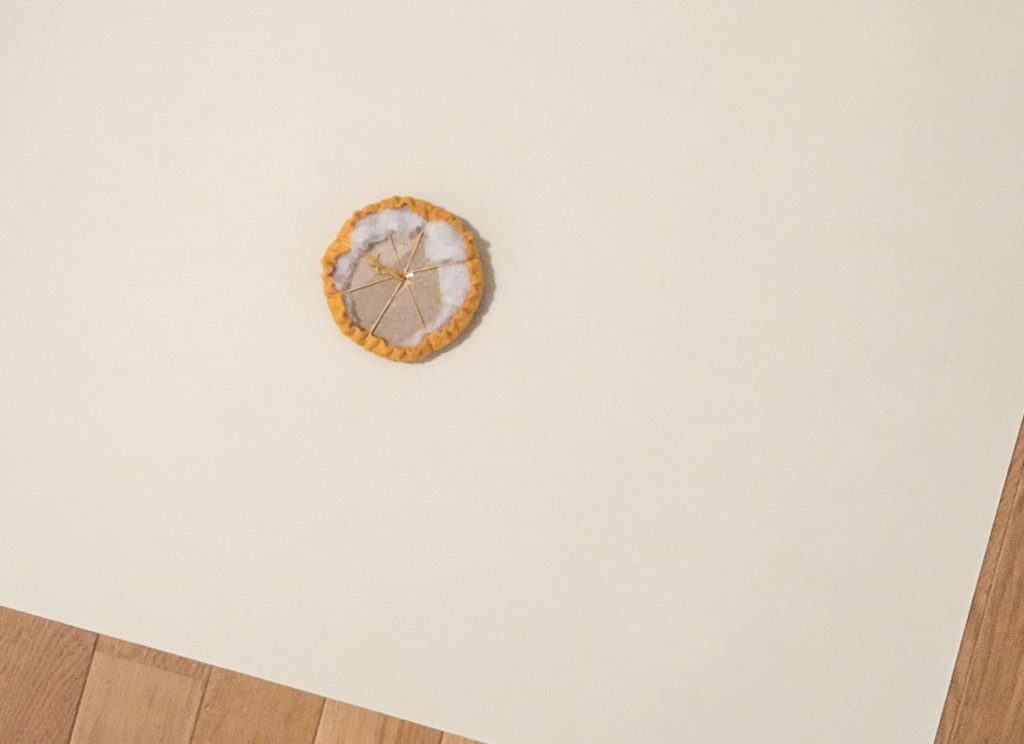
    5. Make a hole in the center of the cardboard.
    6. Fix the embroidery thread in the hole with a bit of glue or a piece of tape.
    7. Sew the pumpkin quarters, going through the hole in the center every time.

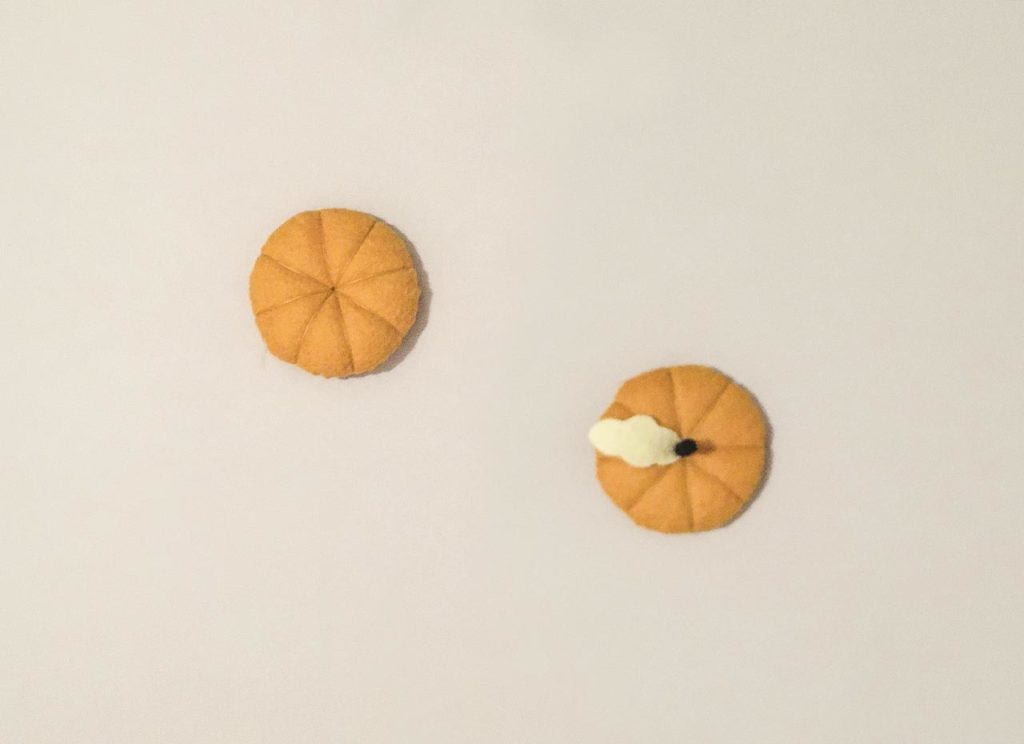
    Hat with Leaf

    8. Cut a leaf in the yellow felt.
    9. Roll a piece of black felt to form the small stem, sew to close the stem.
    10. Sew the leaf and the stem in the center of the hat.

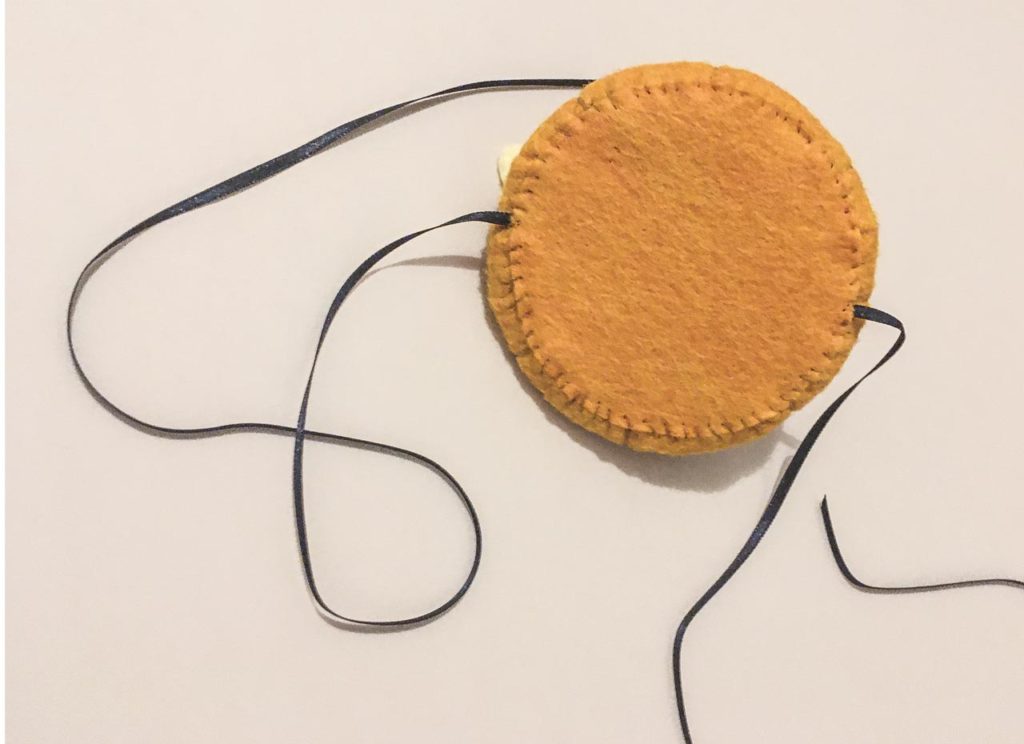
    Finishing the hat

    11. Cut a smaller circle in the orange felt, place the ribbon between the cardboard and the last piece of felt, sew all around to fix the ribbon and close the hat.

    Pumpkin hat

    Voilà !! You are done with the small pumpkin hat !

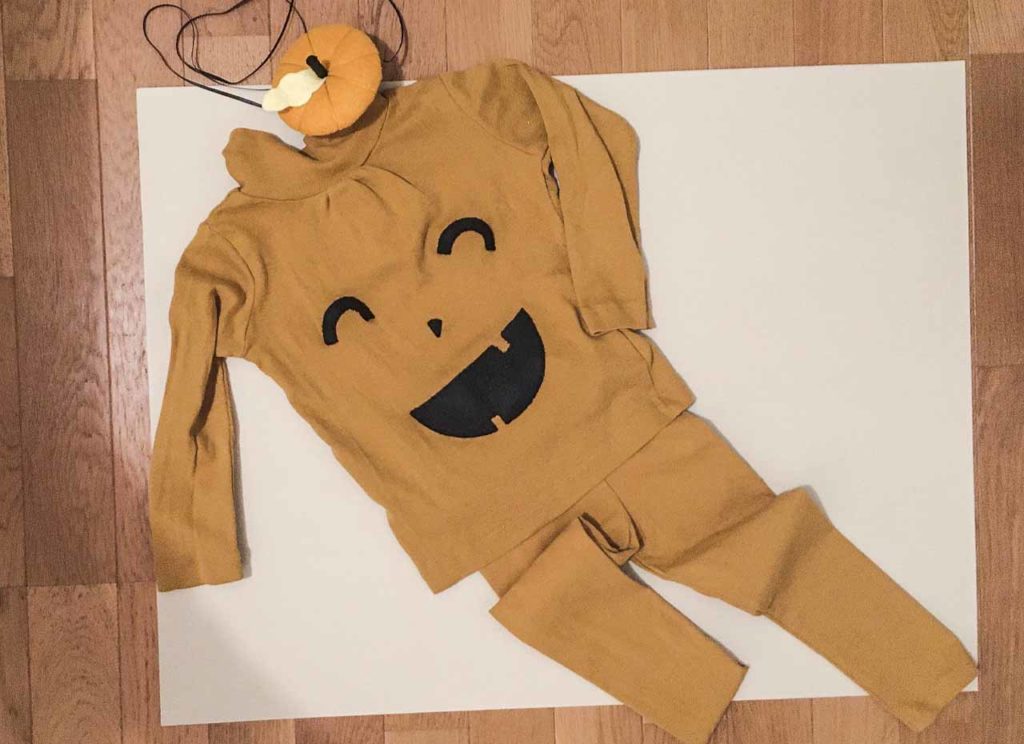
    Pumpkin Costume

    A rest of felt ? Cut out some eyes, mouth and nose and you’ll get a complete Pumpkin costume… Here the mini-size !!

    Happy Halloween everyone !!

  • ( WHEAT STITCH )

    ( WHEAT STITCH )

    Since a few weeks, (NØ) invites you to go “back to basics” of handembroidery. Thought for enthusiastic beginners as well as for trained embroiderers who want to perfect their technical skills… Here the number 4 : The wheat stitch, graceful and poetic !

    Take your thread and needle, (NØ) shows you how to do it !

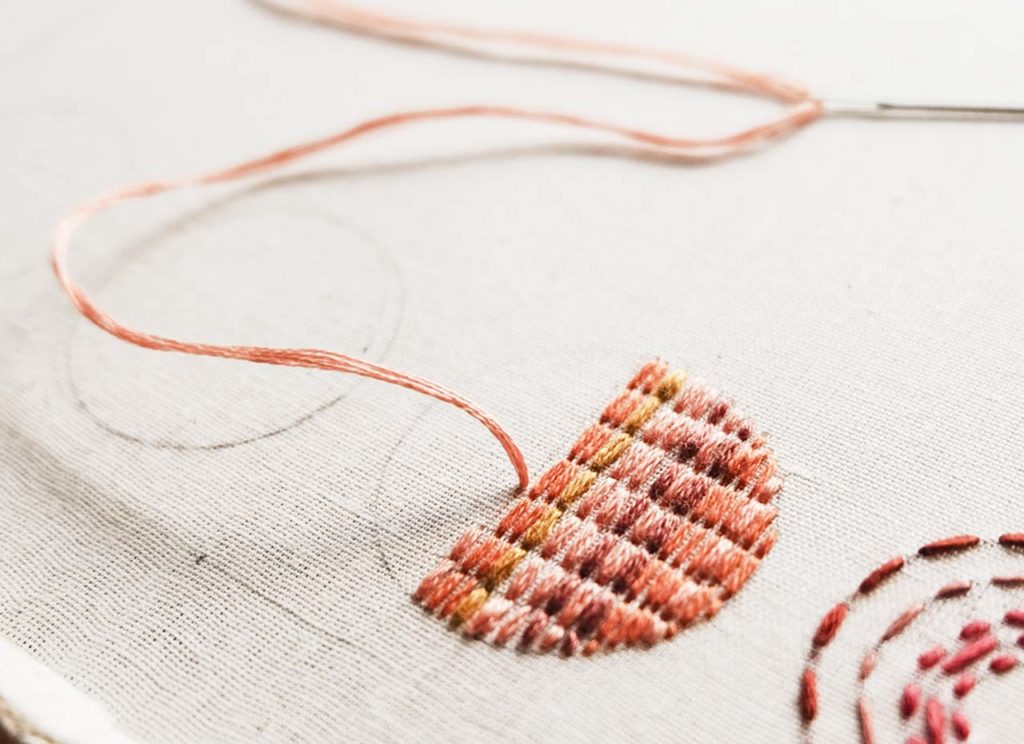
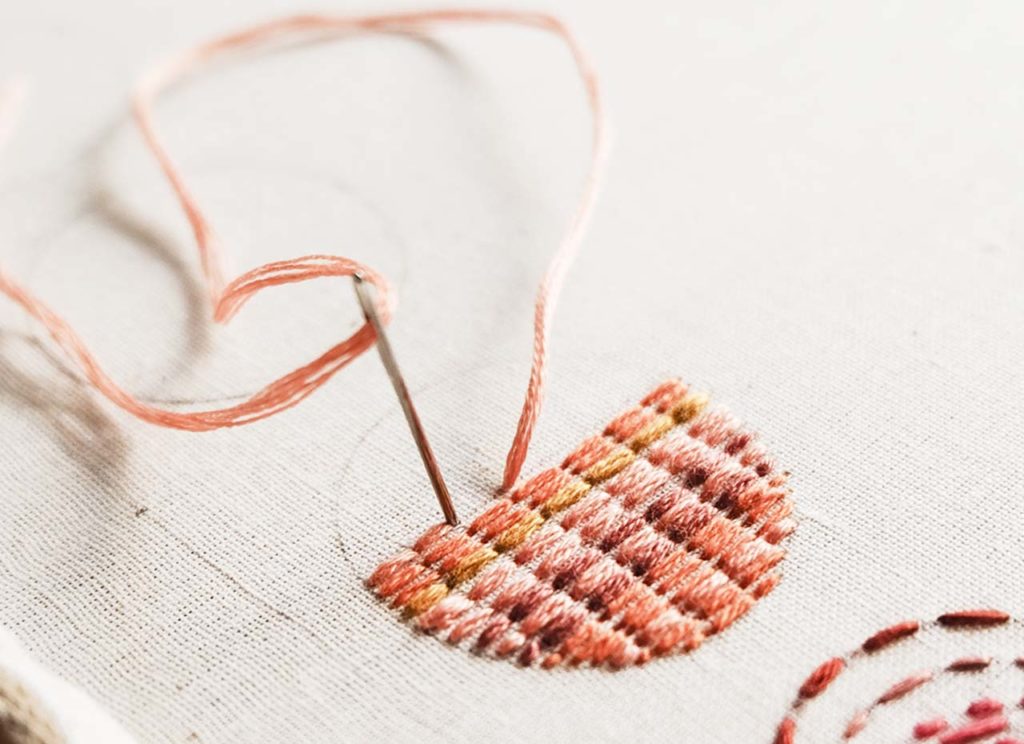
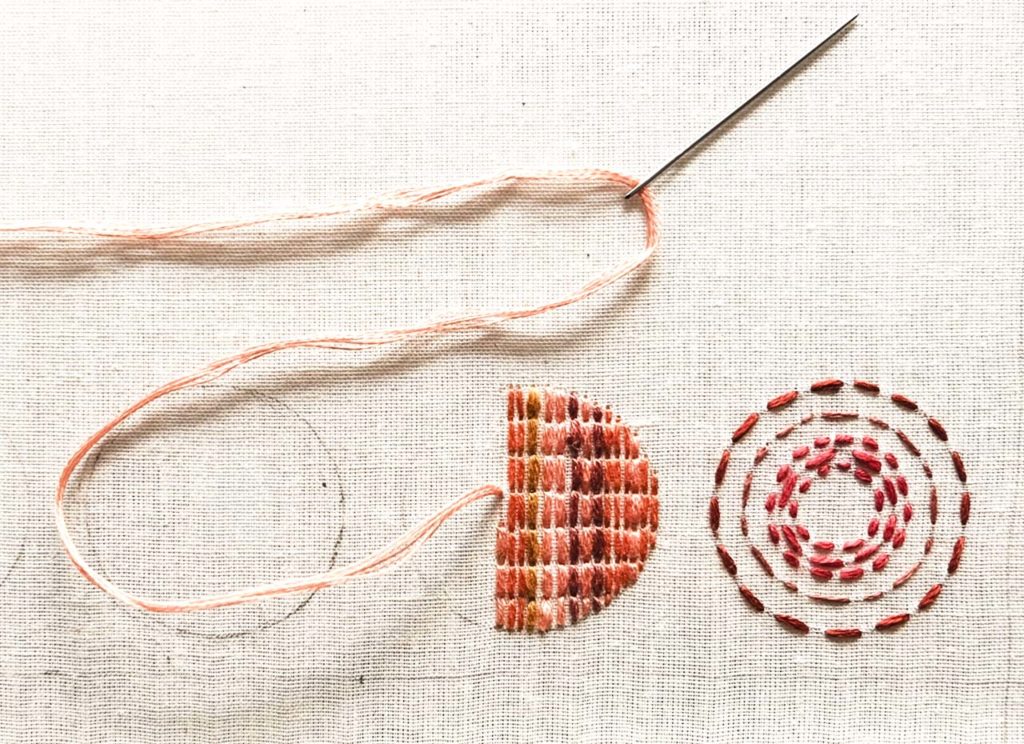
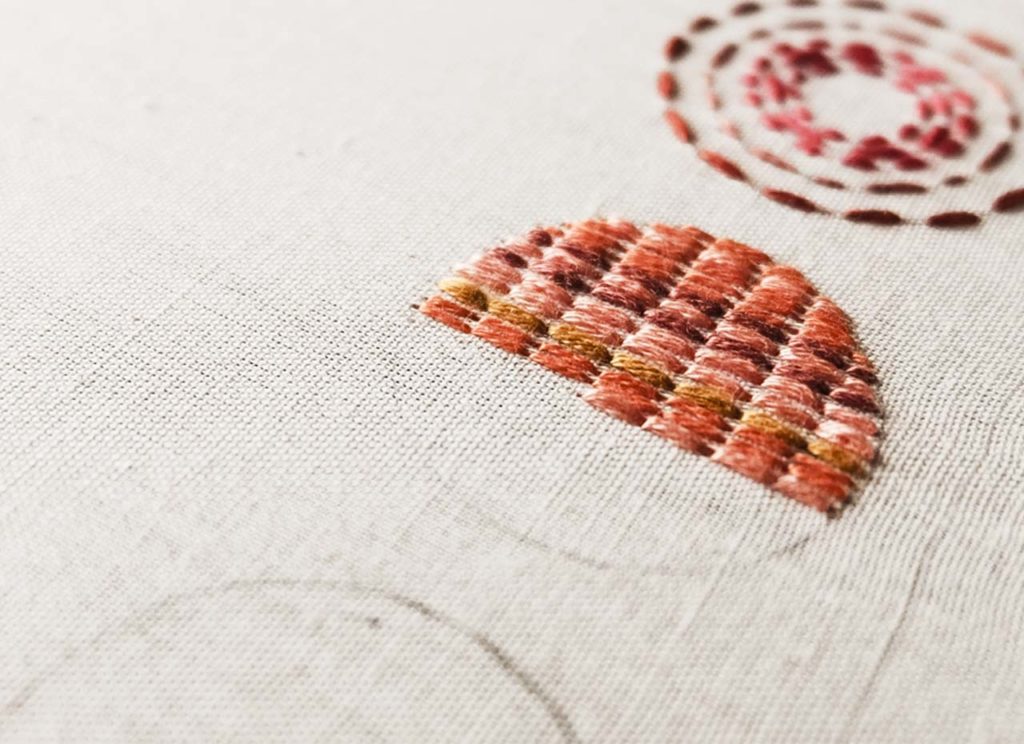
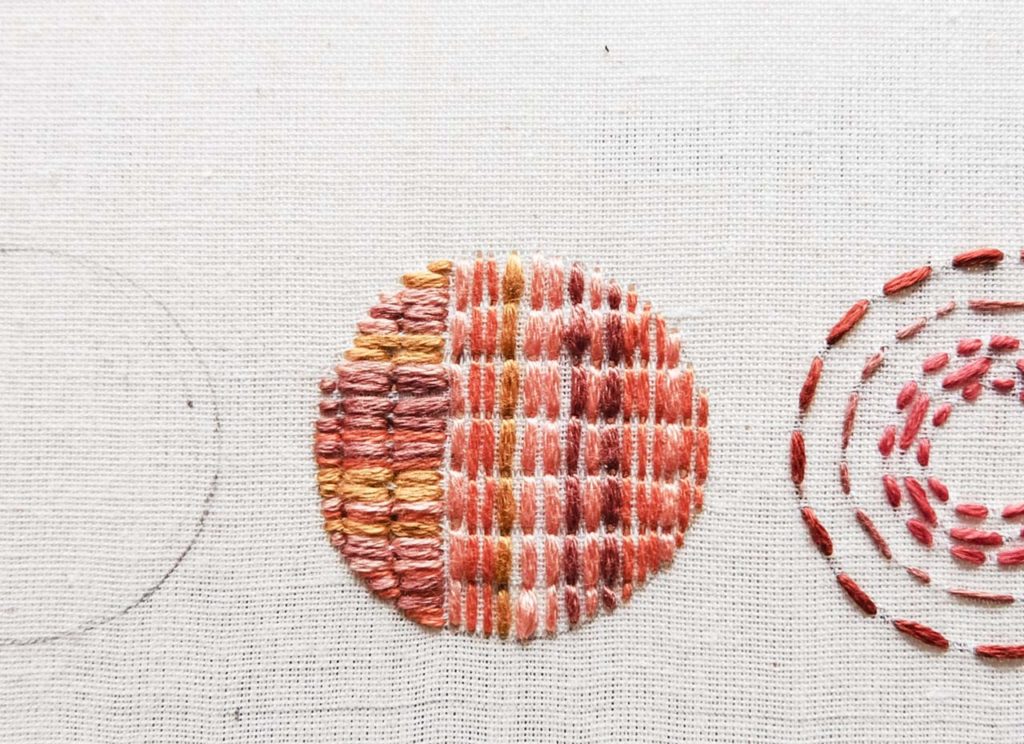
    The wheat stitch is one of the numerous detached-stitches family. They can be used alone, to draw some eyes for example, or be used as filling-stitches. You can create more or less full spaces and shadows-effects.

    Wheat Stitch

    Point de Blé Dessin Technique

    1. Take the needle out in A, on the right side of the fabric.

    2. Get down in B.

    3. Repeat ! And YEAH, it’s that easy !!

    Point de Blé, étape 1
    1.
    Point de Blé, étape 2
    2.
    Point de Blé, étape 3
    3.

    Tadaaaa !! Feel free to let more or less space between each stitch to create shadows on your pattern. And if you are using Cotton or Silk floss, vary the number of thread you use…

    Point de Blé, effet d'ombre
    Point de Blé, détail

    Your turn ! Do not hesitate to ask if you have any question ! (NØ) will try to answer them as precisely as possible !

    For the one of you being curious enough, (NØ) recommands you to have a look on this article ( TIPS & TRICKS ), where she reveals you some of her professional secrets…

    See you soon !!

  • ( STEM STITCH )

    ( STEM STITCH )

    (NØ) invites you to go “back to basics” of handembroidery. Thought for enthusiastic beginners as well as for trained embroiderers who want to perfect their technical skills… Here the third stitch, one of (NØ)’s favourite : The stem stitch, beautiful and changeling !

    The stem stitch, as well as the running stitch (tutorial here) or the backstitch (tutorial here) is one of the linear-stitch family. You can use them as they are or add some embroidery on top of them to create more relief or colourful effects. This stitch is used to draw straight or curved lines as flowers stems. It can also be used as a filling stitch for small surfaces or as a padding stitch !

    Stem Stitch

    Point de Tige, description technique

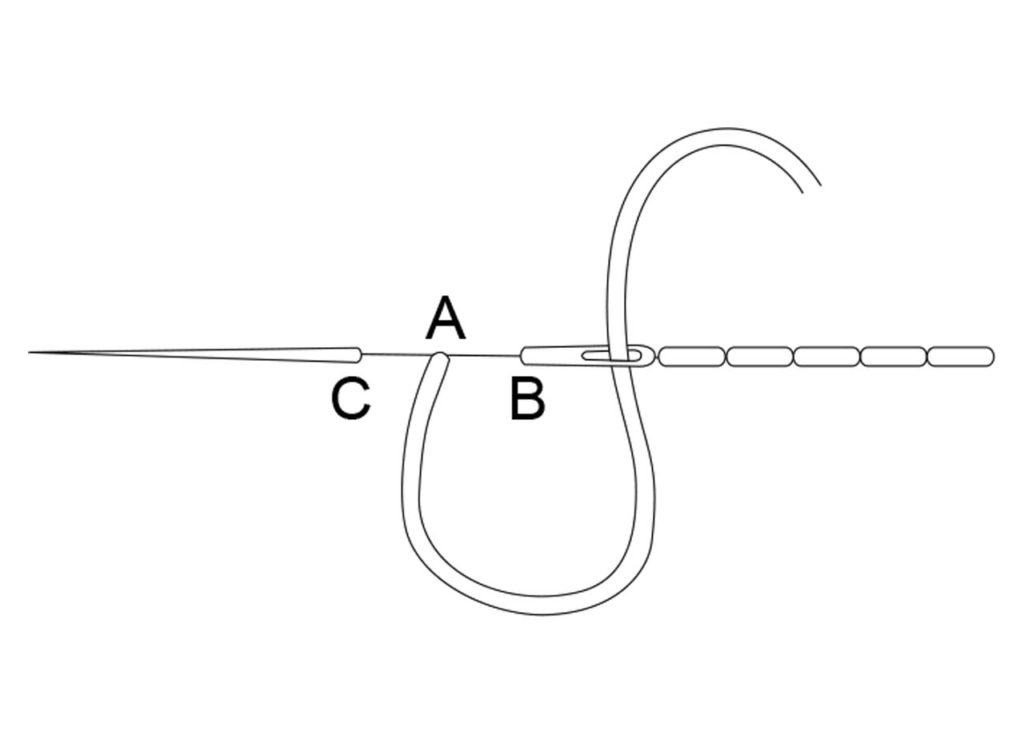
    1. Take the needle out in A, on the right side of the fabric.

    2. Get down in B et out again in C right between A and B.

    3. Get down again in D et out in B. Repeat !

    Point de Tige, Etape 01
    1.
    Point de Tige, étape 02
    2.
    Point de Tige, étape 03
    3.

    Et voilà ! The stitches have to be the same length, unless you are embroidering a really curvy line, they then should be a little bit shorter to get a beautiful free-flowing line. And if you are using Cotton or Silk floss, vary the number of thread you use…

    Point de Tige Joli
    Point de Tige, Détails

    Your turn ! Do not hesitate to ask if you have any question ! (NØ) will try to answer them as precisely as possible !

    If you want to step further, (NØ) recommands you to have a look on this article ( TIPS & TRICKS ), where she reveals you some of her professional secrets…

  • ( BACKSTITCH )

    ( BACKSTITCH )

    (NØ) invites you to go “back to basics” of handembroidery. Thought for enthusiastic beginners as well as for trained embroiderers who want to perfect their technical skills… Here the second stitch : The backstitch, easy-easy (aussi) !

    The backstitch, as well as the running stitch (tutorial here), is one of the linear-stitch family. You can use them as they are or add some embroidery on top of them to create more relief or colourful effects. This stitch is used to draw straight or curved lines and small details !

    Backstitch

    1. Take the needle out in A, on the right side of the fabric.

    2. Get down in B, on the right of the point A, get out again in C, on the left of the point A, the distance bteween A and B is the same so that all your stitches have the same length.

    3. You liked it ? Repeat !!

    Point Arrière étape 1
    1.
    Point Arrière étape 2
    2.
    Point Arrière étape 3
    3.

    Et voilà ! You can diversify the length of the stitches as well as the spaces between each line. And if you are using Cotton or Silk floss, vary the number of thread you use…

    Point Arrière fini
    Point Arrière Variations

    Your turn ! Do not hesitate to ask if you have any question ! (NØ) will try to answer them as precisely as possible !

    If you want to step further, (NØ) recommand you to have a look on this article ( TIPS & TRICKS ), where she reveals you some professional secrets…