(NØ) invites you to go “back to basics” of handembroidery. Thought for enthusiastic beginners as well as for trained embroiderers who want to perfect their technical skills… Here the second stitch : The backstitch, easy-easy (aussi) !
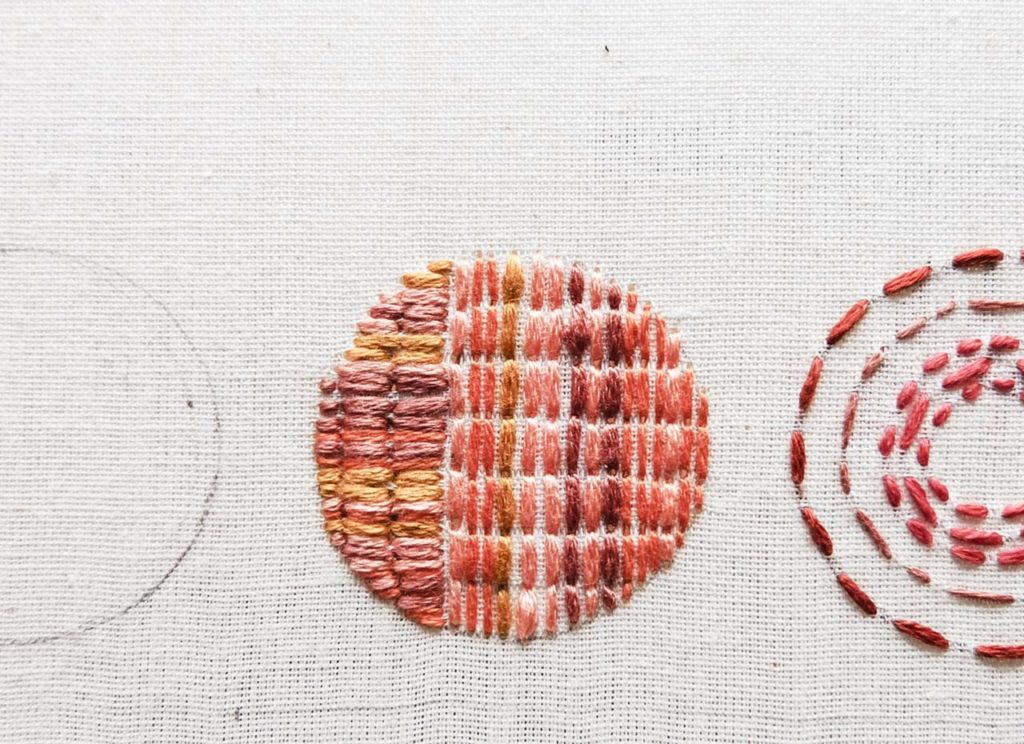
The backstitch, as well as the running stitch (tutorial here), is one of the linear-stitch family. You can use them as they are or add some embroidery on top of them to create more relief or colourful effects. This stitch is used to draw straight or curved lines and small details !
Backstitch
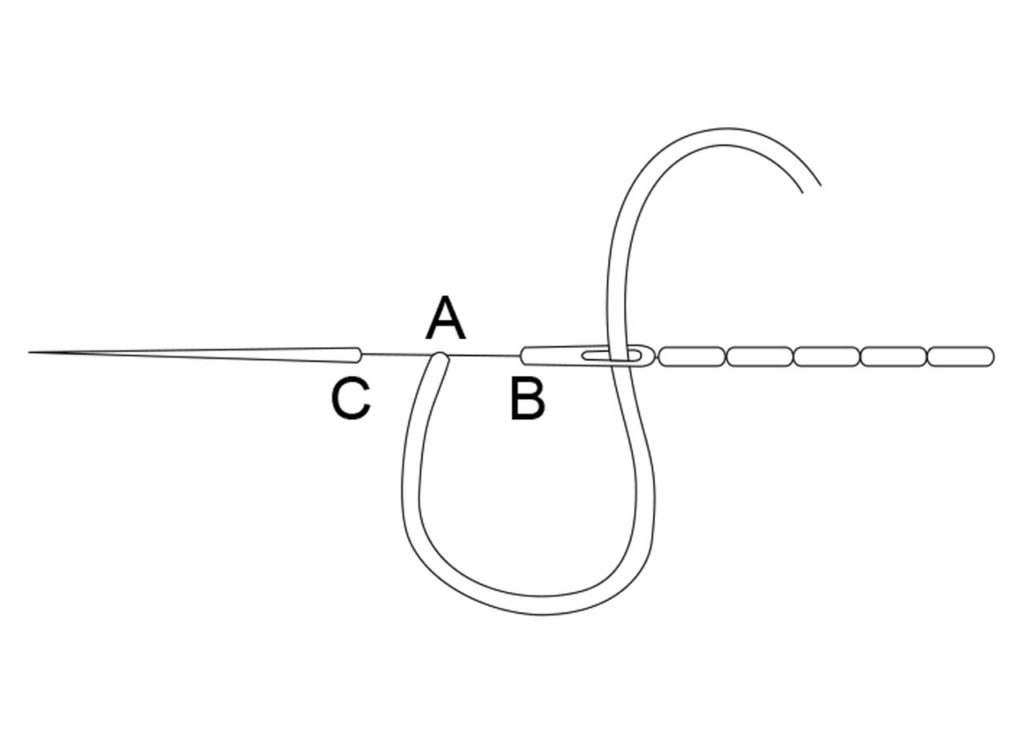
1. Take the needle out in A, on the right side of the fabric.
2. Get down in B, on the right of the point A, get out again in C, on the left of the point A, the distance bteween A and B is the same so that all your stitches have the same length.
3. You liked it ? Repeat !!
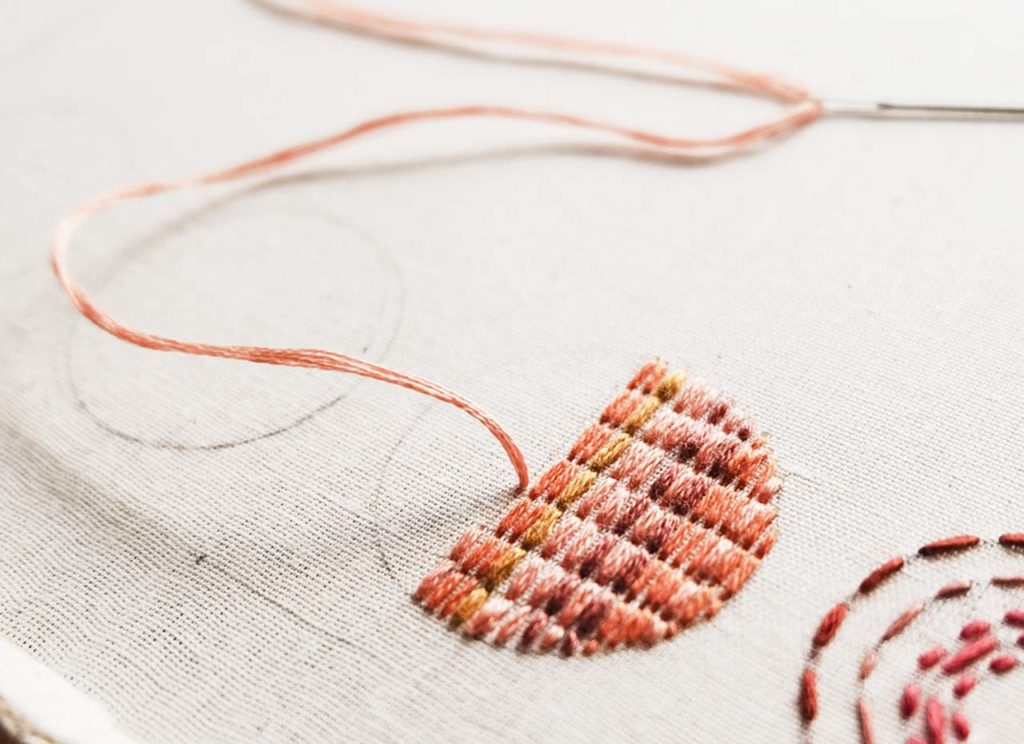
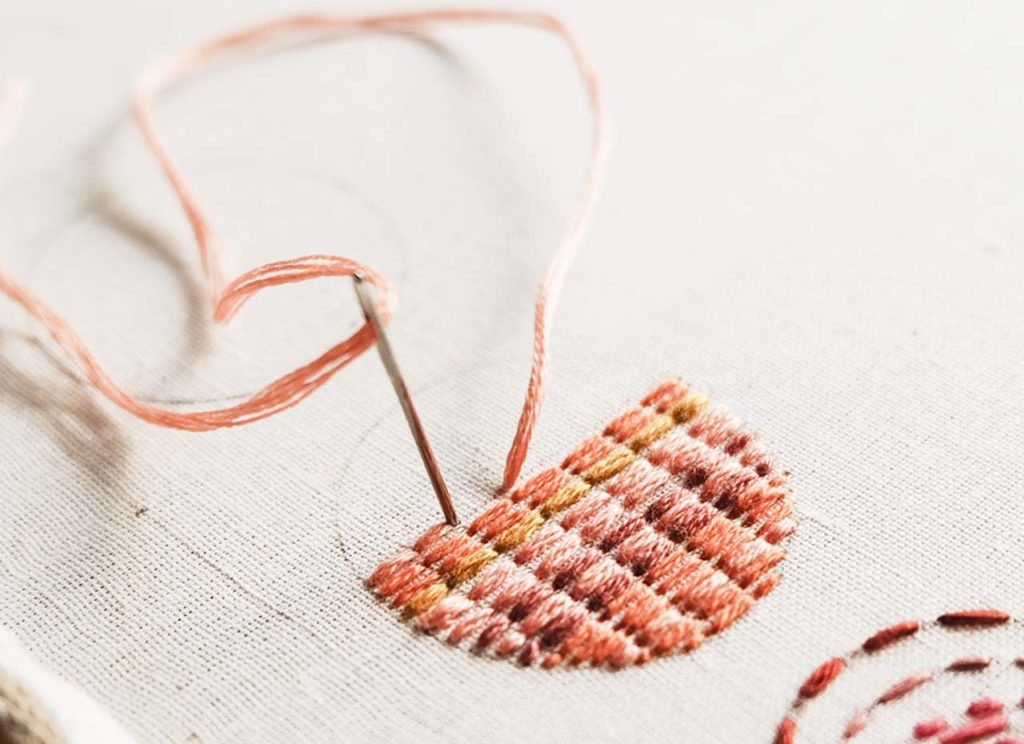
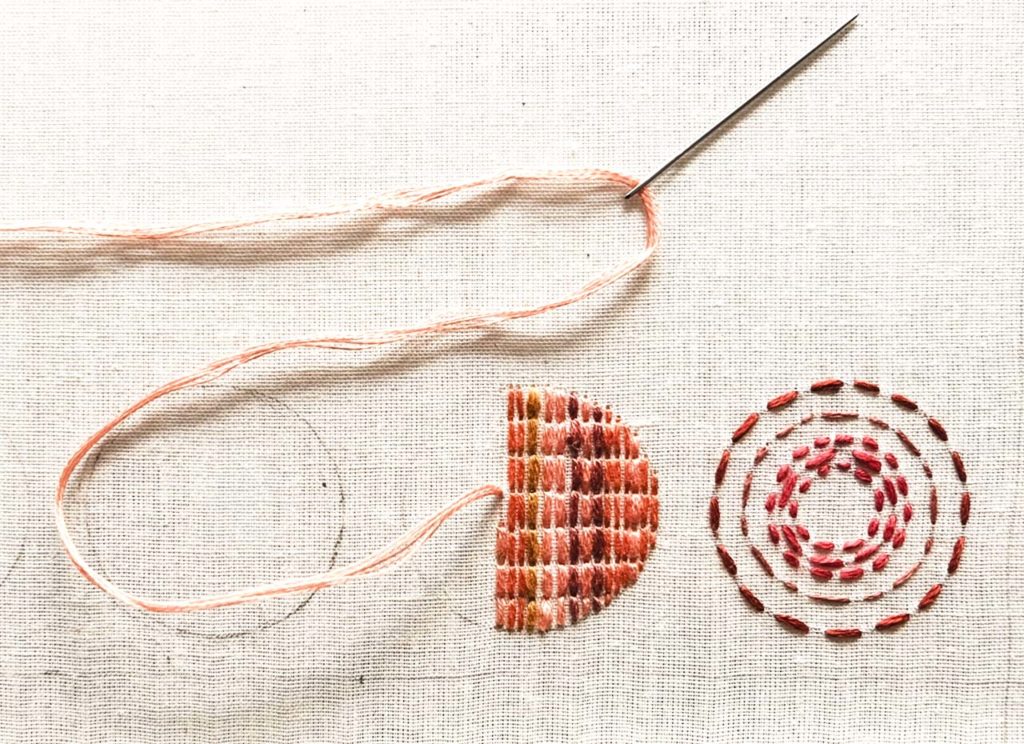
Et voilà ! You can diversify the length of the stitches as well as the spaces between each line. And if you are using Cotton or Silk floss, vary the number of thread you use…

Your turn ! Do not hesitate to ask if you have any question ! (NØ) will try to answer them as precisely as possible !
If you want to step further, (NØ) recommand you to have a look on this article ( TIPS & TRICKS ), where she reveals you some professional secrets…