Good New Year resolutions ? Oh yes ! With this new little blog project and because (NØ)‘s head is already full of little things, big stuff, medium thingummy and other creative joys, she decided to get organized… And she is thrilled to share her notebook with you ! A printable planner organized by month for bloggers but also for everyone – arguably “old-school” – who needs a pretty piece of paper to write down their ideas !
Today, (NØ) shows you how to print and bind your organizer for the month of January… And already gives you the one for February !
To get started, you need first to download the following files:
Here the pdf document for the January planner cover page.
Here the pdf document for the February planner pages.
Here the pdf document for the February planner cover page.
Here the pdf document for the February planner pages.
-
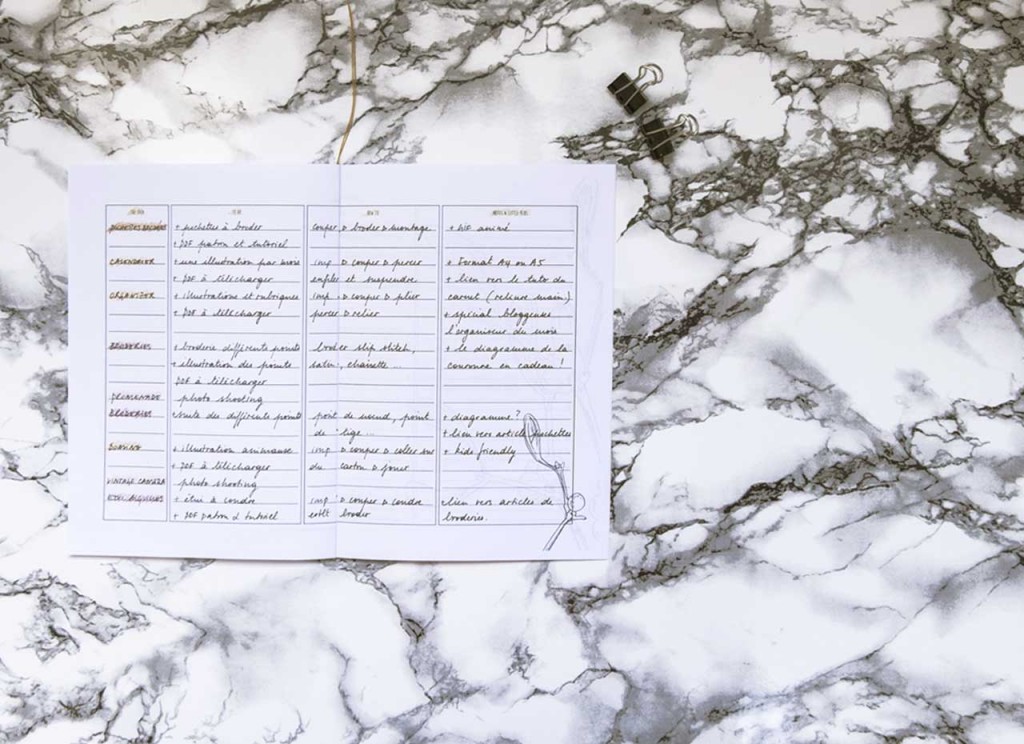
Here is how the planner looks like :
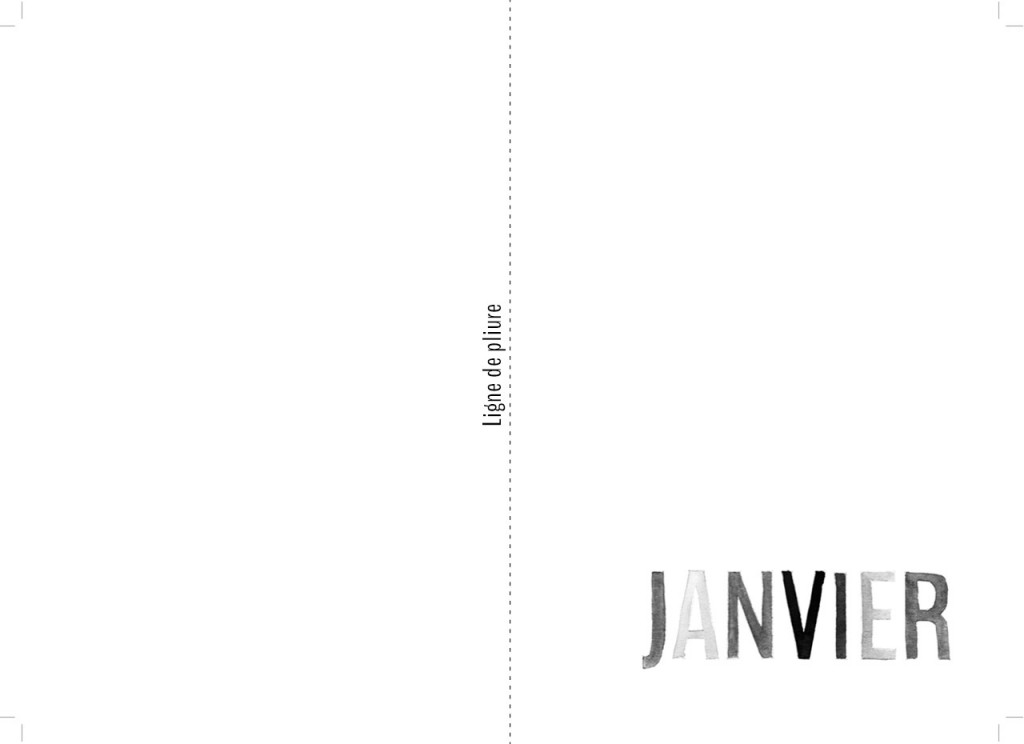
A cover page with the month printed on it.
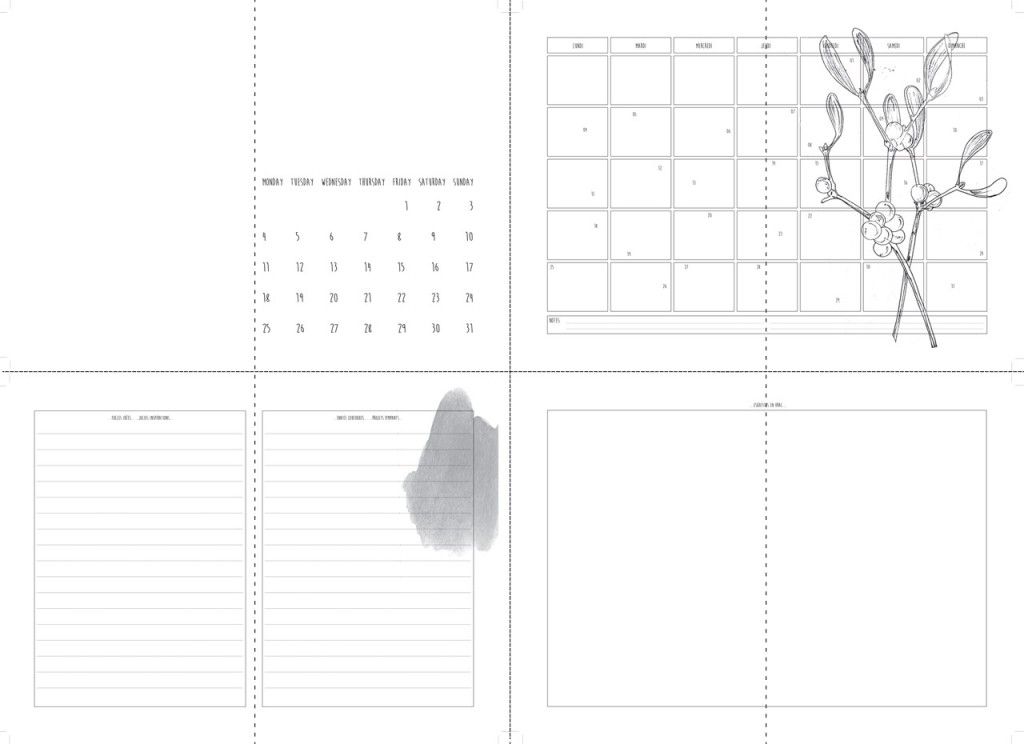
– Page 1, the month “at-a-glance”, to quickly see all the activities.
– Double page 2 and 3, daily blocks to write down important things, business meetings, appointments, travels…
– Double page 4 and 5, the “go wild” section to write all your crazy ideas, pretty inspirations, whimsical zest and fancy projects !
– Double page 6 and 7, a large empty frame to draw your ideas, shape them, stick your inspirations…
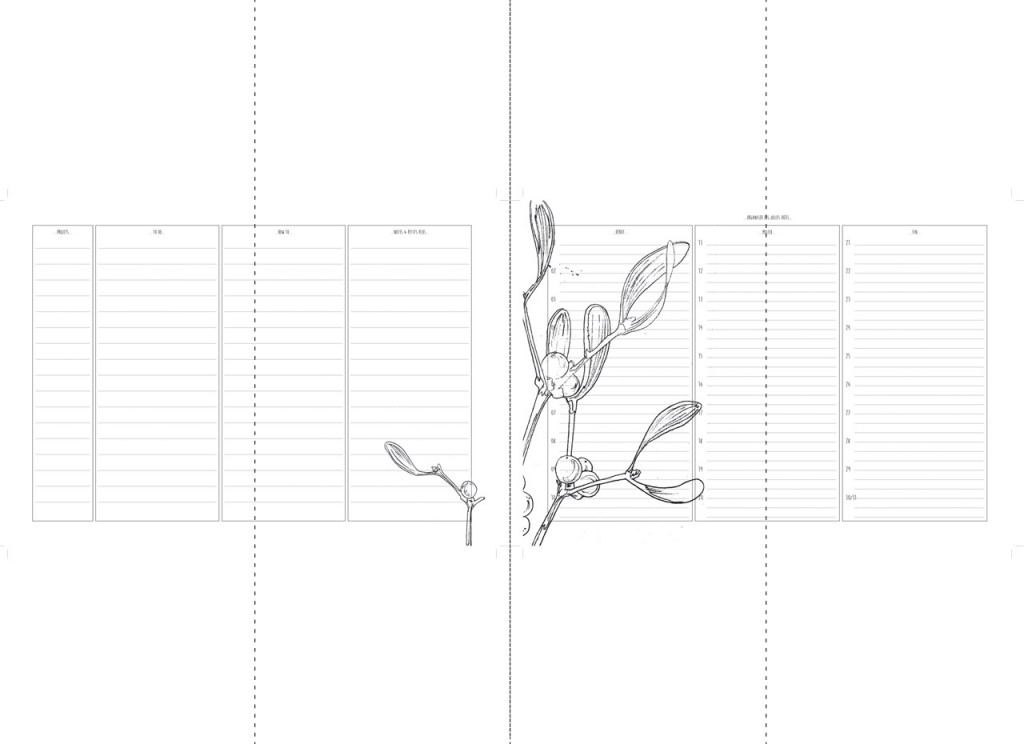 – Double page 8 and 9, that’s where it gets a bit more serious… This is the moment where you detail your ideas and transform them into actual projects. The idea, the How-to and the note section…
– Double page 10 and 11, dedicated to blog post schedule, when you will be publishing, what are the planned communication activities for the upcoming month.
– Page 12 includes a little surprise, just for you, and you will get a new one every month !
You have the ability to add any blank pages in the center of your blog planner… As many as your inspiration needs !
-
Get ready, go !
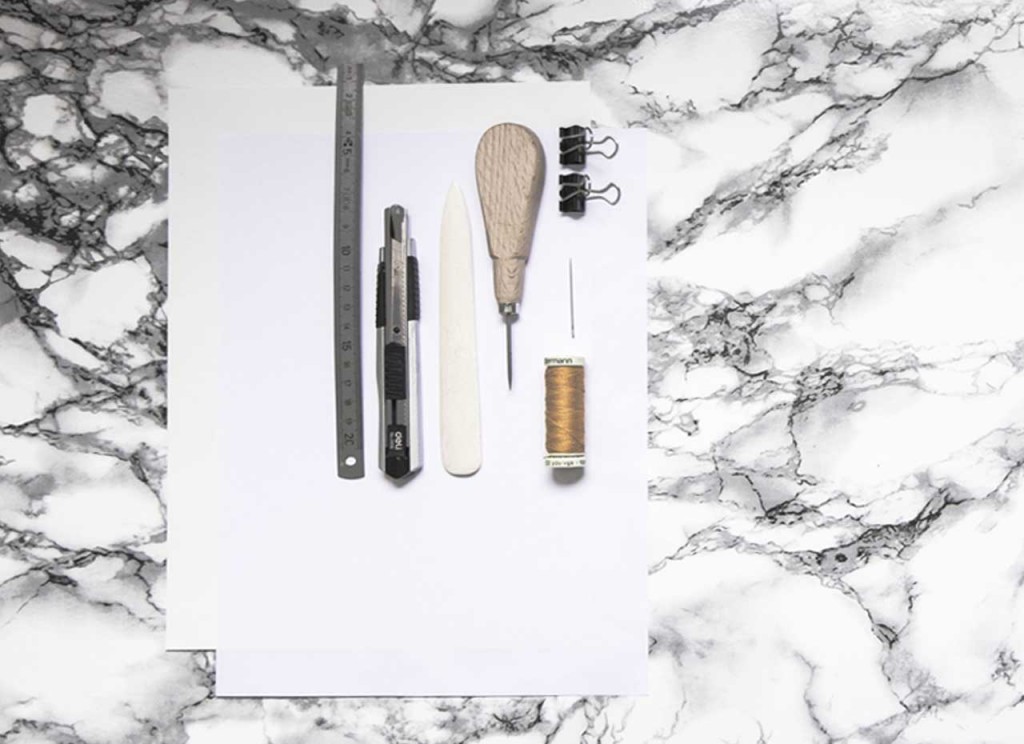 – 1 thick sheet of paper, A4 format (at least 180gr or 6oz) to print the cover.
– 3 thiner sheets of paper, A4 format for the inner pages (regular paper at 80gr or 3oz for instance)
You can choose paper from different colours if you’d like ! But not too dark or you will not be able to read the printed texts.
– 1 rule.
– 1 Cutter.
– 1 bone folder.
– 1 awl.
– 1 needle.
– Some colour thread of your choice.
– 2 little binder clips… or clothespins !
-
Step-by-step…
Start by printing the cover page using the thicker paper and “landscape” format in your printer.
Keeping the “landscape” format, print the inner pages and select “Two-sided” option if you are lucky enough to have such feature ! If not, you first need to go to your printer option and select “print odd pages”, print, turn the stack over and print the “even” pages.
Now, follow what’s on the photo below:
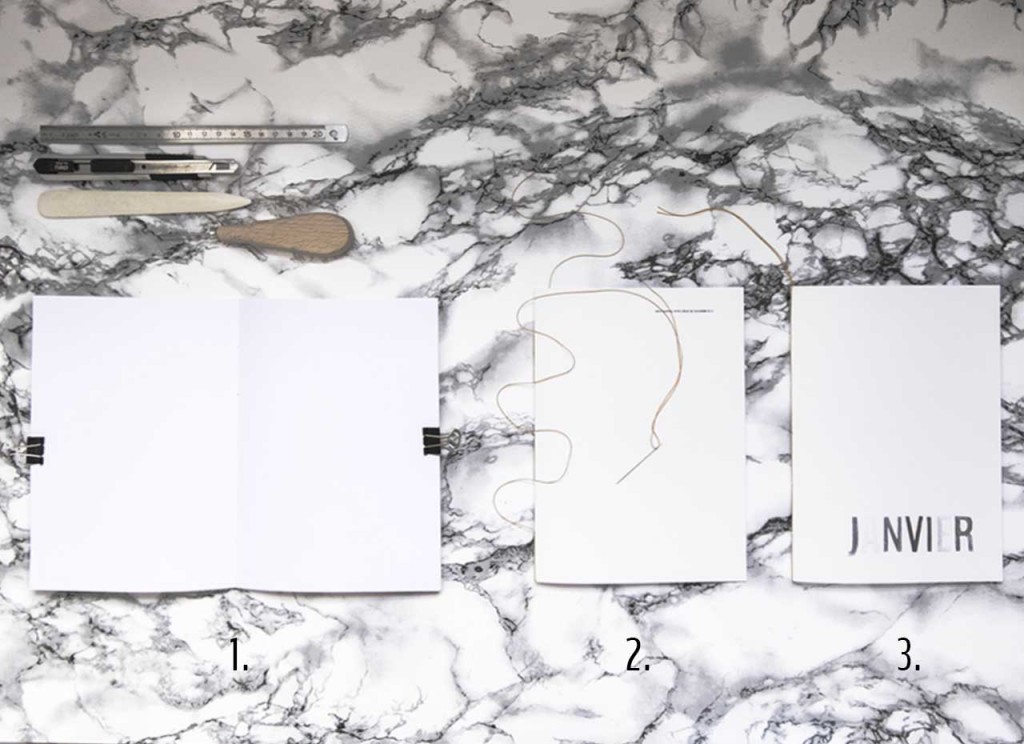 1. Grab your bone folder and fold your pages in the middle (where the lines are ending). If those middle lines are not properly centered after printing, it is time to adjust and cut out slightly the pages. Stack the sheets together in the right order. Adjust the position and fix using your binder clips.
Now using your awl, tear holes every 3,5cm (or 1.4-inch) along the folding line. The size of the paper being 21cm (or 8.5-inches), you should end-up with 5 holes.
2. Take your needle and thread through holes all the way from bottom to top. Turn when you reach the notebook border and thread in the other way. Your blog planner is sewed !
3. Tie the two threads at the bottom of the notebook together. Cut the thread or leave some to be used as a bookmark.
That’s it !
-
Et voilà, now it’s time to fill it out…
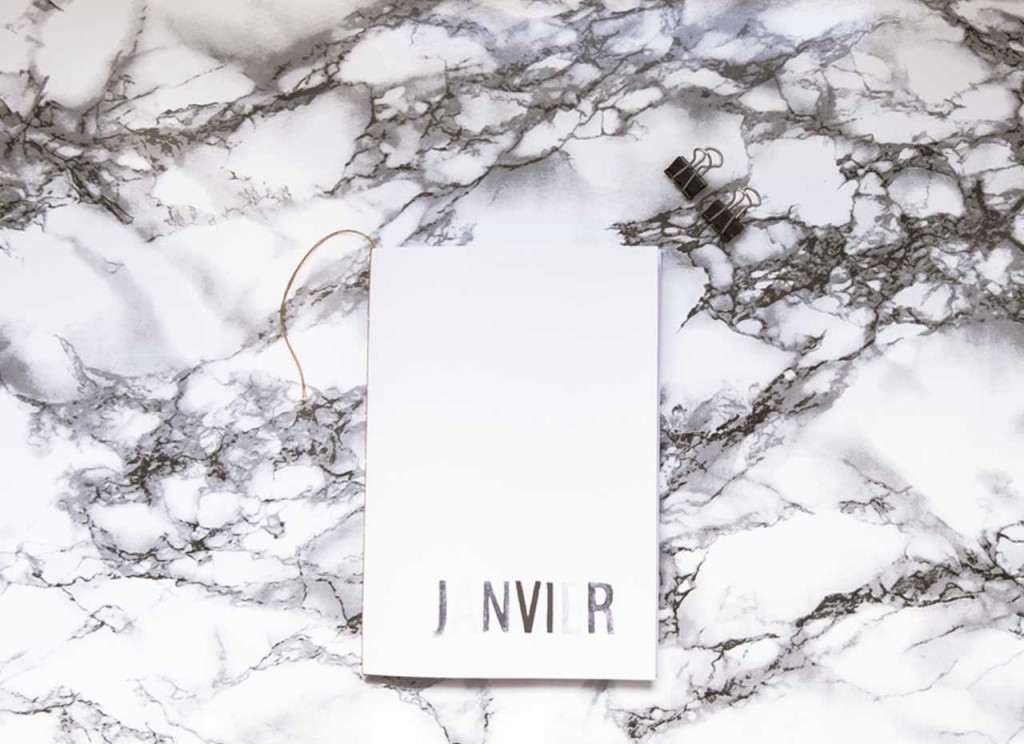
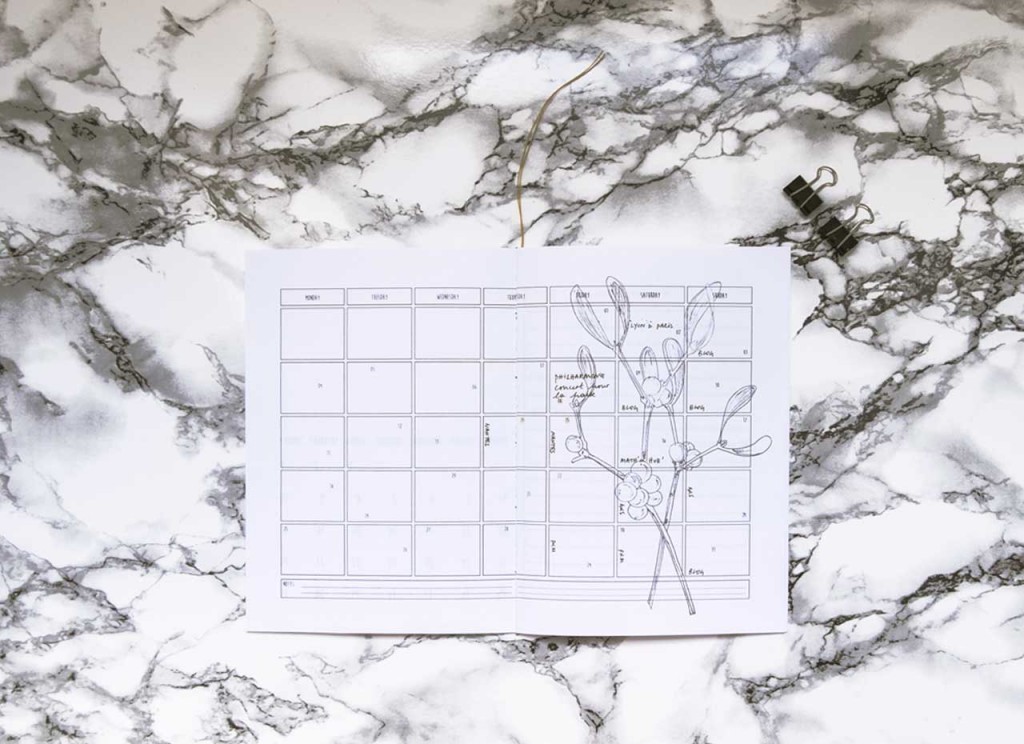
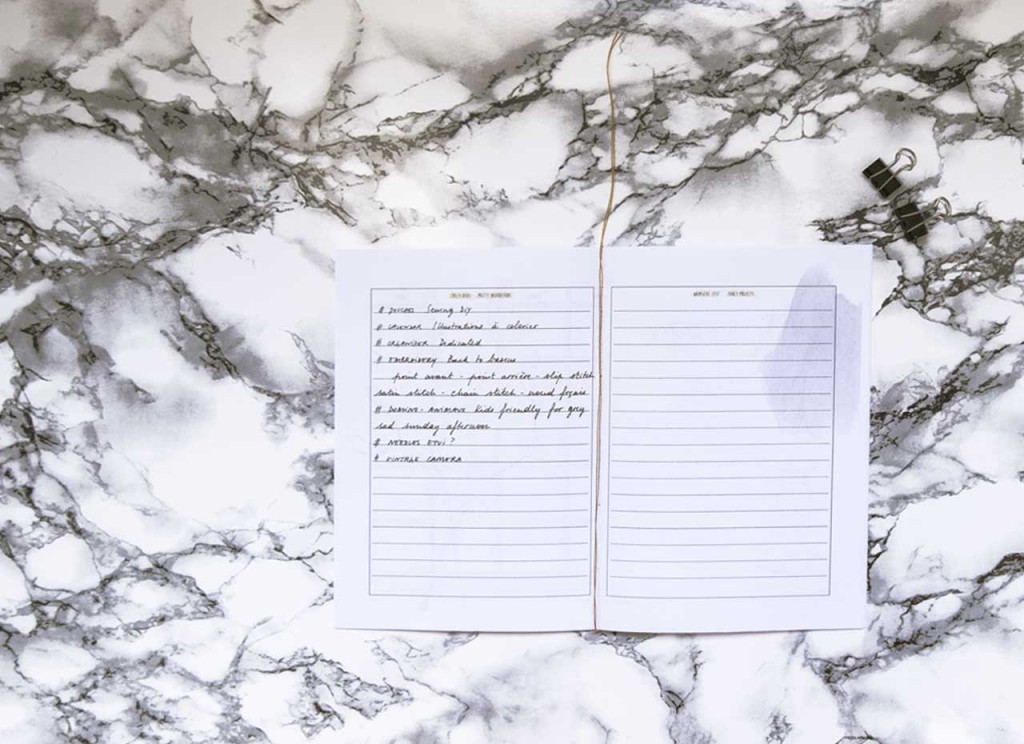
 What about you, how are you organized ?
(NØ) thought you maybe need something bigger… For the whole year ? Come here to print and customize your own nice illustrated Calendar !


